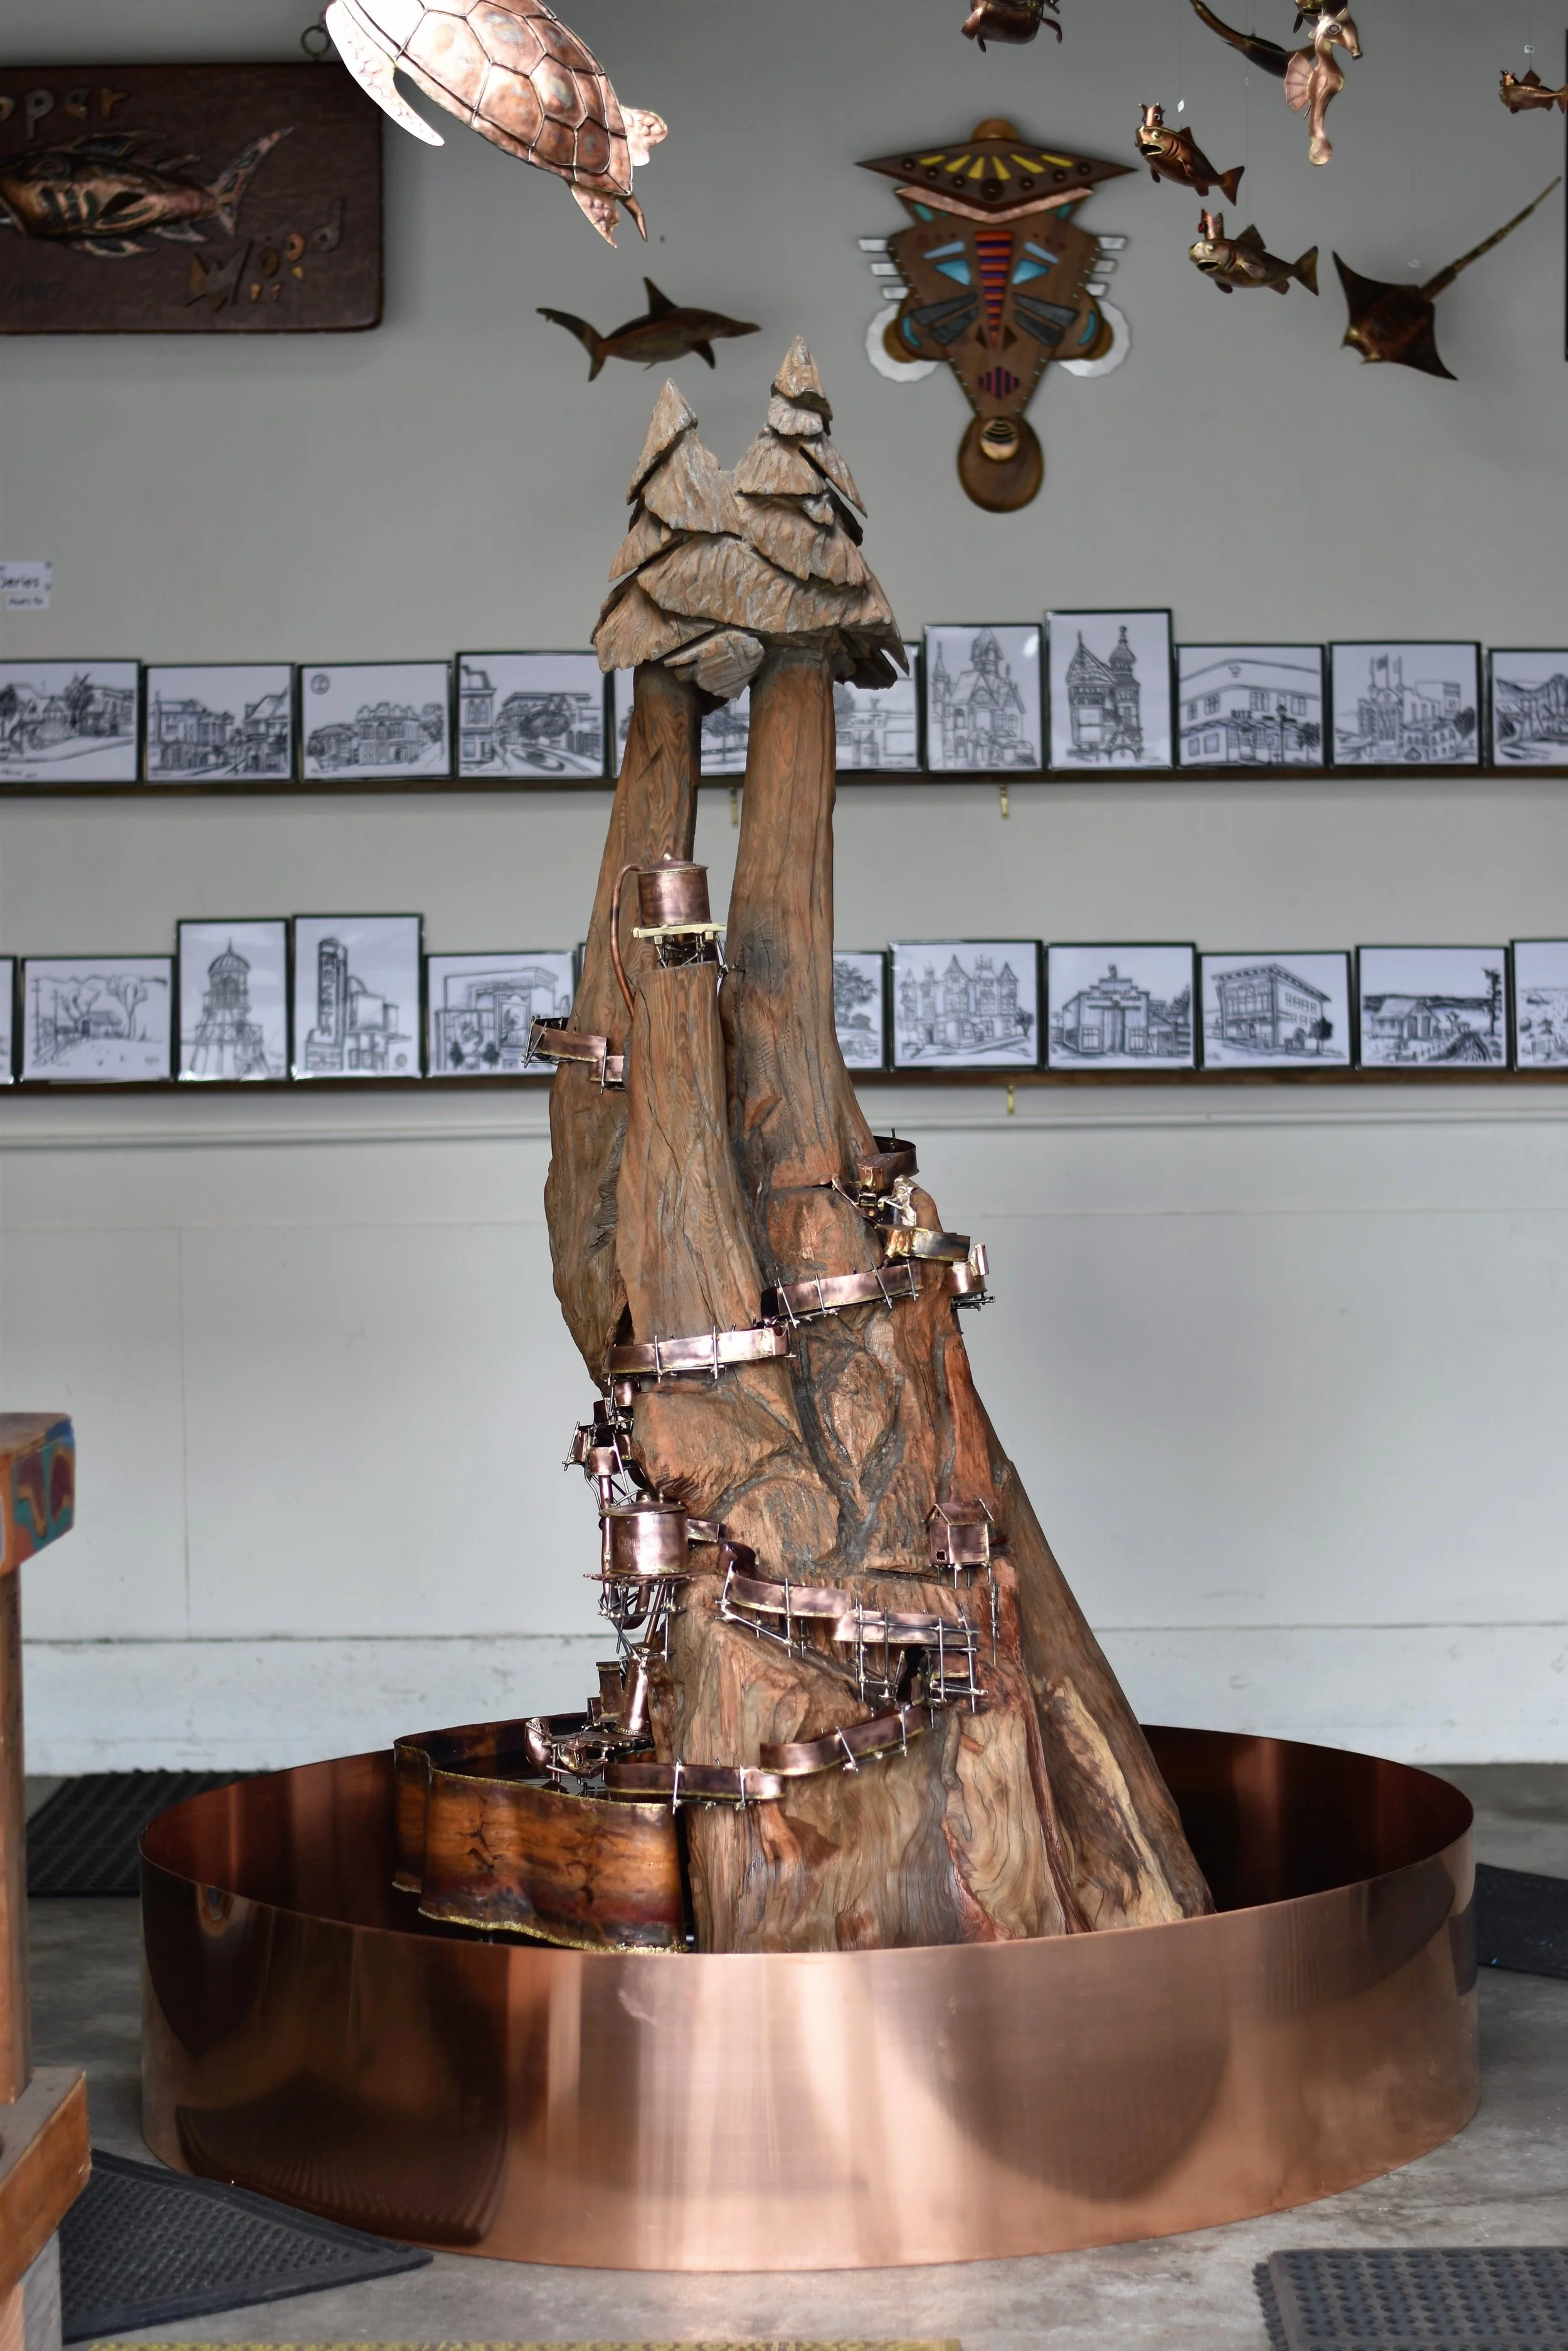
Redwood water fountain in all her glory!

Ready set start digging!
A good buddy commissioned me to make him a water fountain of his property, pretty steep terrain to say the least. He & his girl friend found and gave me piece to work on. Old Growth Redwood, has lots of curly burl in it and lots of spiders & rot. Some things never change, the smell of digging the rot out was the same as 30 years ago while I worked part time at a store called "The Burl Tree" down on Broadway by the Flying J.
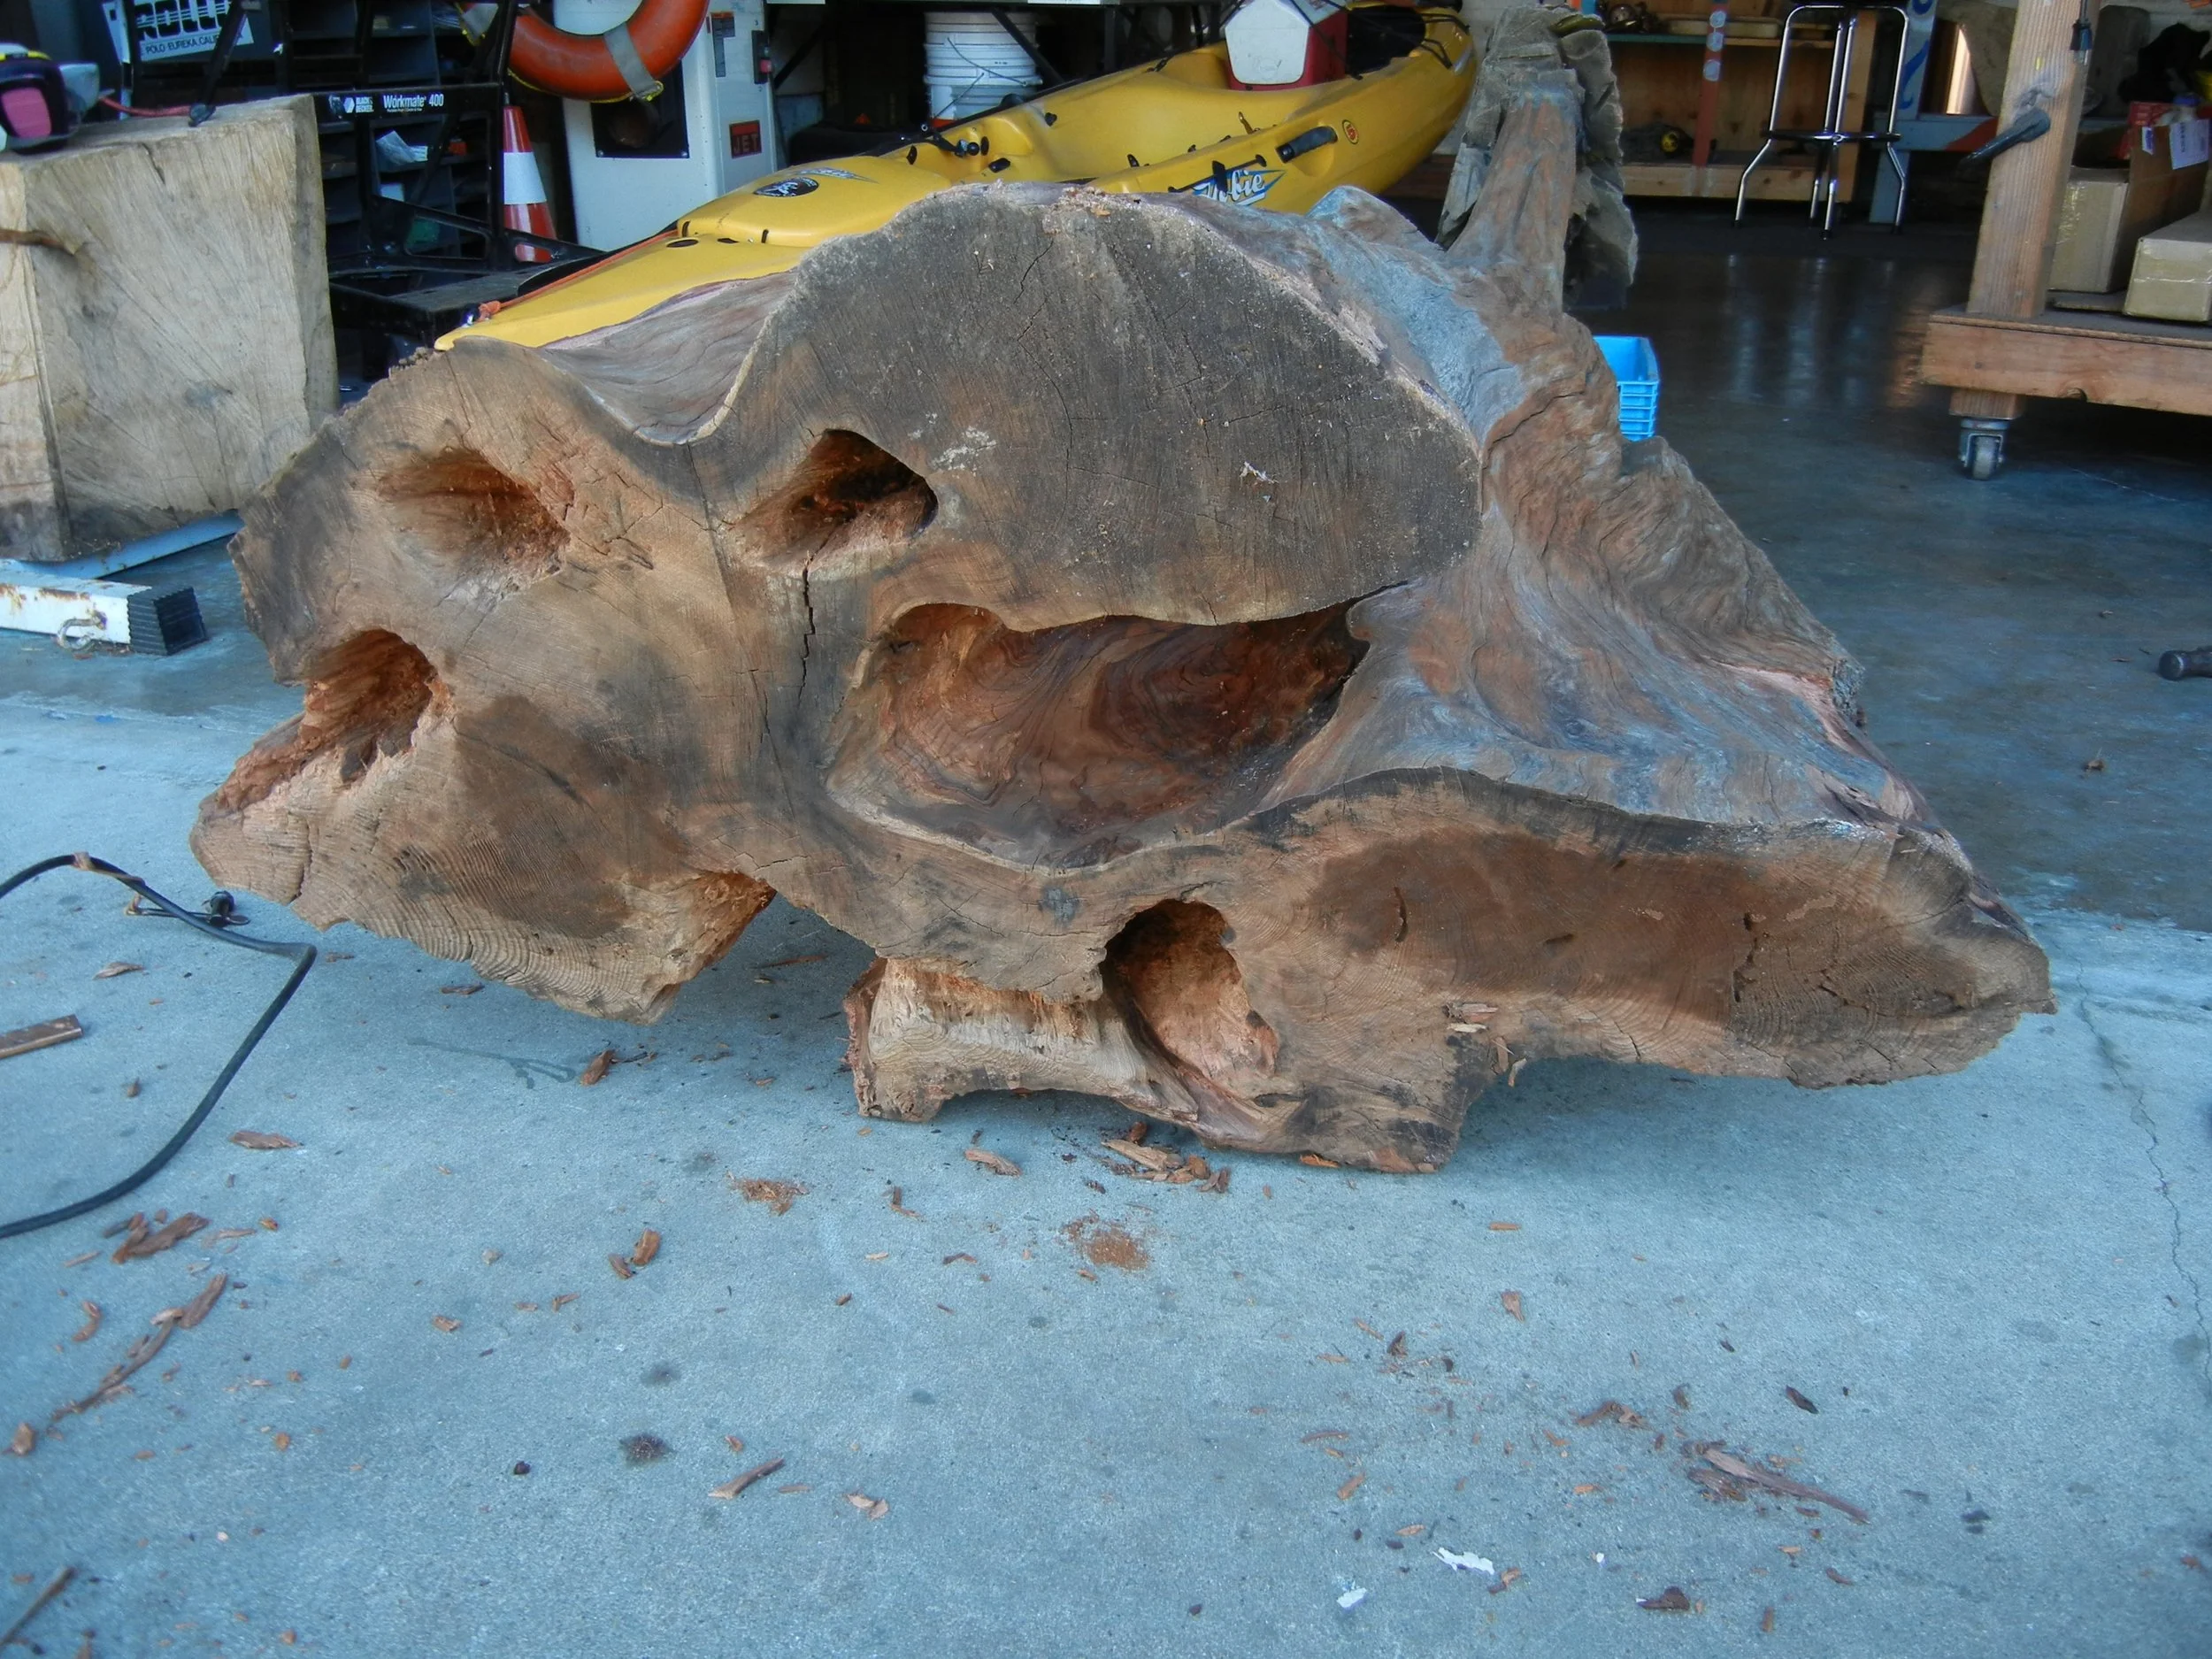
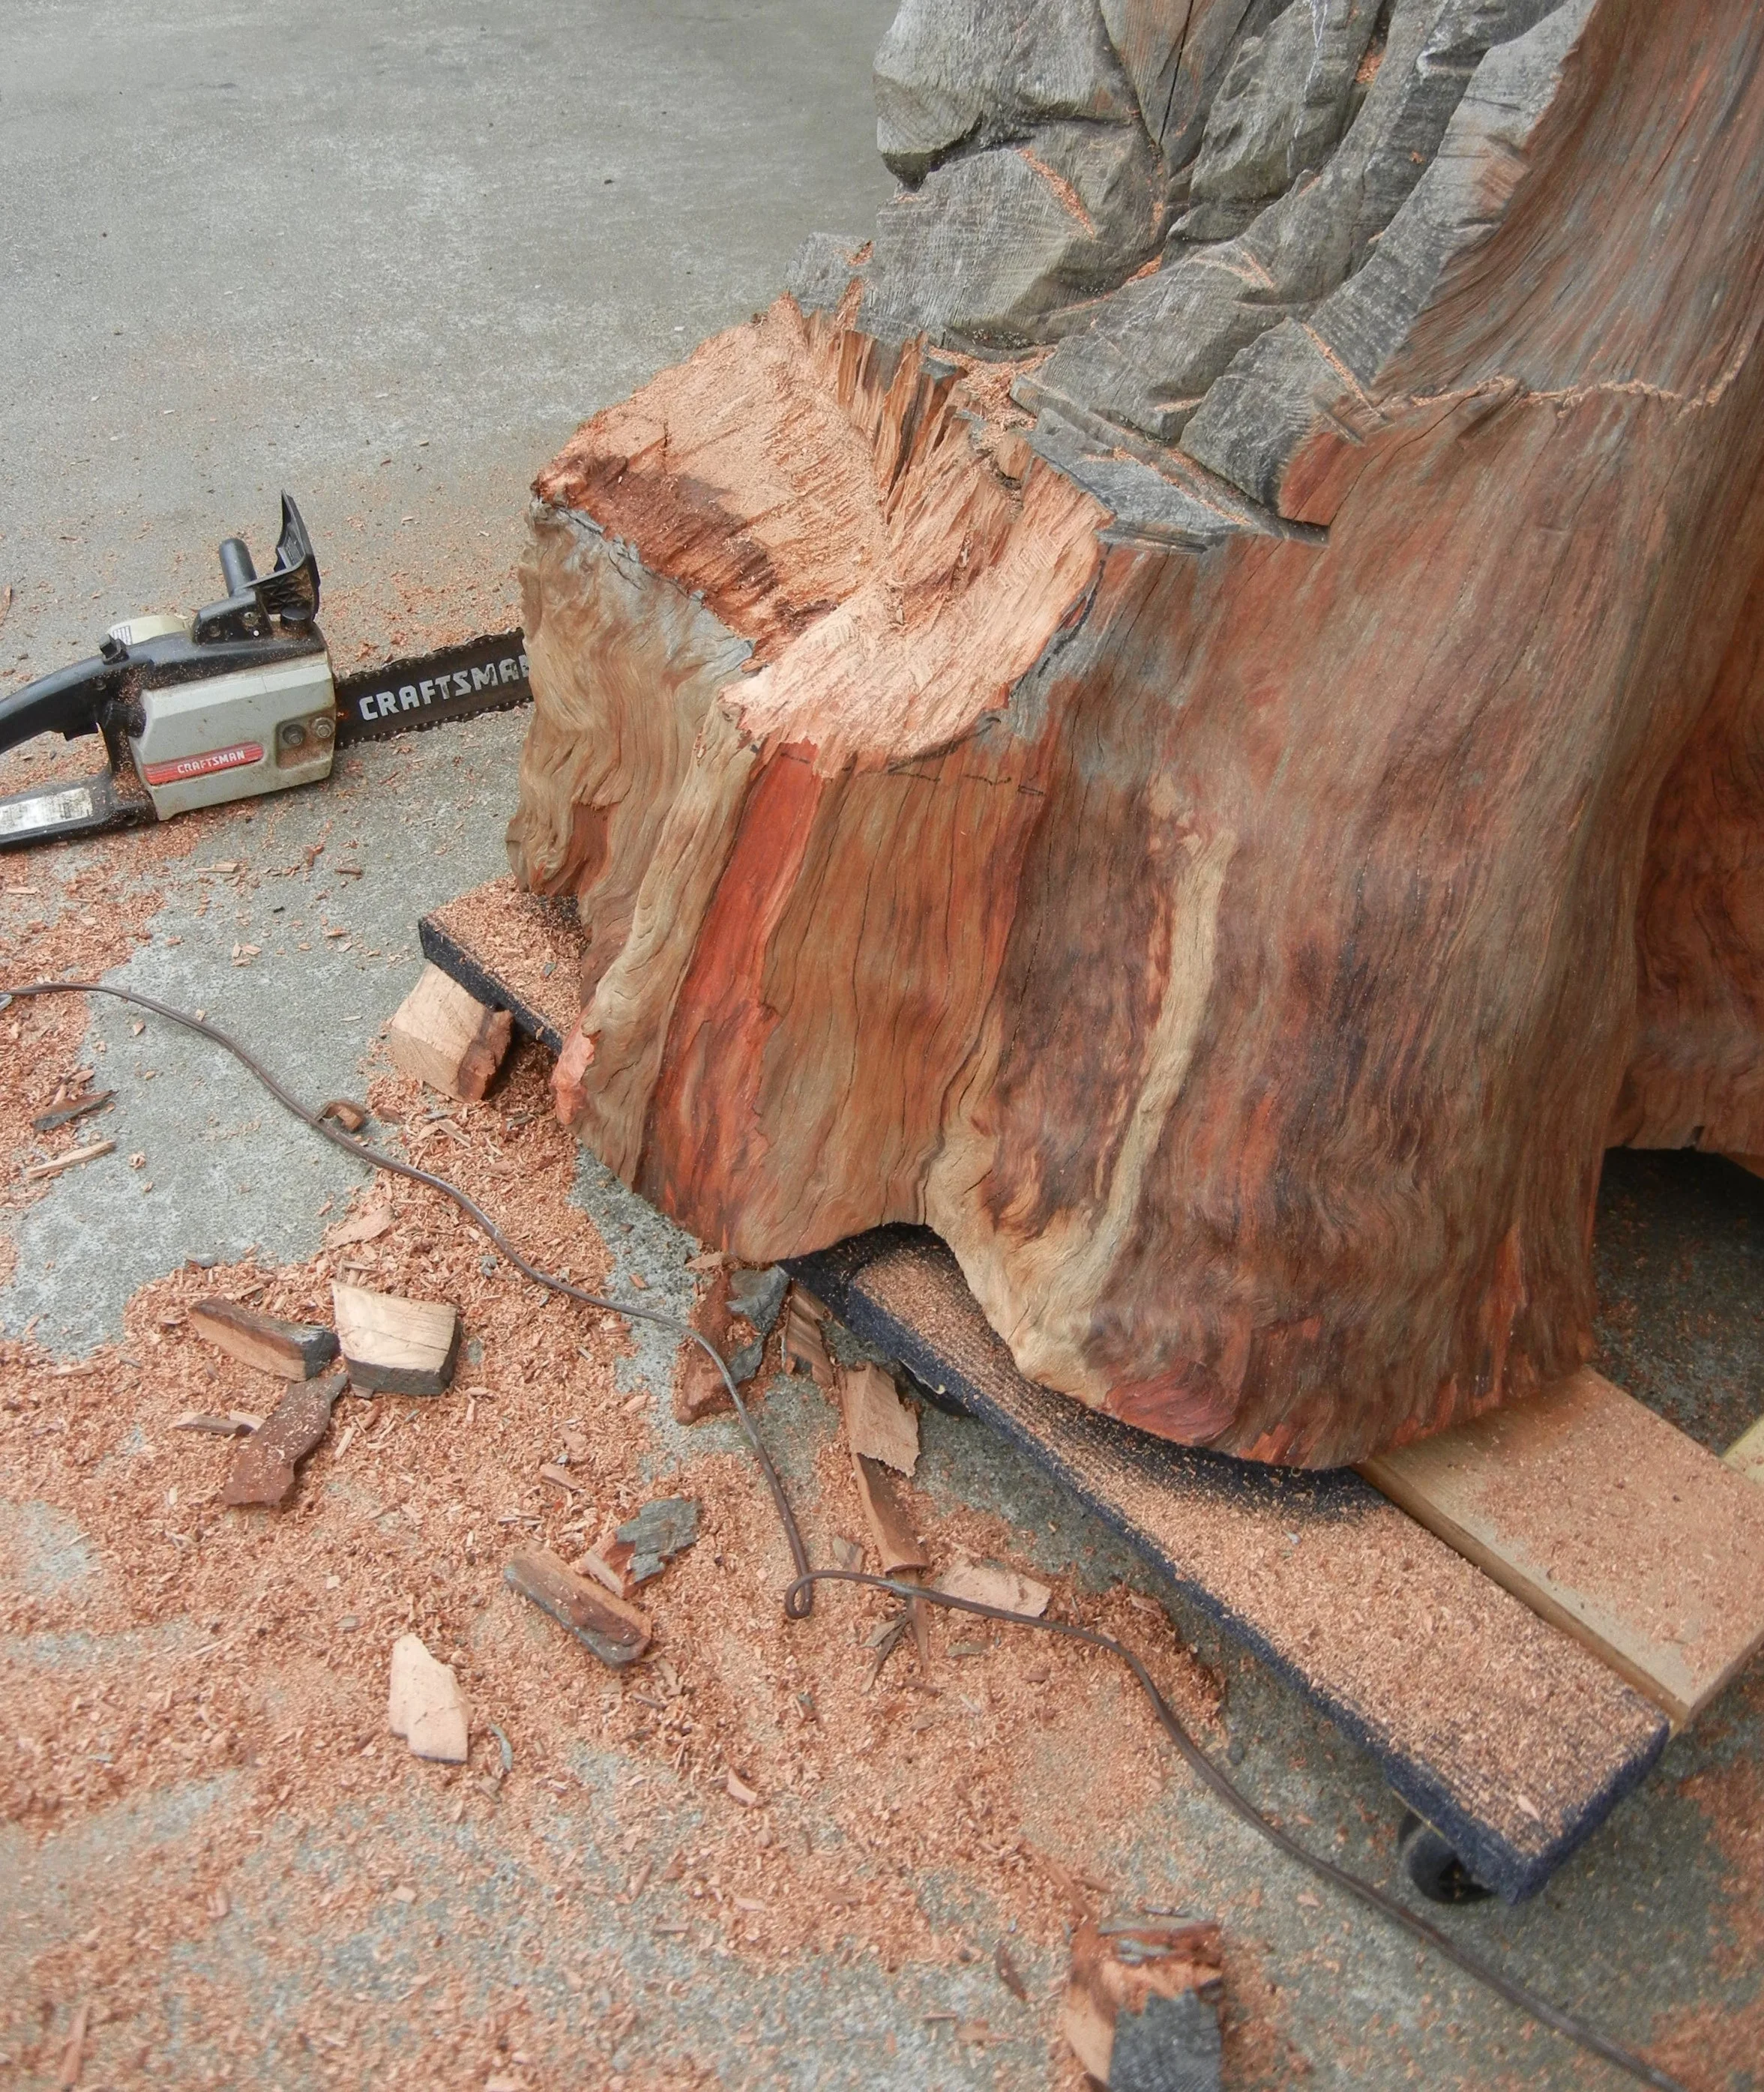
Rot & Spider removal complete
Now were talking, bottom side still wet, probably from sitting by the side of the road for the last 20-30 years. Spiders be gone hello copper water fountain to be!
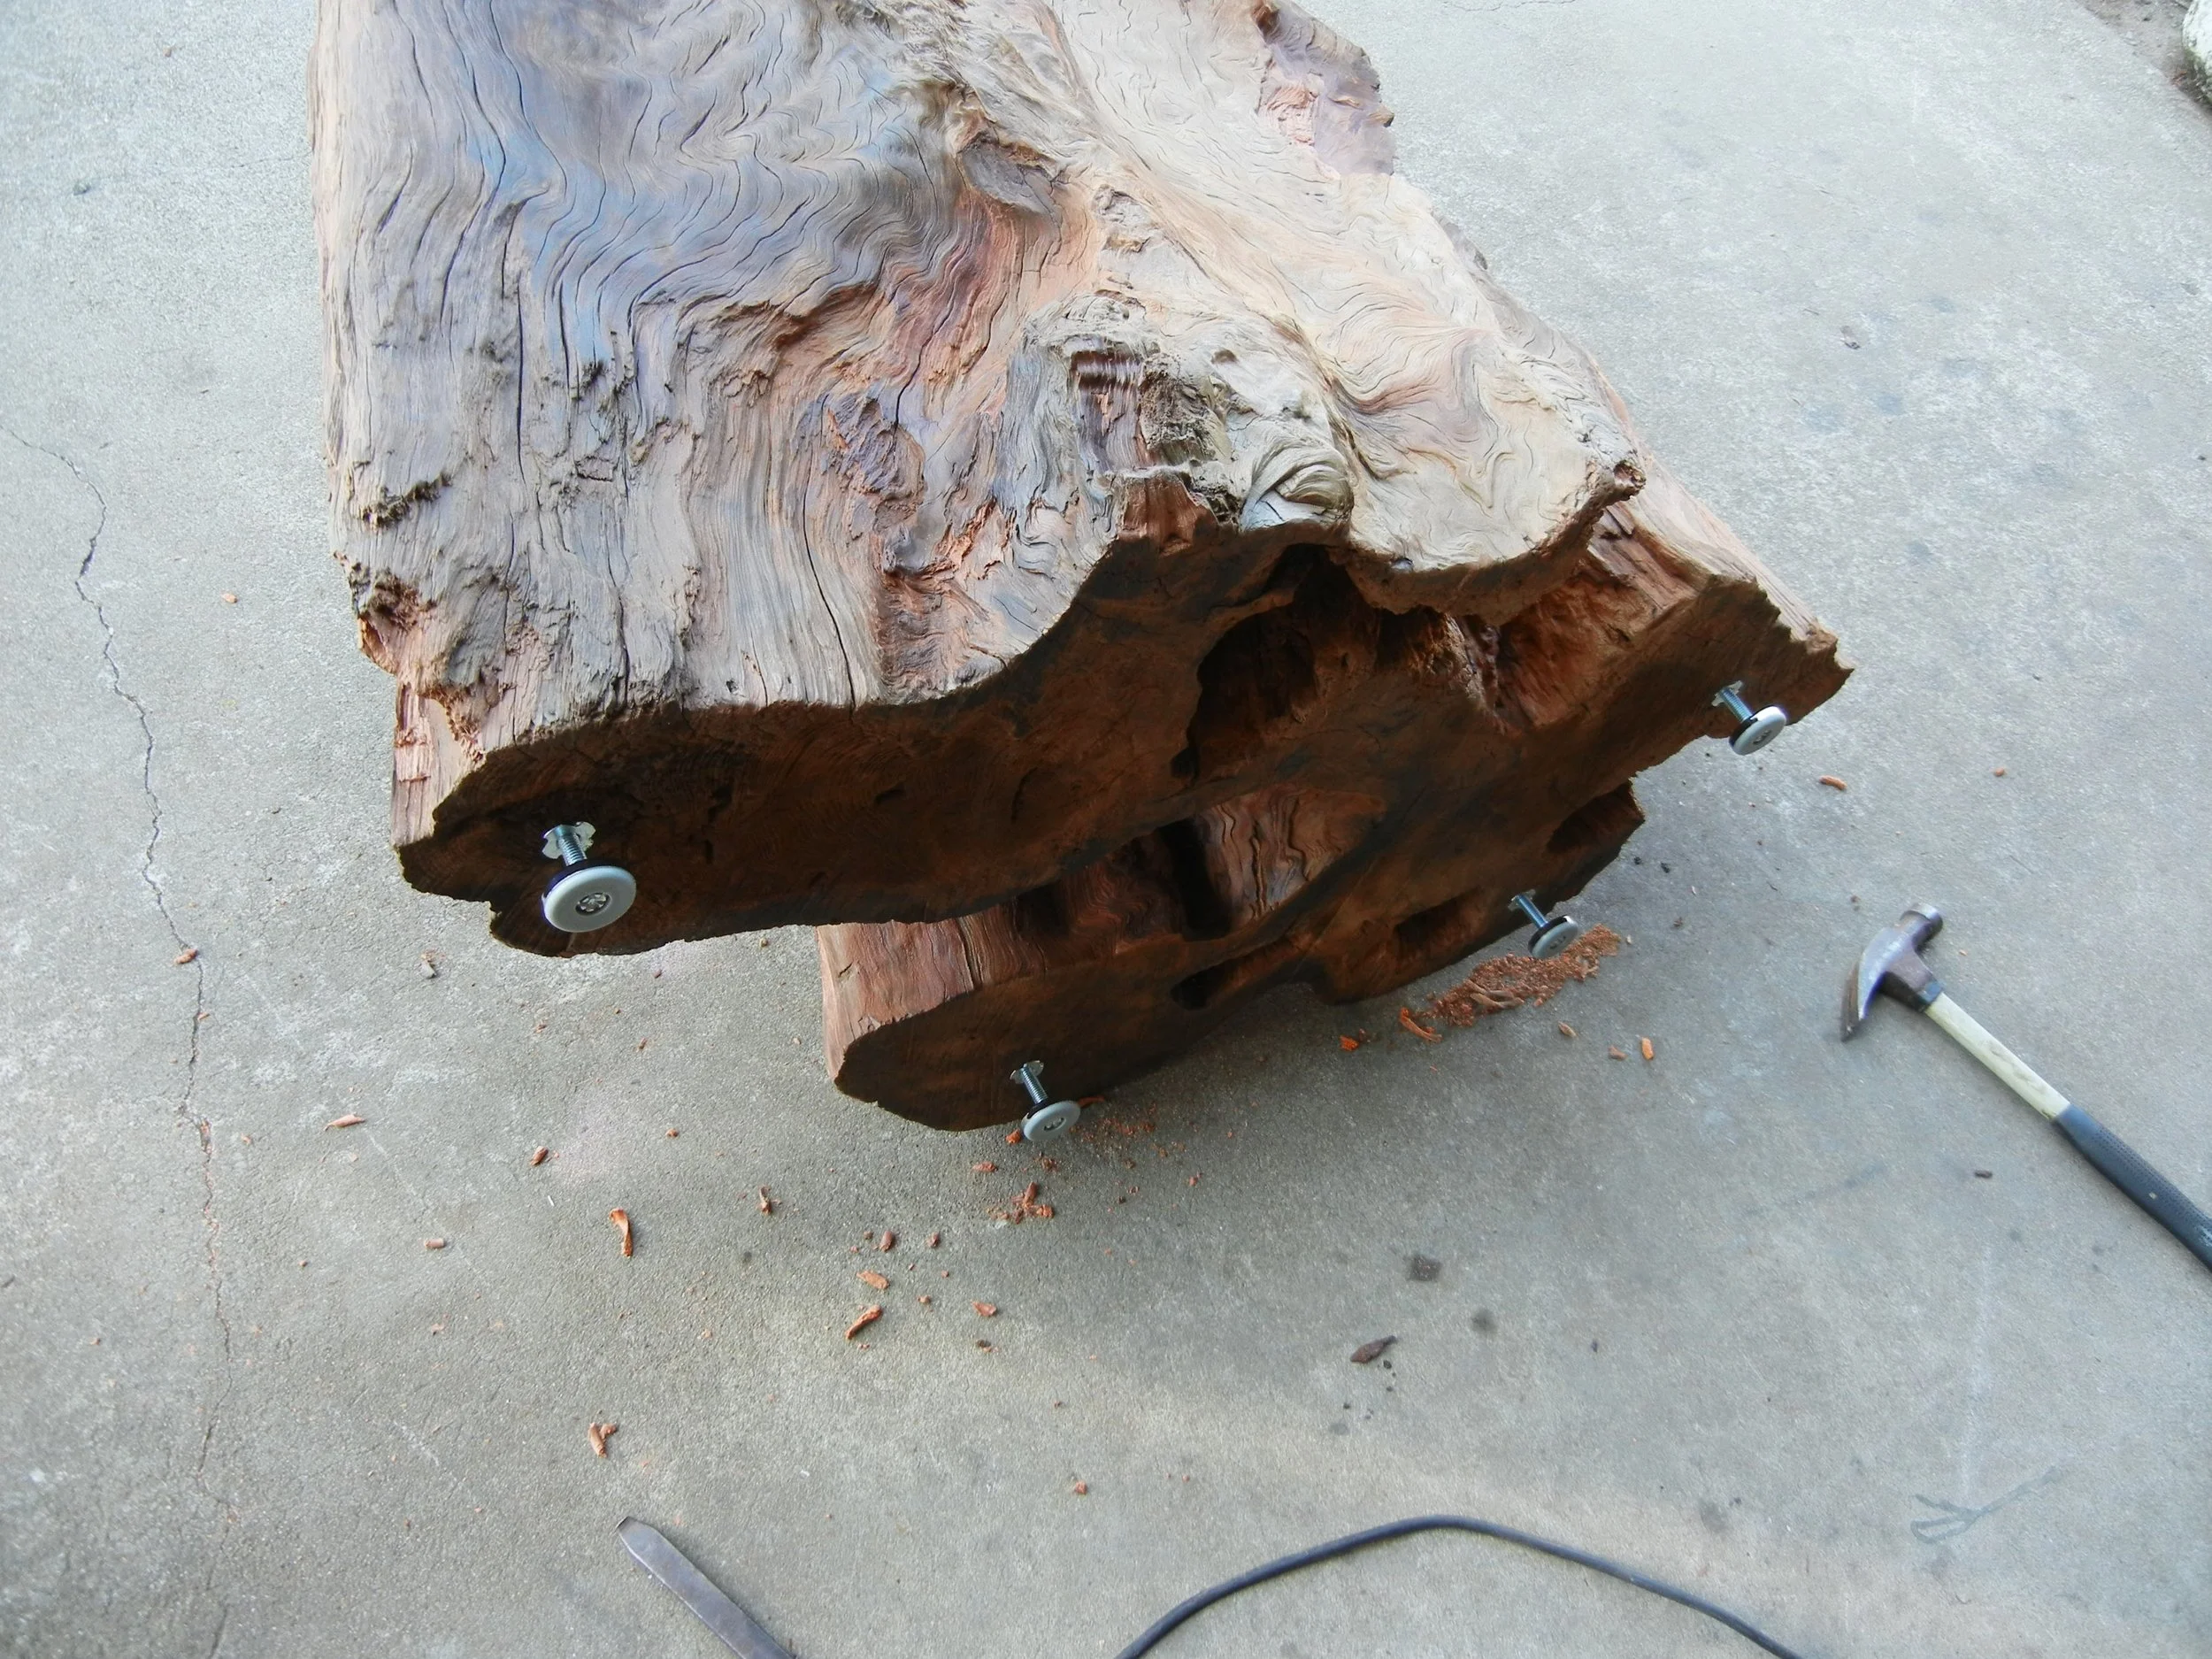
Leg equalizers ever heard of 'em? Me neither
So I don't have a big ass chain saw to cut this sucker level at the bottom so what to do? Leg equalizers, their adjustable and were pretty easy to install. Only problem was I bought the store out and needed more!
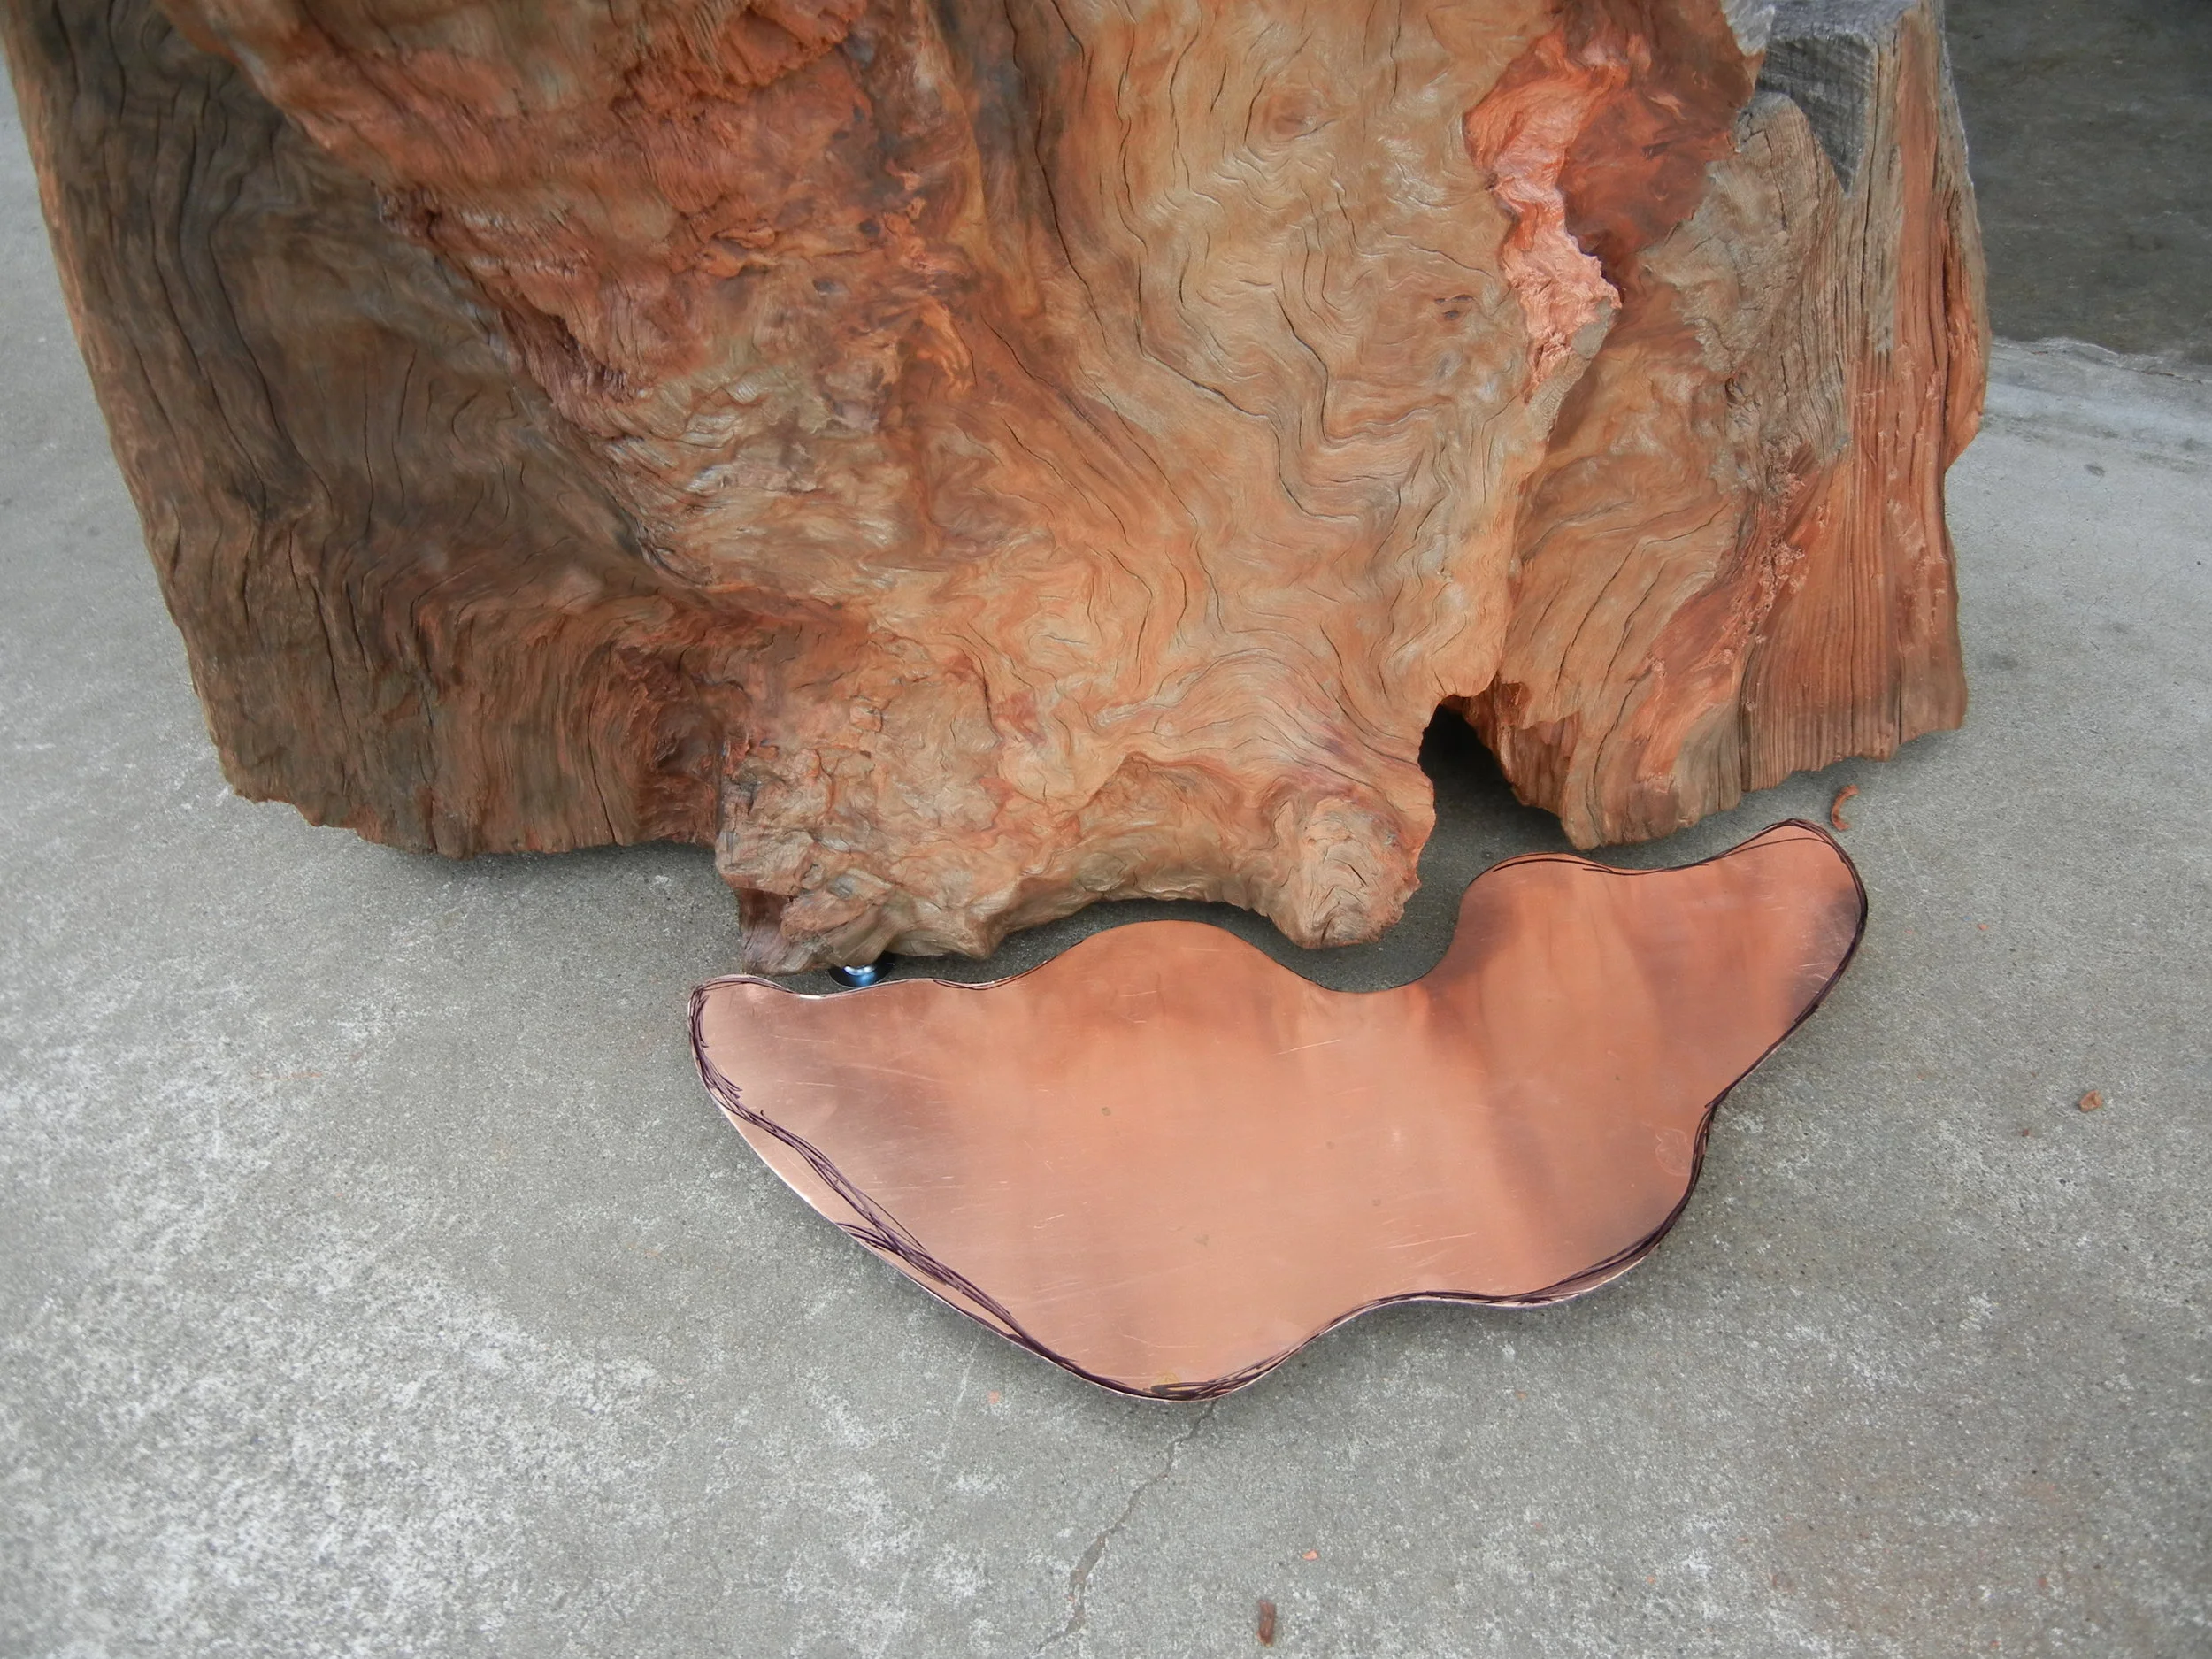
Water tank making 101 for sure
After having completed a few water fountains in the past I've learned a thing or two. Do things once not twice, think before you cut or burn. In this case I decided on making a big ass water tank, do it right the first time with minimal welds. Cool shape and design but I pinched myself with the tight corners during the brazing process.
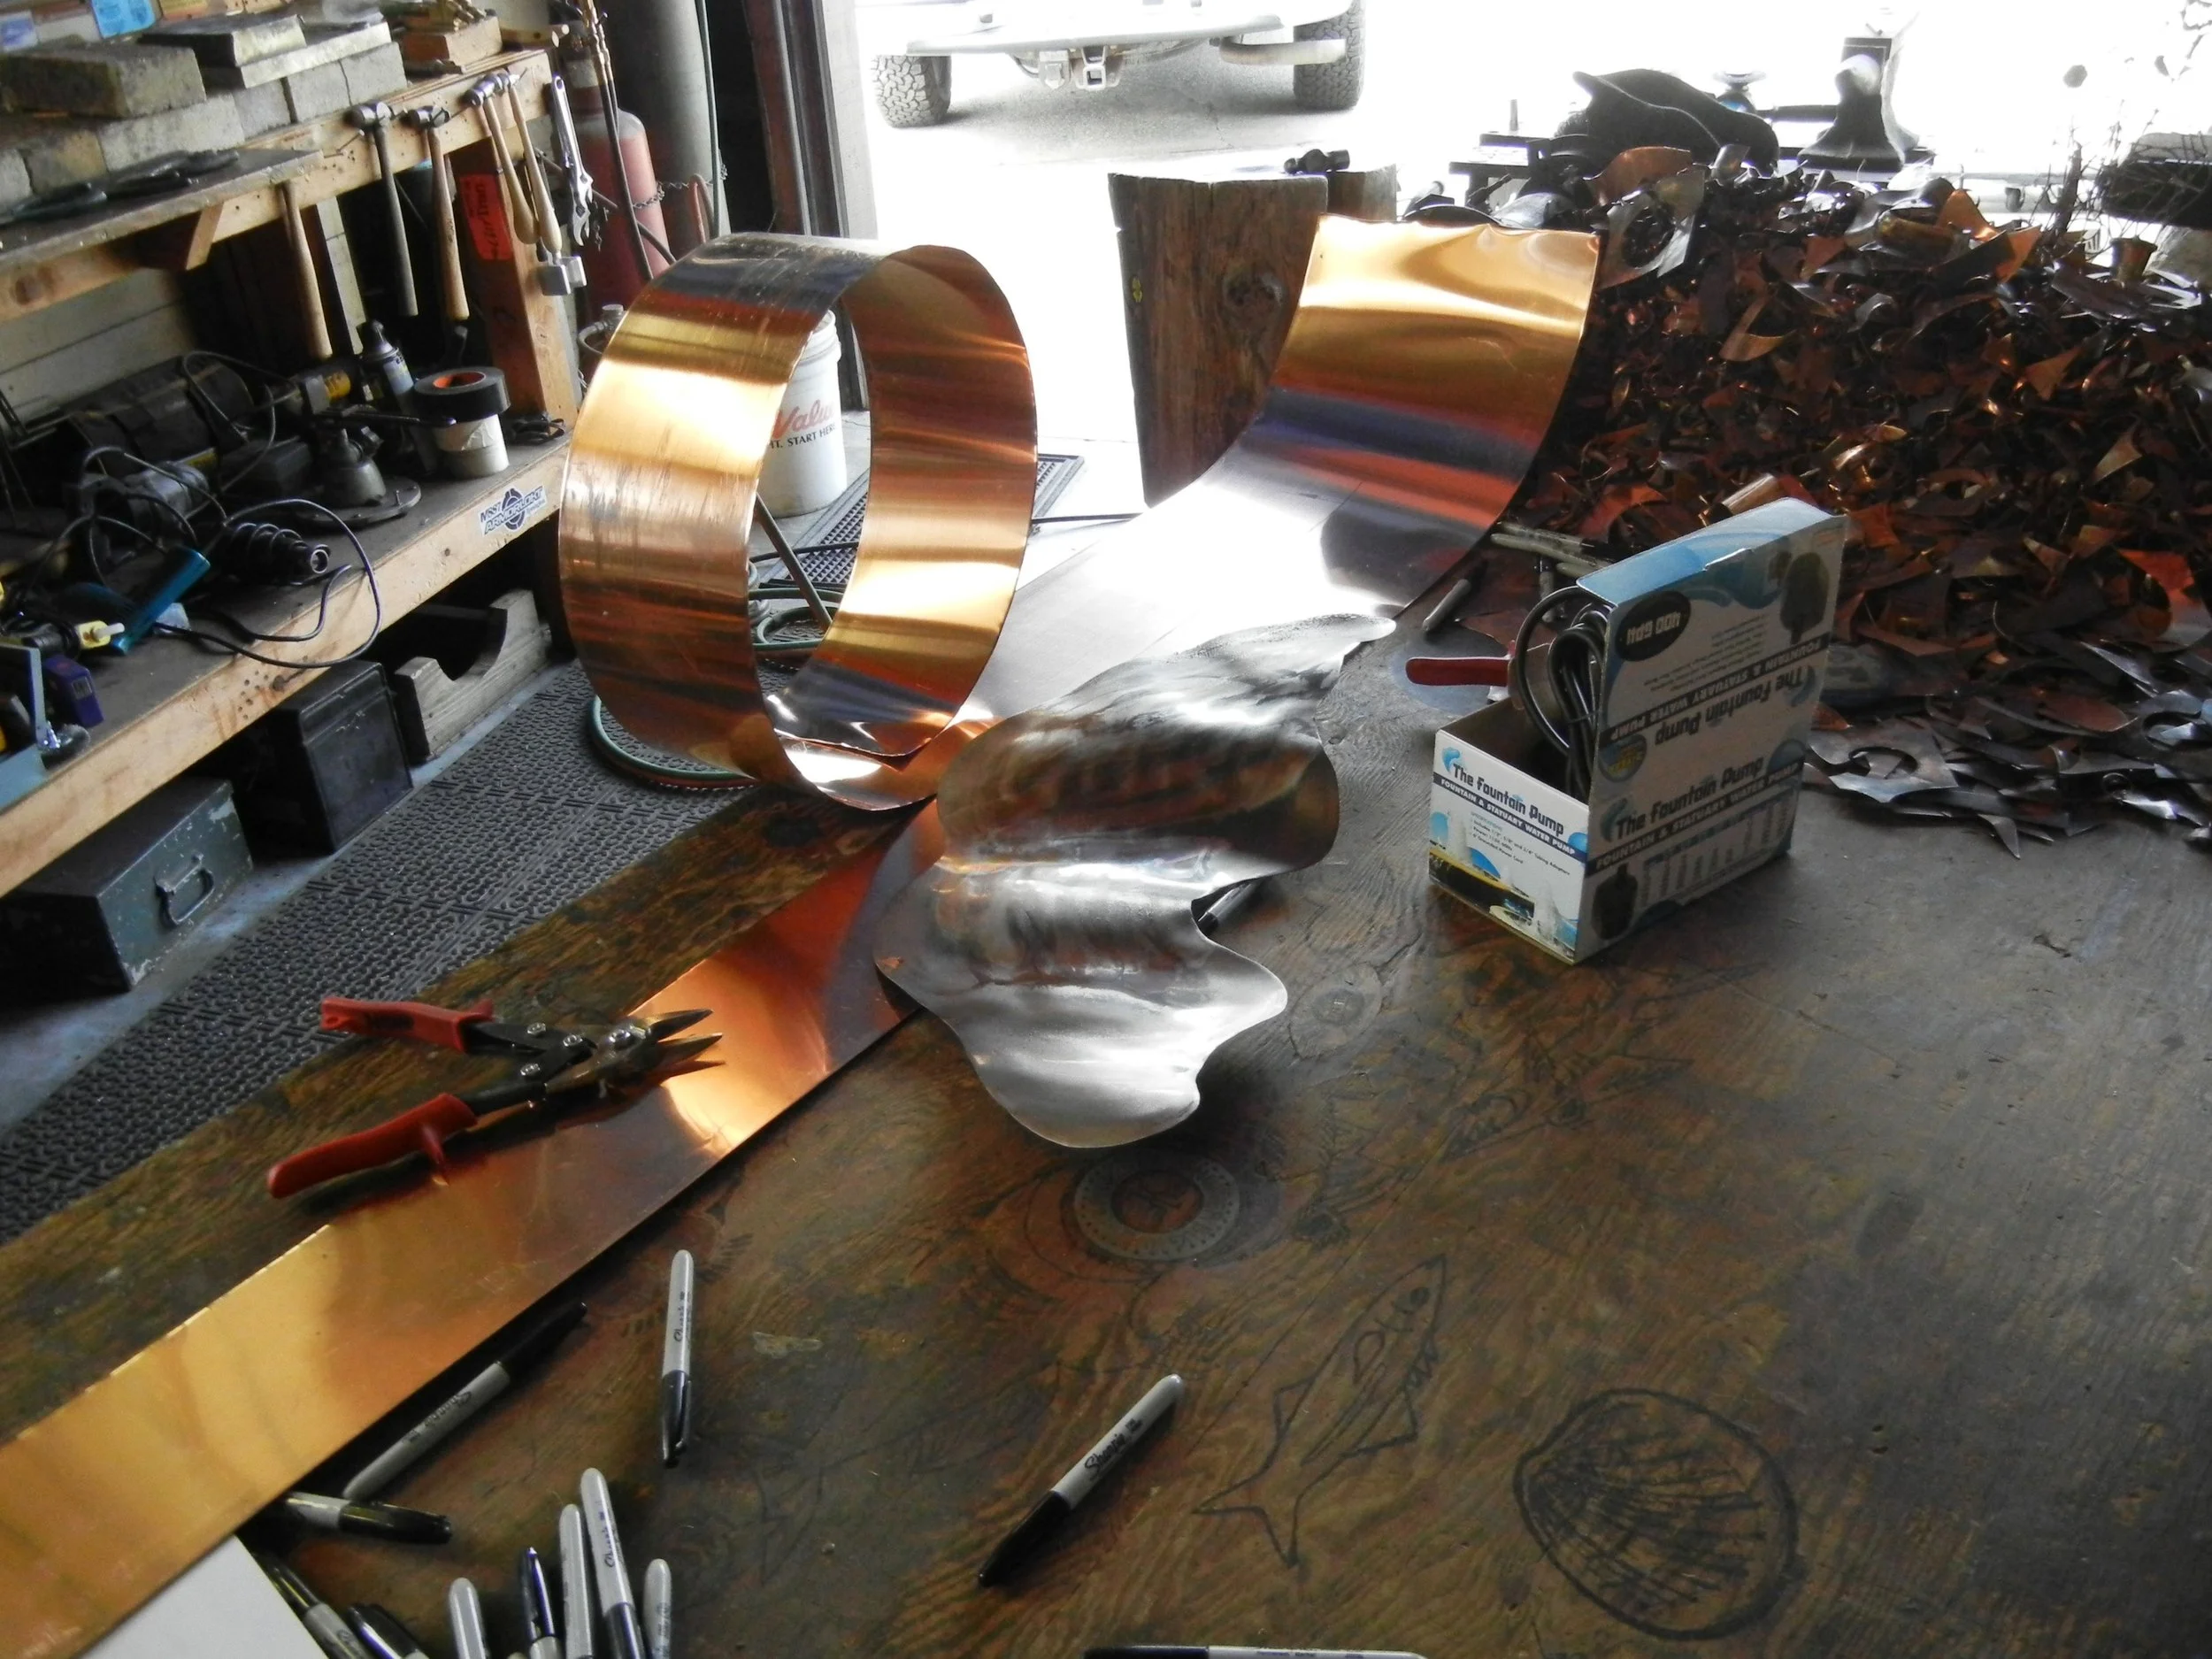
Got Copper?
This one has been a monster to try and tame, vertical water tank side is nearly six feet long, one long piece. Anneal this baby and then tack welding commences.
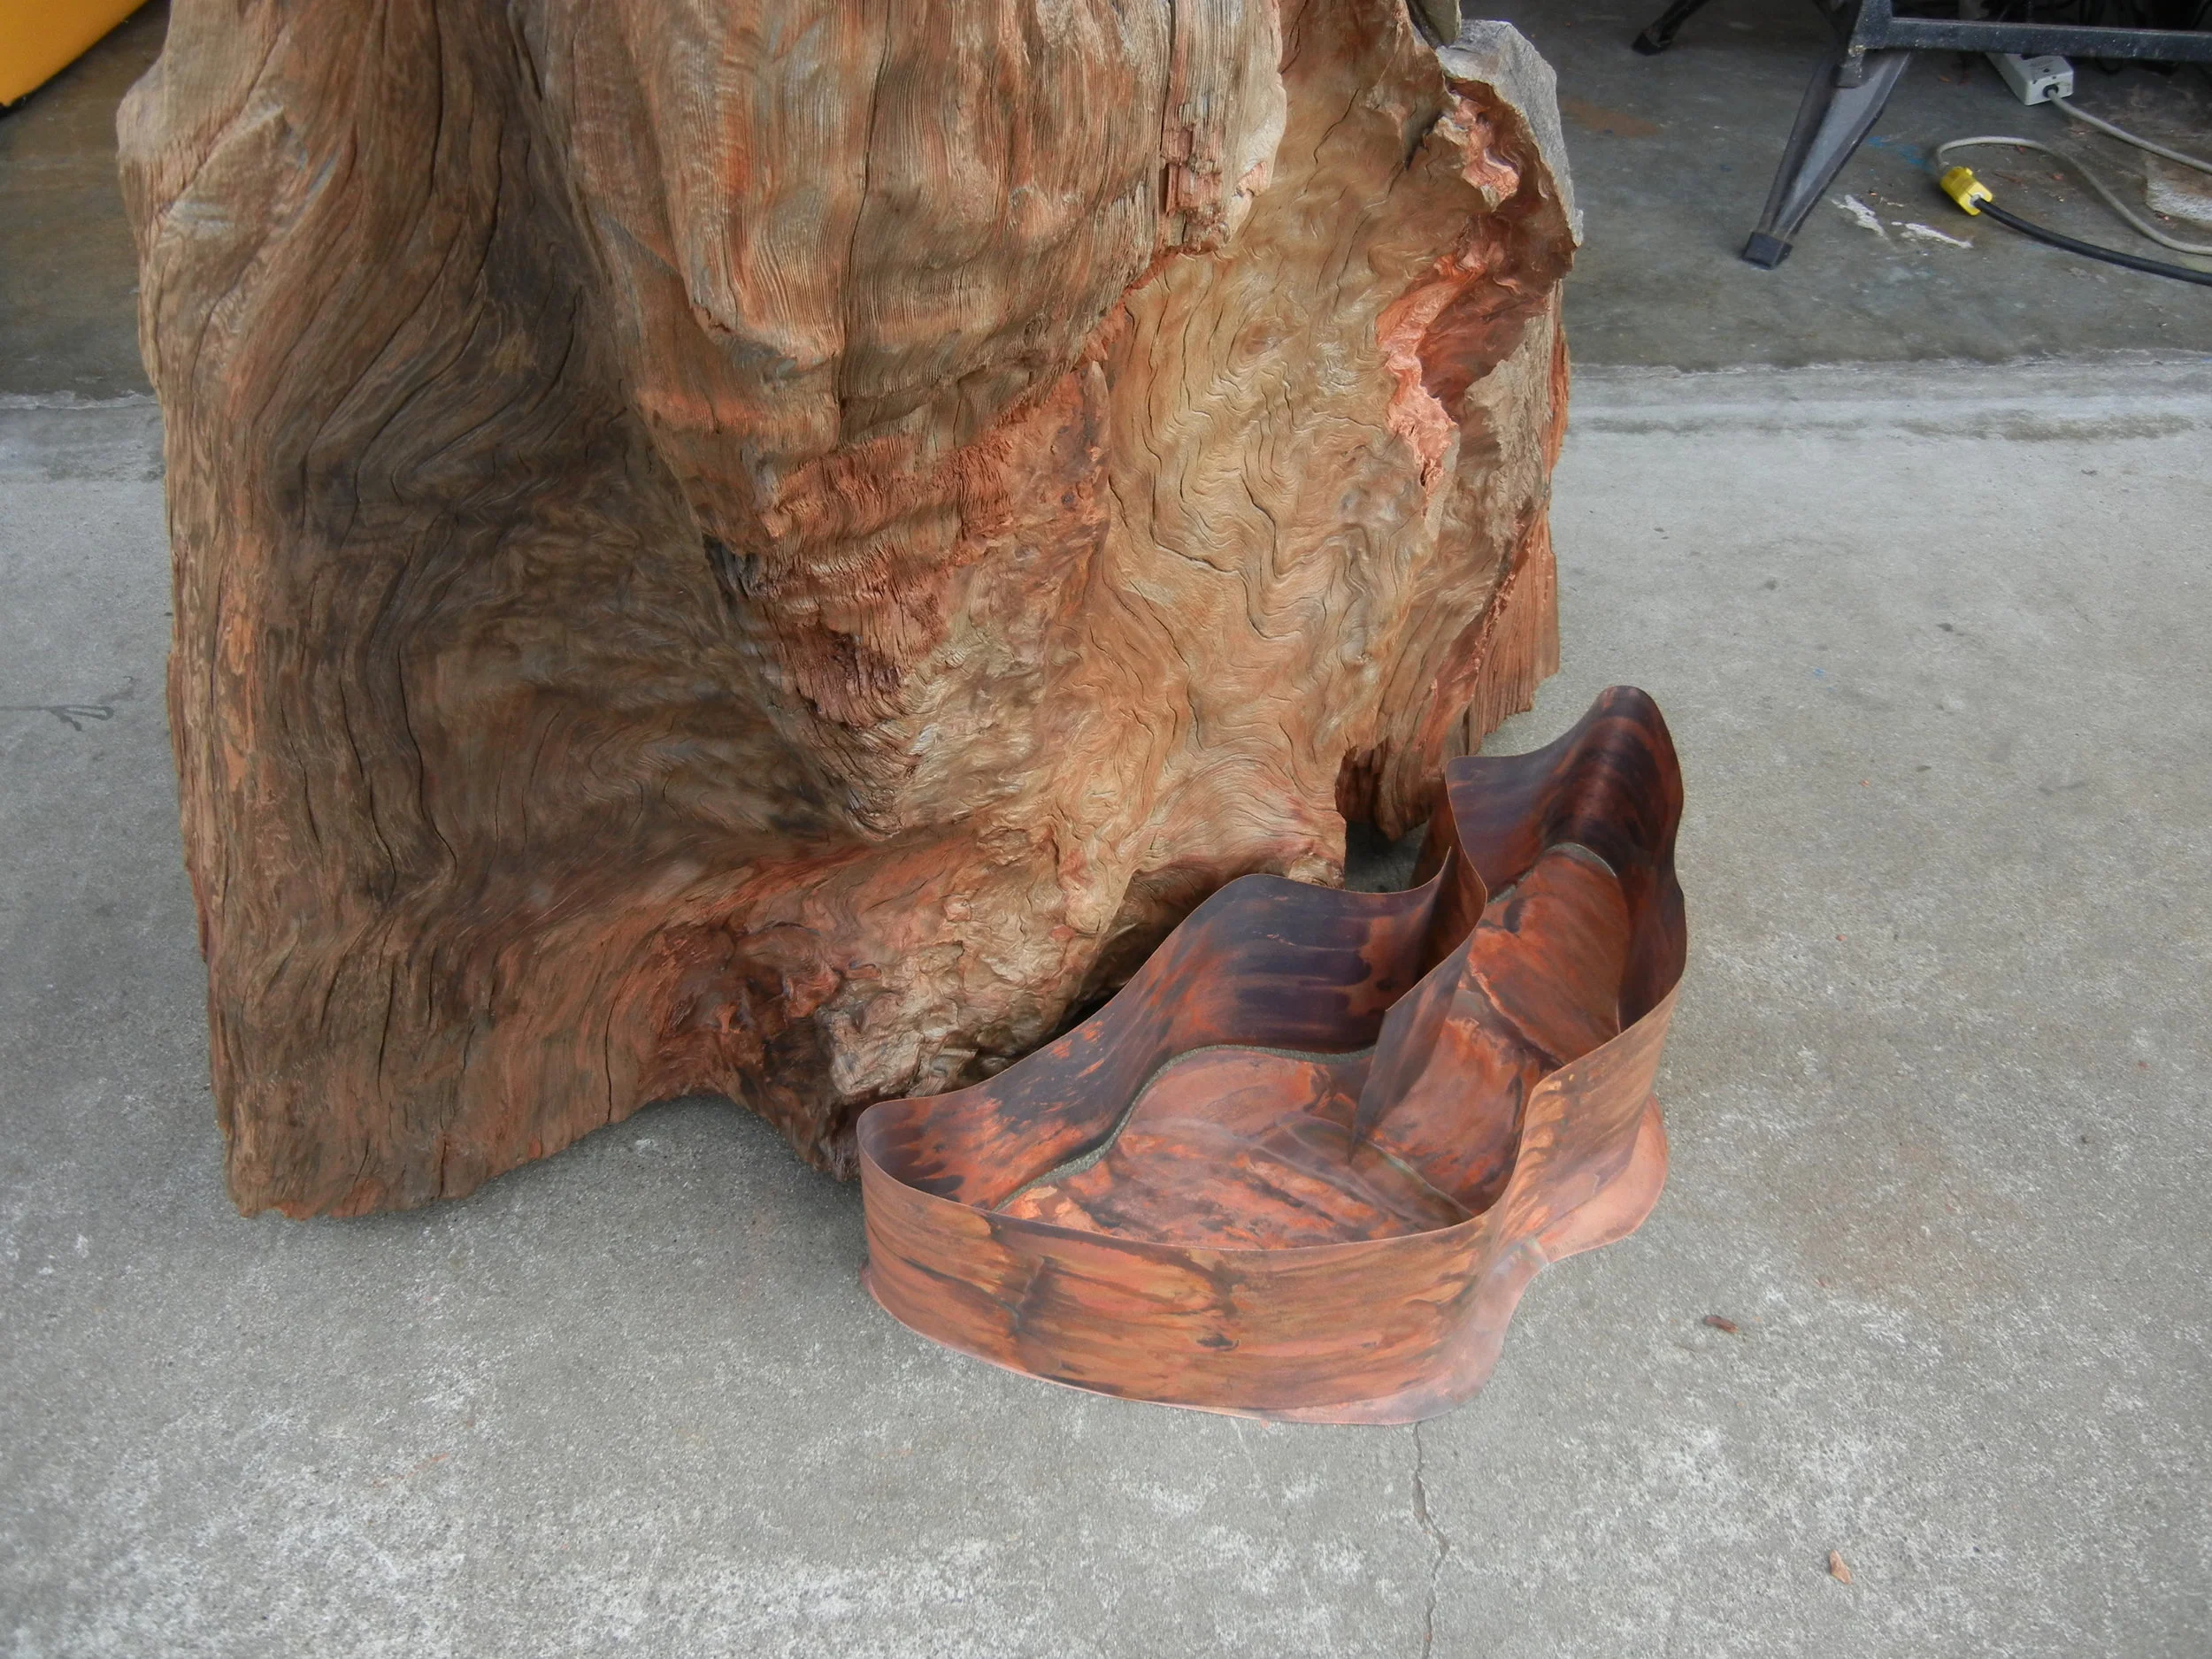
Copper water fountain - 2 pieces
Now that the beast has been told how to behave time to tack this baby into waterproof space.
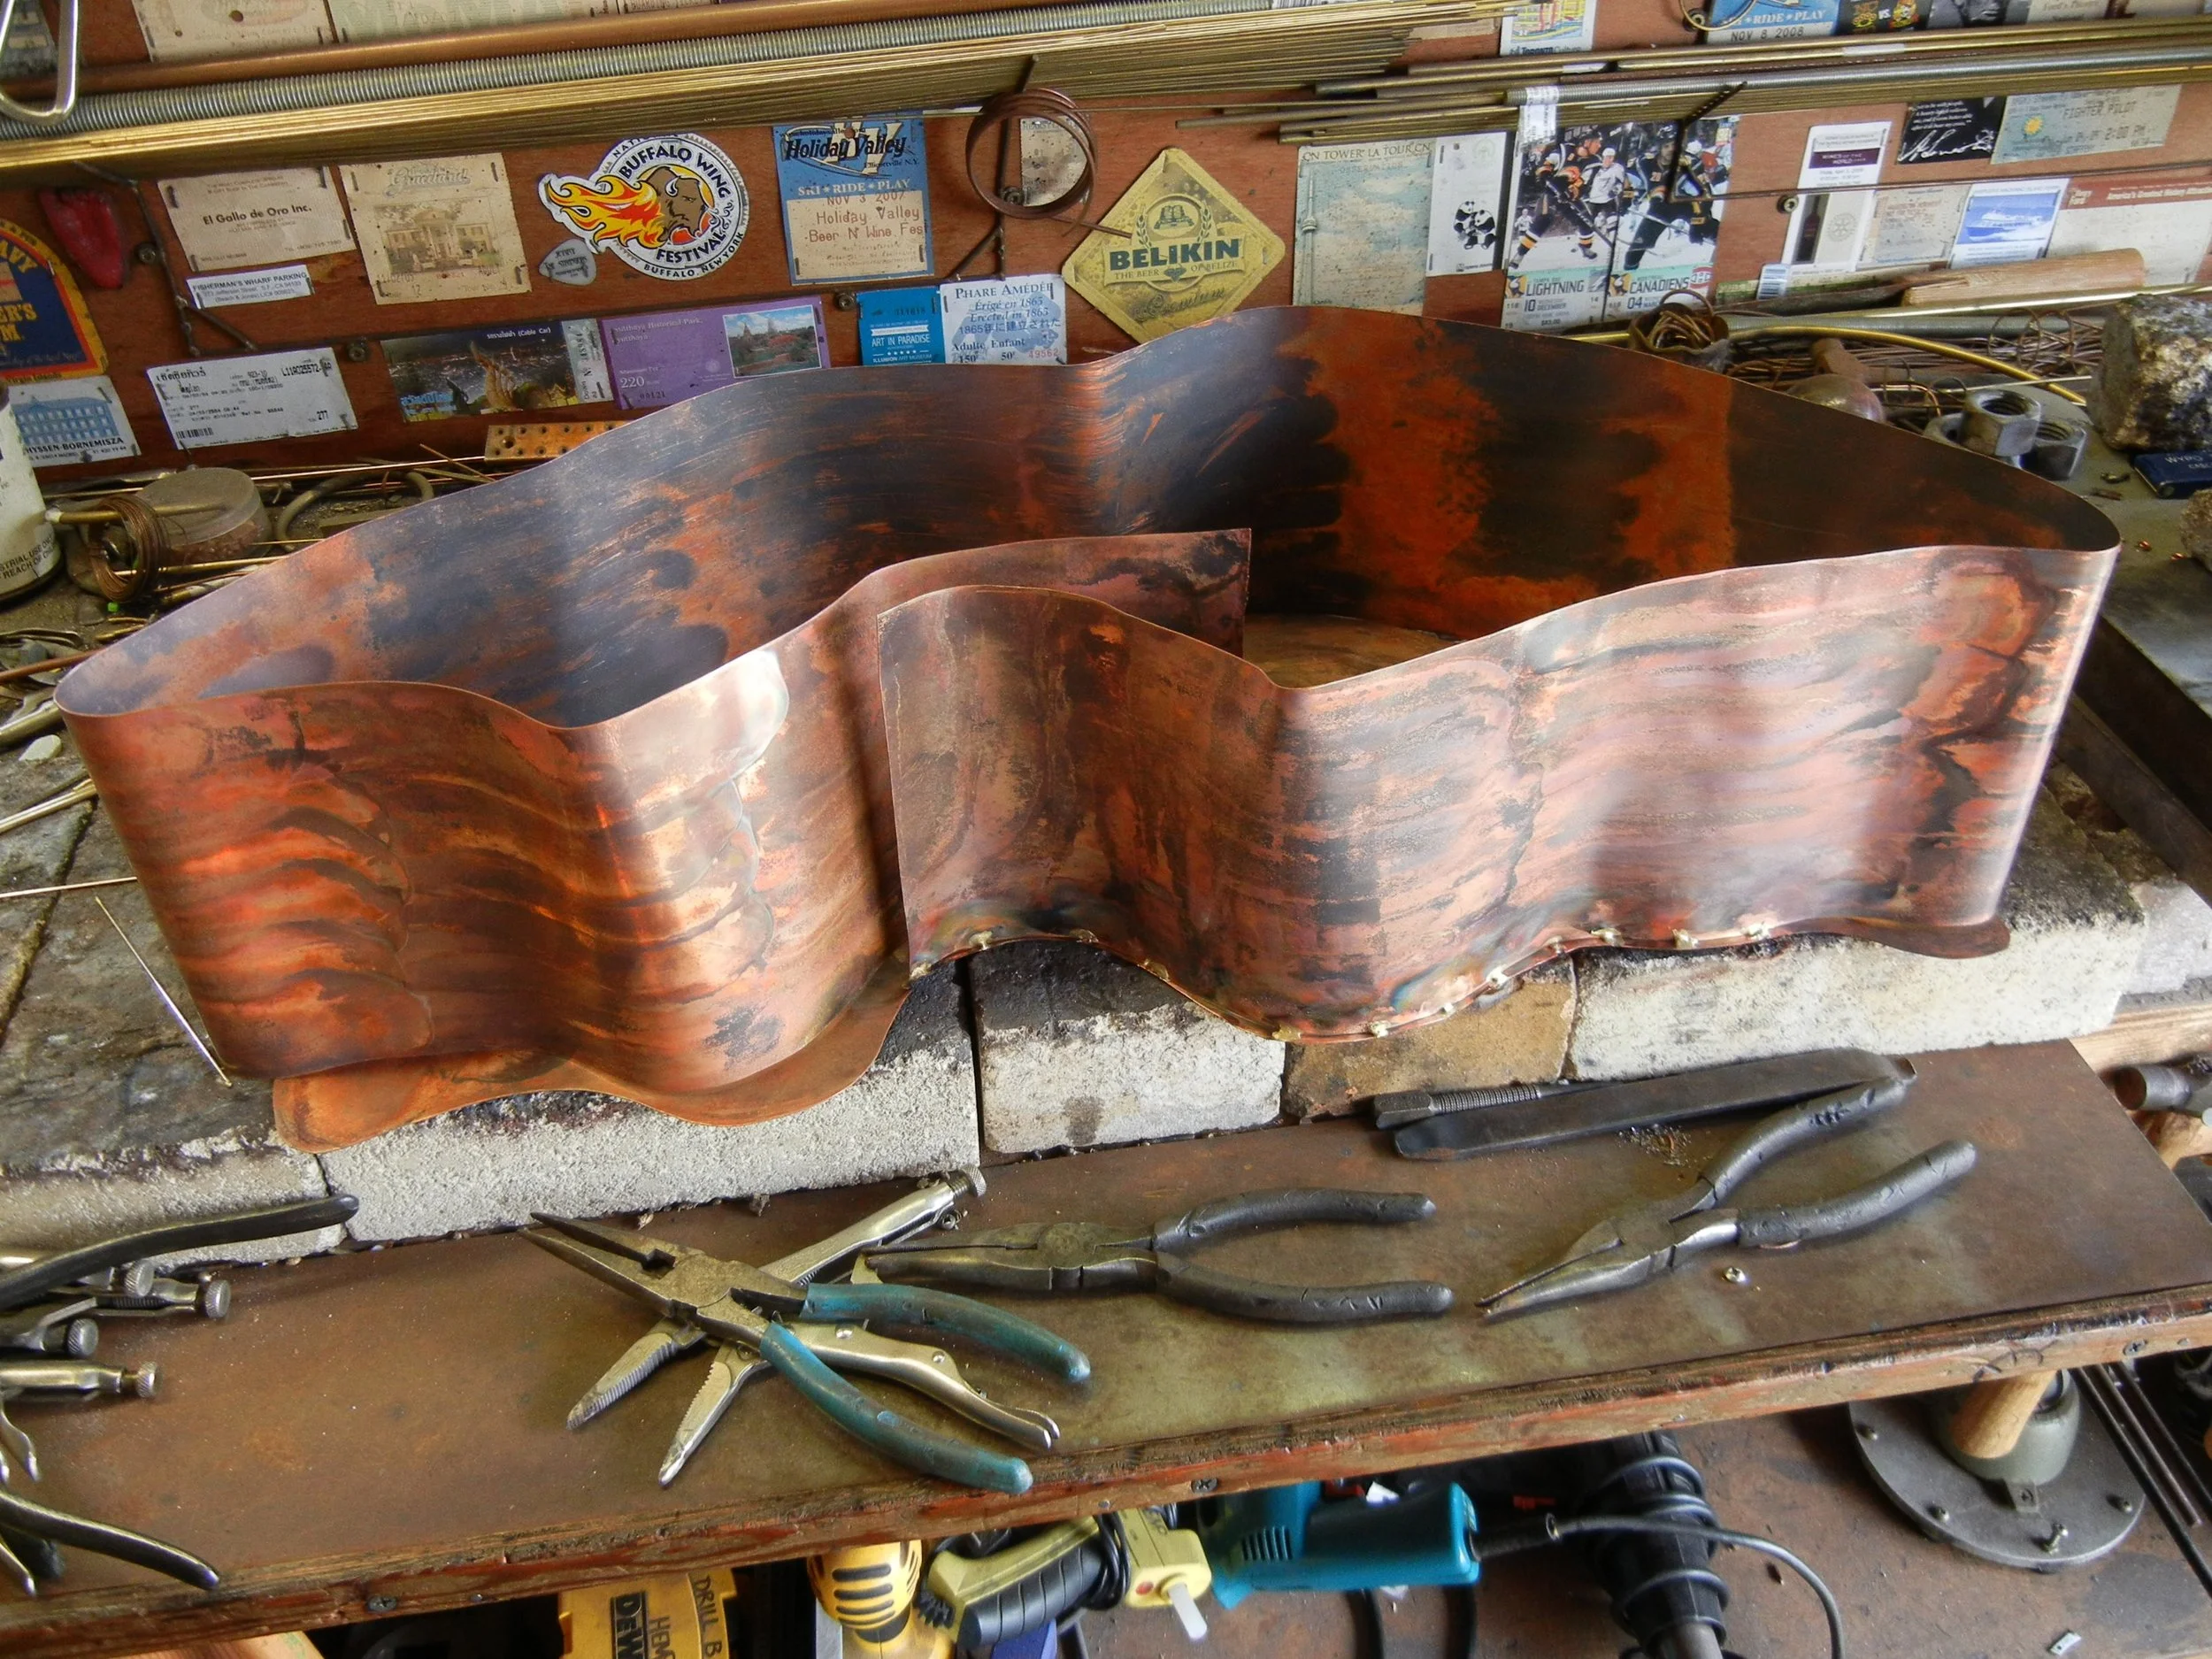
Copper water fountains are a piece of cake
Well if you believe that then anyone can do it. Here I tack weld the vertical sides one by one. Copper has to be almost red hot to enable the brass to flow like water, right on the edge of disaster. Copper will get salmon red just before it blows out, this is what you want. Be careful and you will succeed.
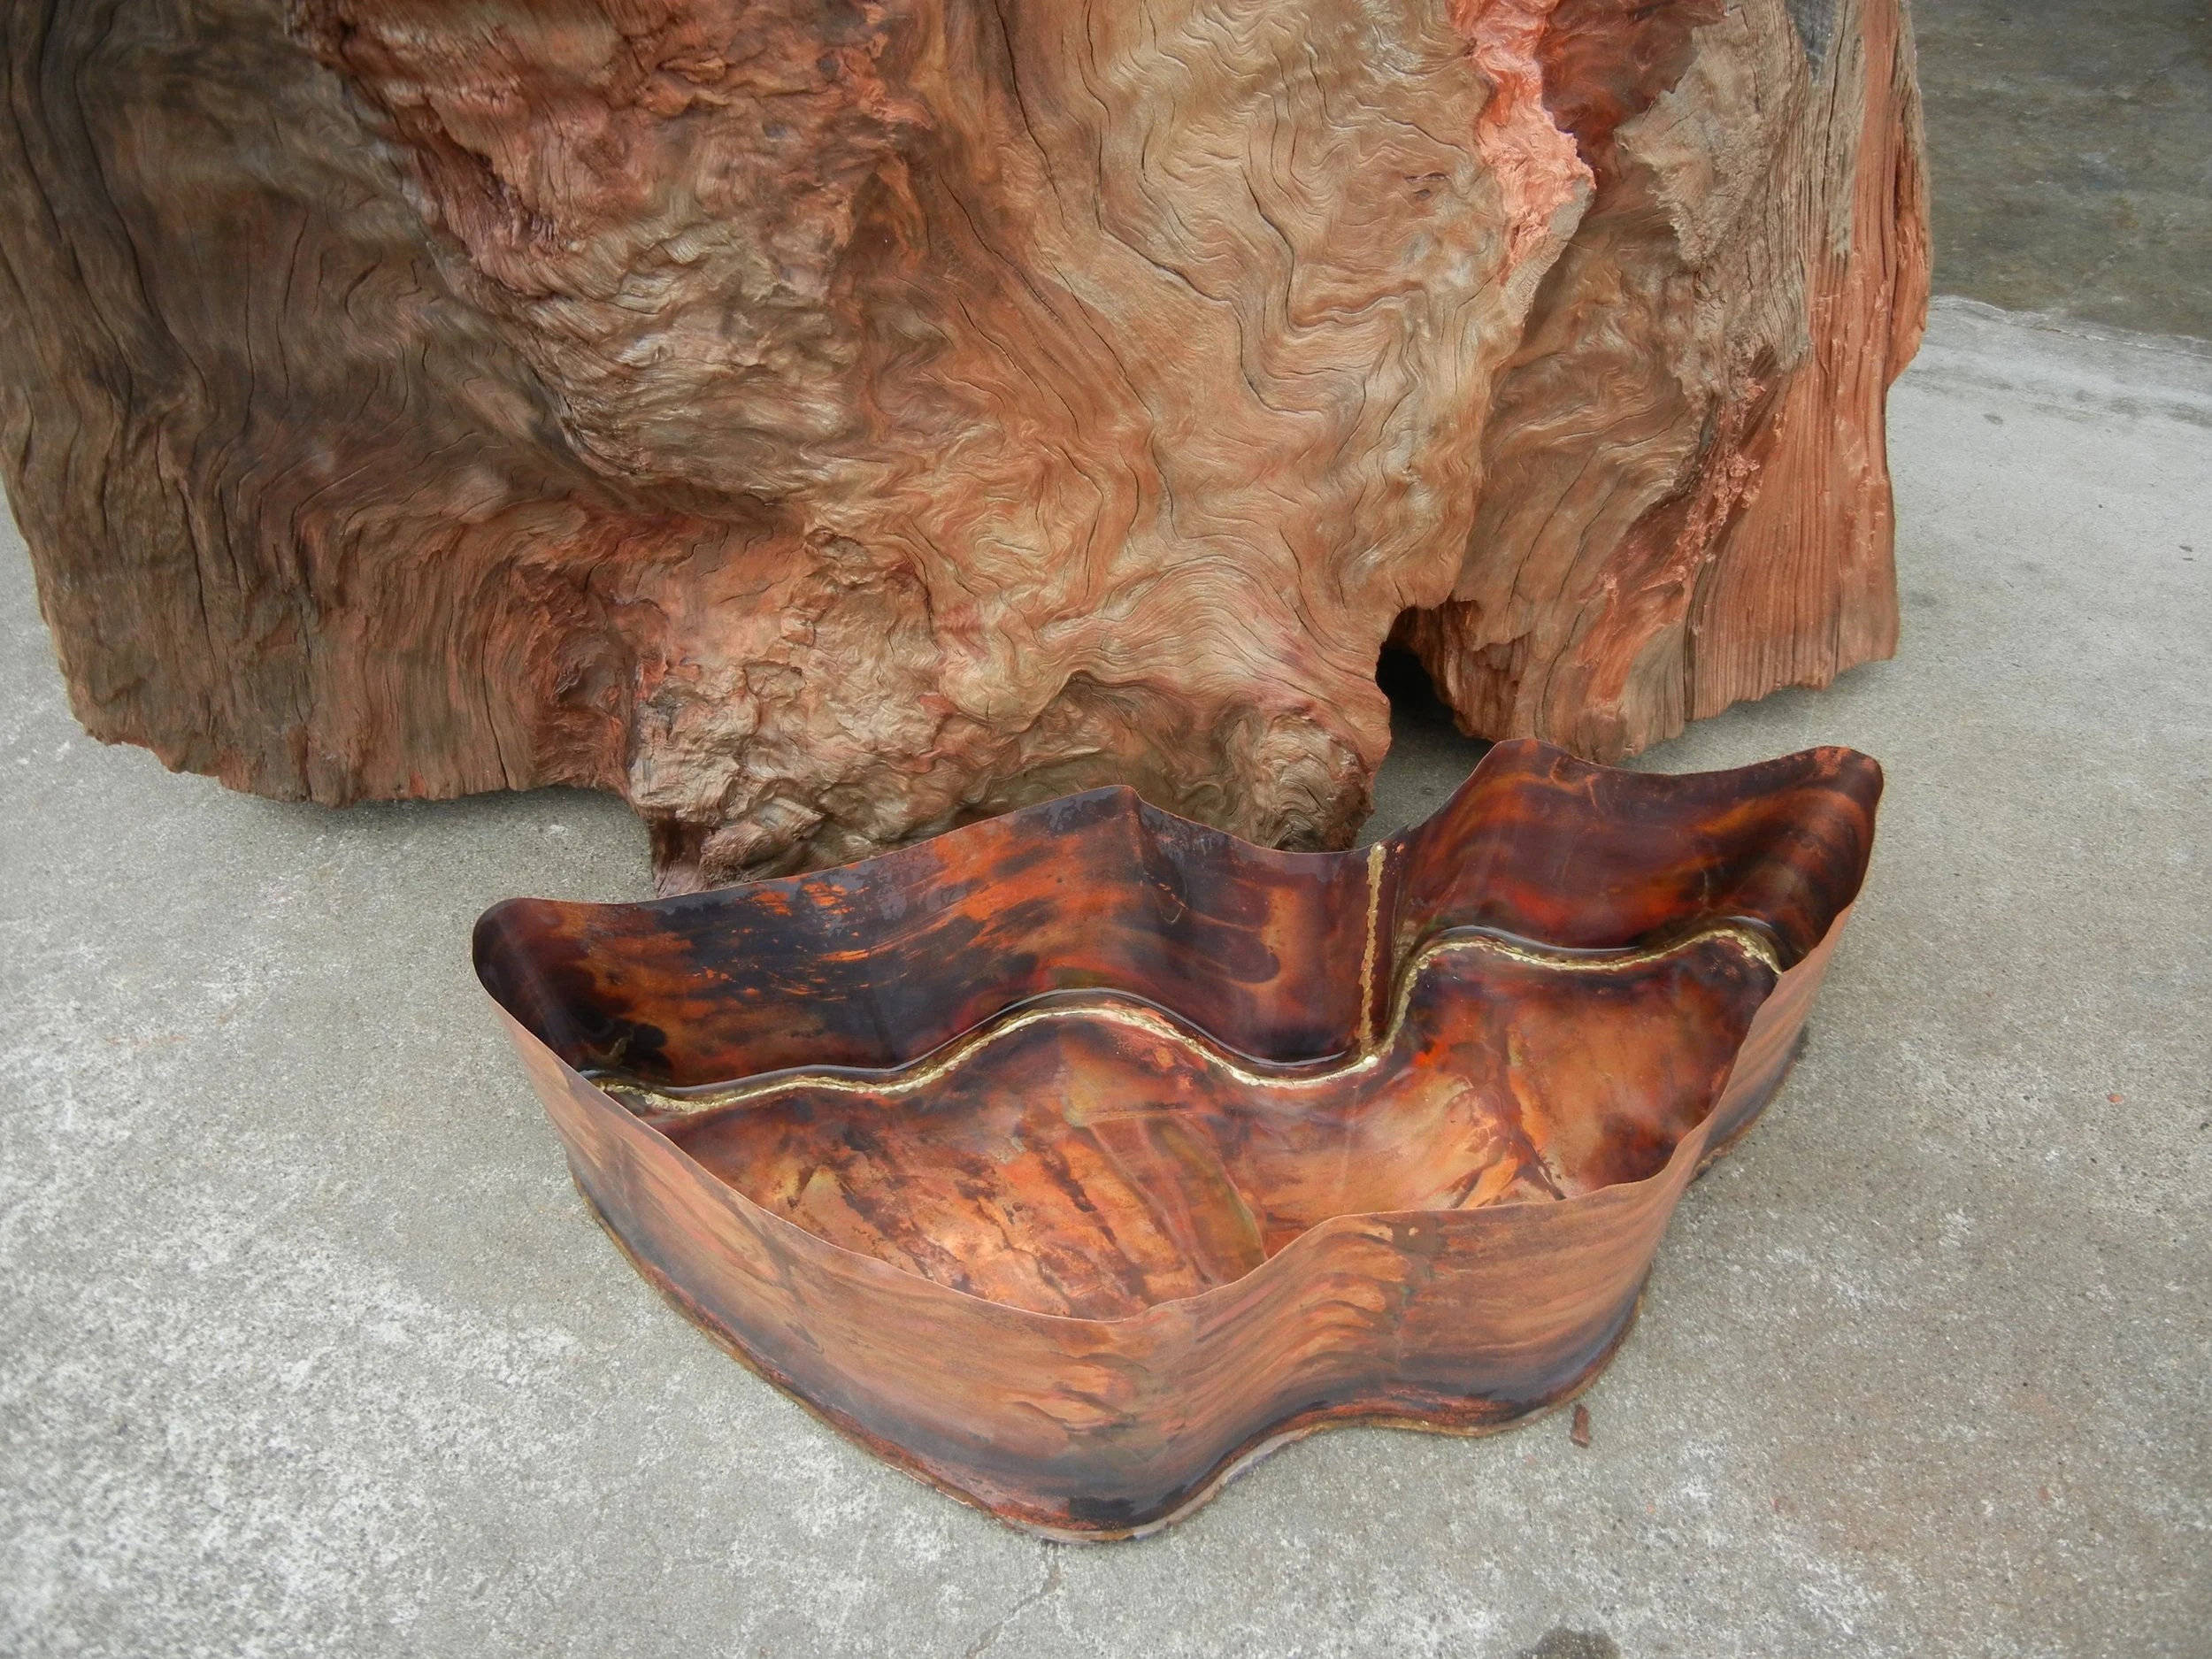
Hold back the water!
Not bad if I do say so, after brazing the sides to the bottom I had only two small leaks, no problem with eliminating them little leaky bastages. I really like this photo, copper, brass & water in their purity, oh ya don't forget about the old growth redwood.
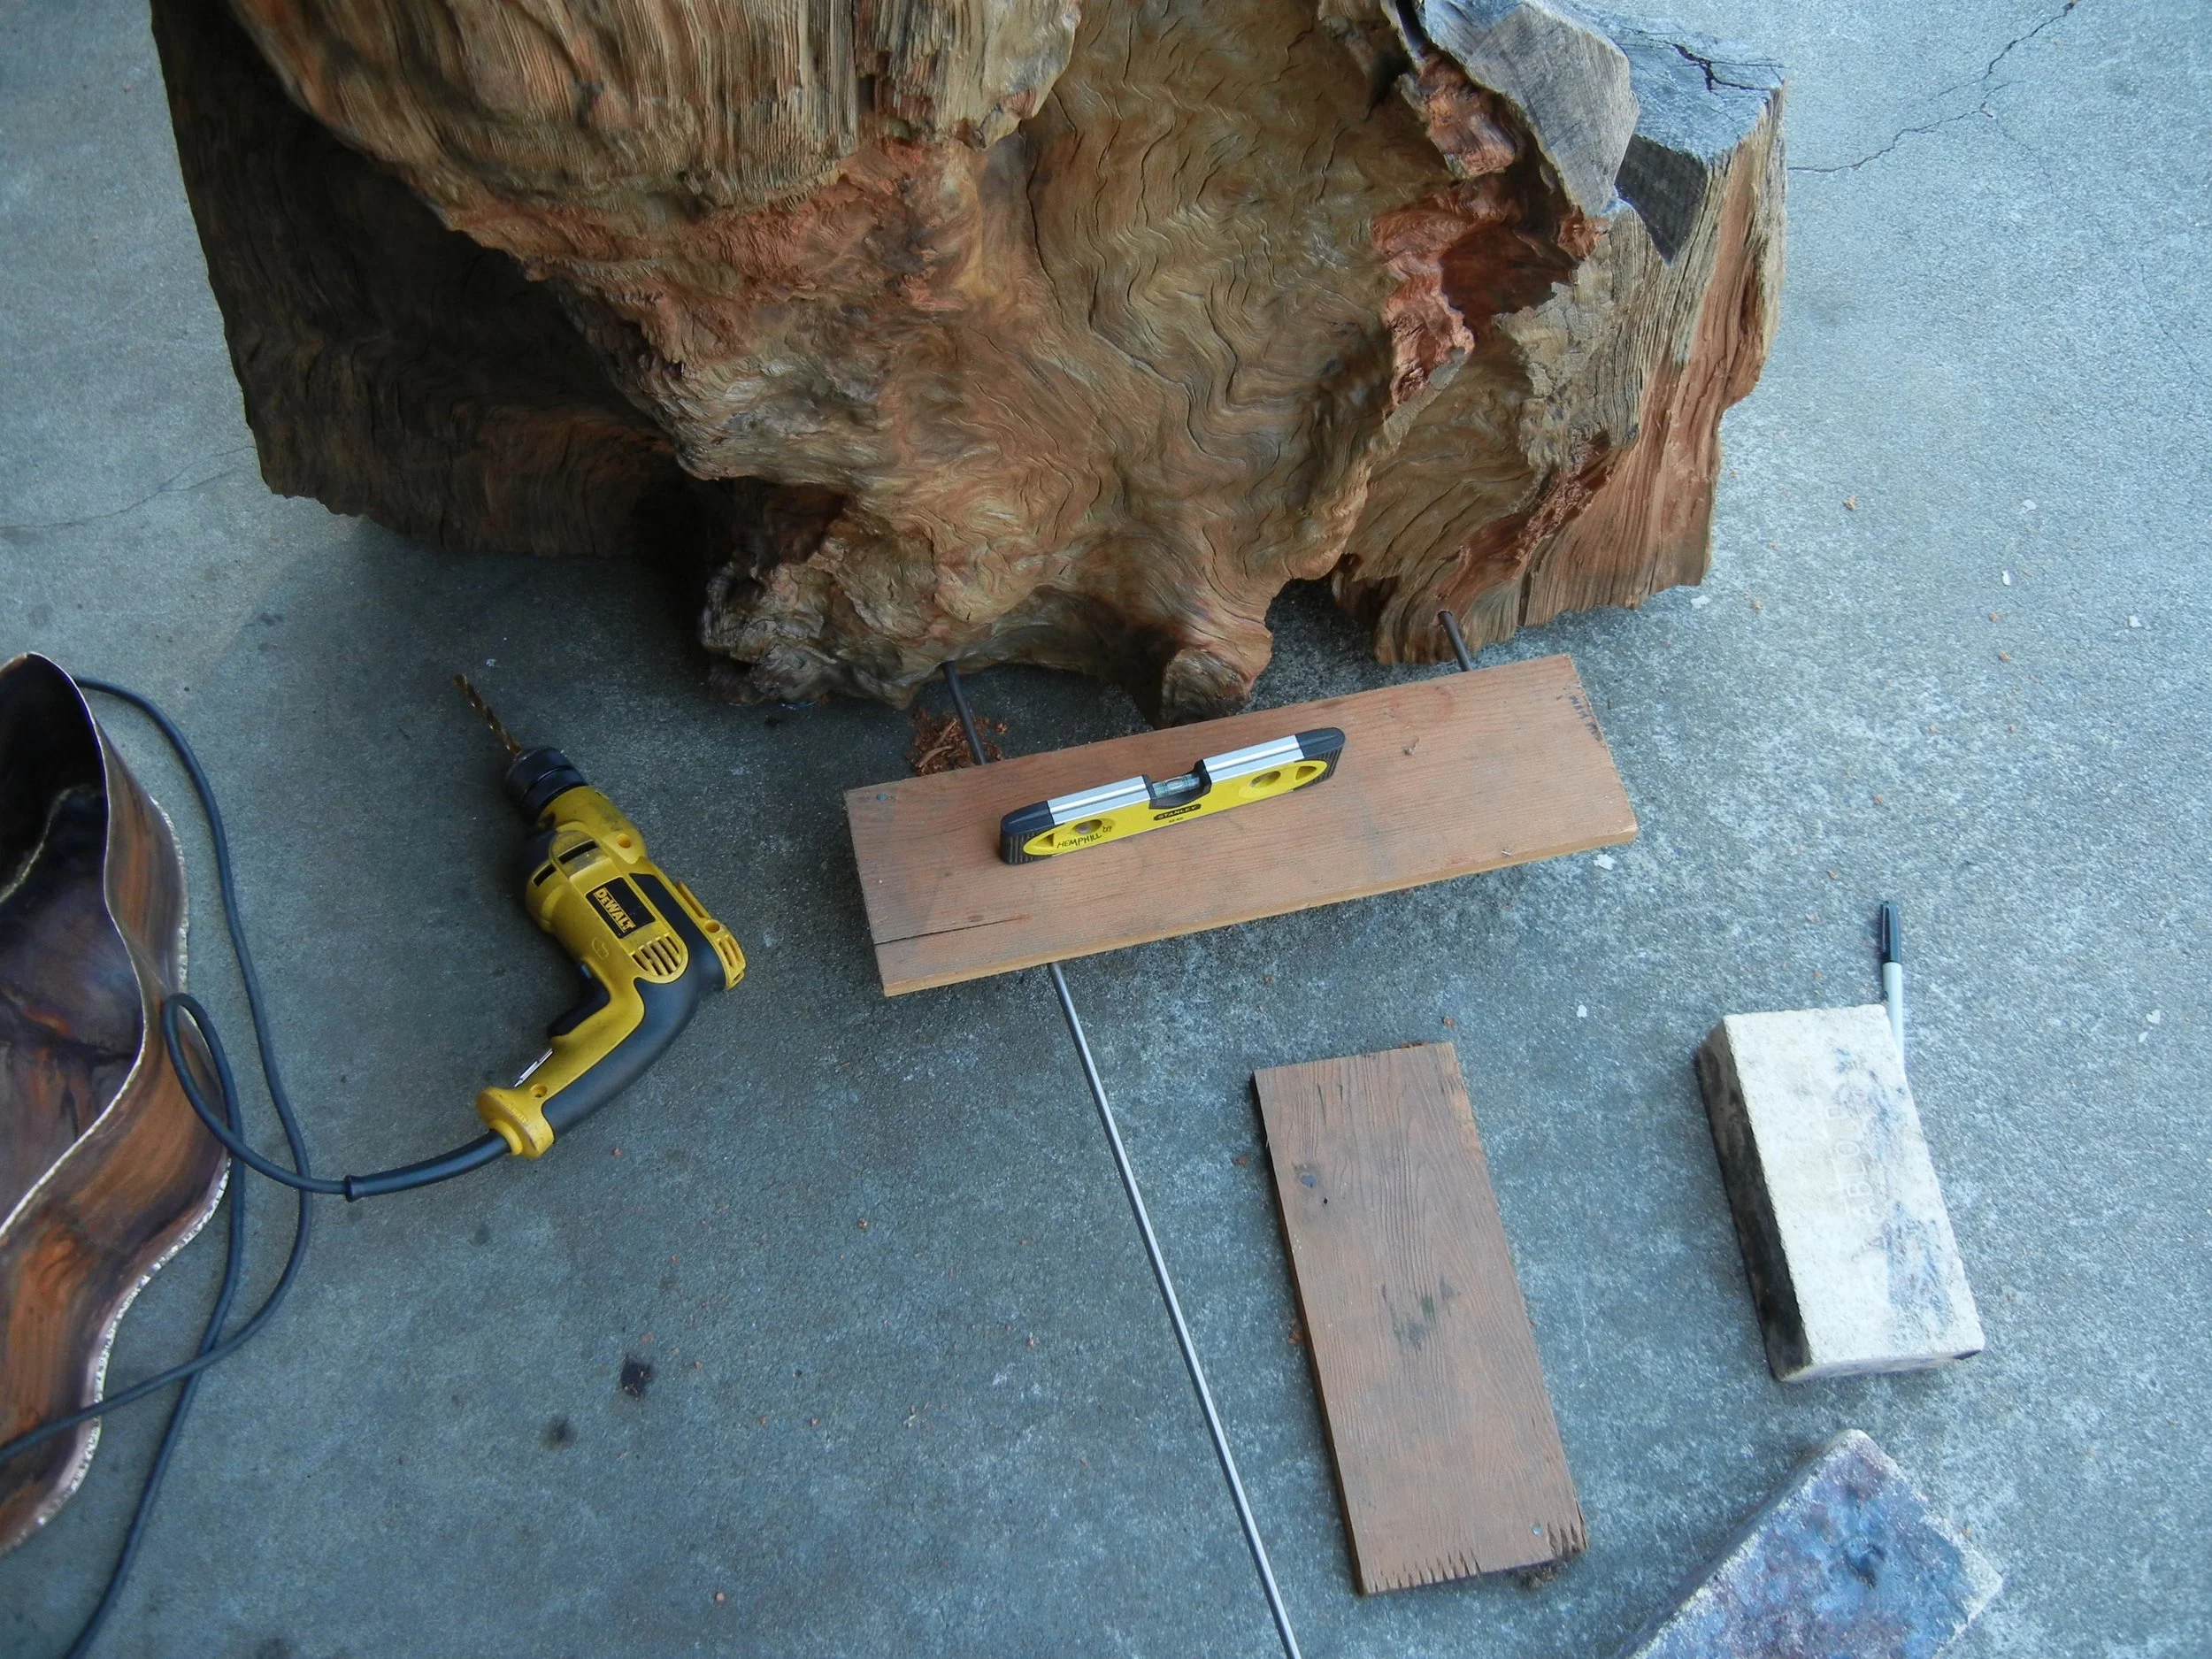
Hello water tank help? I need help!
I like raising the water tank off the ground so here I'm making the bracket to make this happen.
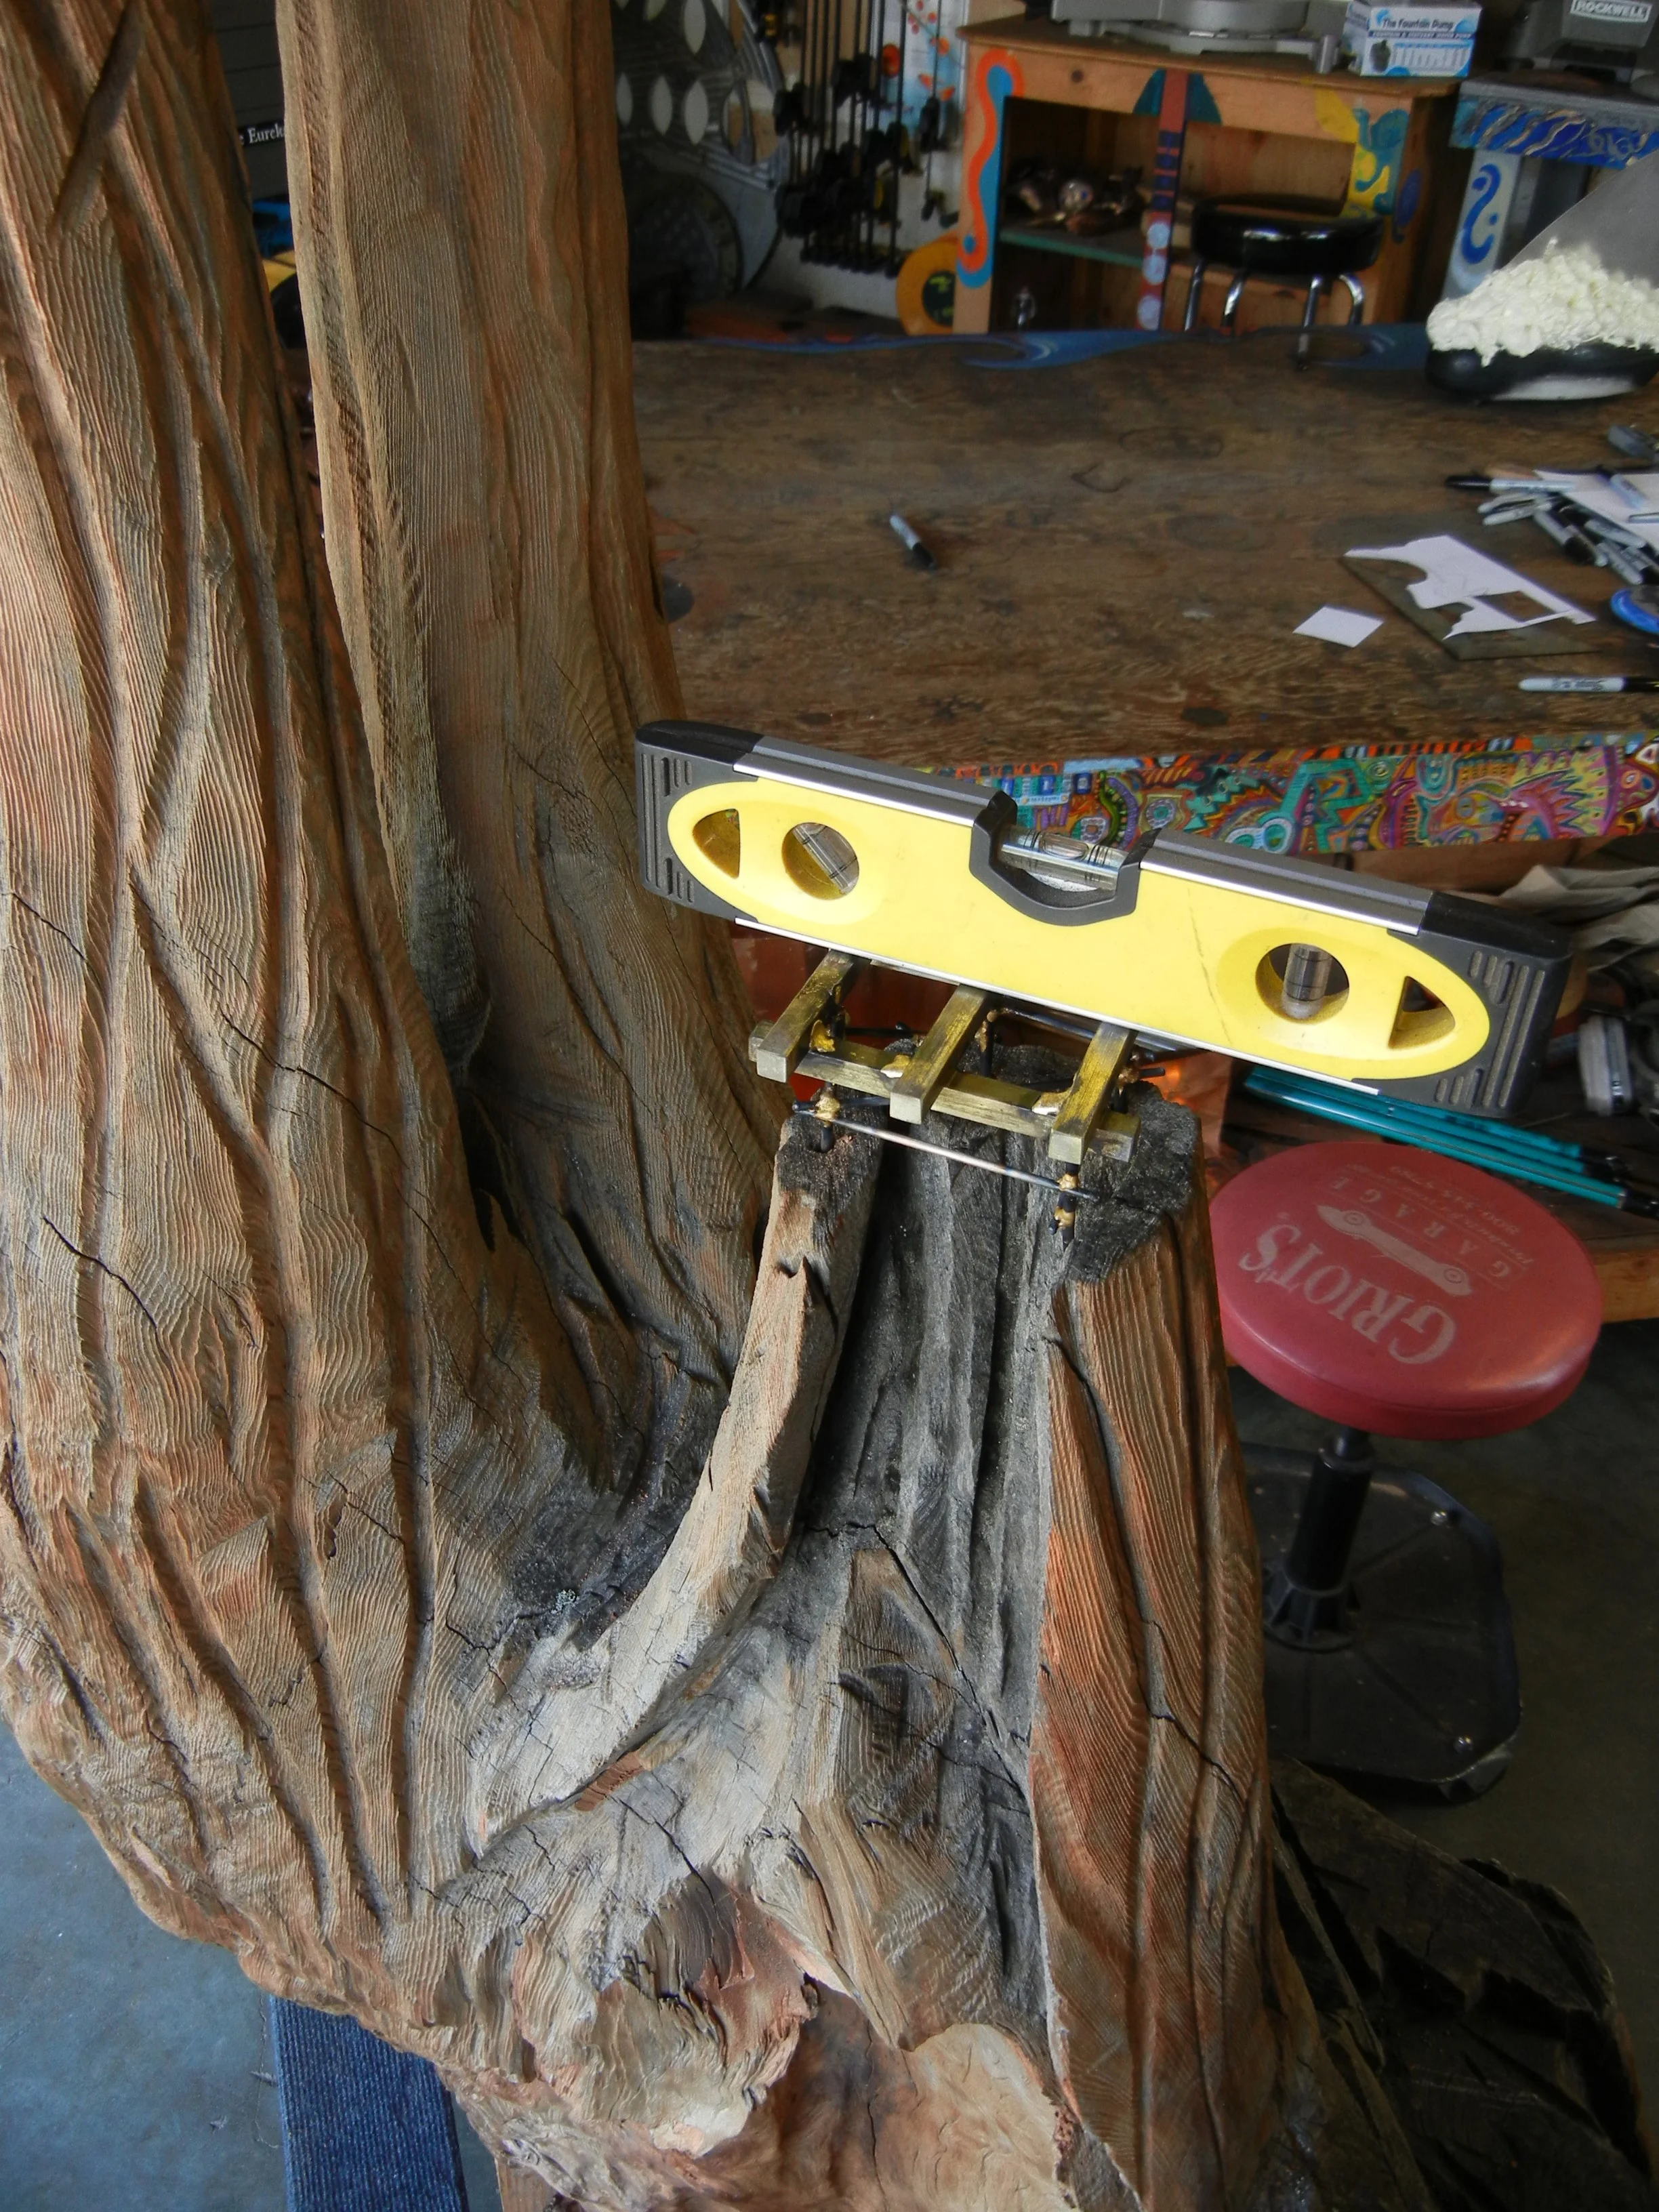
Tank #2
Common site to see an old growth cut off like this around here, so with that thought I thought would make a great platform for this small fry tank that goes by #2
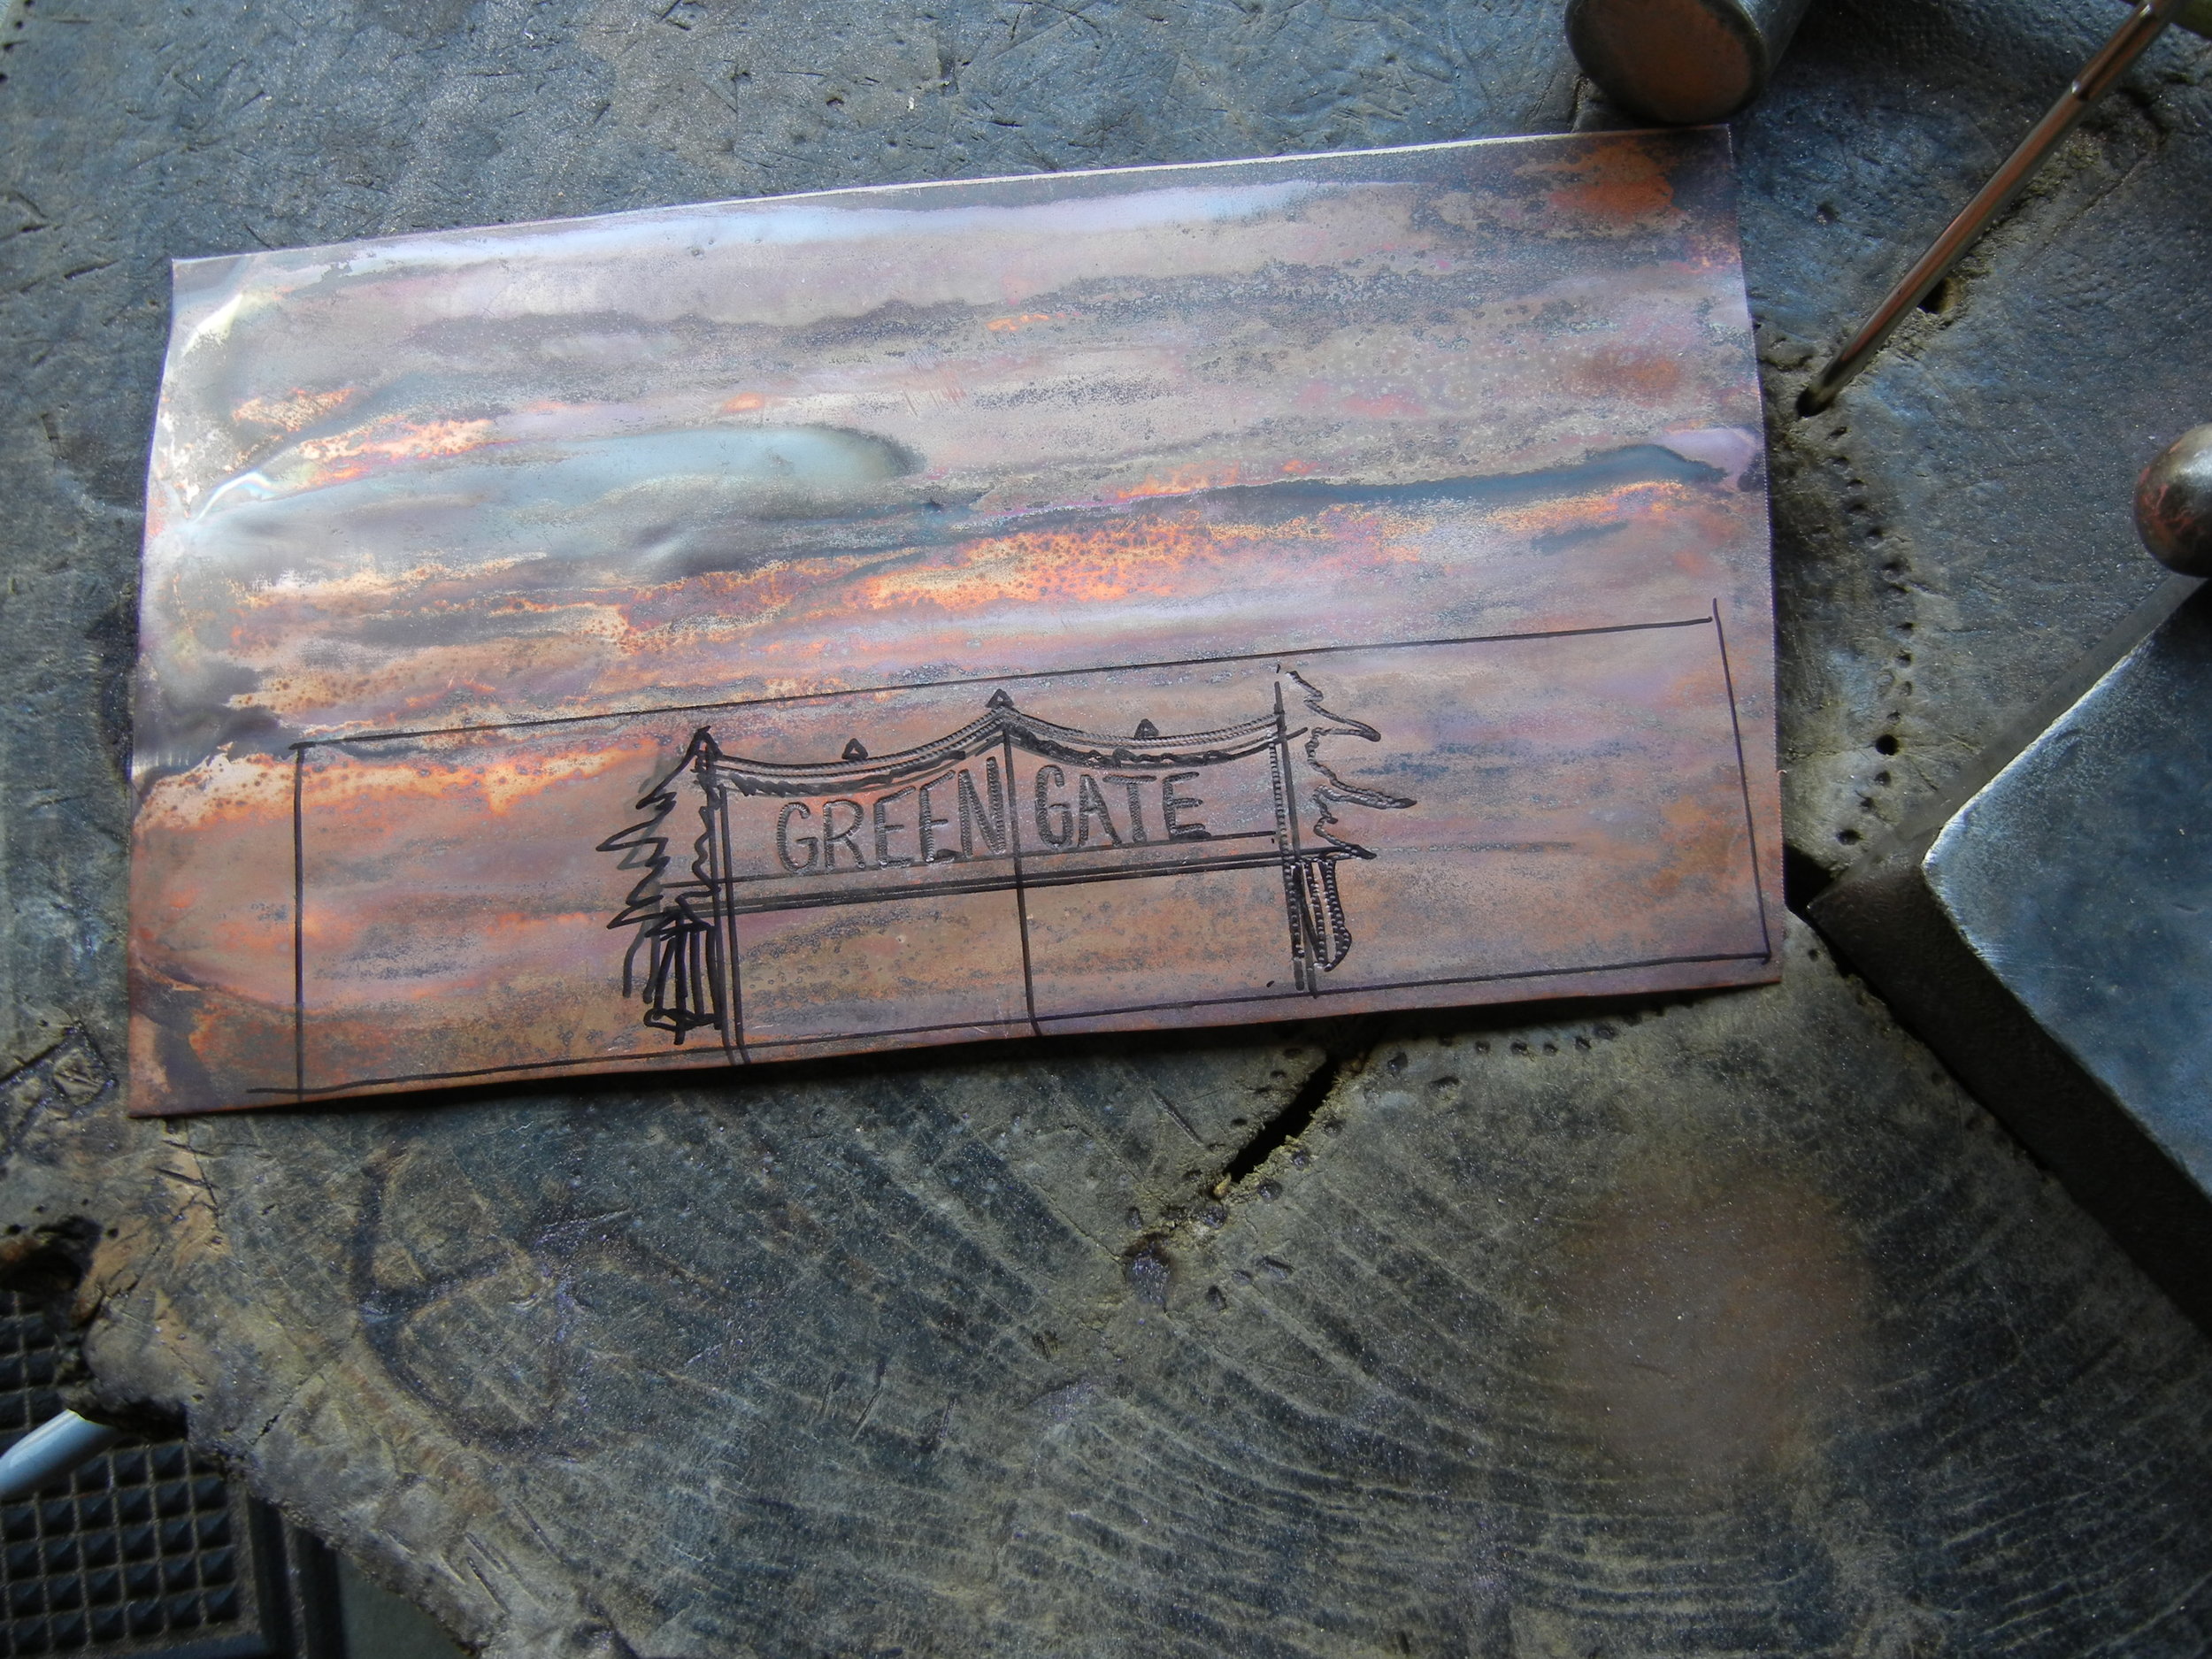
Artistic License
This is water tank #2 which will be located at the top. I decided to add my own design of my buddies concept. Gotta draw too it's just not the copper! I hand stipple in the design.
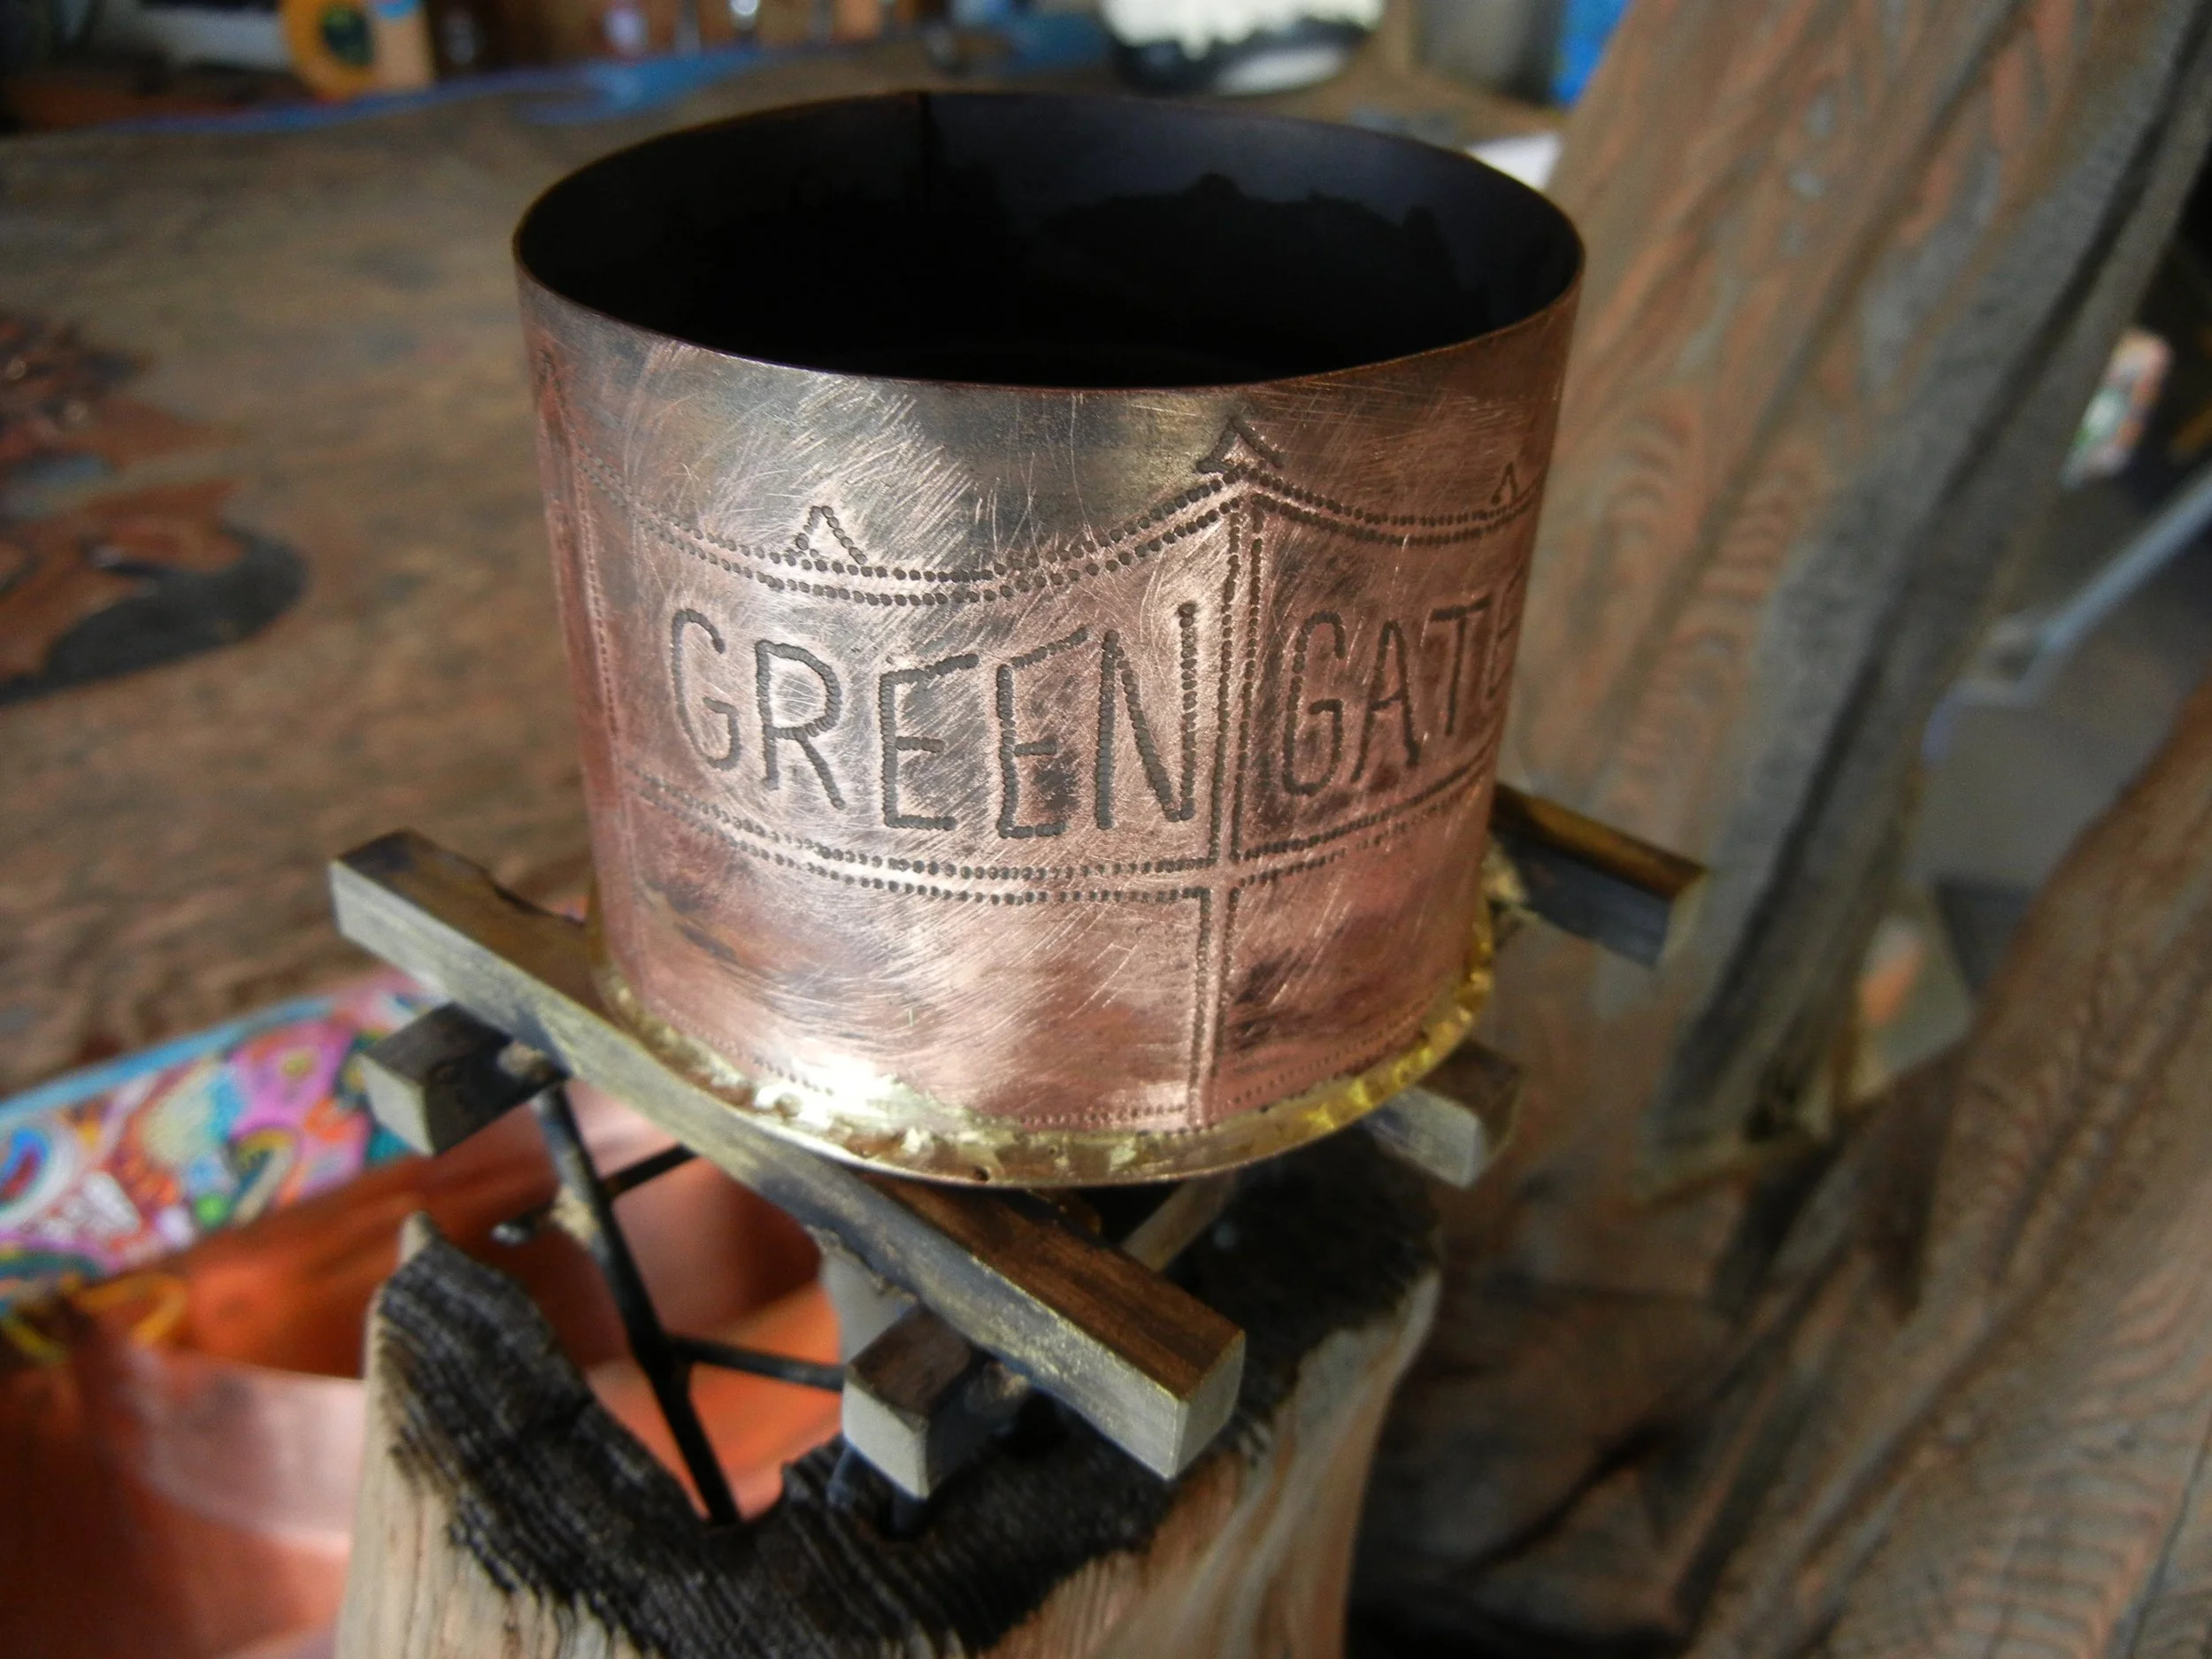
Green Gate water tank, who left the top down
Living in these parts you see big gnarly old stuff from the Redwood past. Big Stuff, Big Burly Stuff. So I was scrounging around the studio looking for the perfect platform for this water tank and found this old brass square stick. Yep this will work just fine.
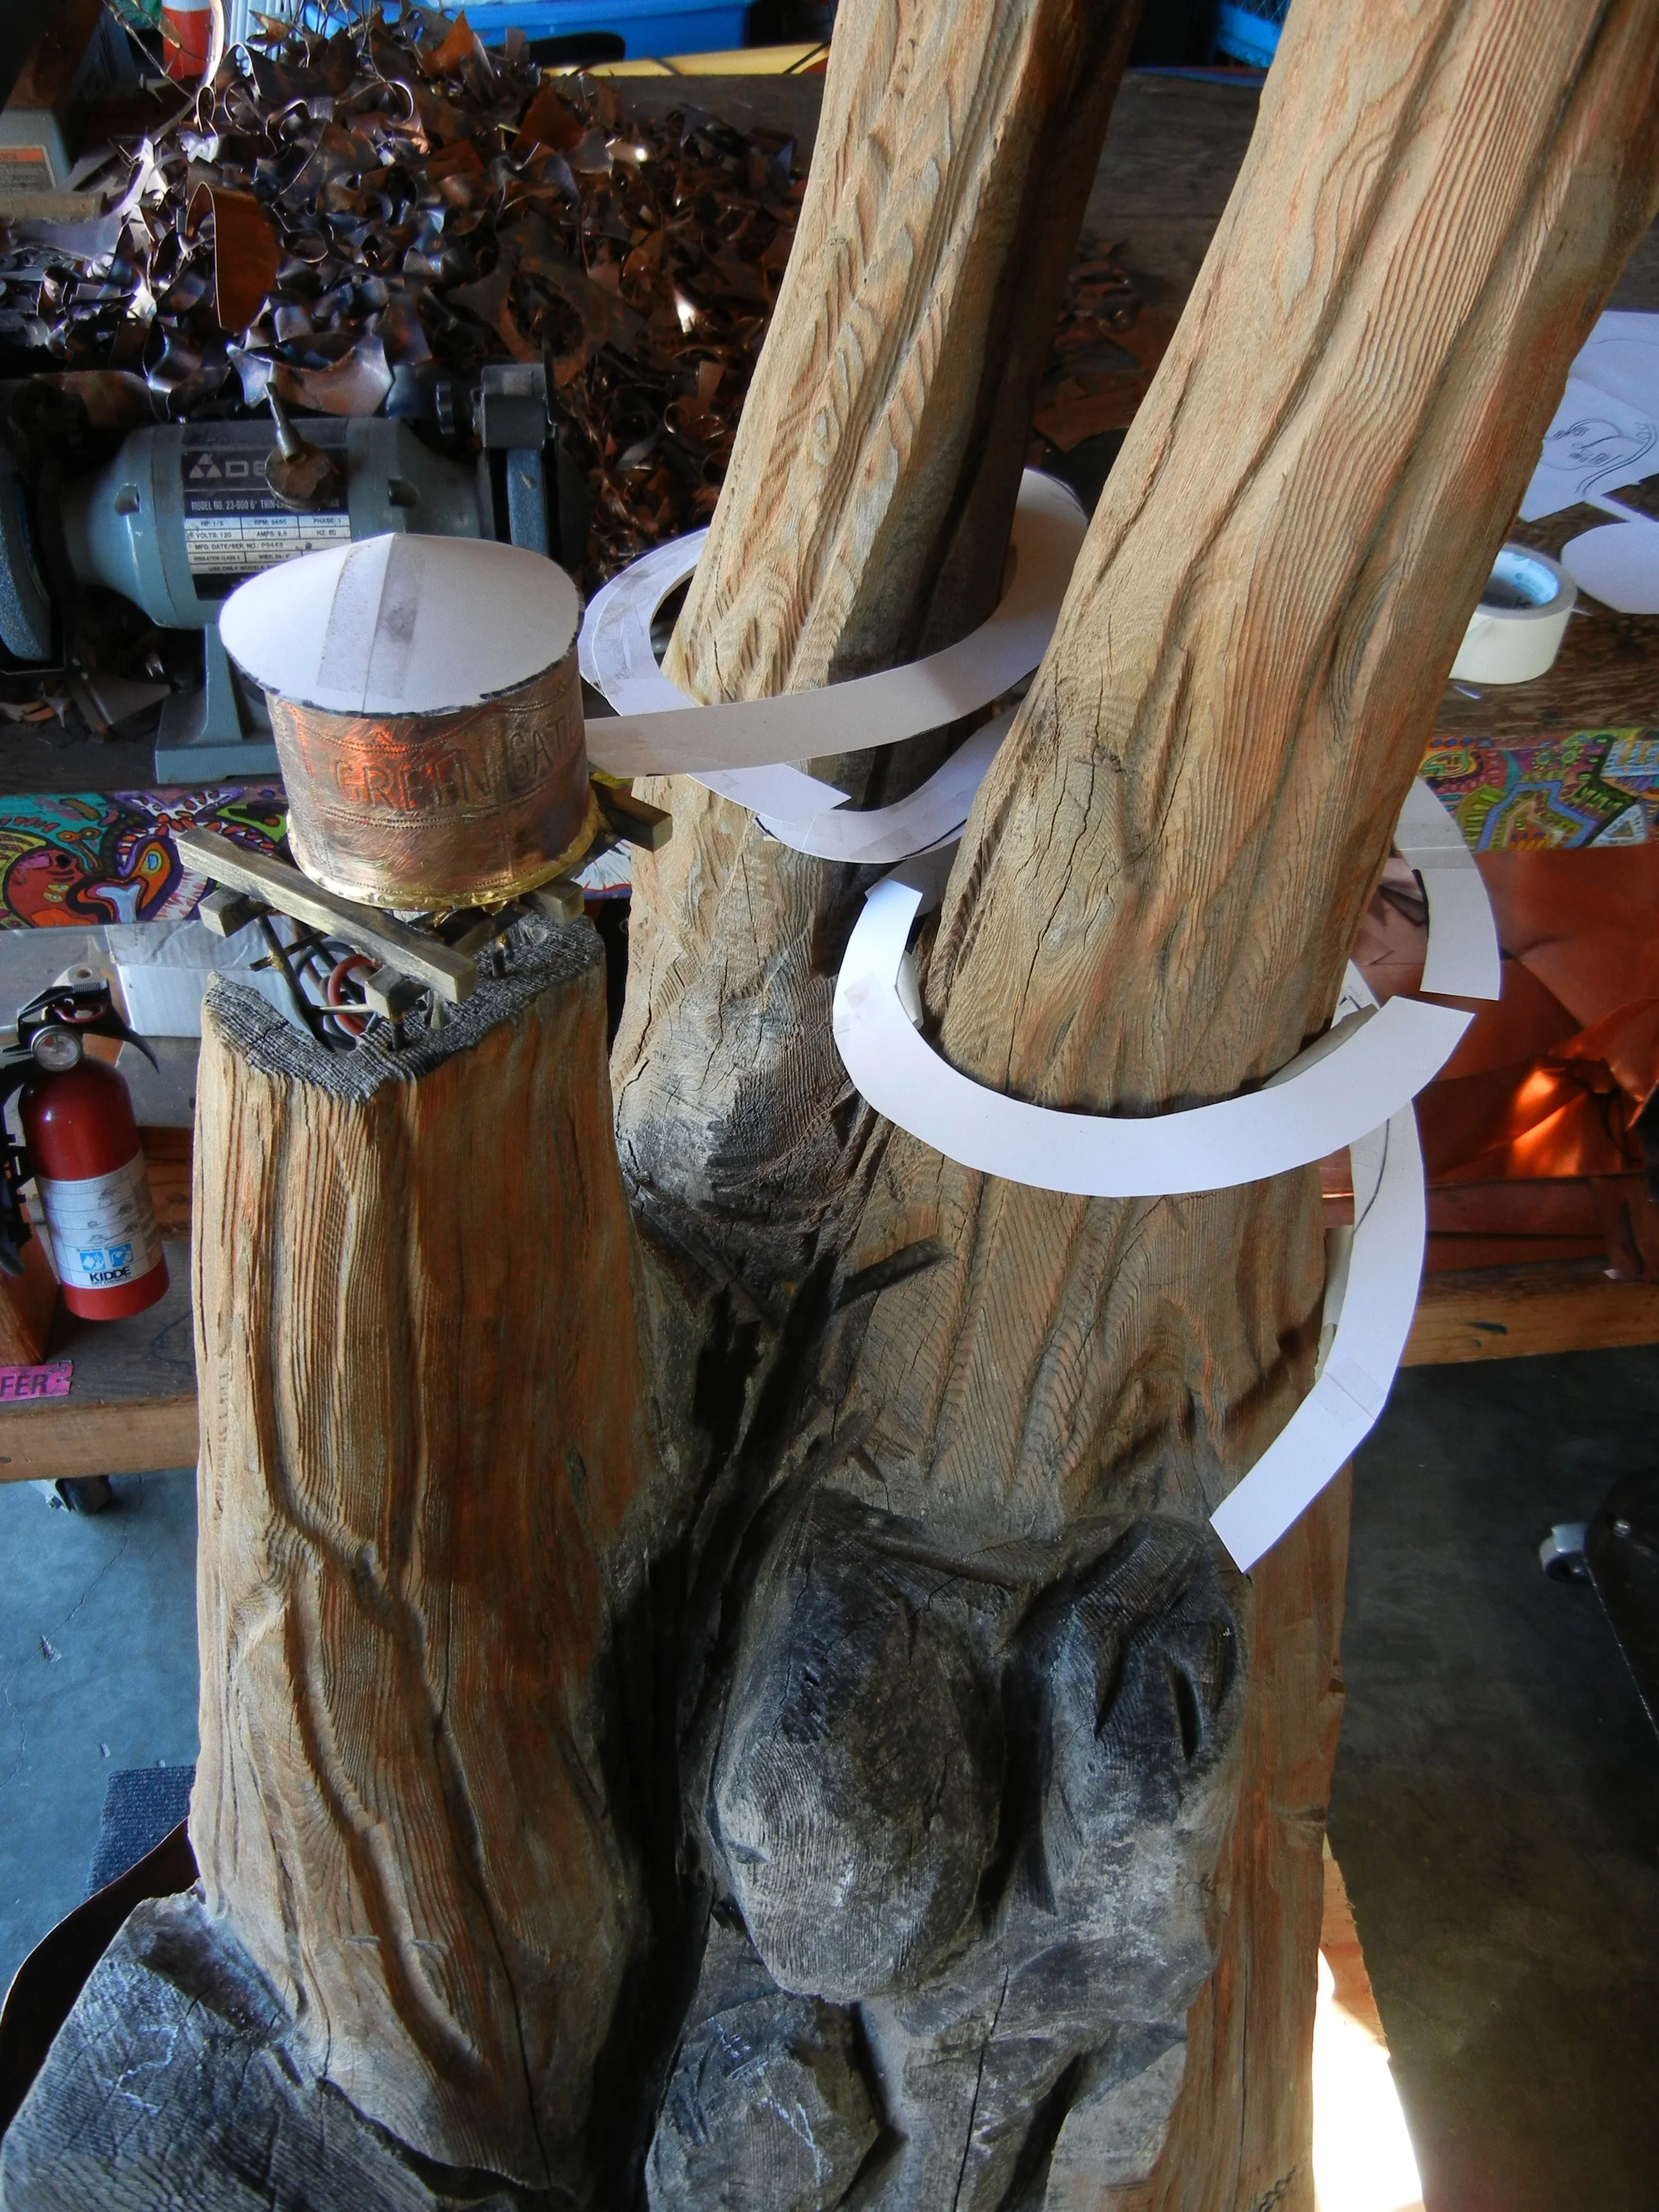
Plan accordingly
First time trying this technique and I like, kinda reminds me of the Hot Wheels track back in the day. Things you learn over time, challenge yourself cuz if you aren't then what are you doing? Paper will be made into copper water troughs. Stand by for more updates in the next week. Thanks for stopping by.
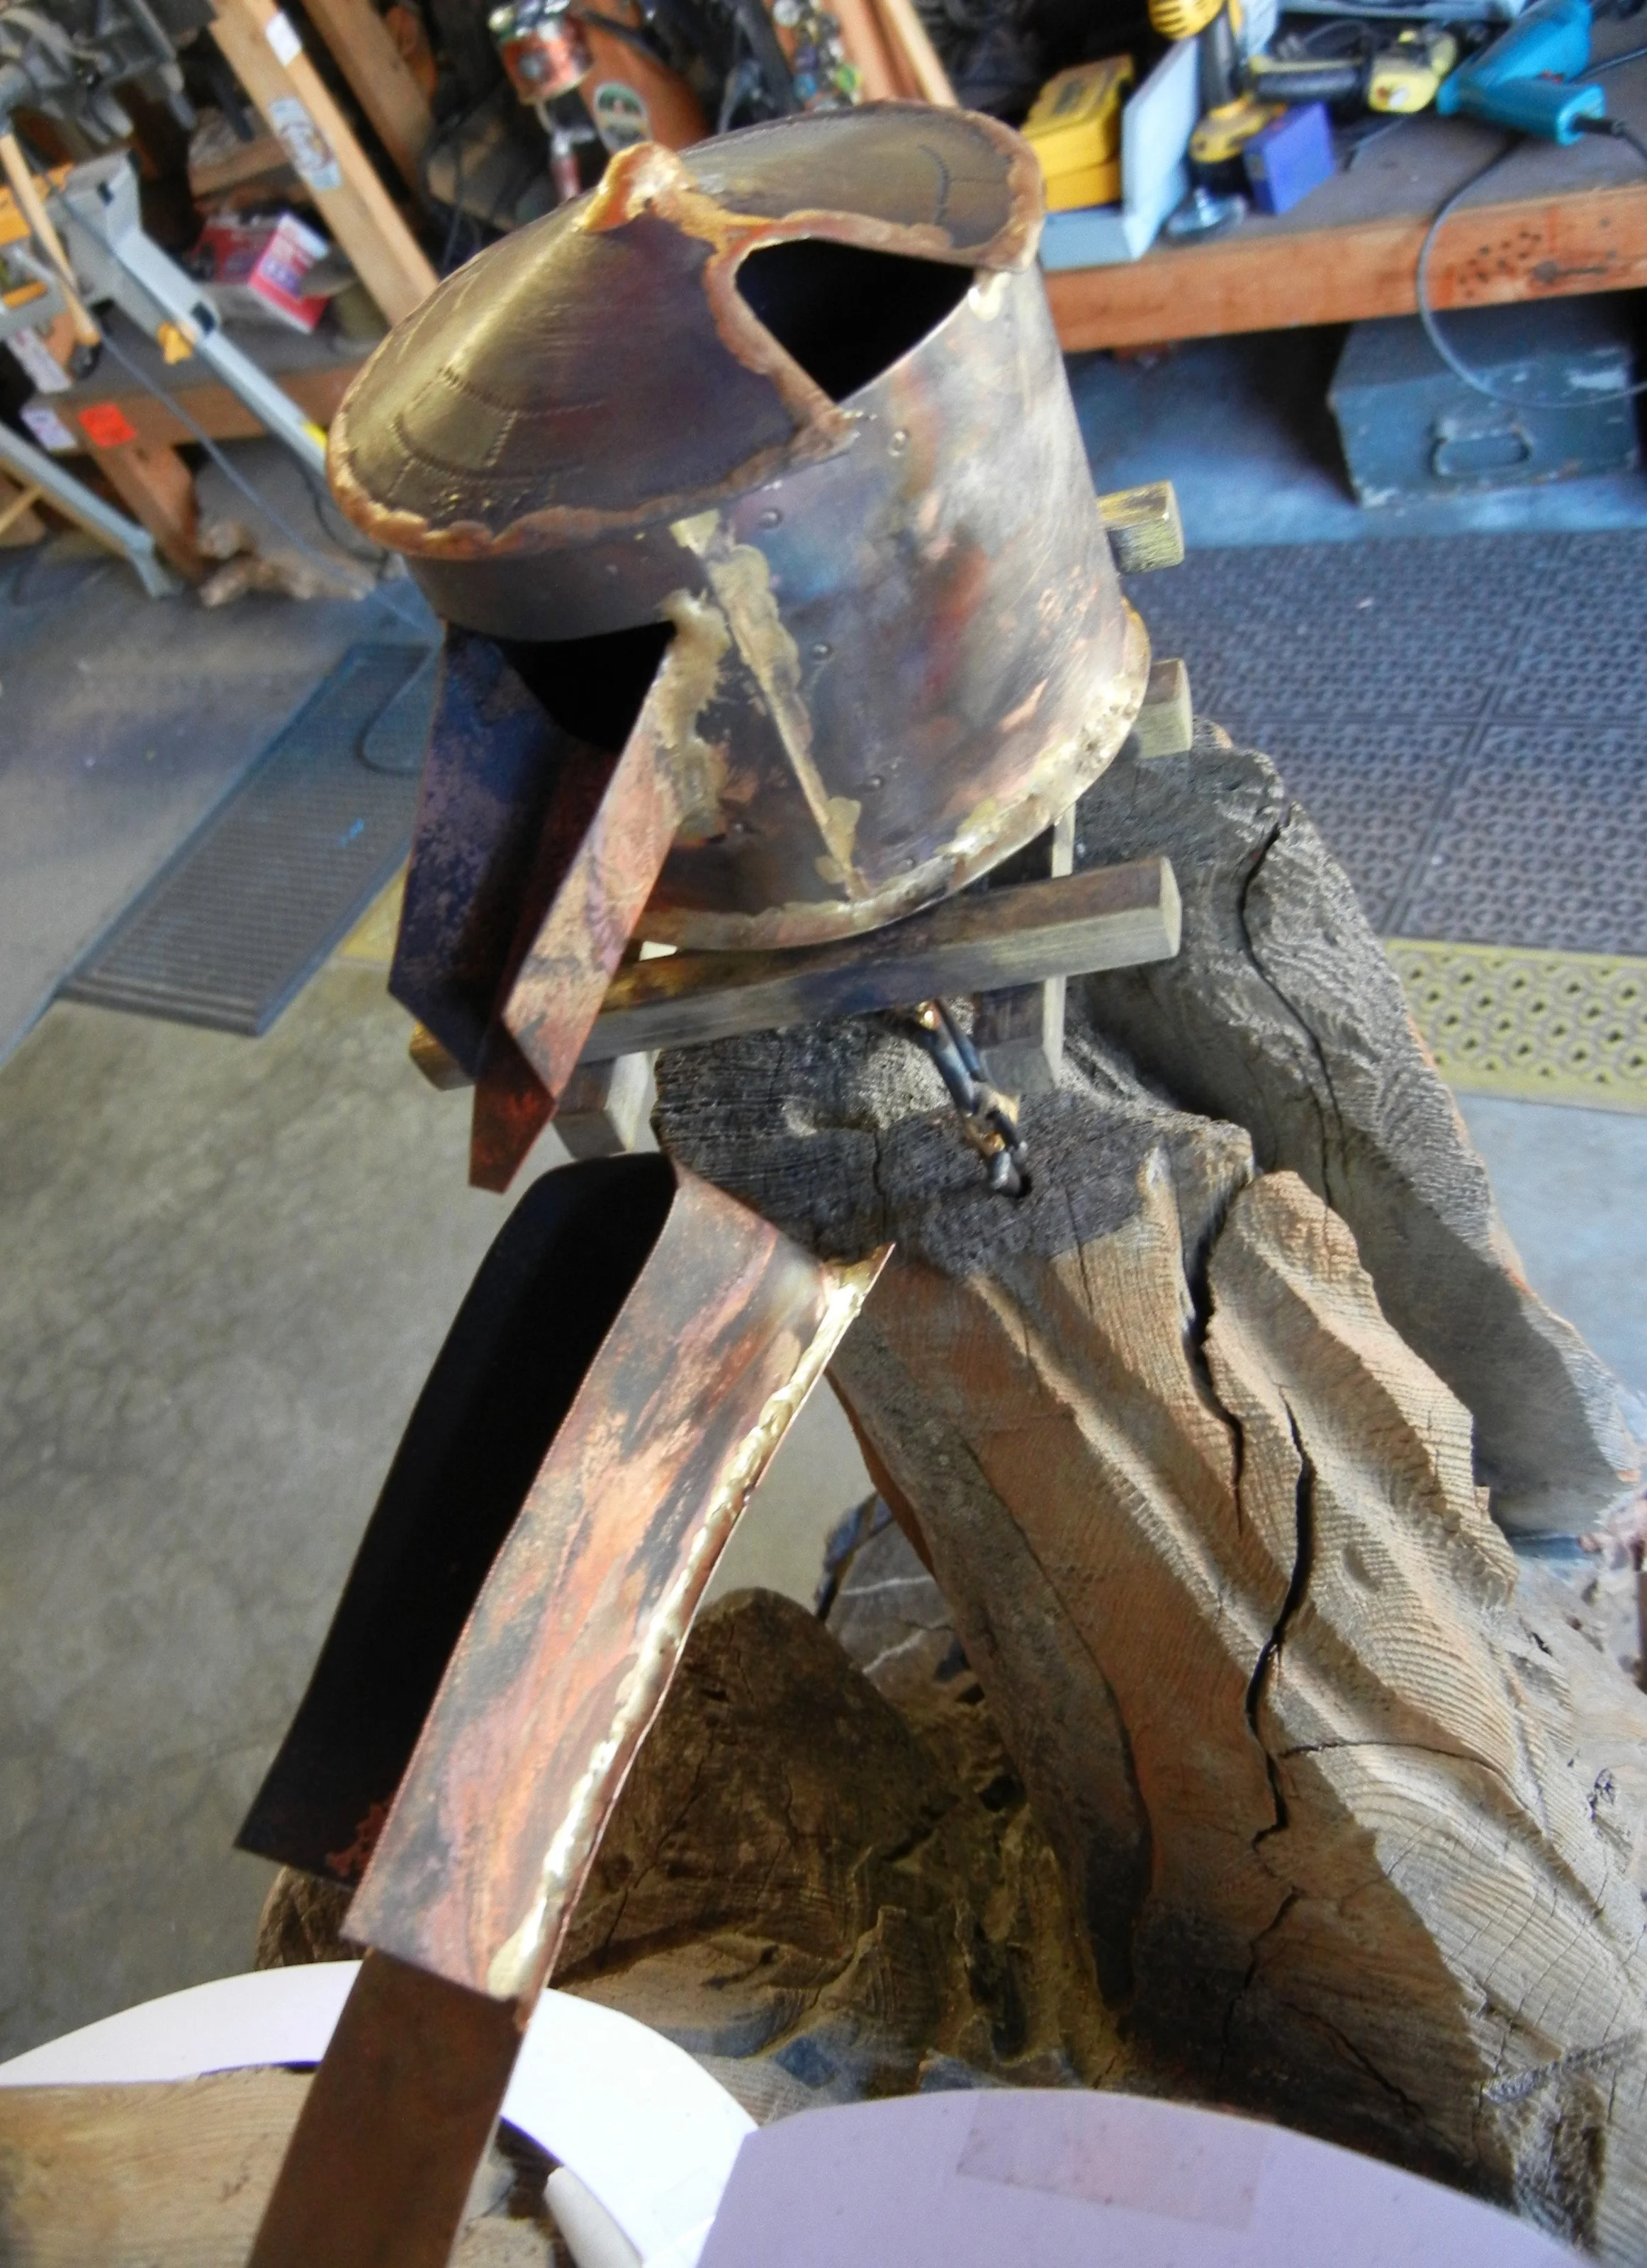
Tank #1 complete, begin with water trough #1
Second update on the Redwood water fountain. A lot has happened since last time paper gives way to the real deal, copper water troughs. Today finally got new pump rigged and fired up, one small leak at top tank, fixed.
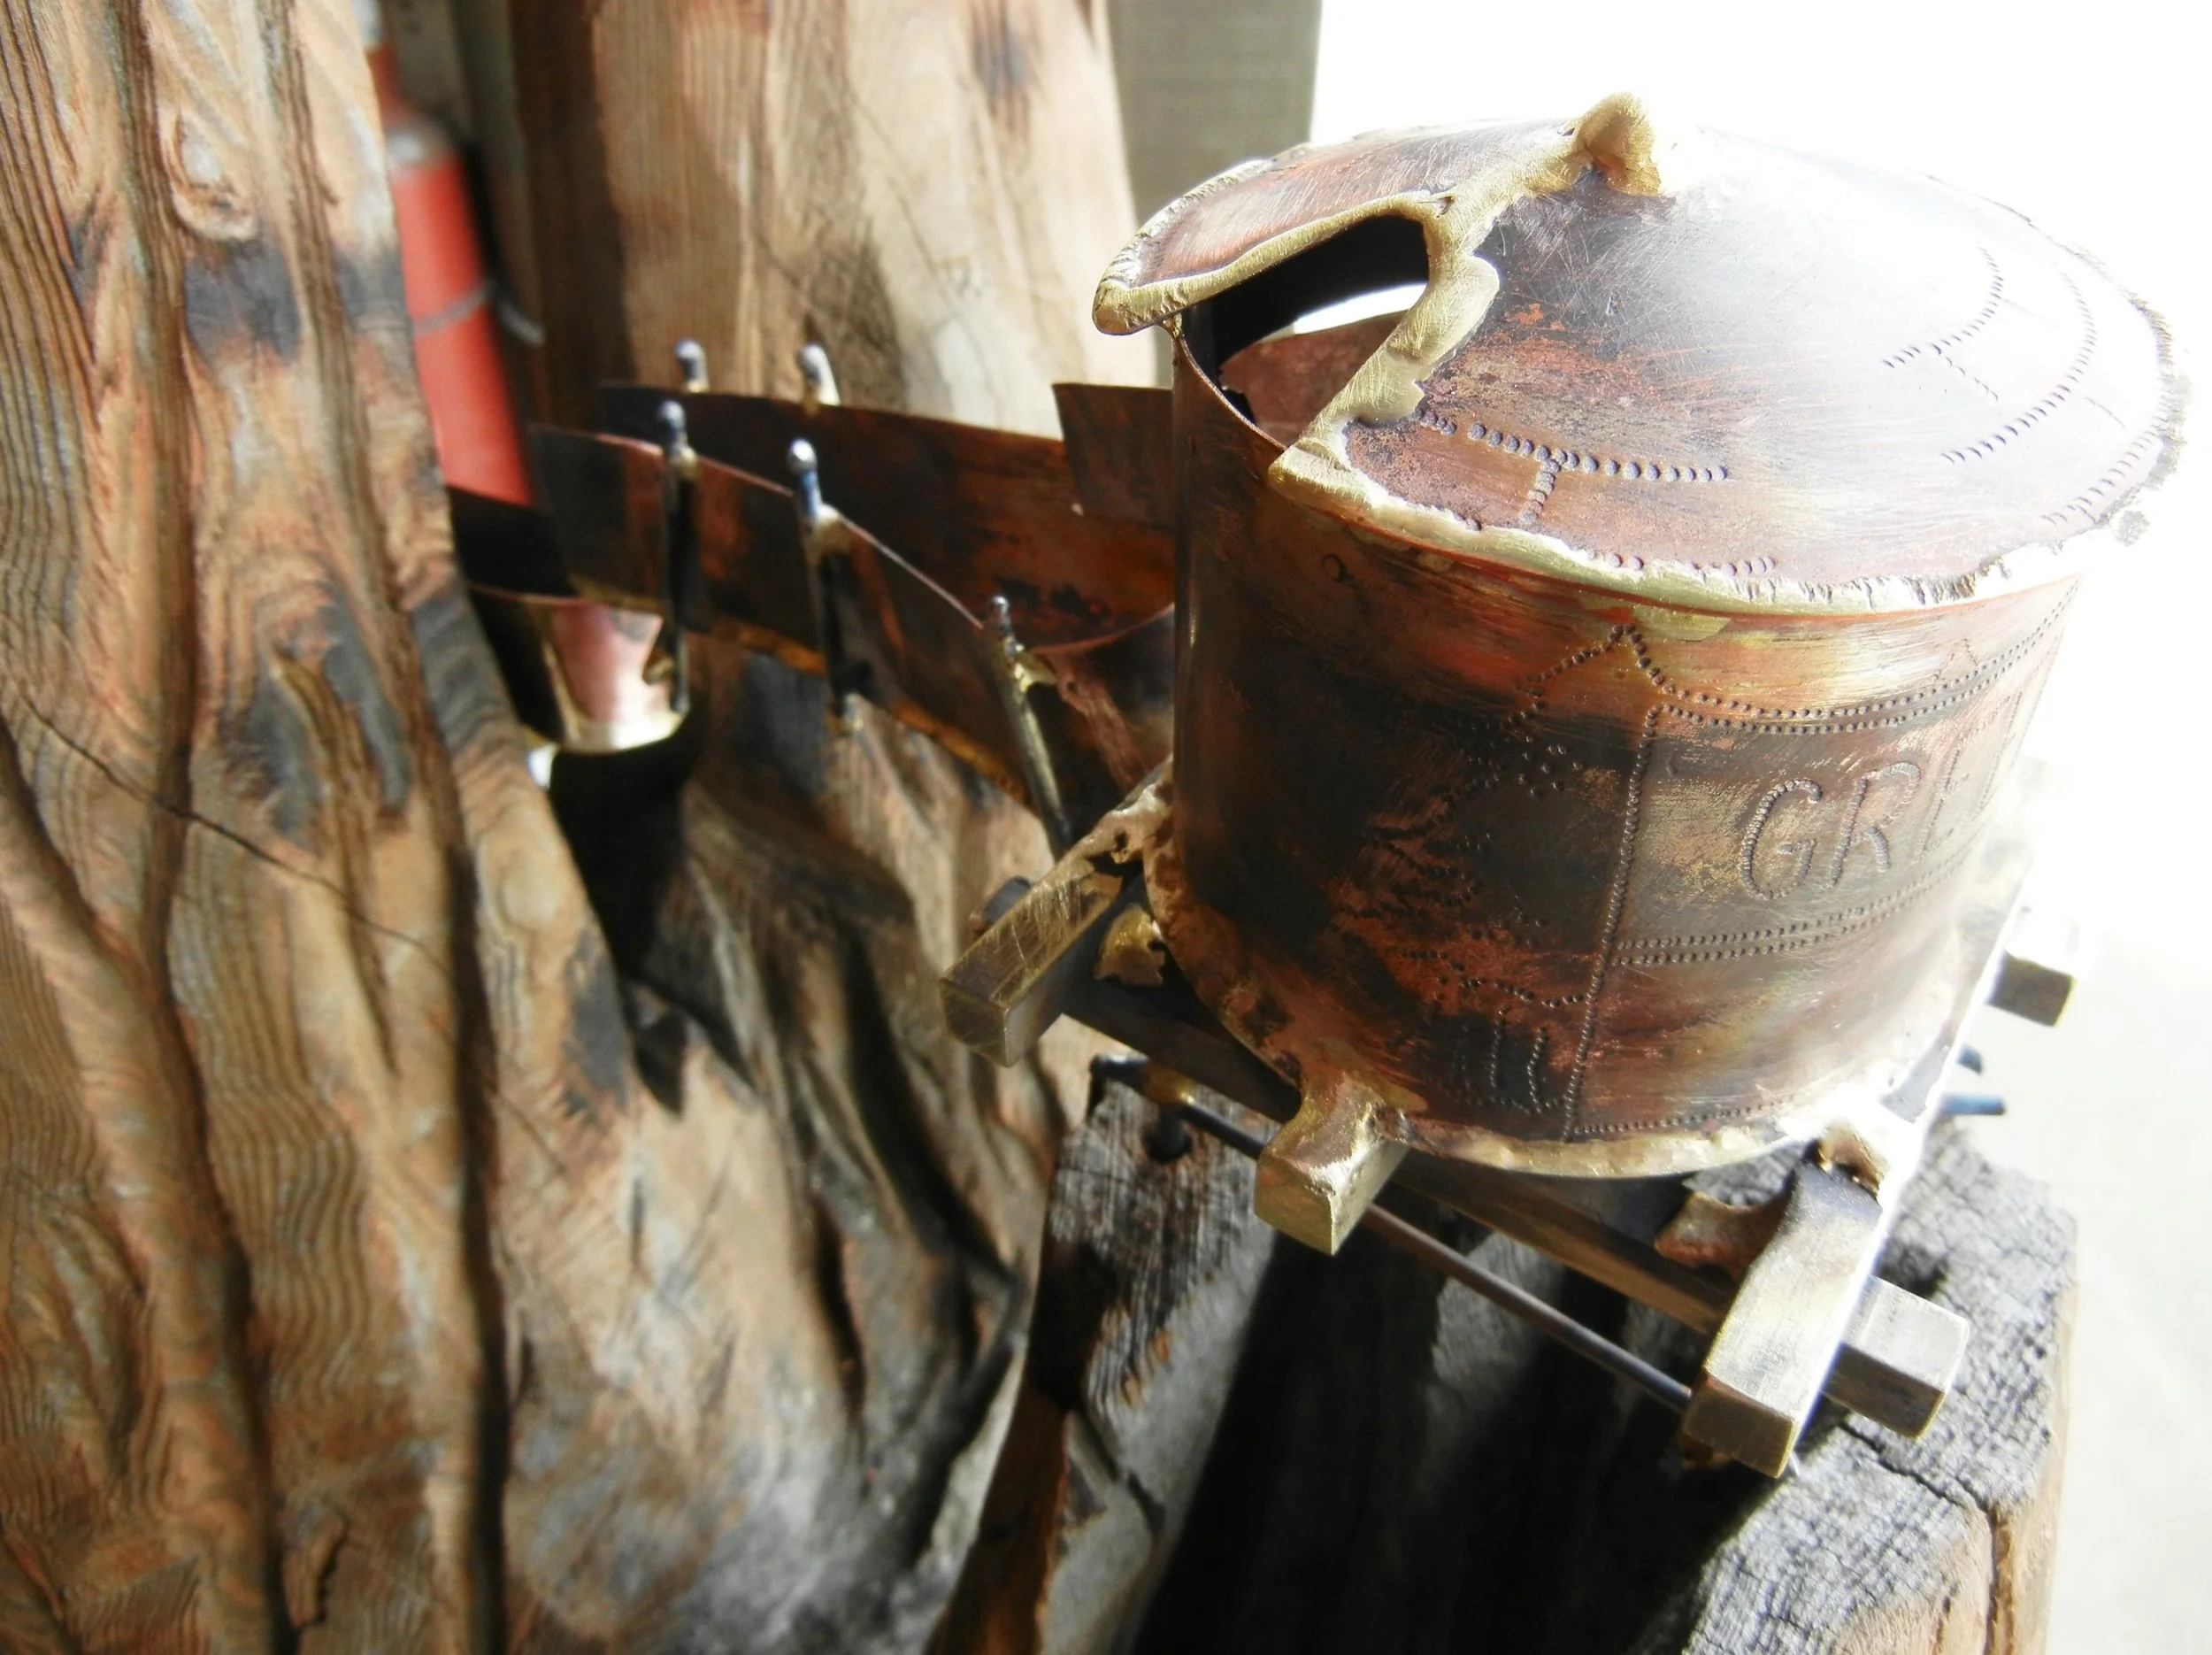
Let the journey begin
Water tank fills up to the spilling point over flowing in the first of many water troughs. Small leak at the base of water tank trough leak proofed by Hemphill CopperWorks, now no problem.
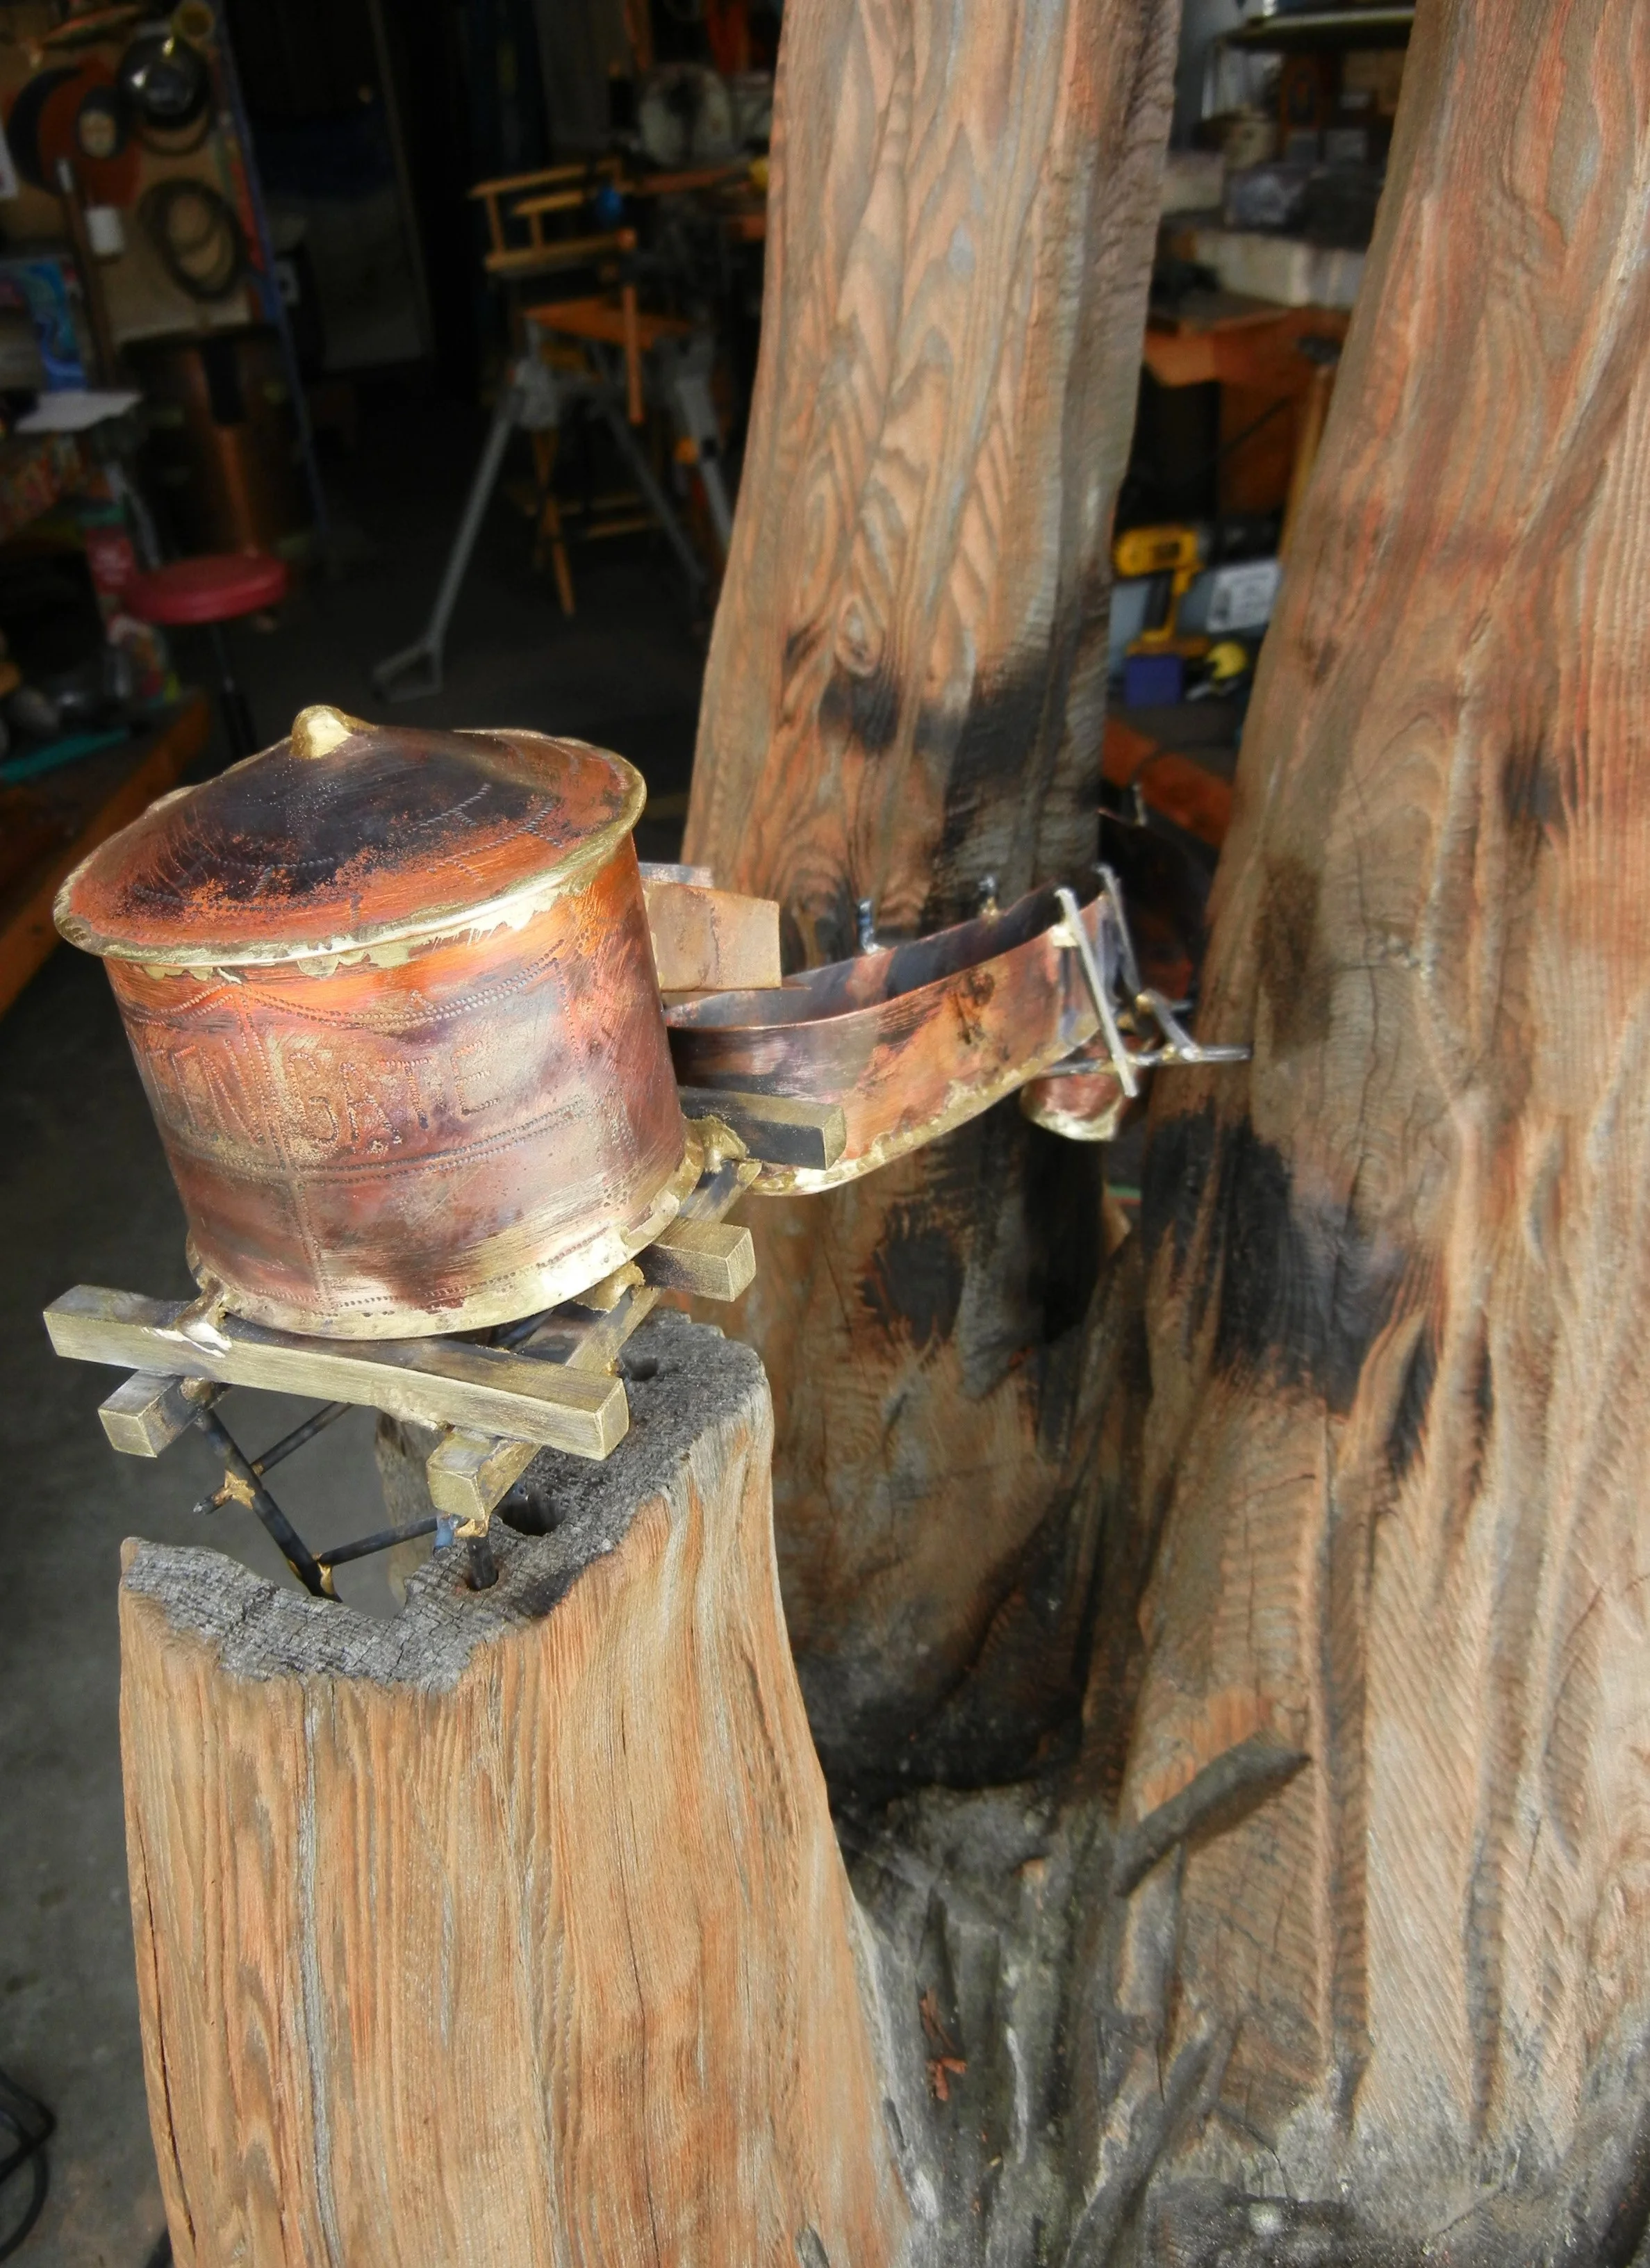
Tank plus water trough
First water must go straight up, then flows down through these copper troughs designed and built by me. Yes you can braze brass to copper and be water proof, if anyone tells you different tell them to look at this.
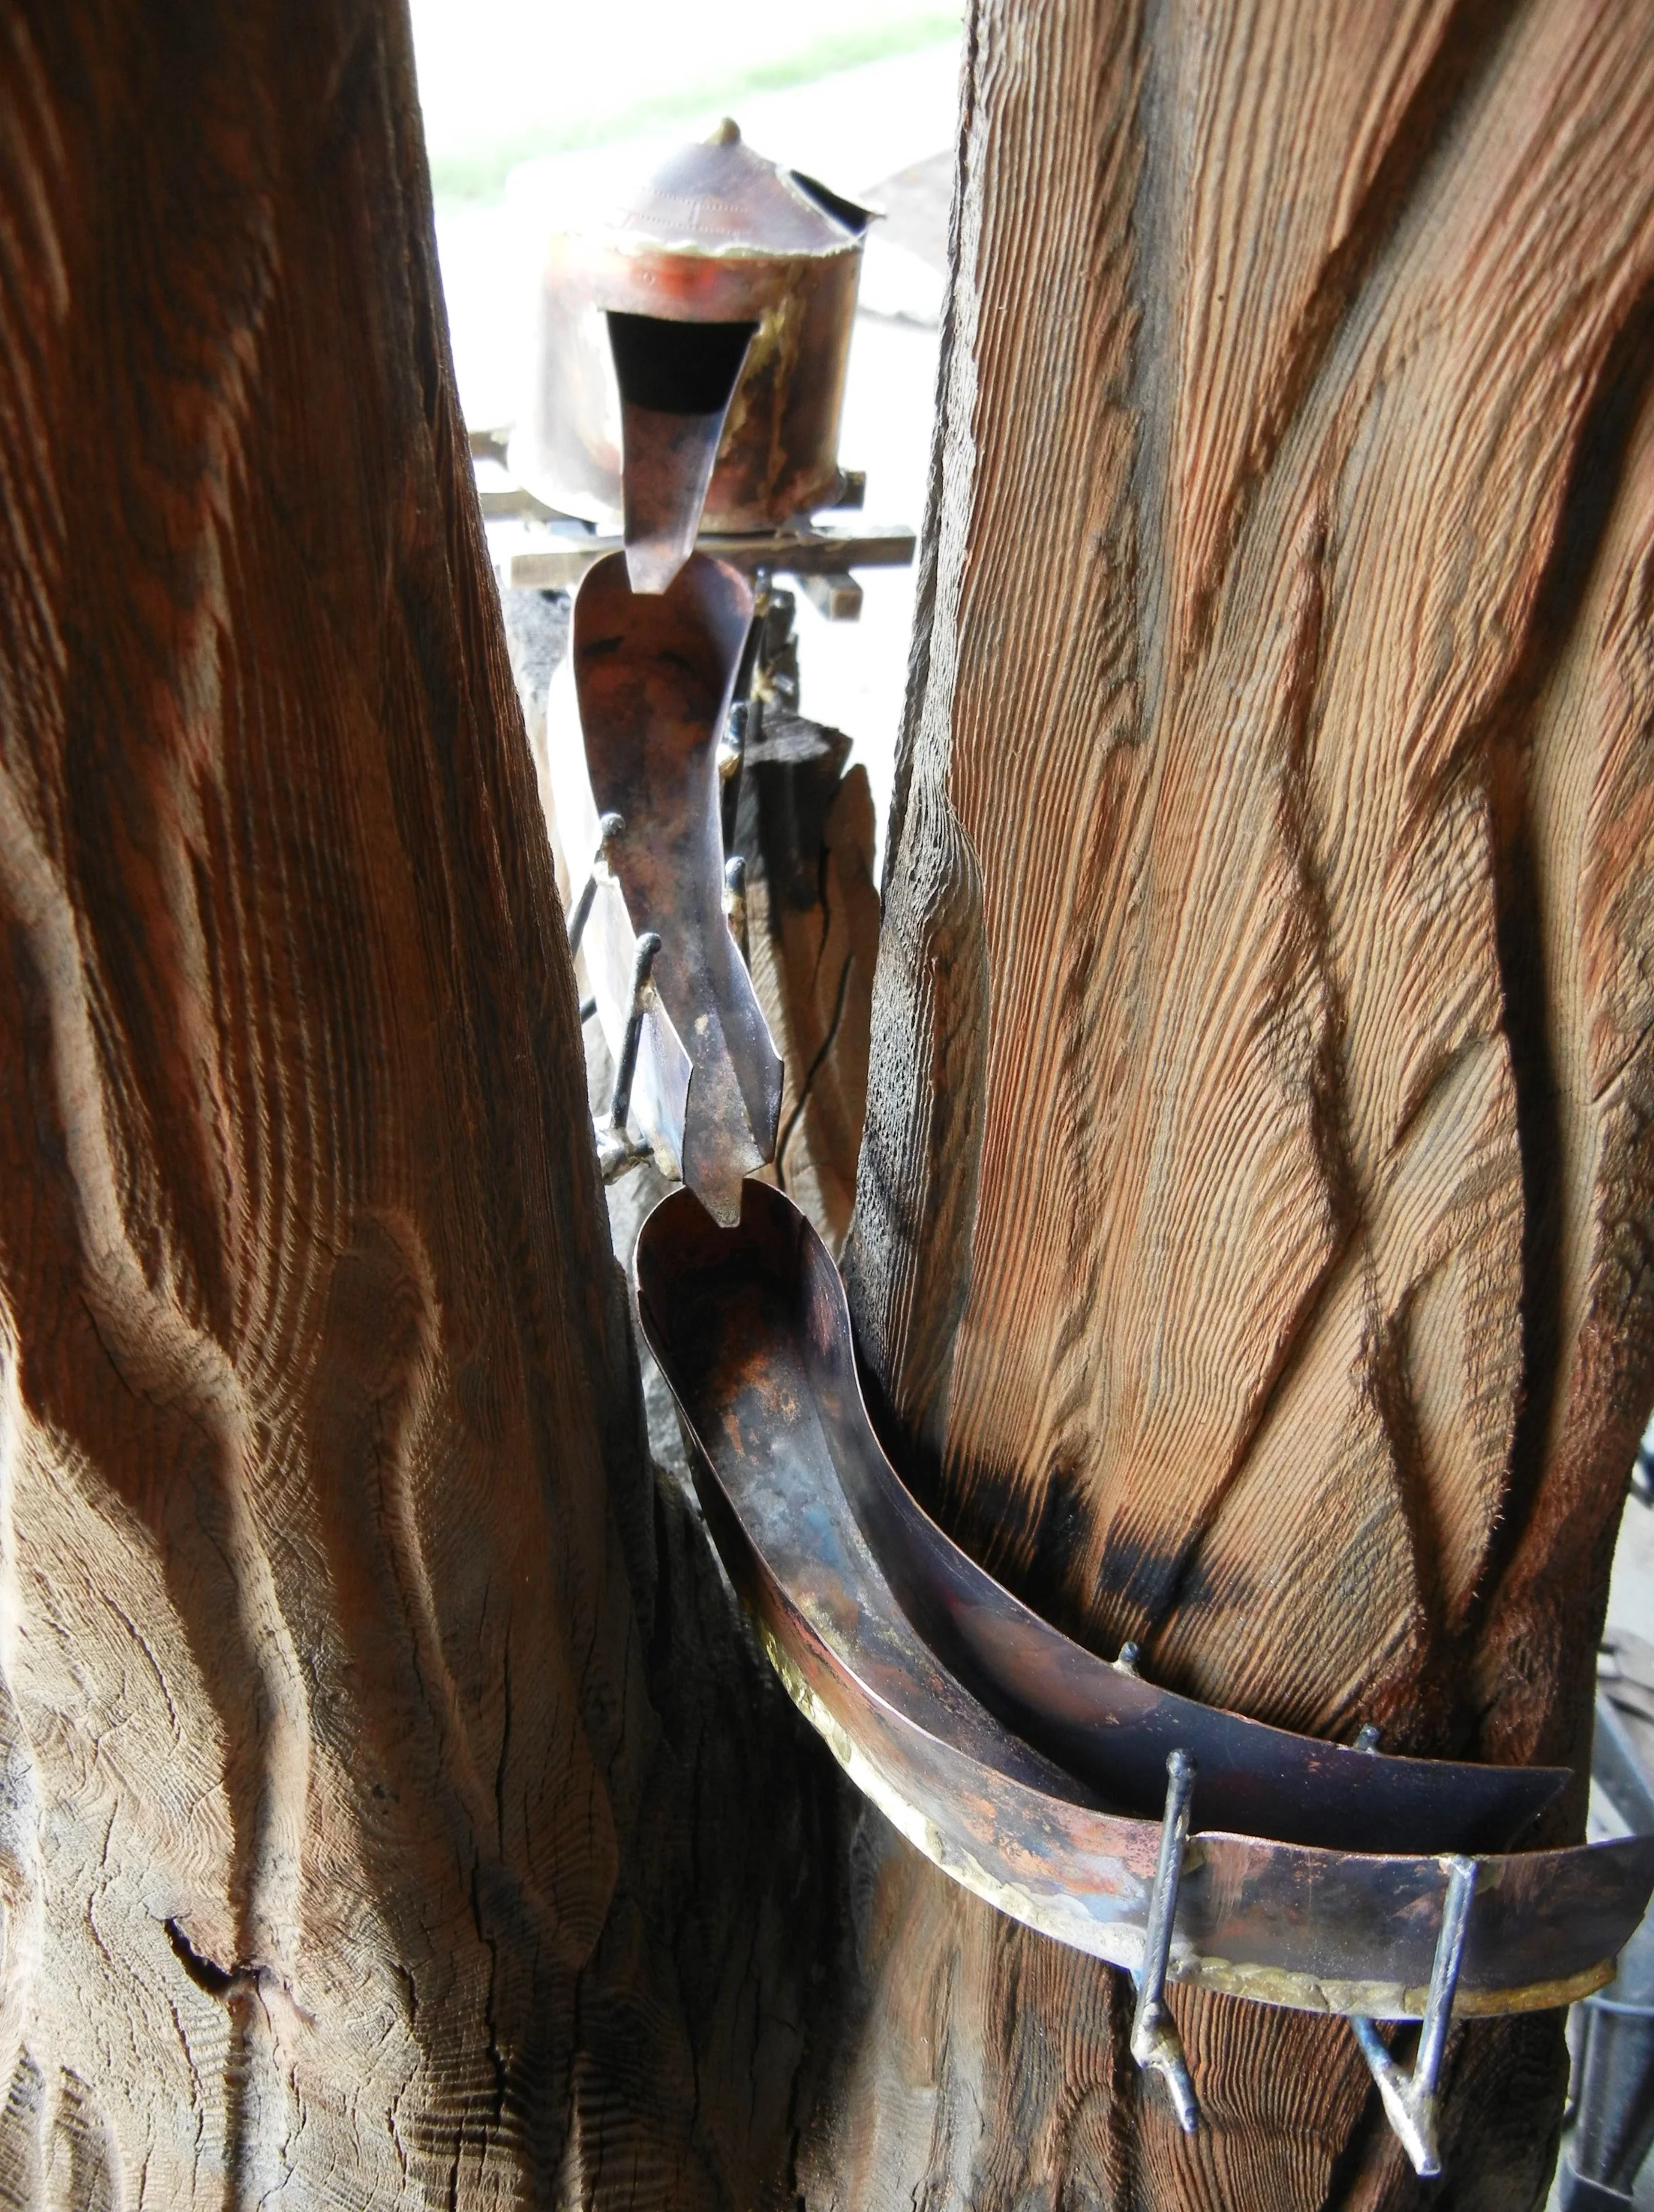
Hello Giant Redwood, ~ yes...
If you've never seen the giant Redwoods before this is something you might see, 'cept the water tank would be teeny weeny. Water trough action starts here. Tickets, tickets please.
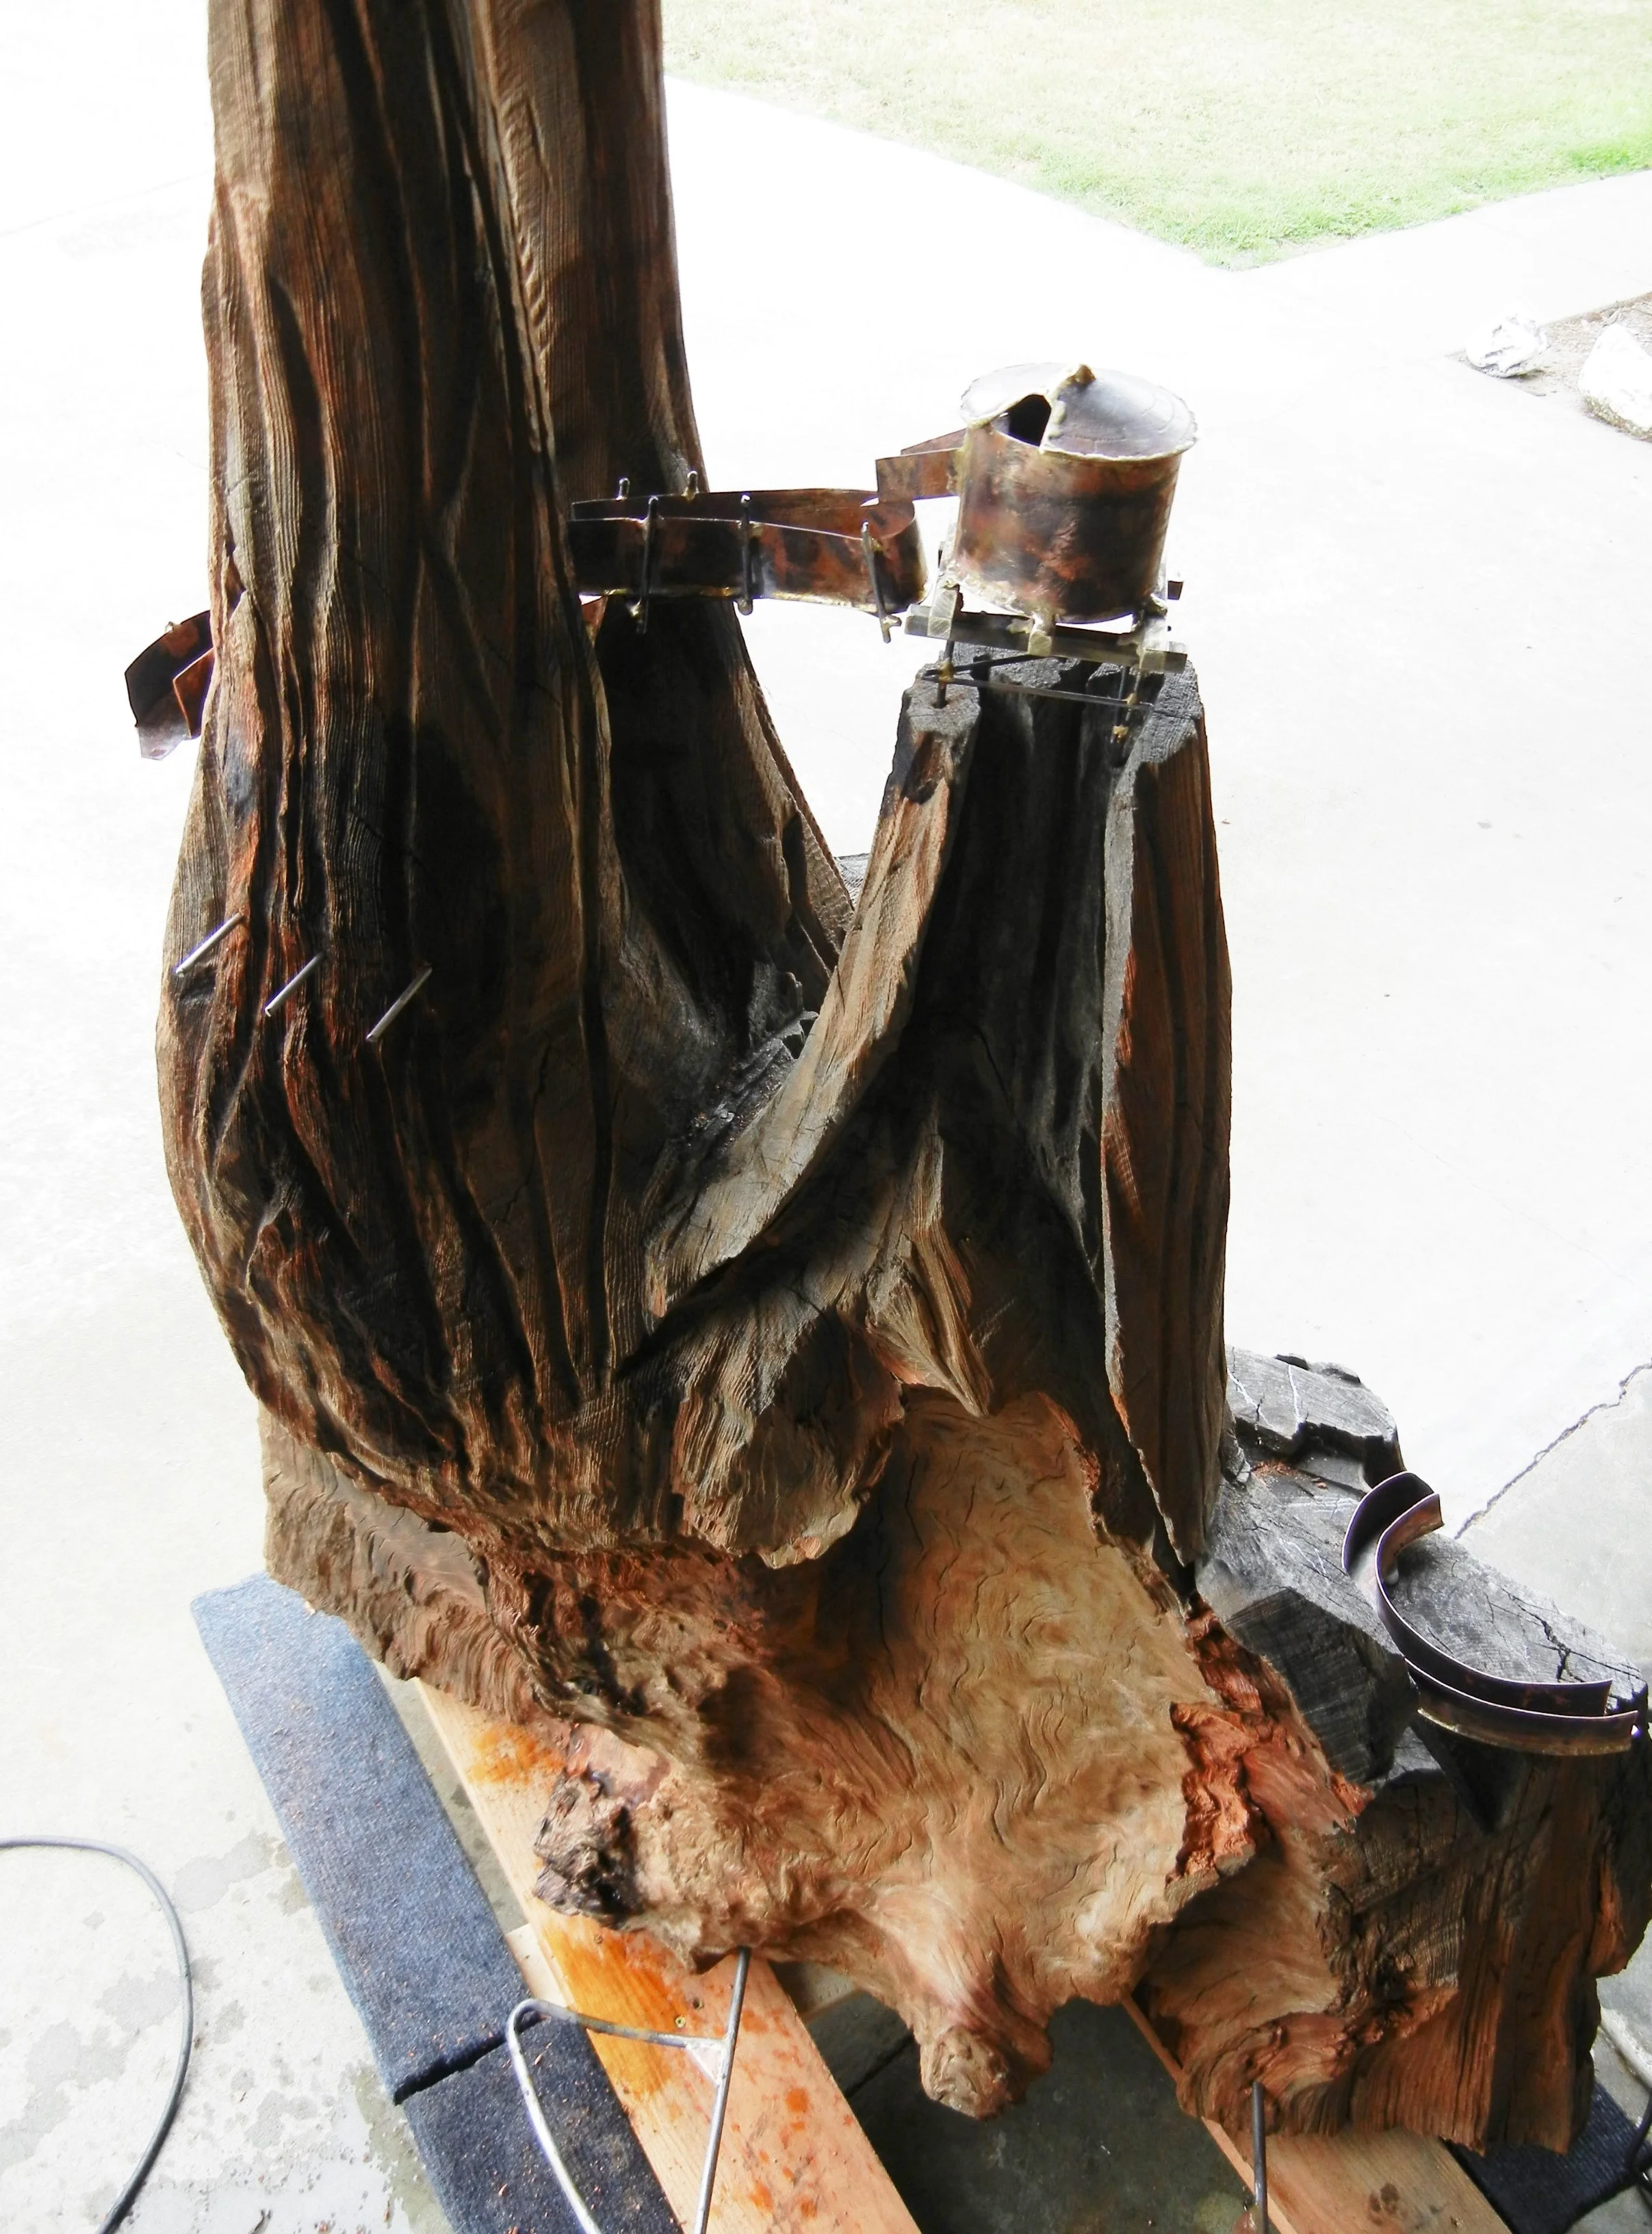
Gotta love old growth Redwood
Toss in some curly burl why not, old stuff to say the least, stands about 5'8" or so. Burly weight maybe 300+ lbs.
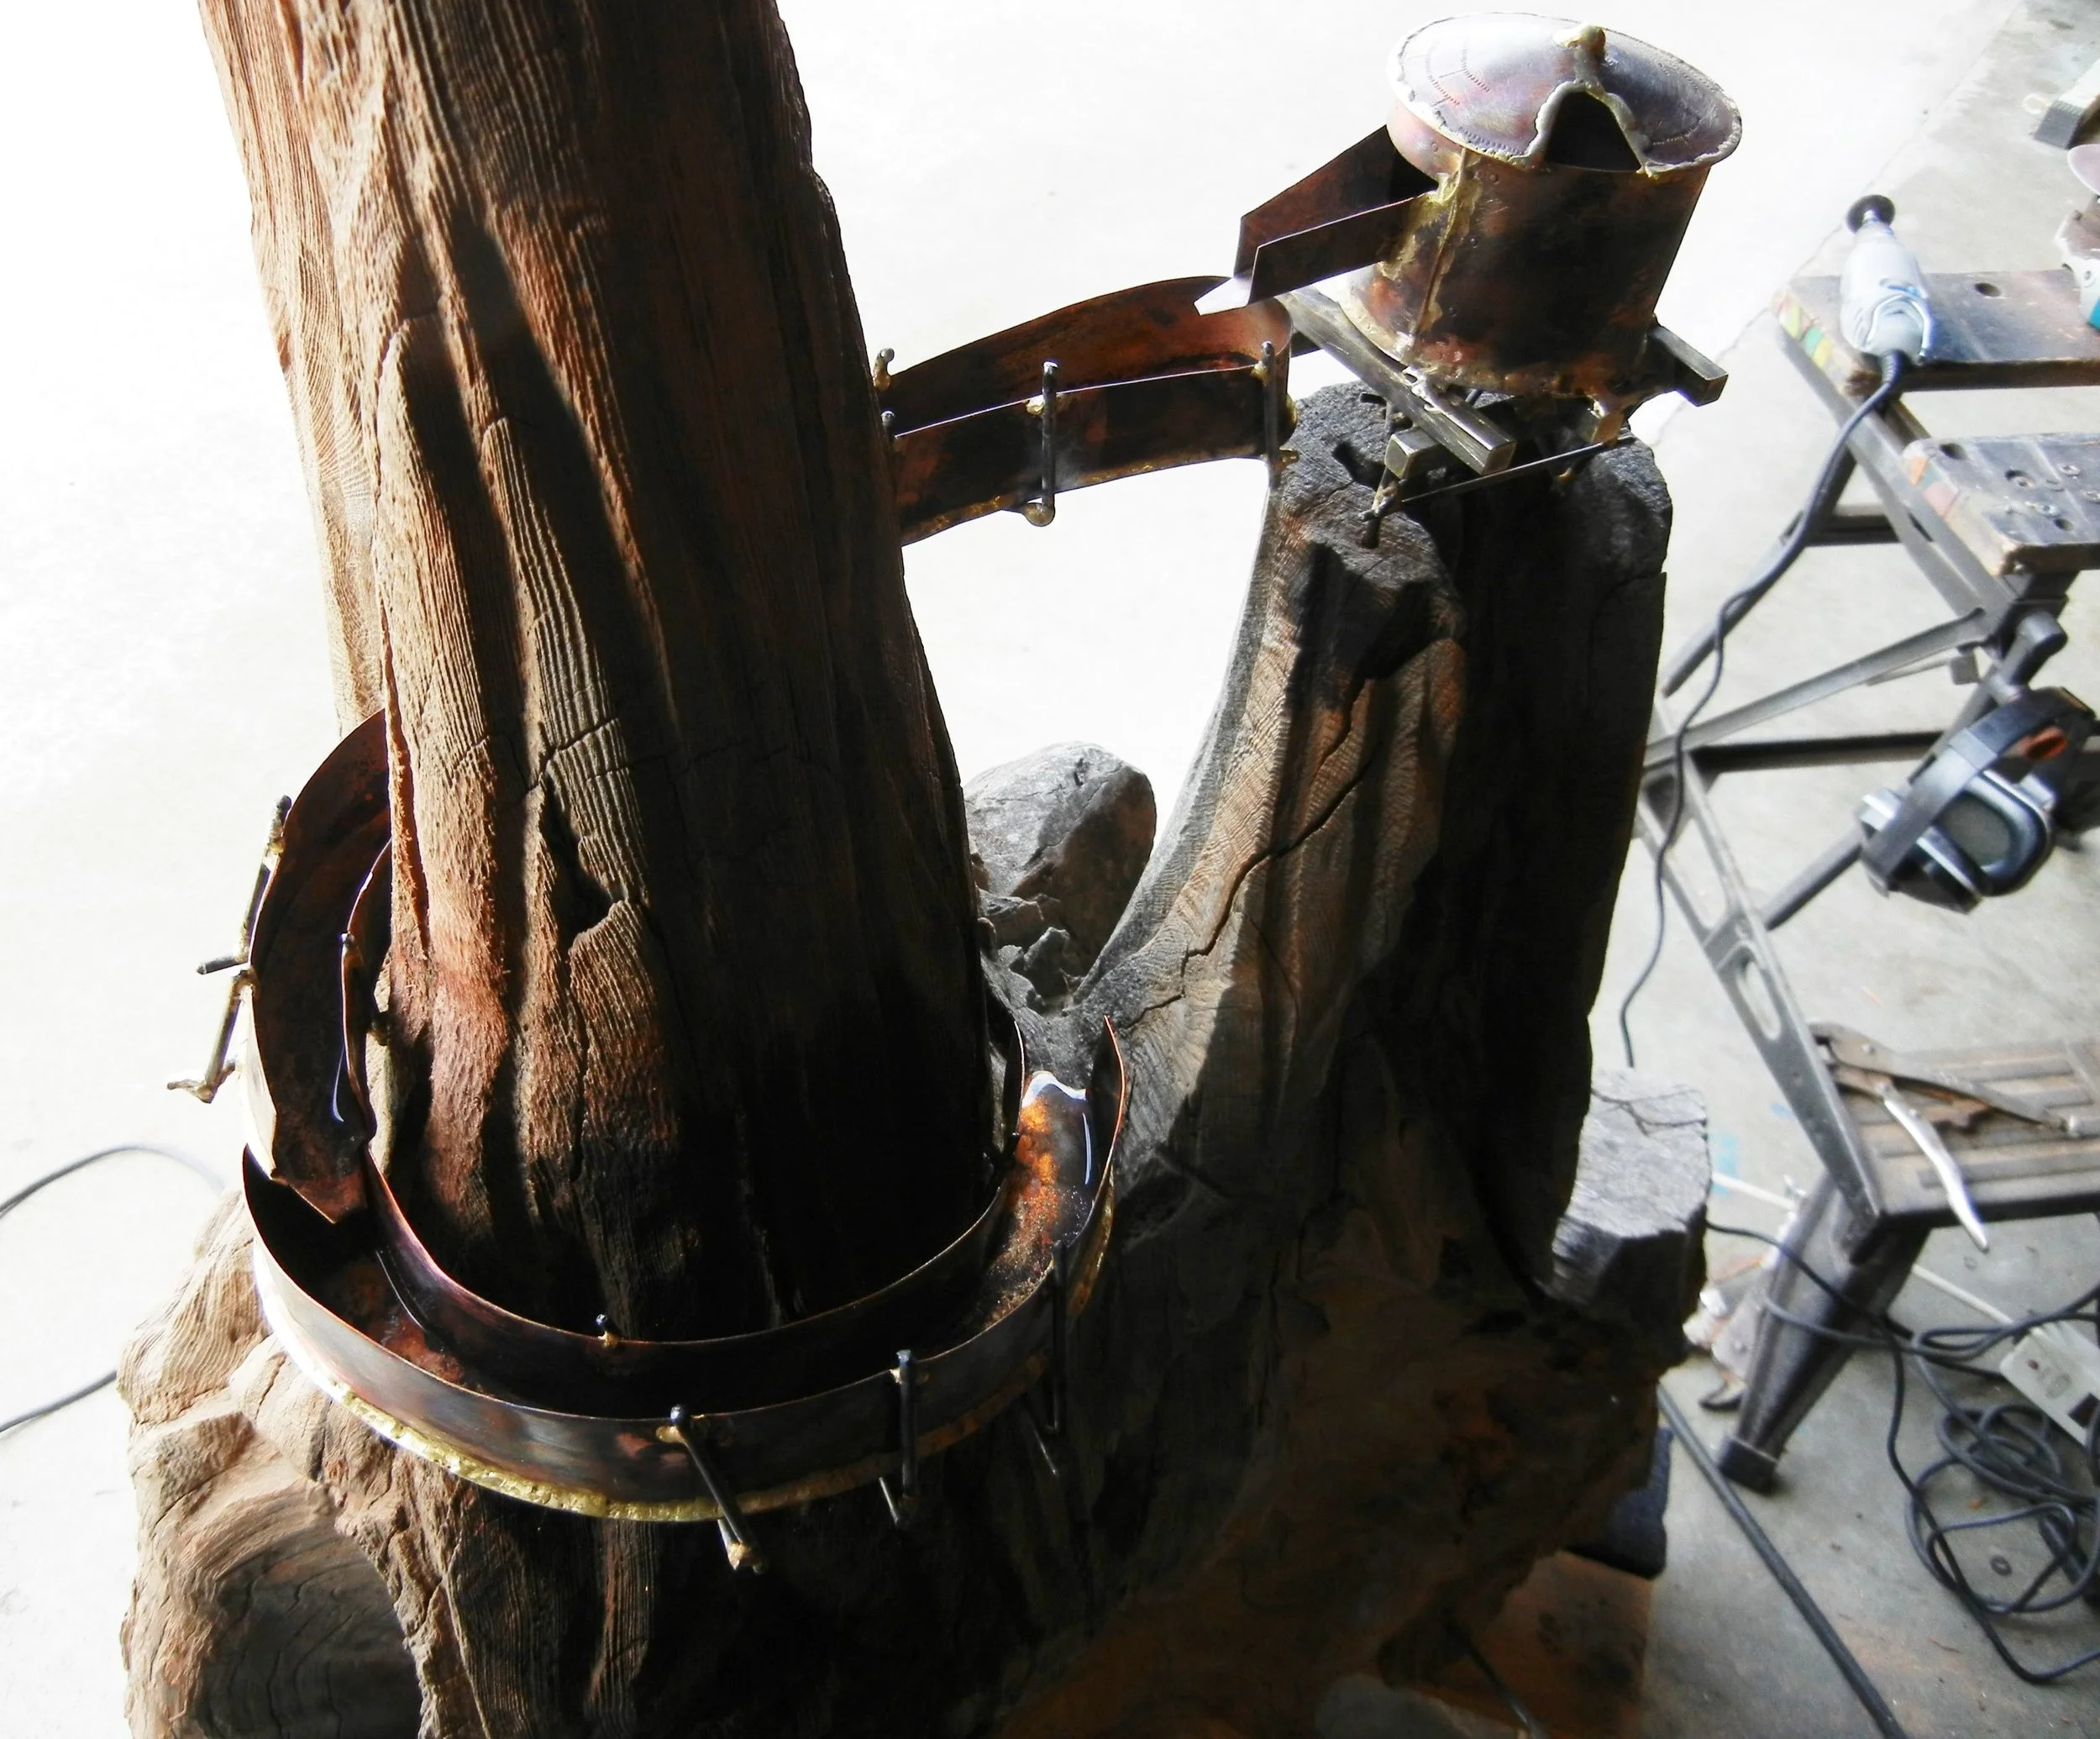
Loop back action
So far so good with the troughs, water is doing what its instructed to do, follow path of least resistance.
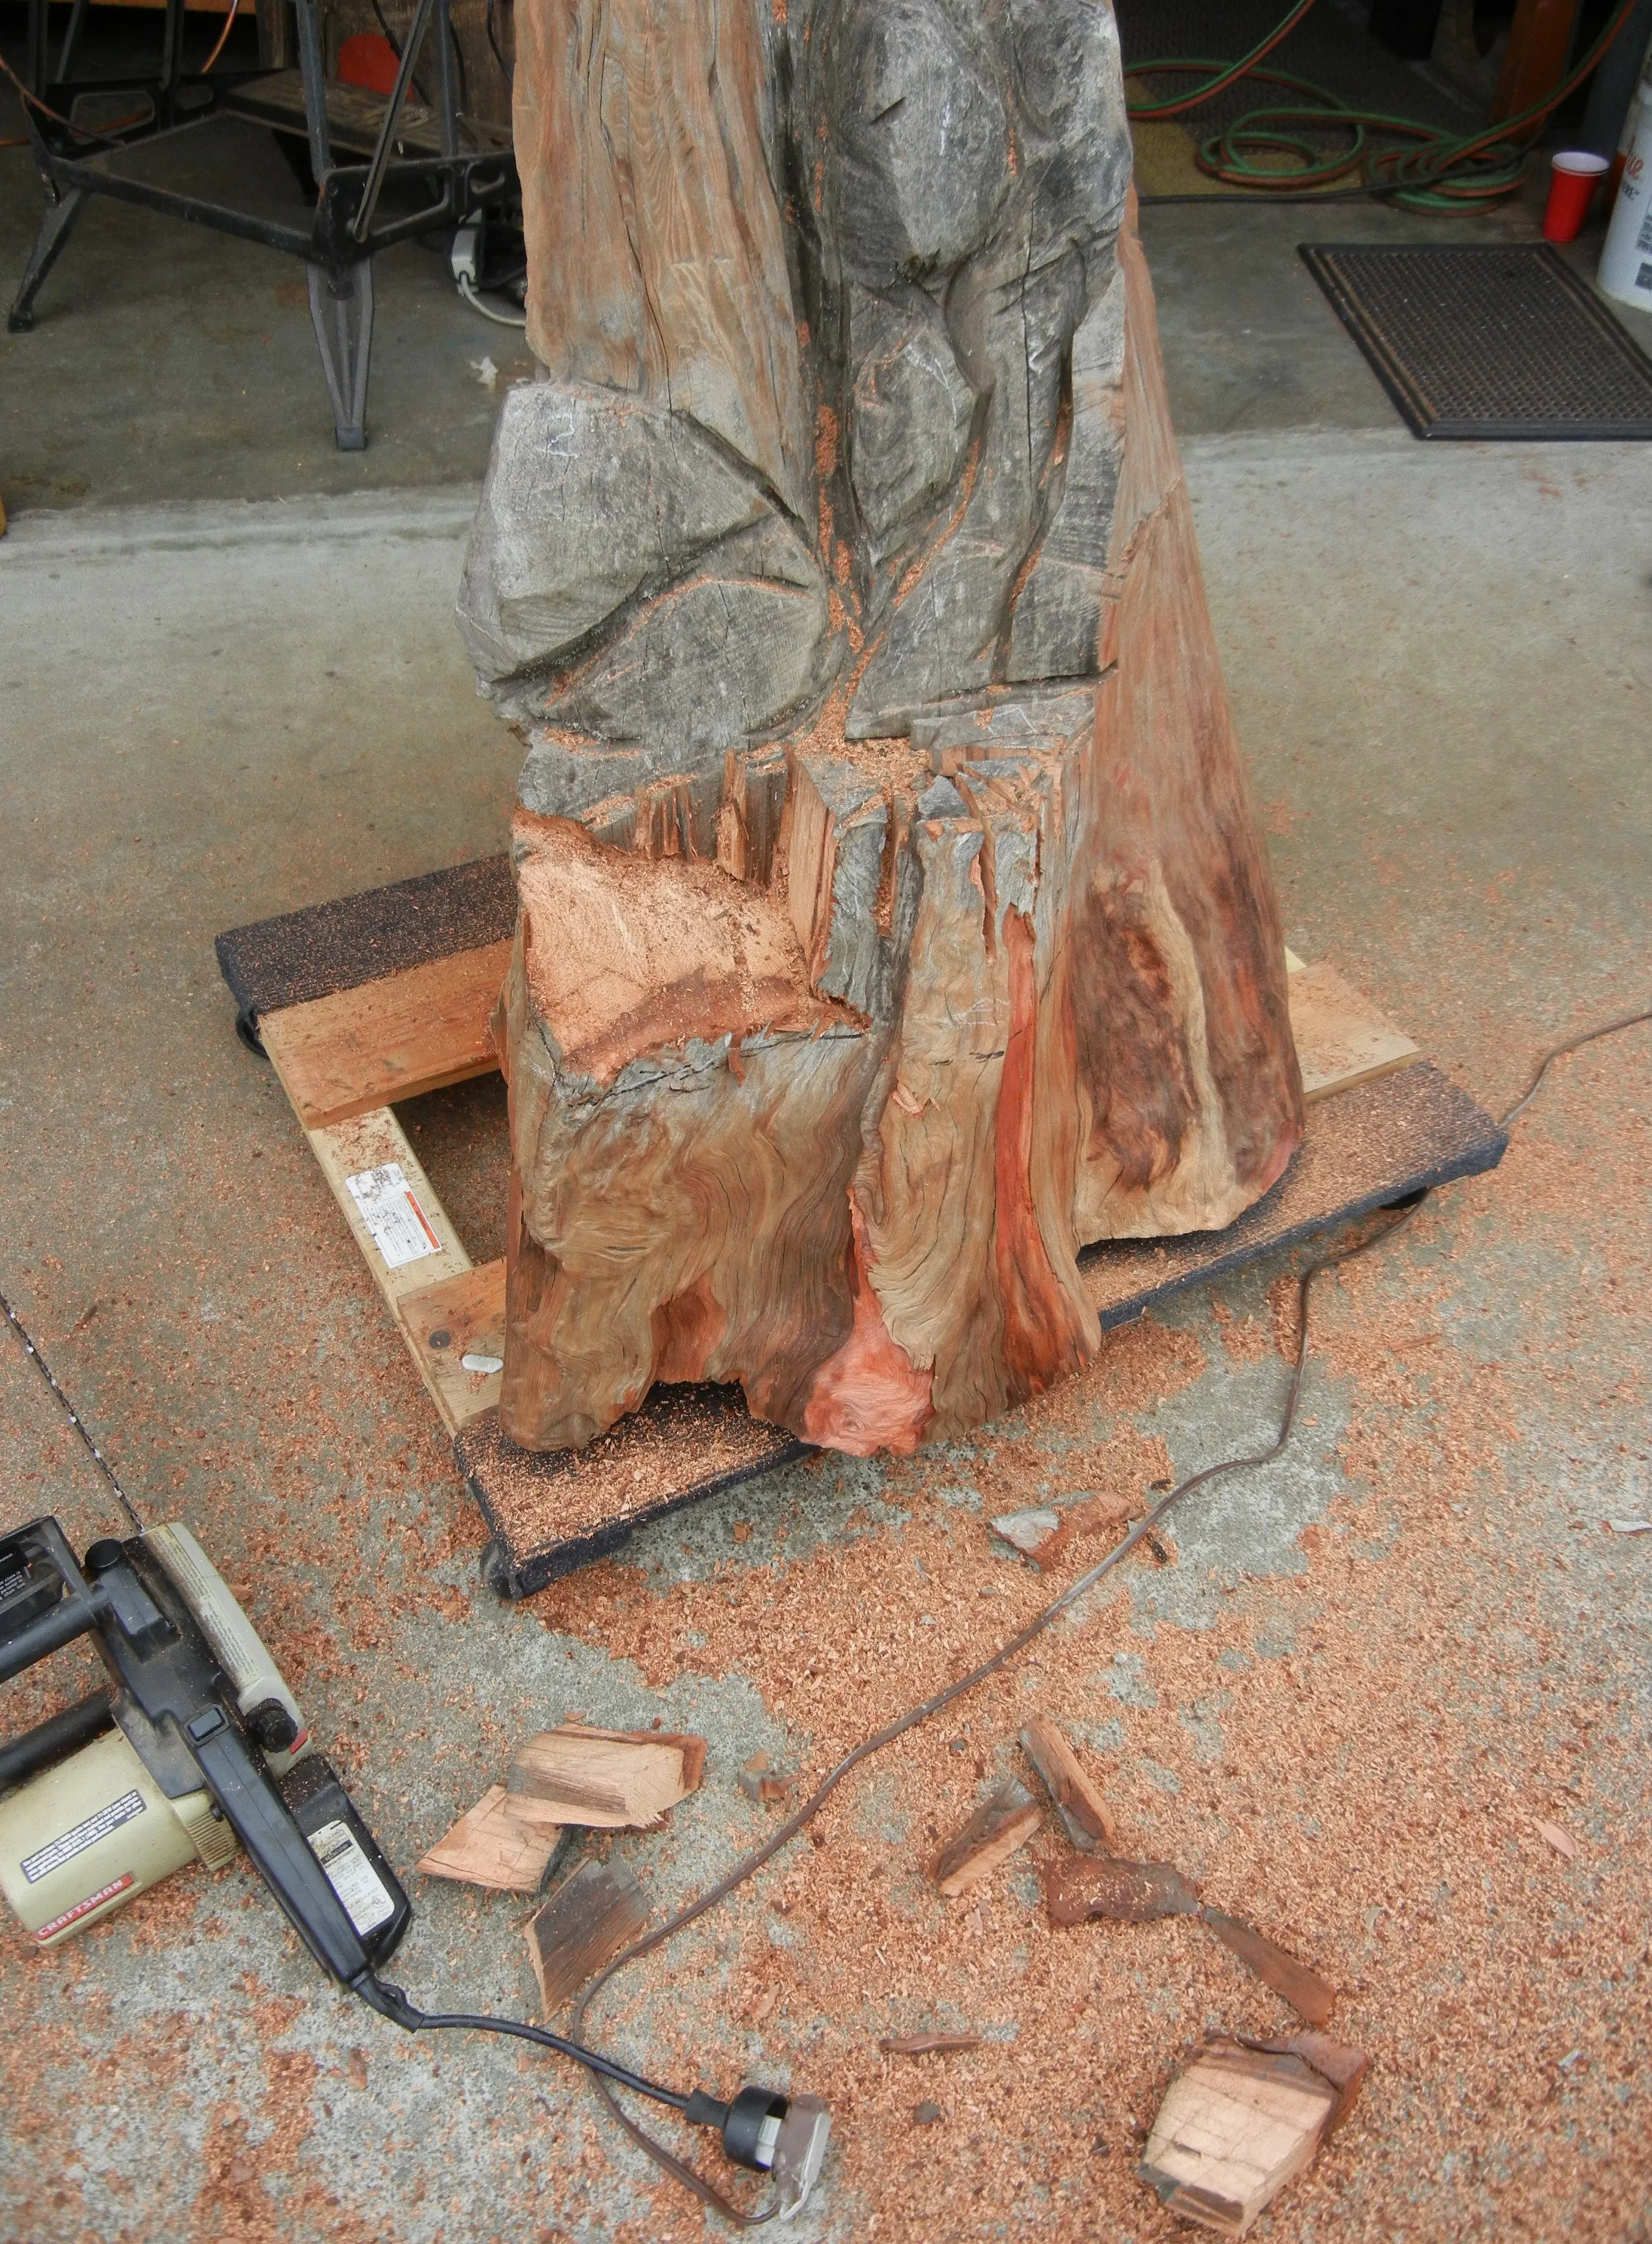
Beautification process
Tired of those old boring straight cuts, Cuts be gone, chips flying time to get serious on this piece. Even for Redwood this chunk is tough as hell, it's only probably 2,000 years give or take.
Angle cut of property
Attempting to make this as close as possible to my buddies property, pretty steep terrain to say the least. Hang the hell on coming down!
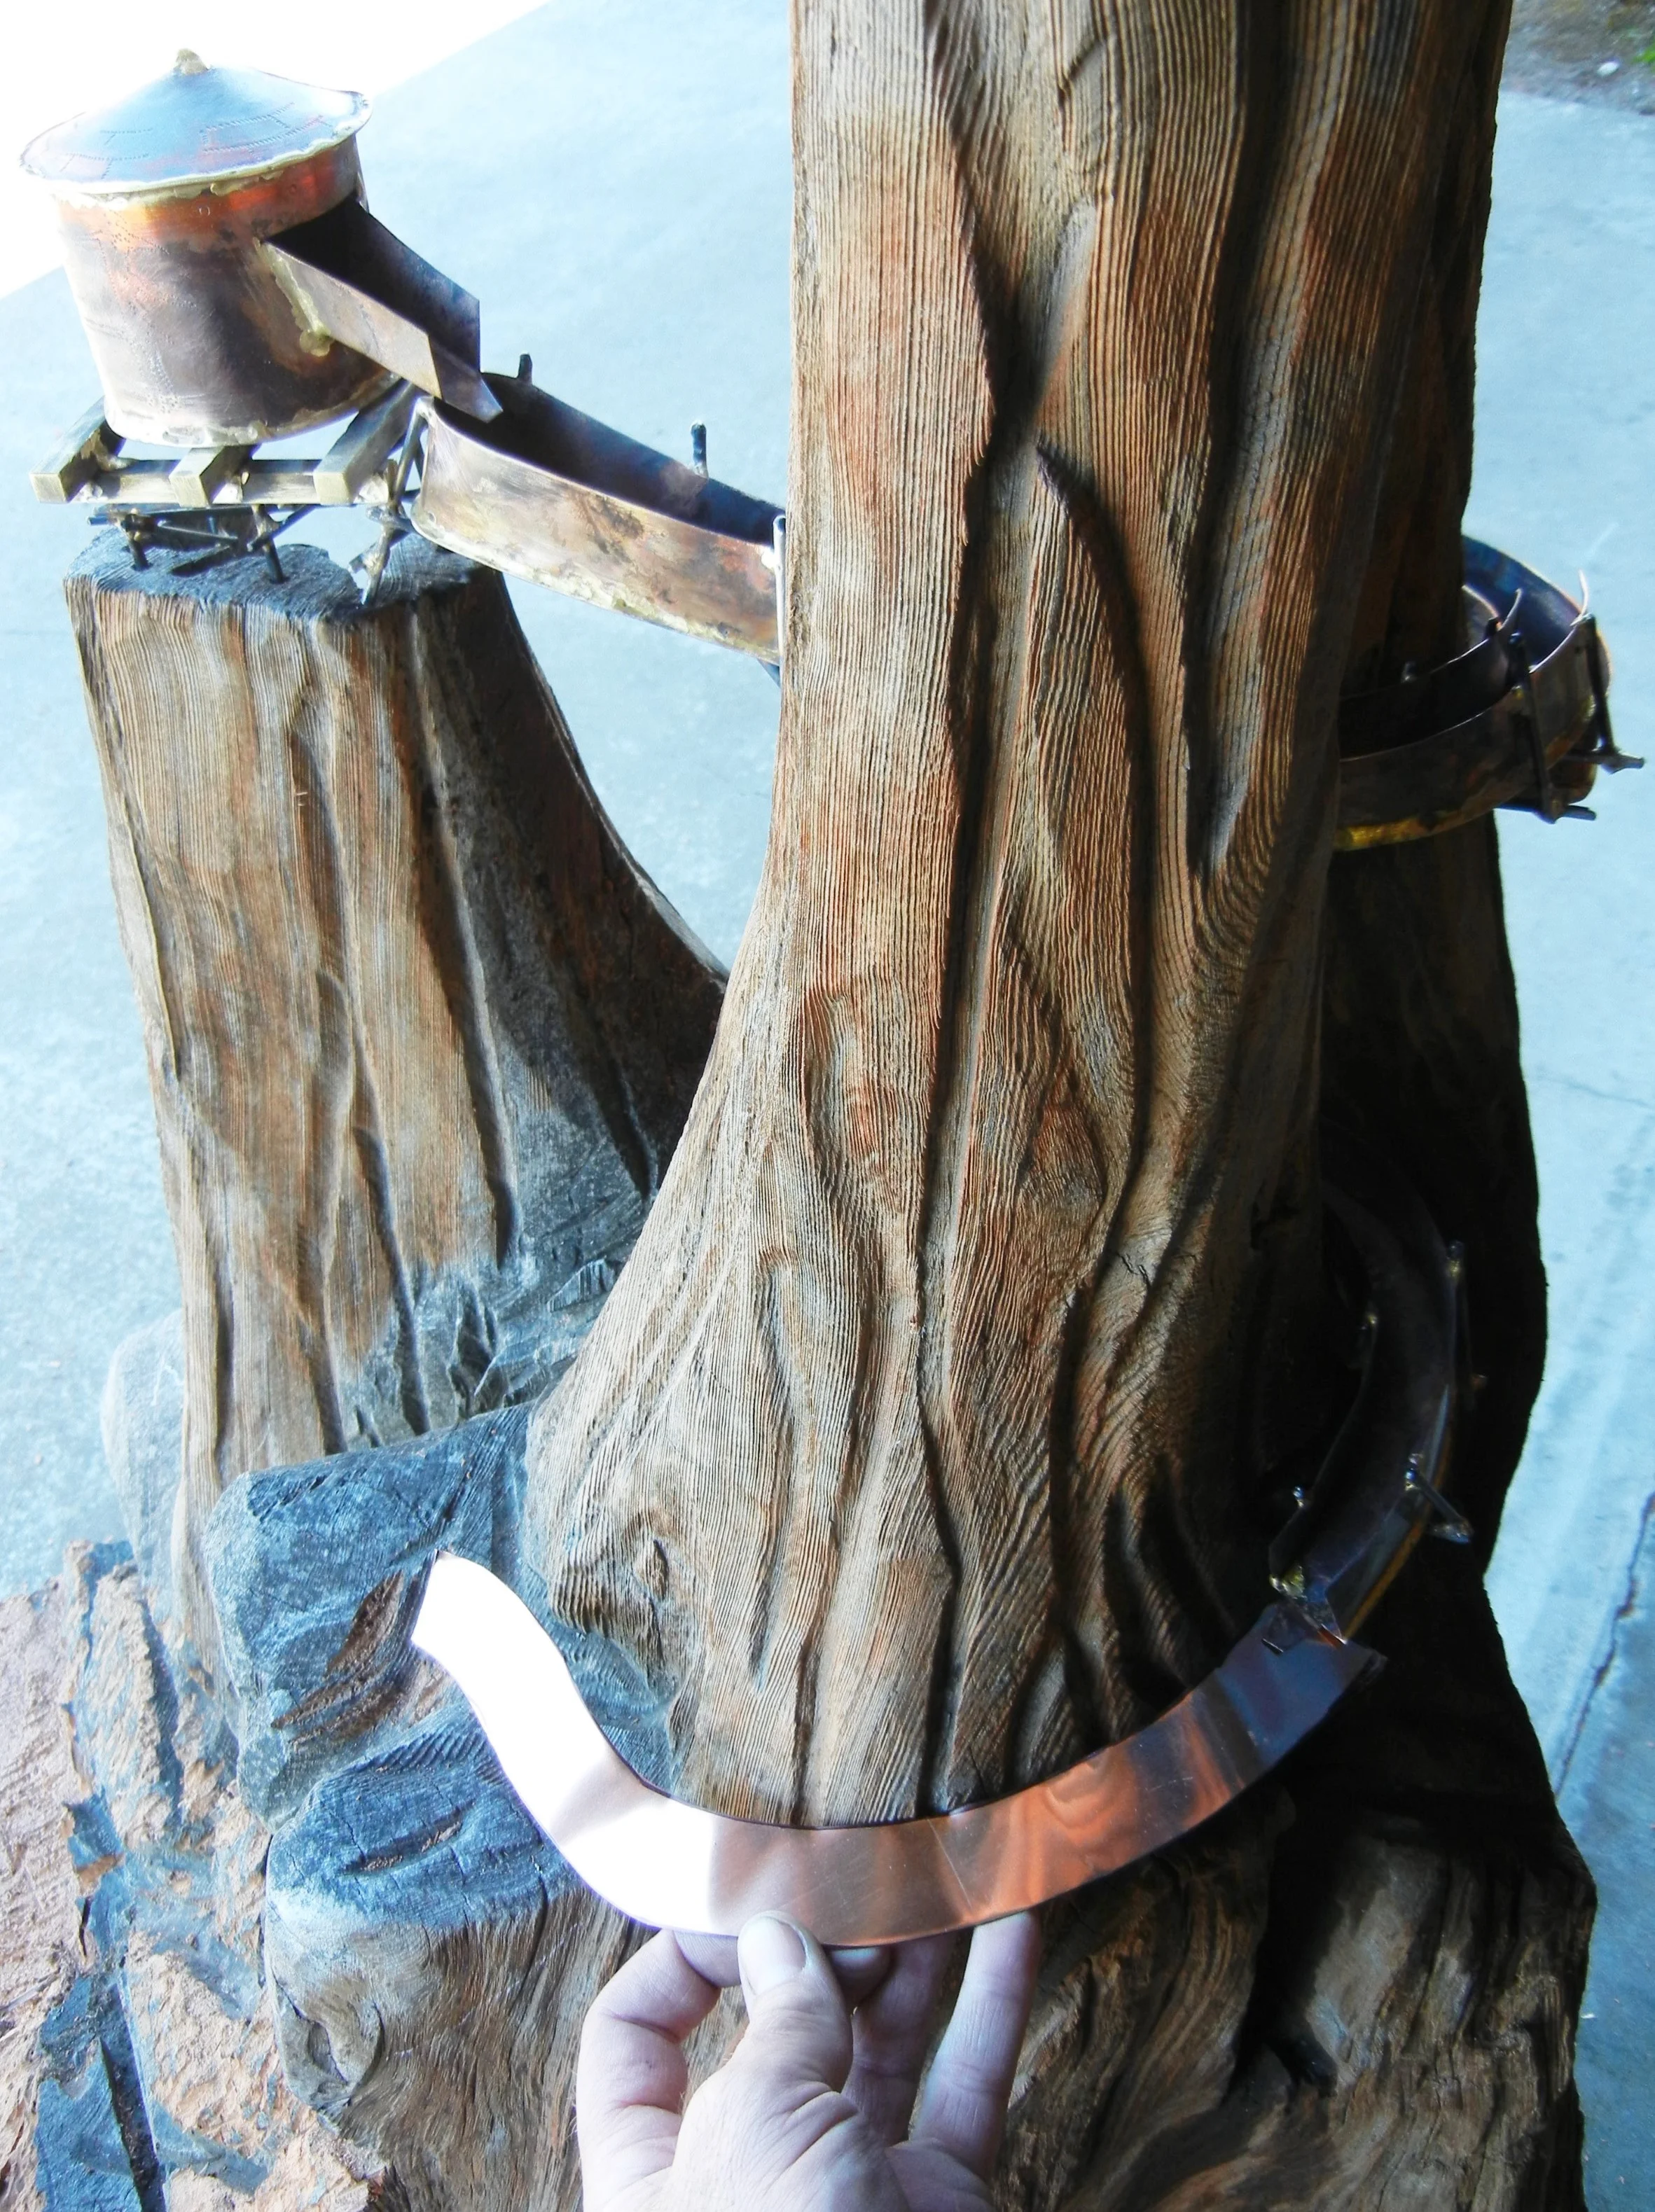
Water carrying device
Water troughs have to be removable to 1) work on, (2) take out and clean both copper & wood. I'll make and braze on the sides next up. At this point I'll see you all in a sailors week, tank up and running as of today Sep 21, 2016. Splash on!
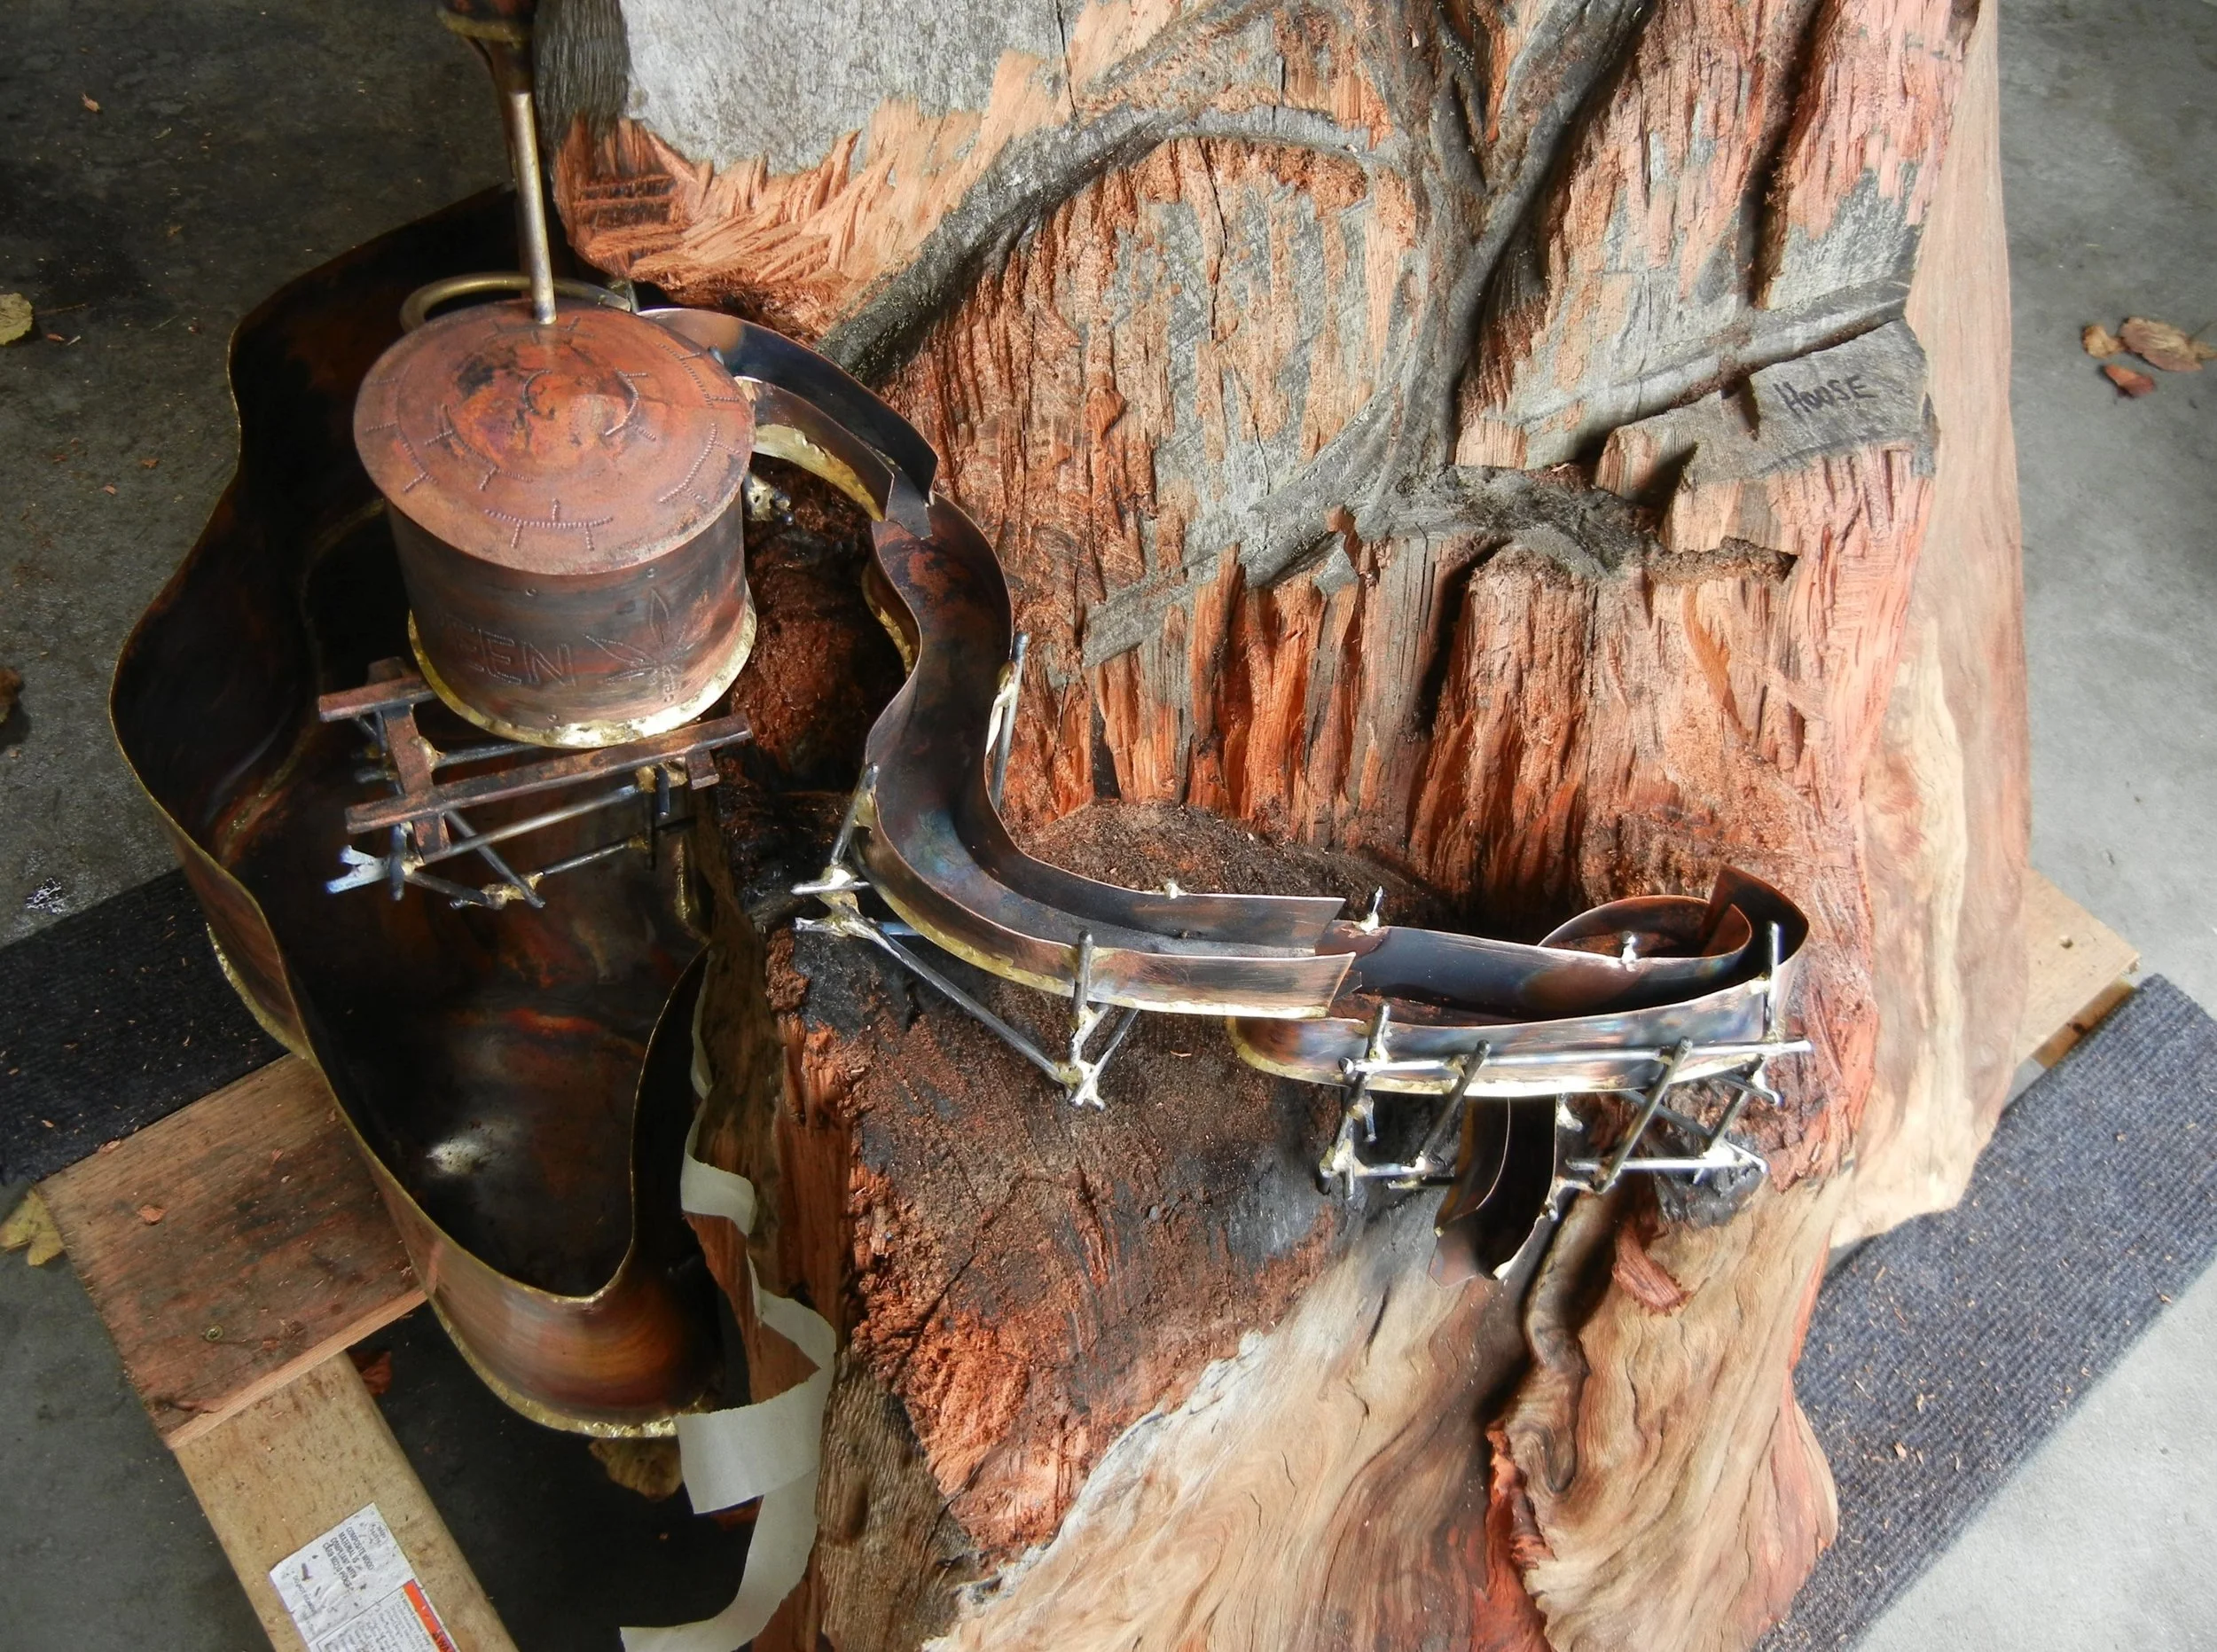
Closing in on the plumbing of this system
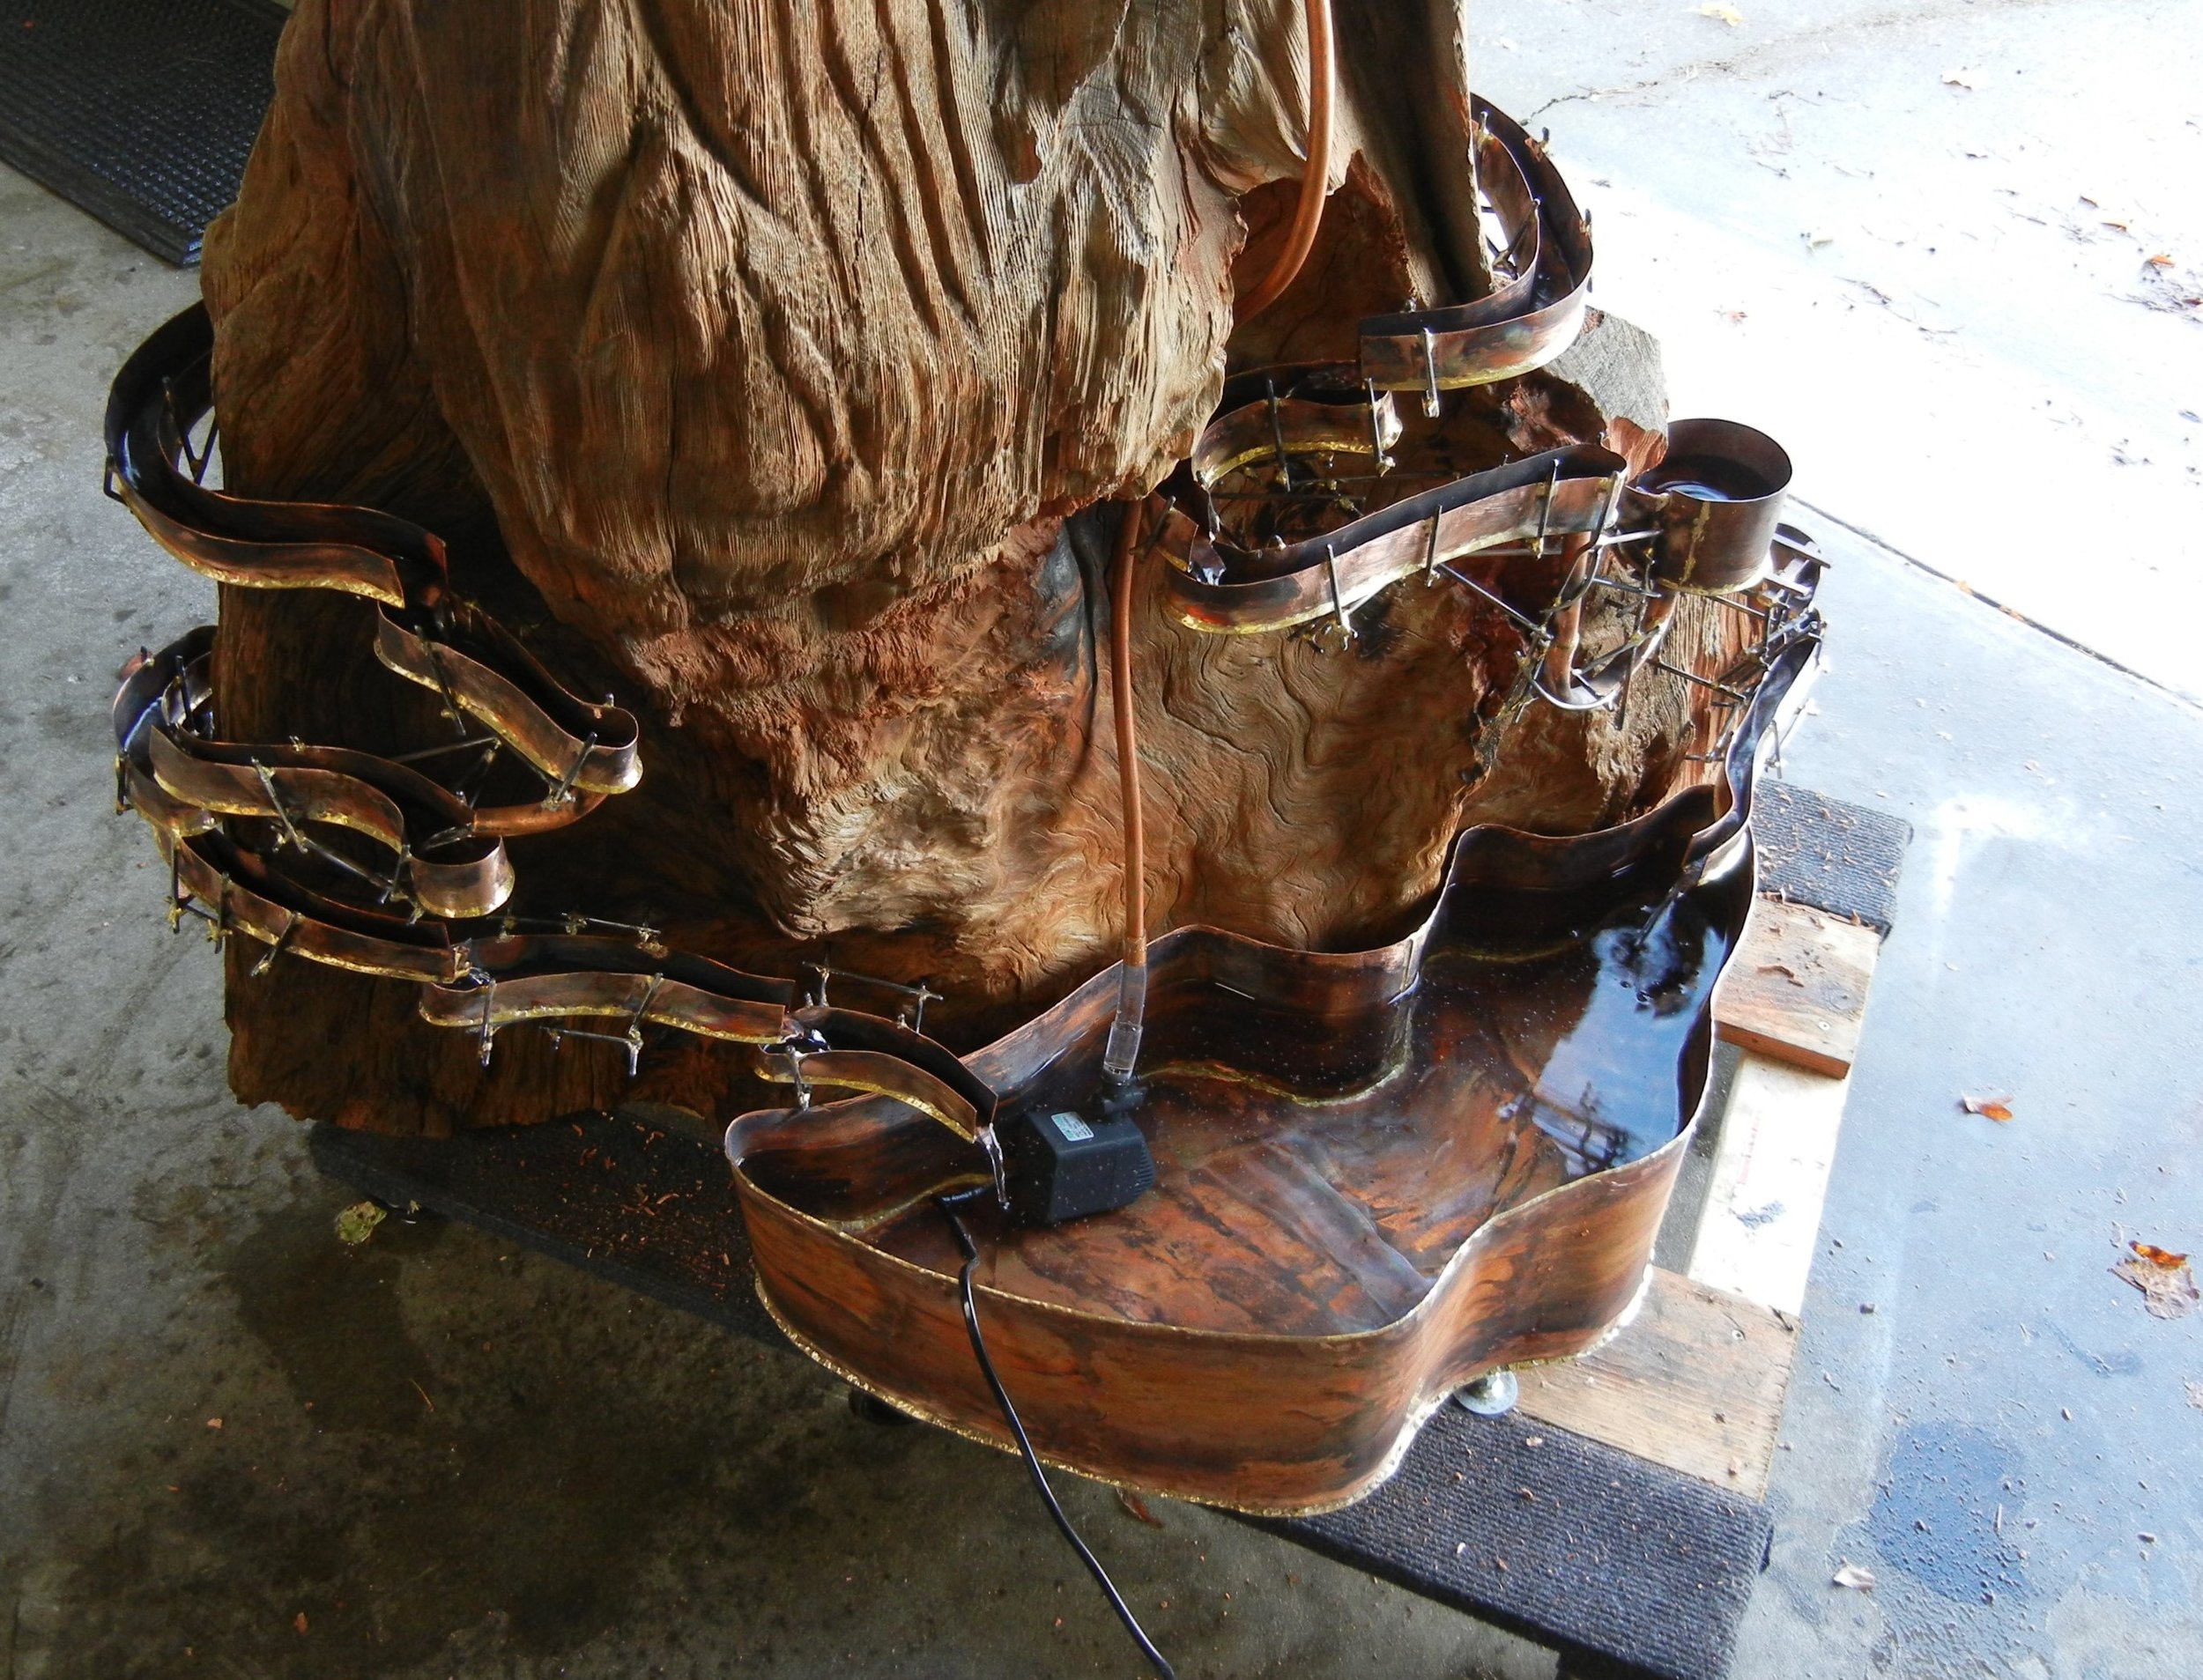
First water test of system, one small leak, no problem
At this point I have both water trough systems flowing back to main tank, work continues. I'll make something to hide pump and wiring so all you see is coolness.
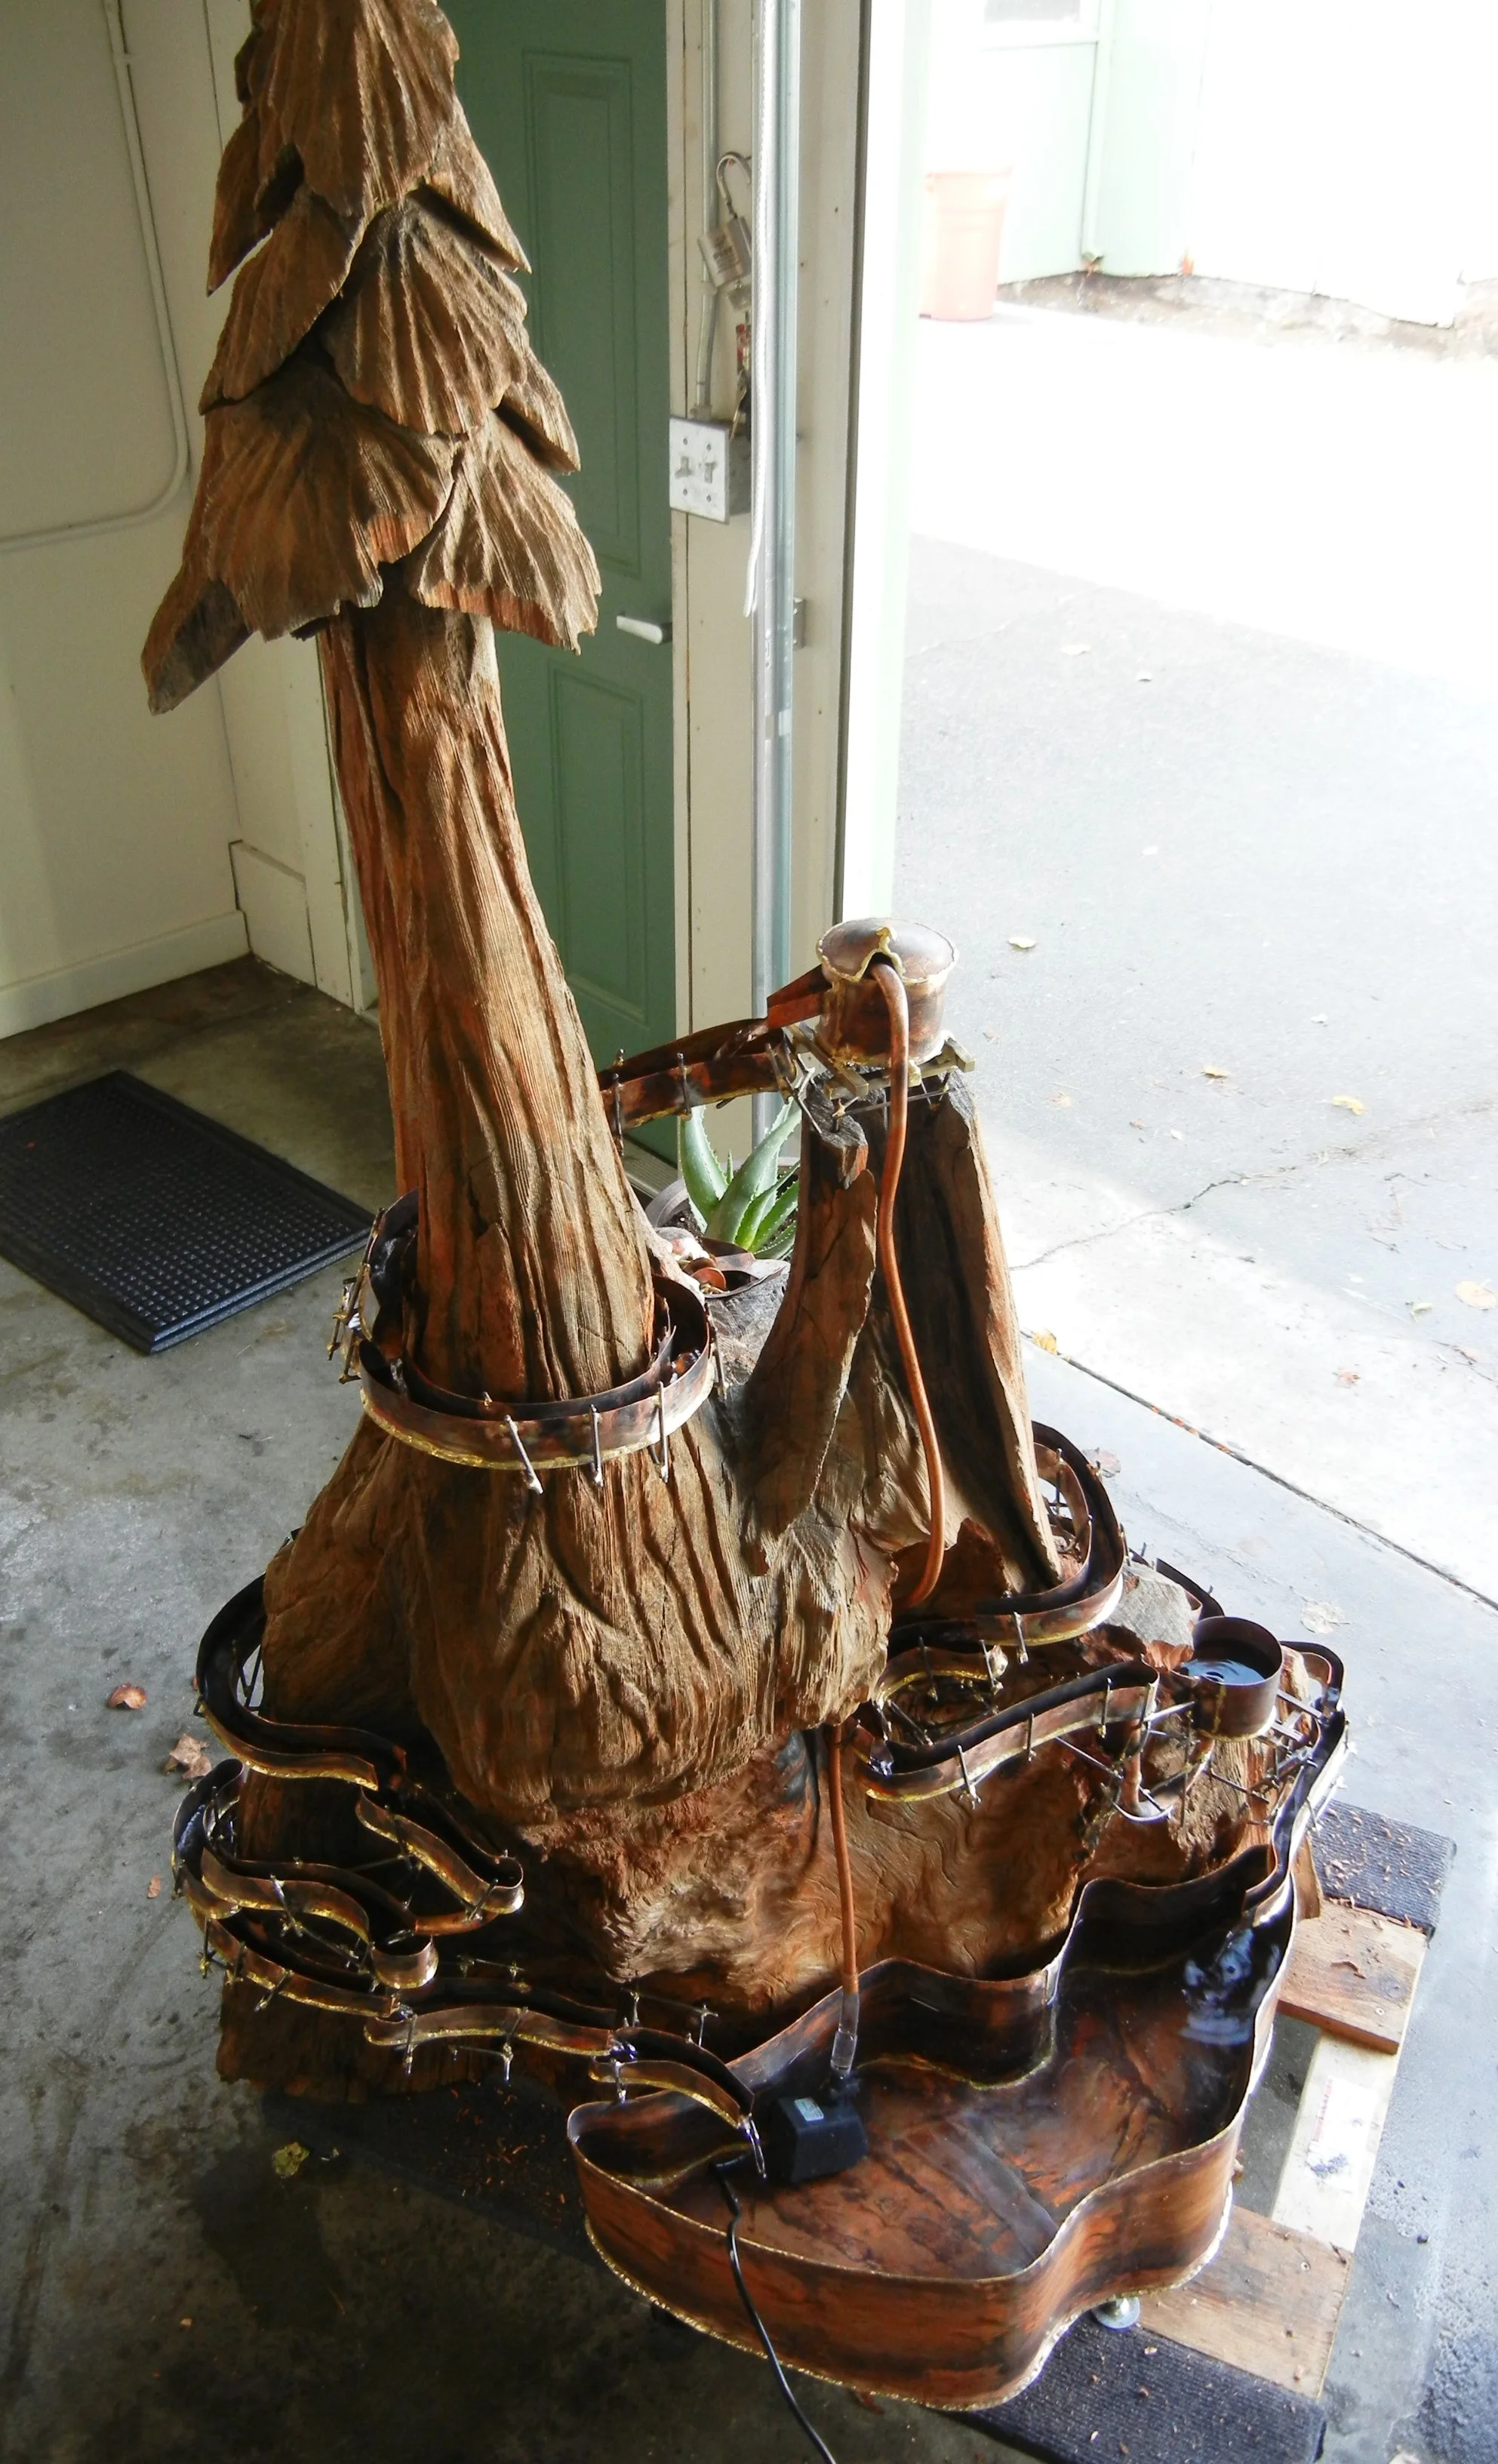
Redwoods do this piece justice


