Cruising Humboldt Bay Trail - East Point

Copper Quad Update! Check out July 2020 Virtual Arts Alive Show!
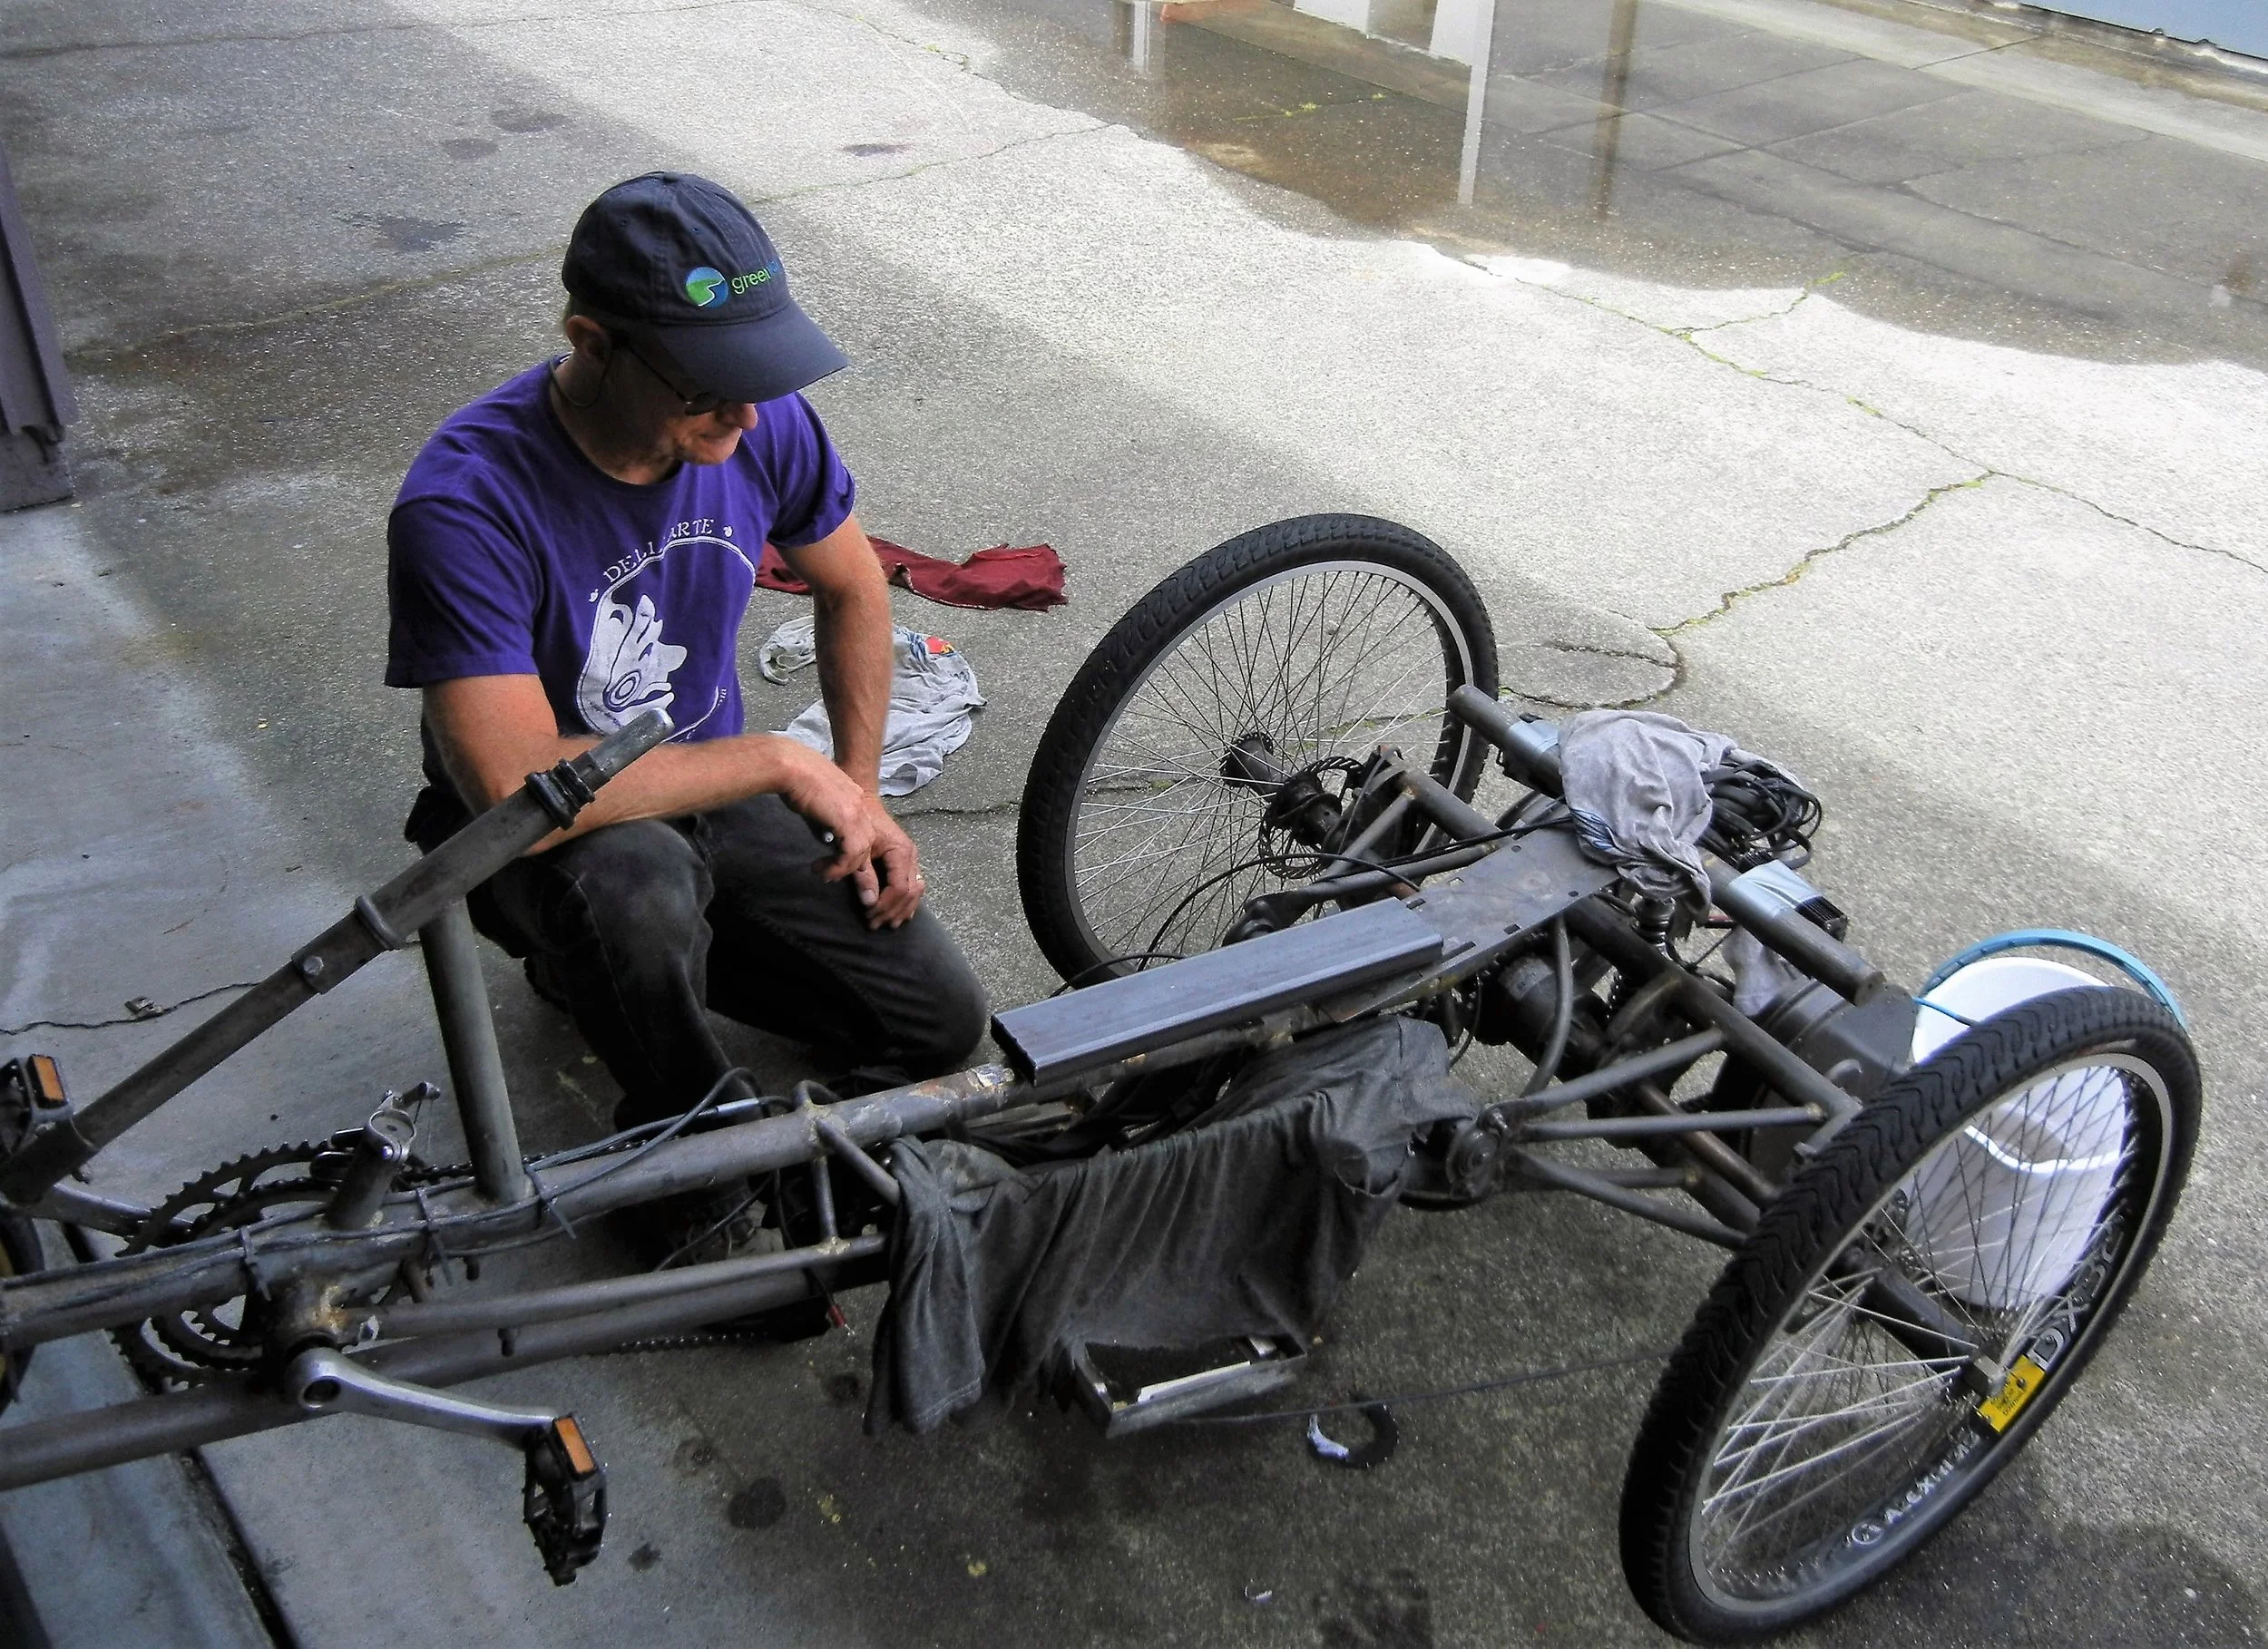
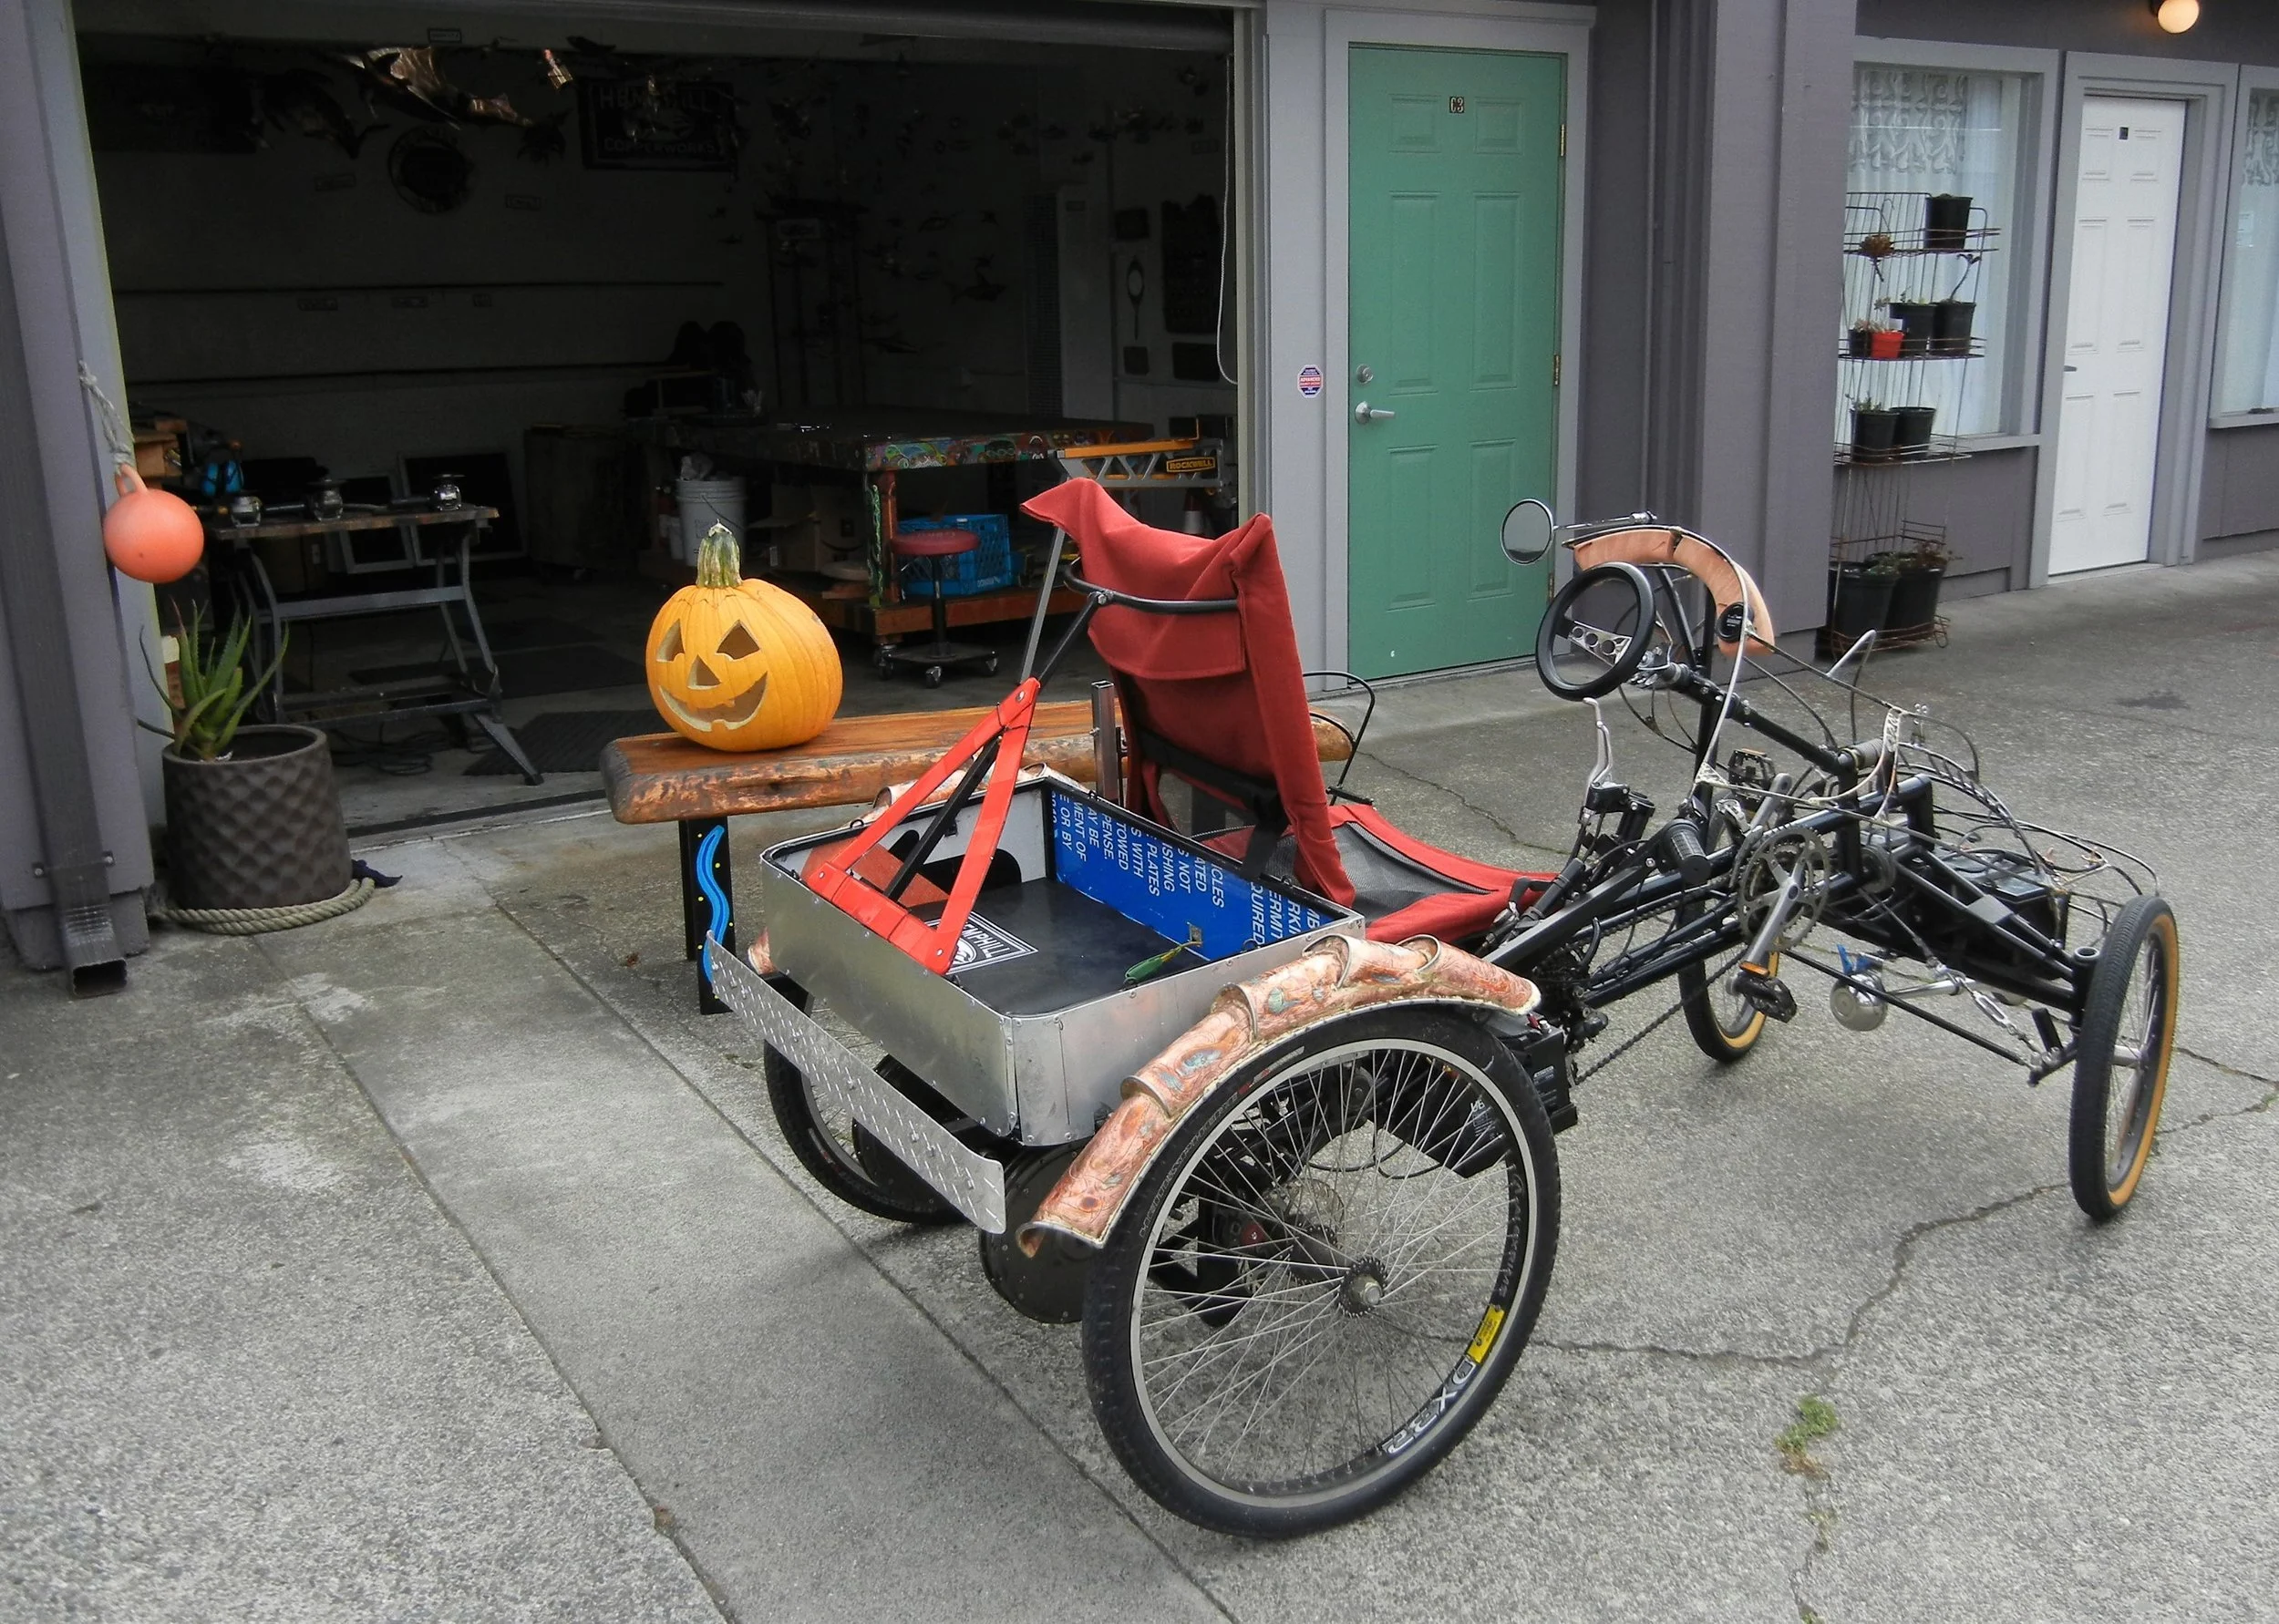
Steve the mastermind of this machine. Version 3 in design. Four 12 volt batteries giving me 48 volt total to rip up the streets. Well that’s a ways off at the moment! Start with something to sit on first!
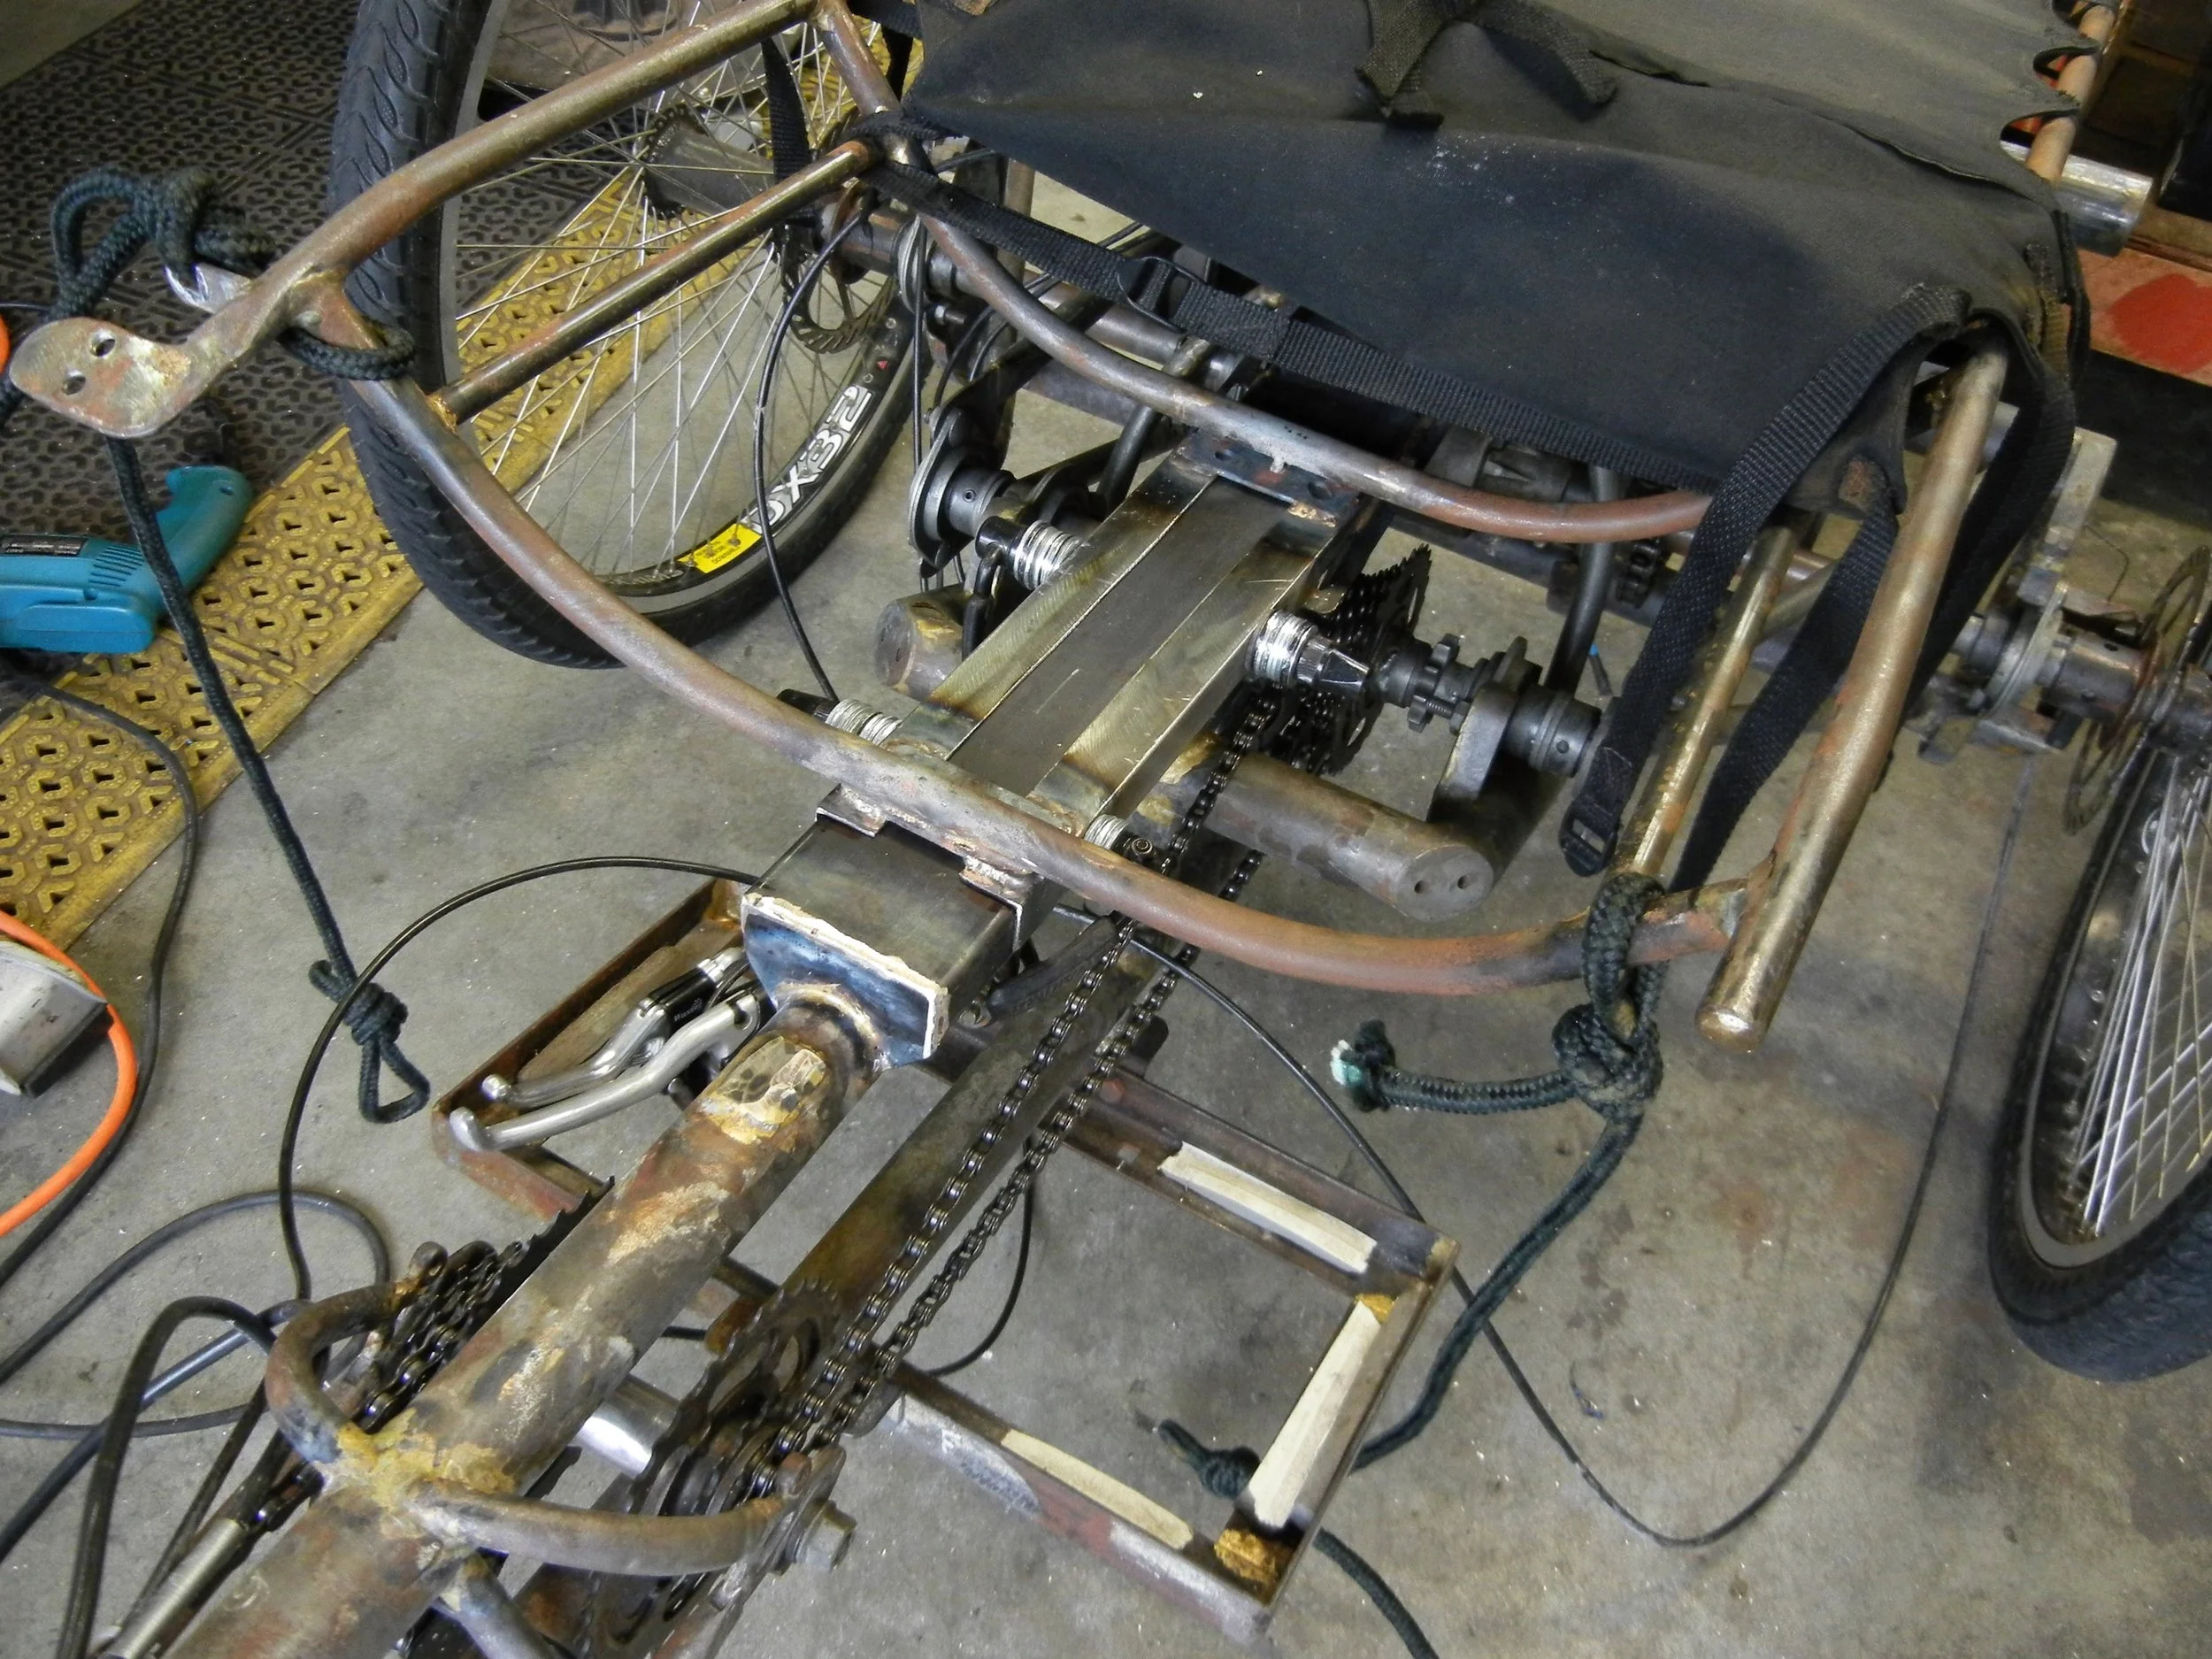
First things first or so I thought. Original seat welded to three one inch tabs to frame, well it busted out the frame. My fix build it burly and they will survive!

Objective - Not to weld to existing frame as much as possible. Here I’m working on my grocery/beer carrier, will bolt on for easy removal and maintaining.
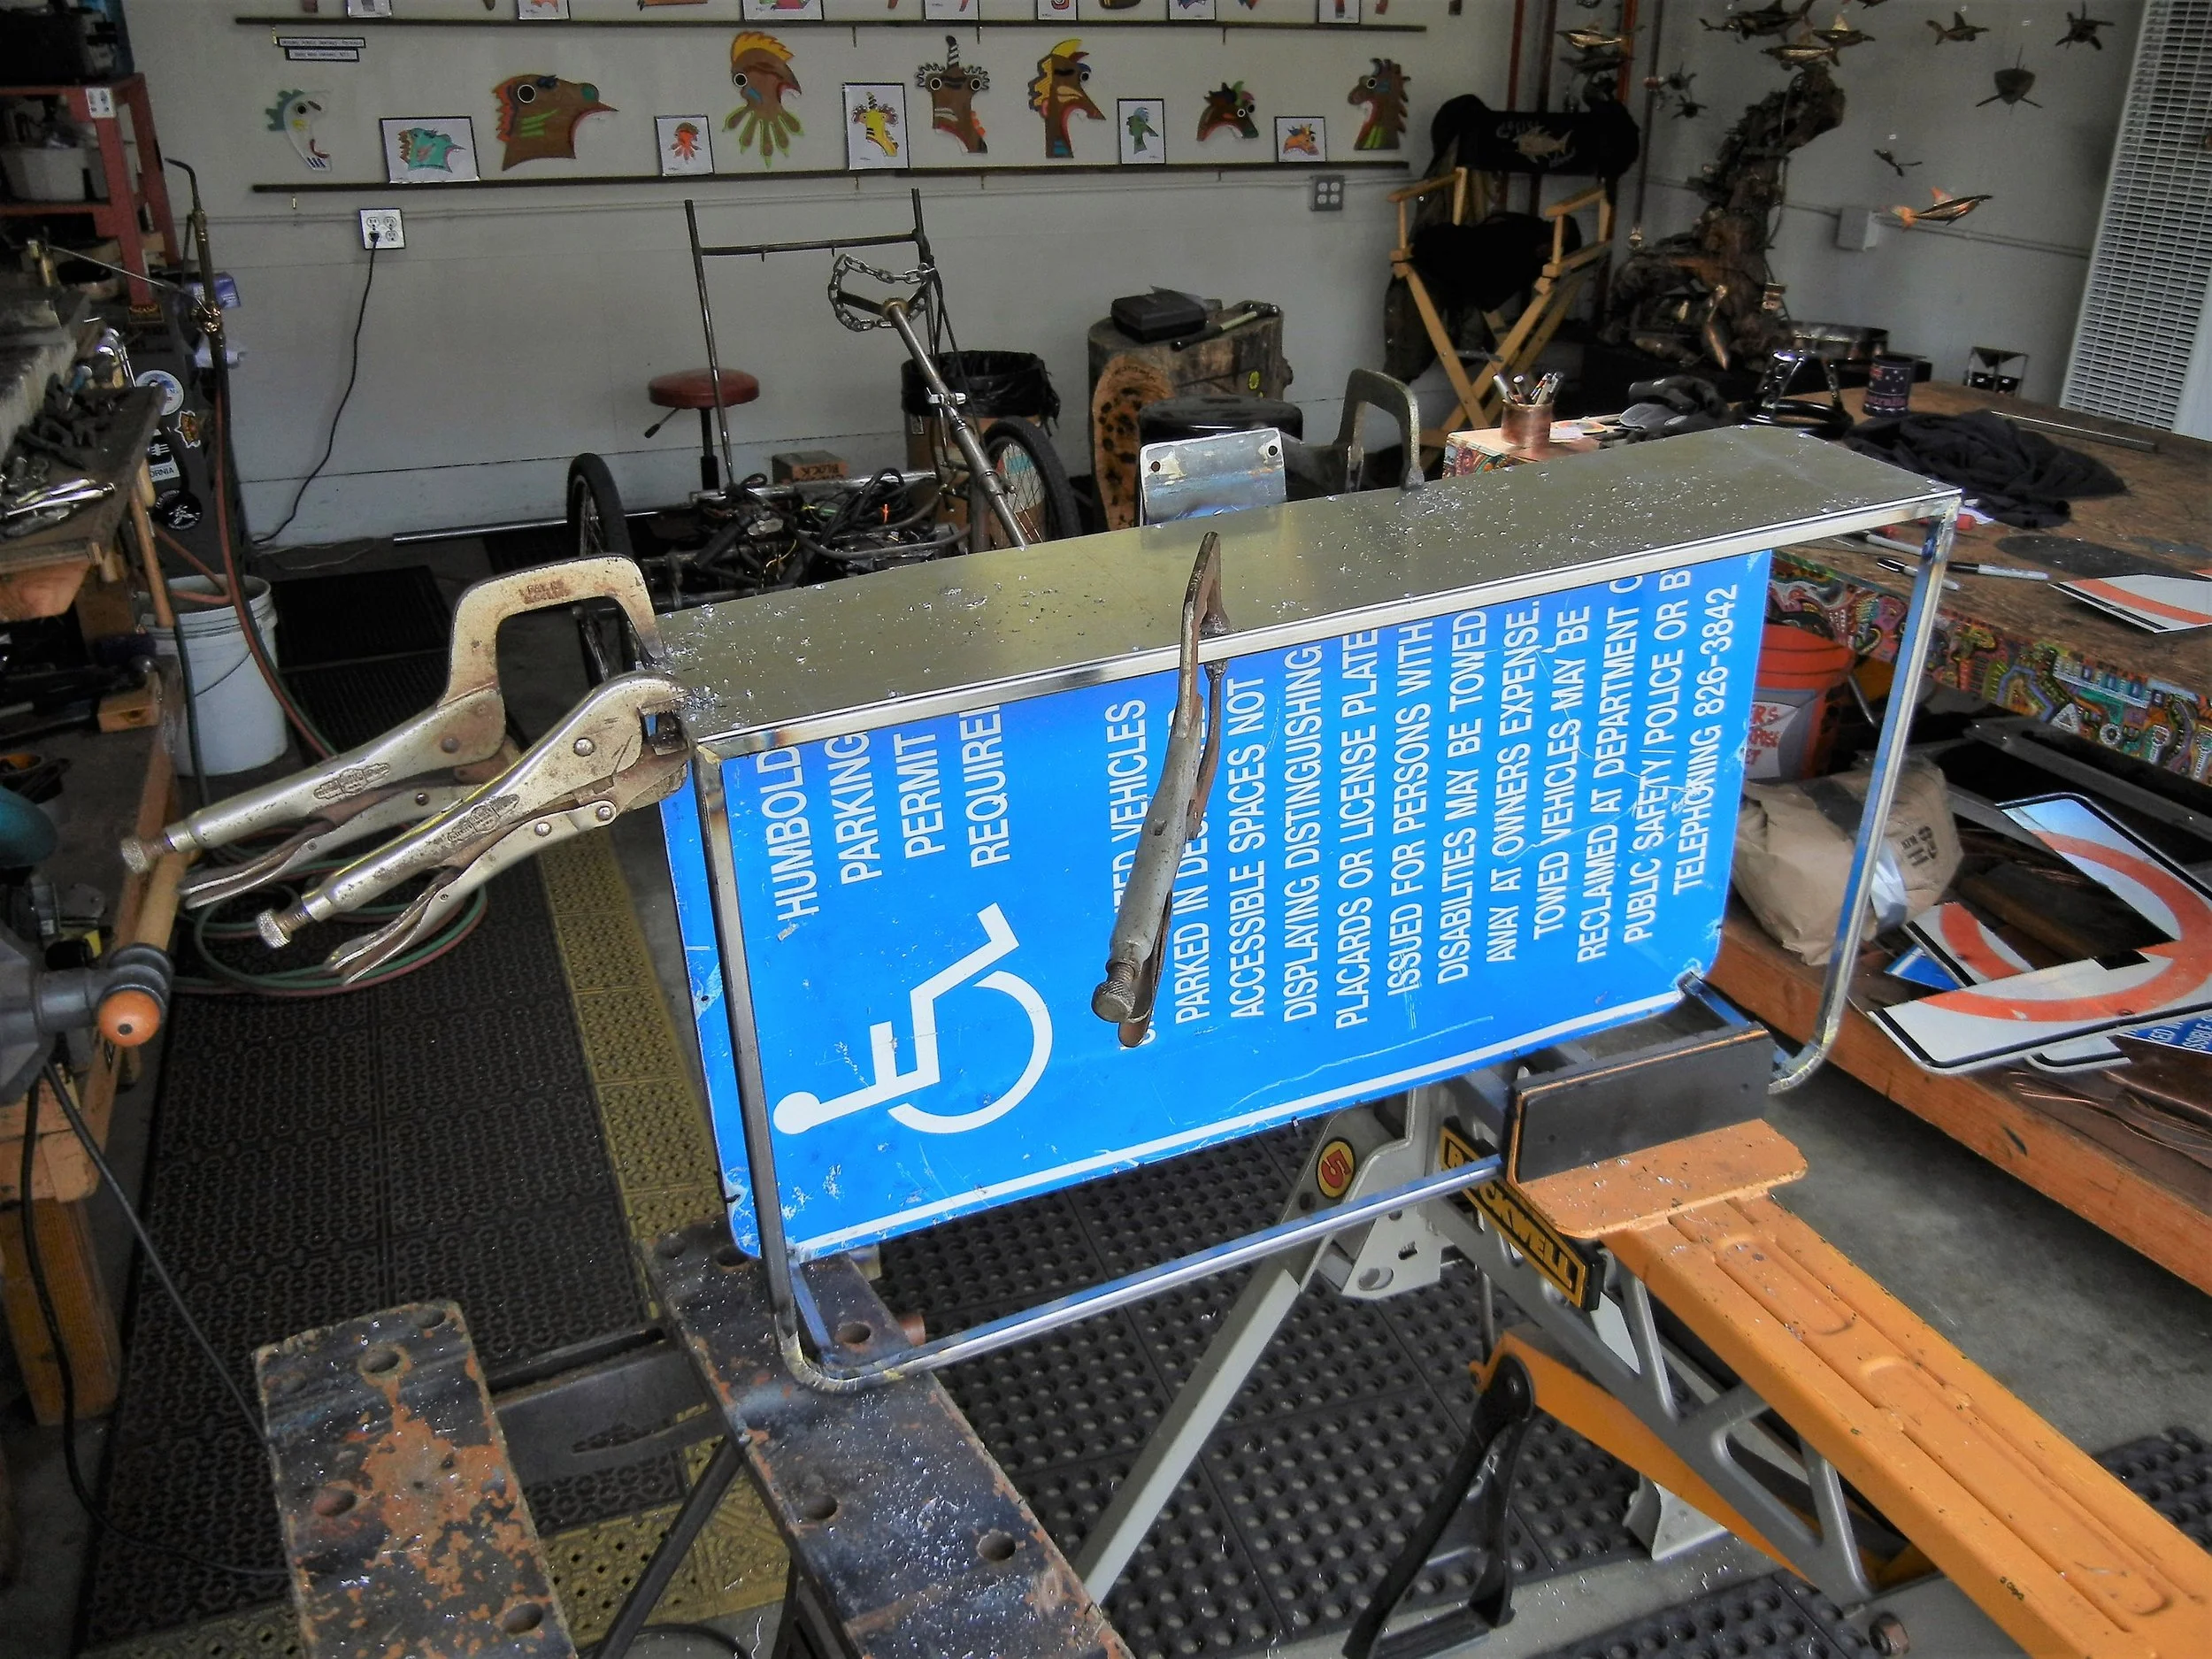
Signage I found and paid for at Arcata Salvage, signs were in pretty bad shape, all beat up and what not. So I applied some TLC and performed this surgery, looking good!

Front end was completely out of wack and had to go “Old School” on this. Objective - Remove old head tubes but not destroy exisiting front end frame. How to do this? Pretty simple, heat up the existing brass that has been brazed. Once brass is back to liquid form use a steel wire brush and start flicking the liquid brass away exposing unwelded areas. Repeat till it comes off. Thanks to Oren on helping out.

Just what the Doctor ordered, new Chromoly head tubes custom made by myself and help from my buddy Doctor Ken.
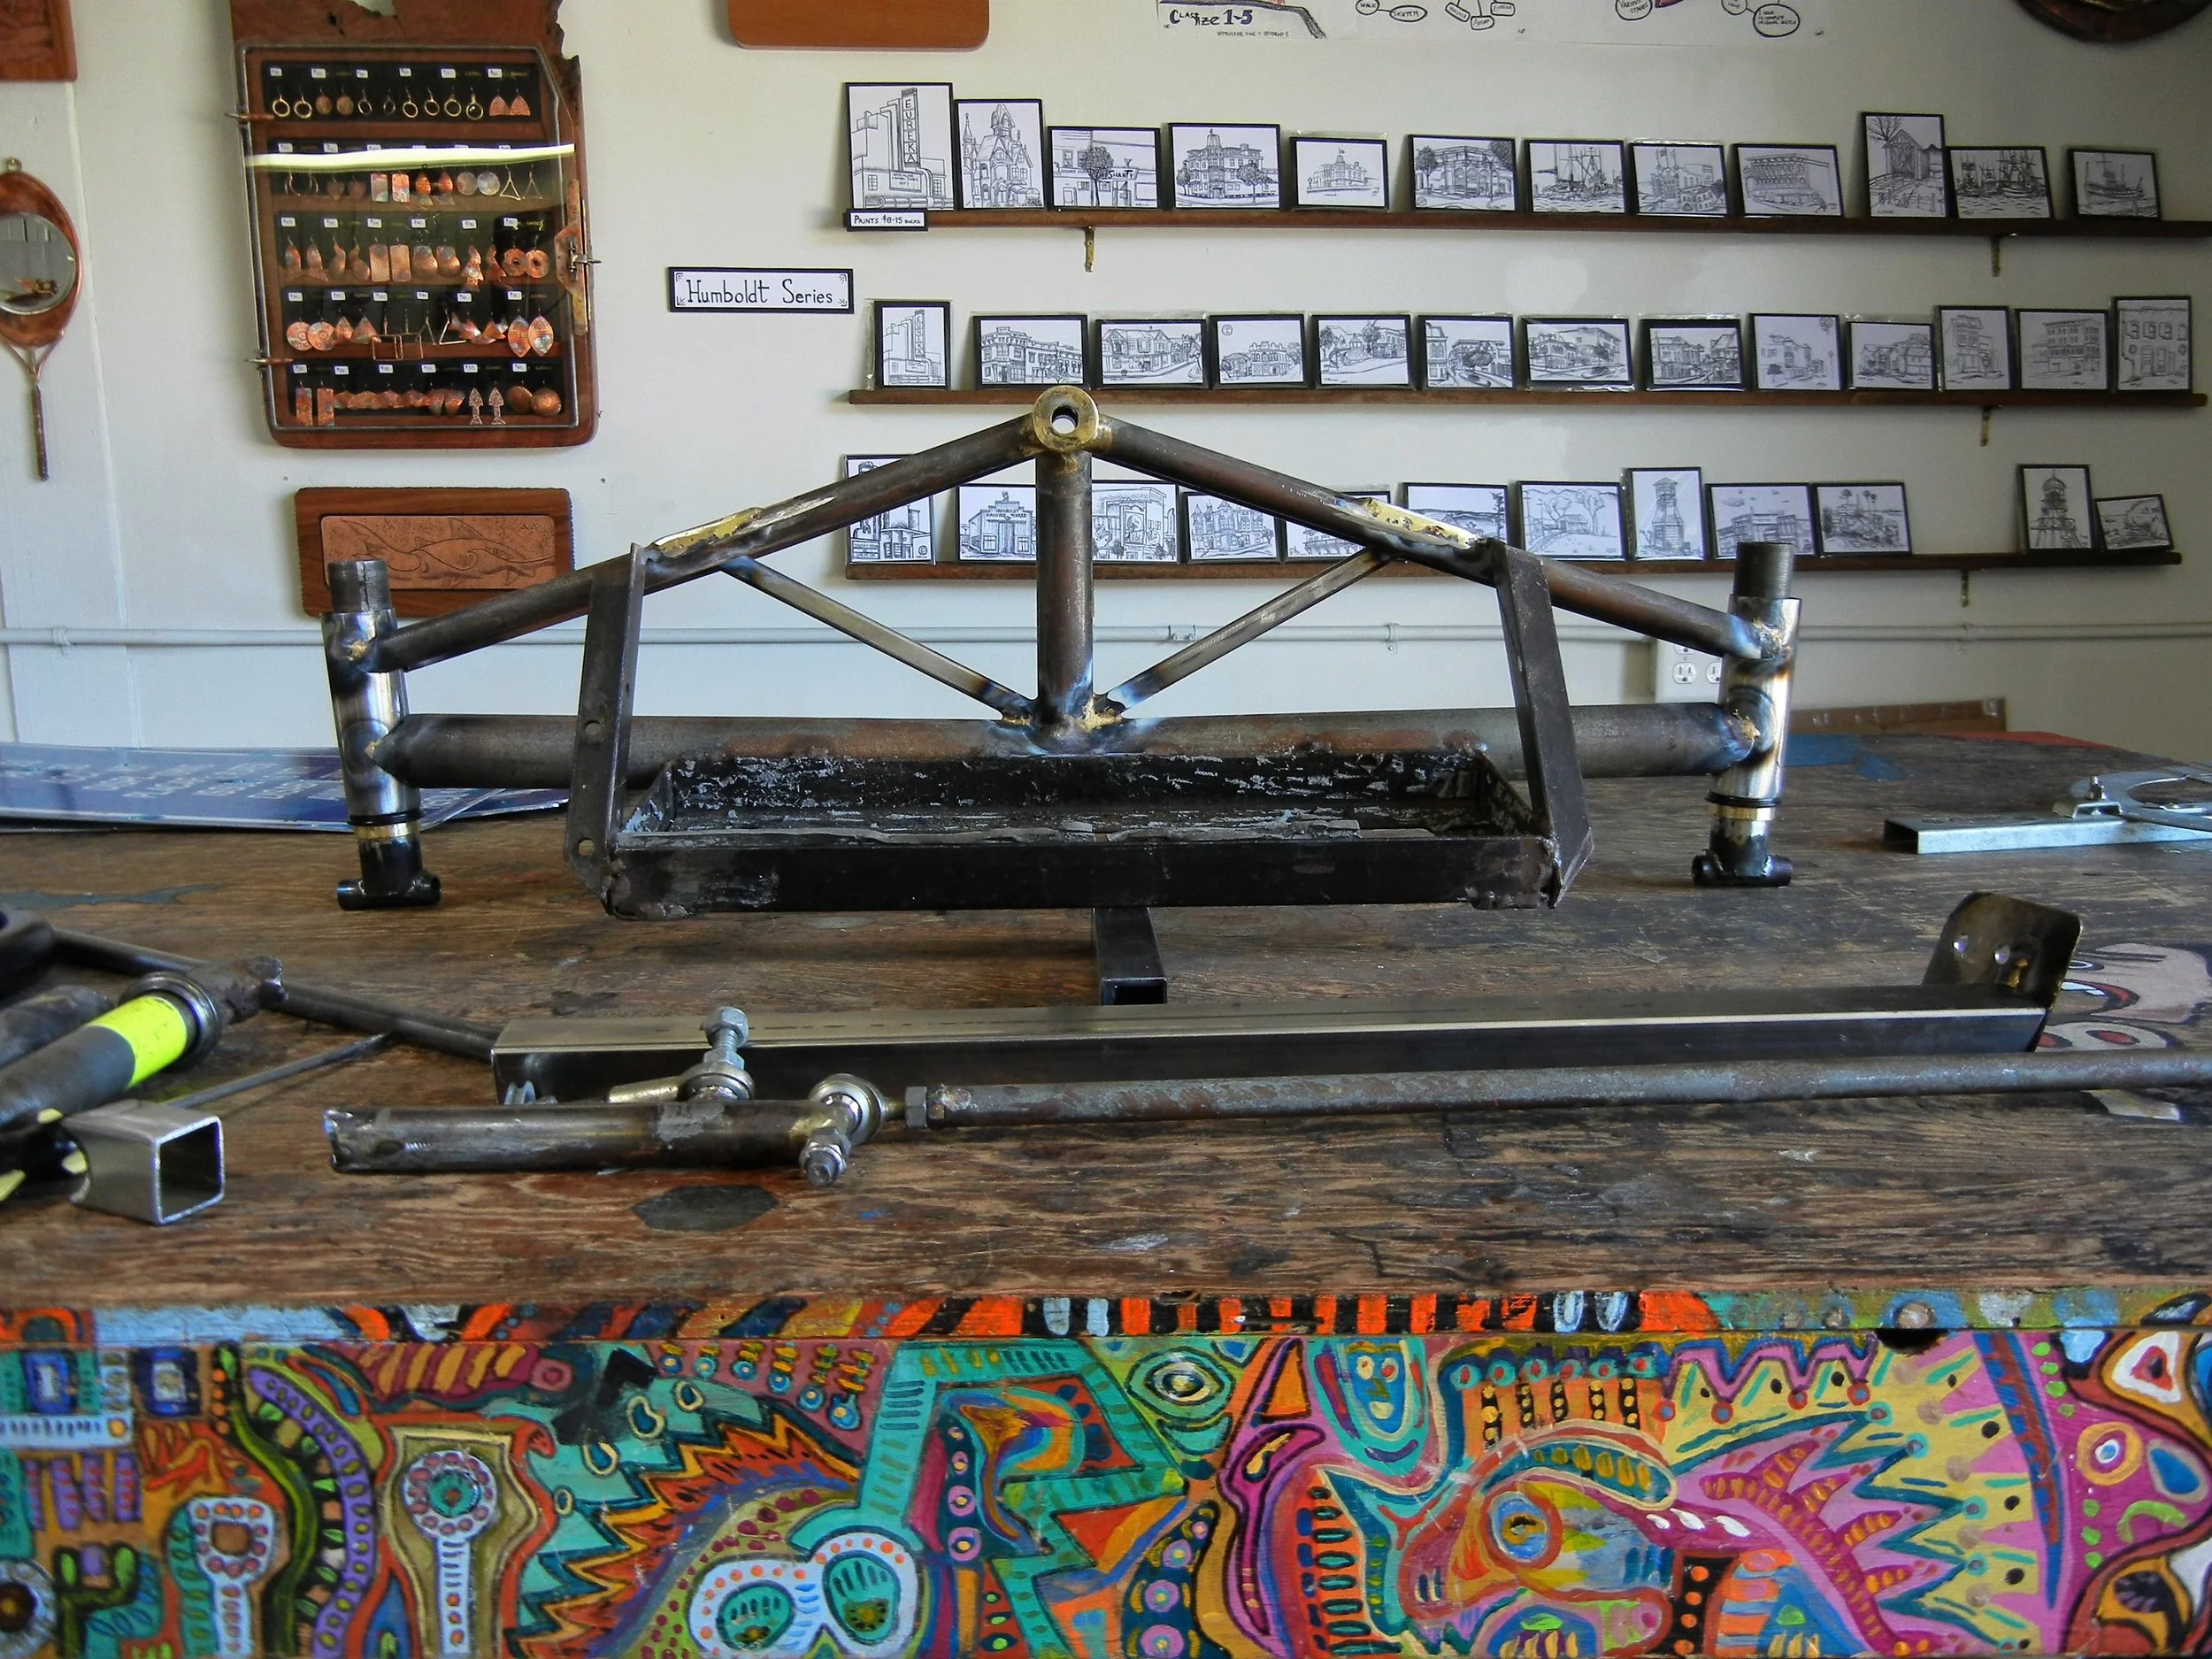
Front head tubes tacked in make sure the angle is just right this time. I welded them at 3 degrees off the 90. Time to get on the tie rods which had to be lengthened by welding extra nuts to the end.
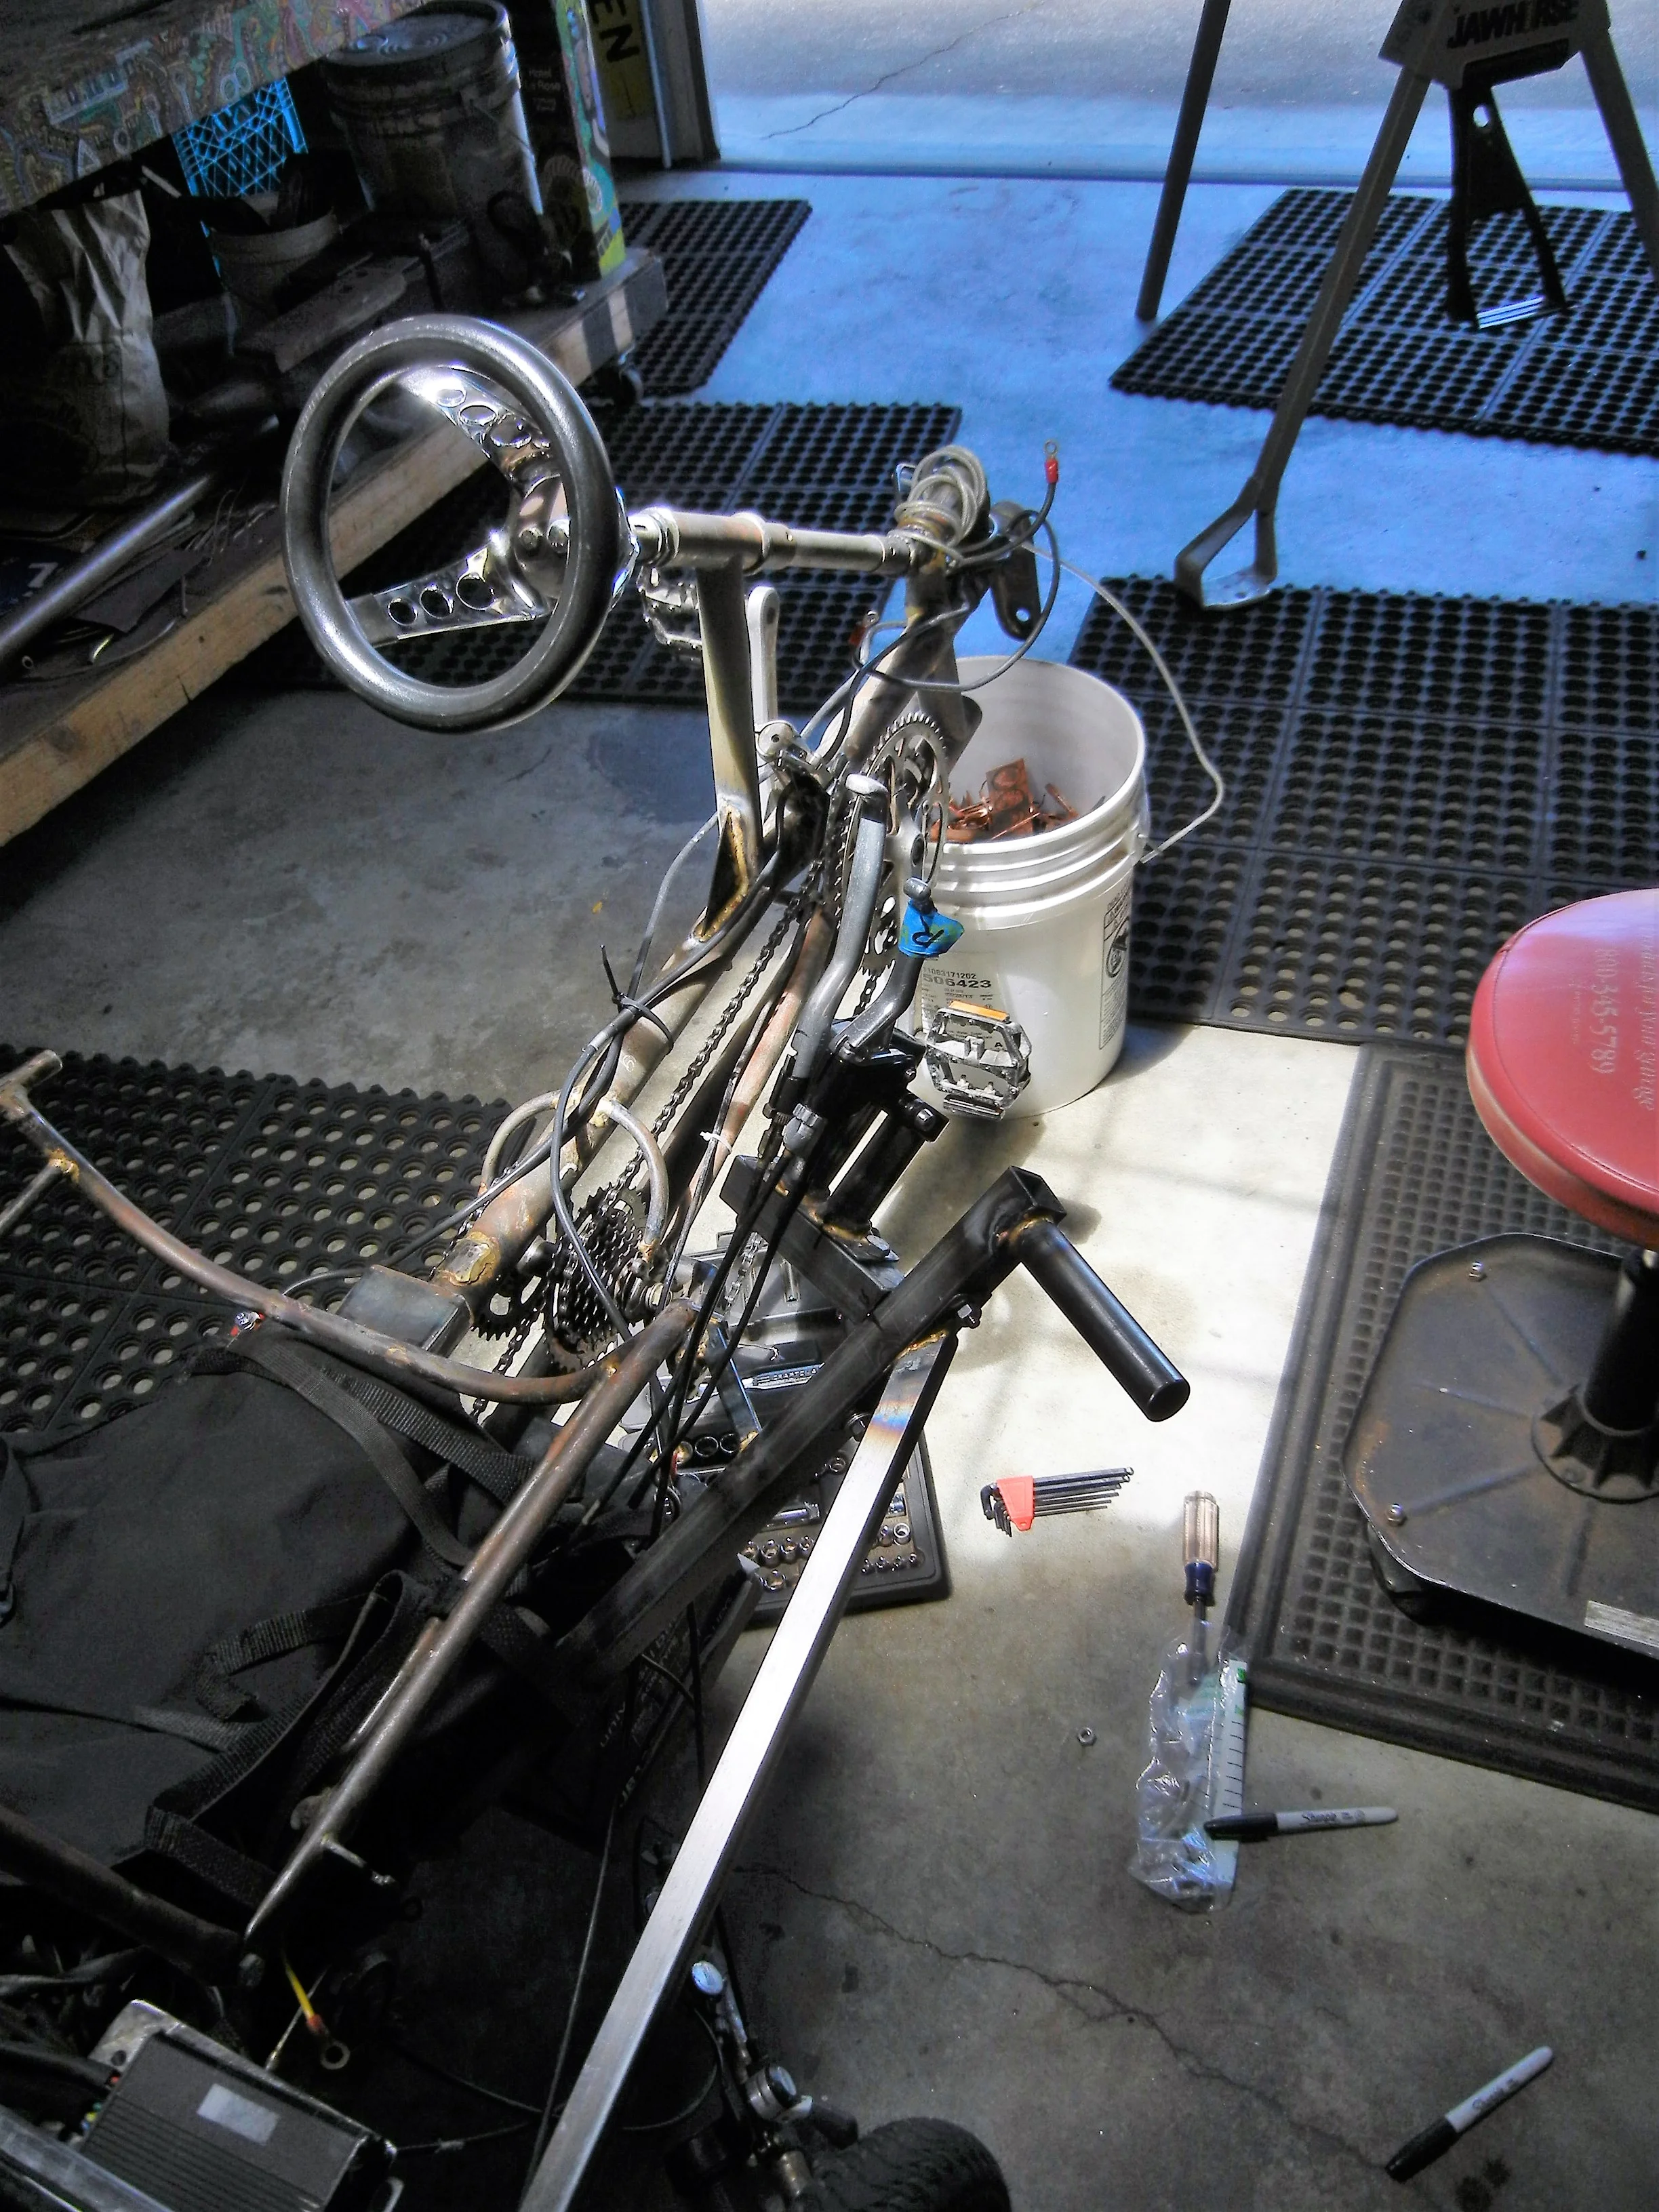
Sitting in all her glory waiting patiently, ride me, ride me! Working on the throttle & breaking system.
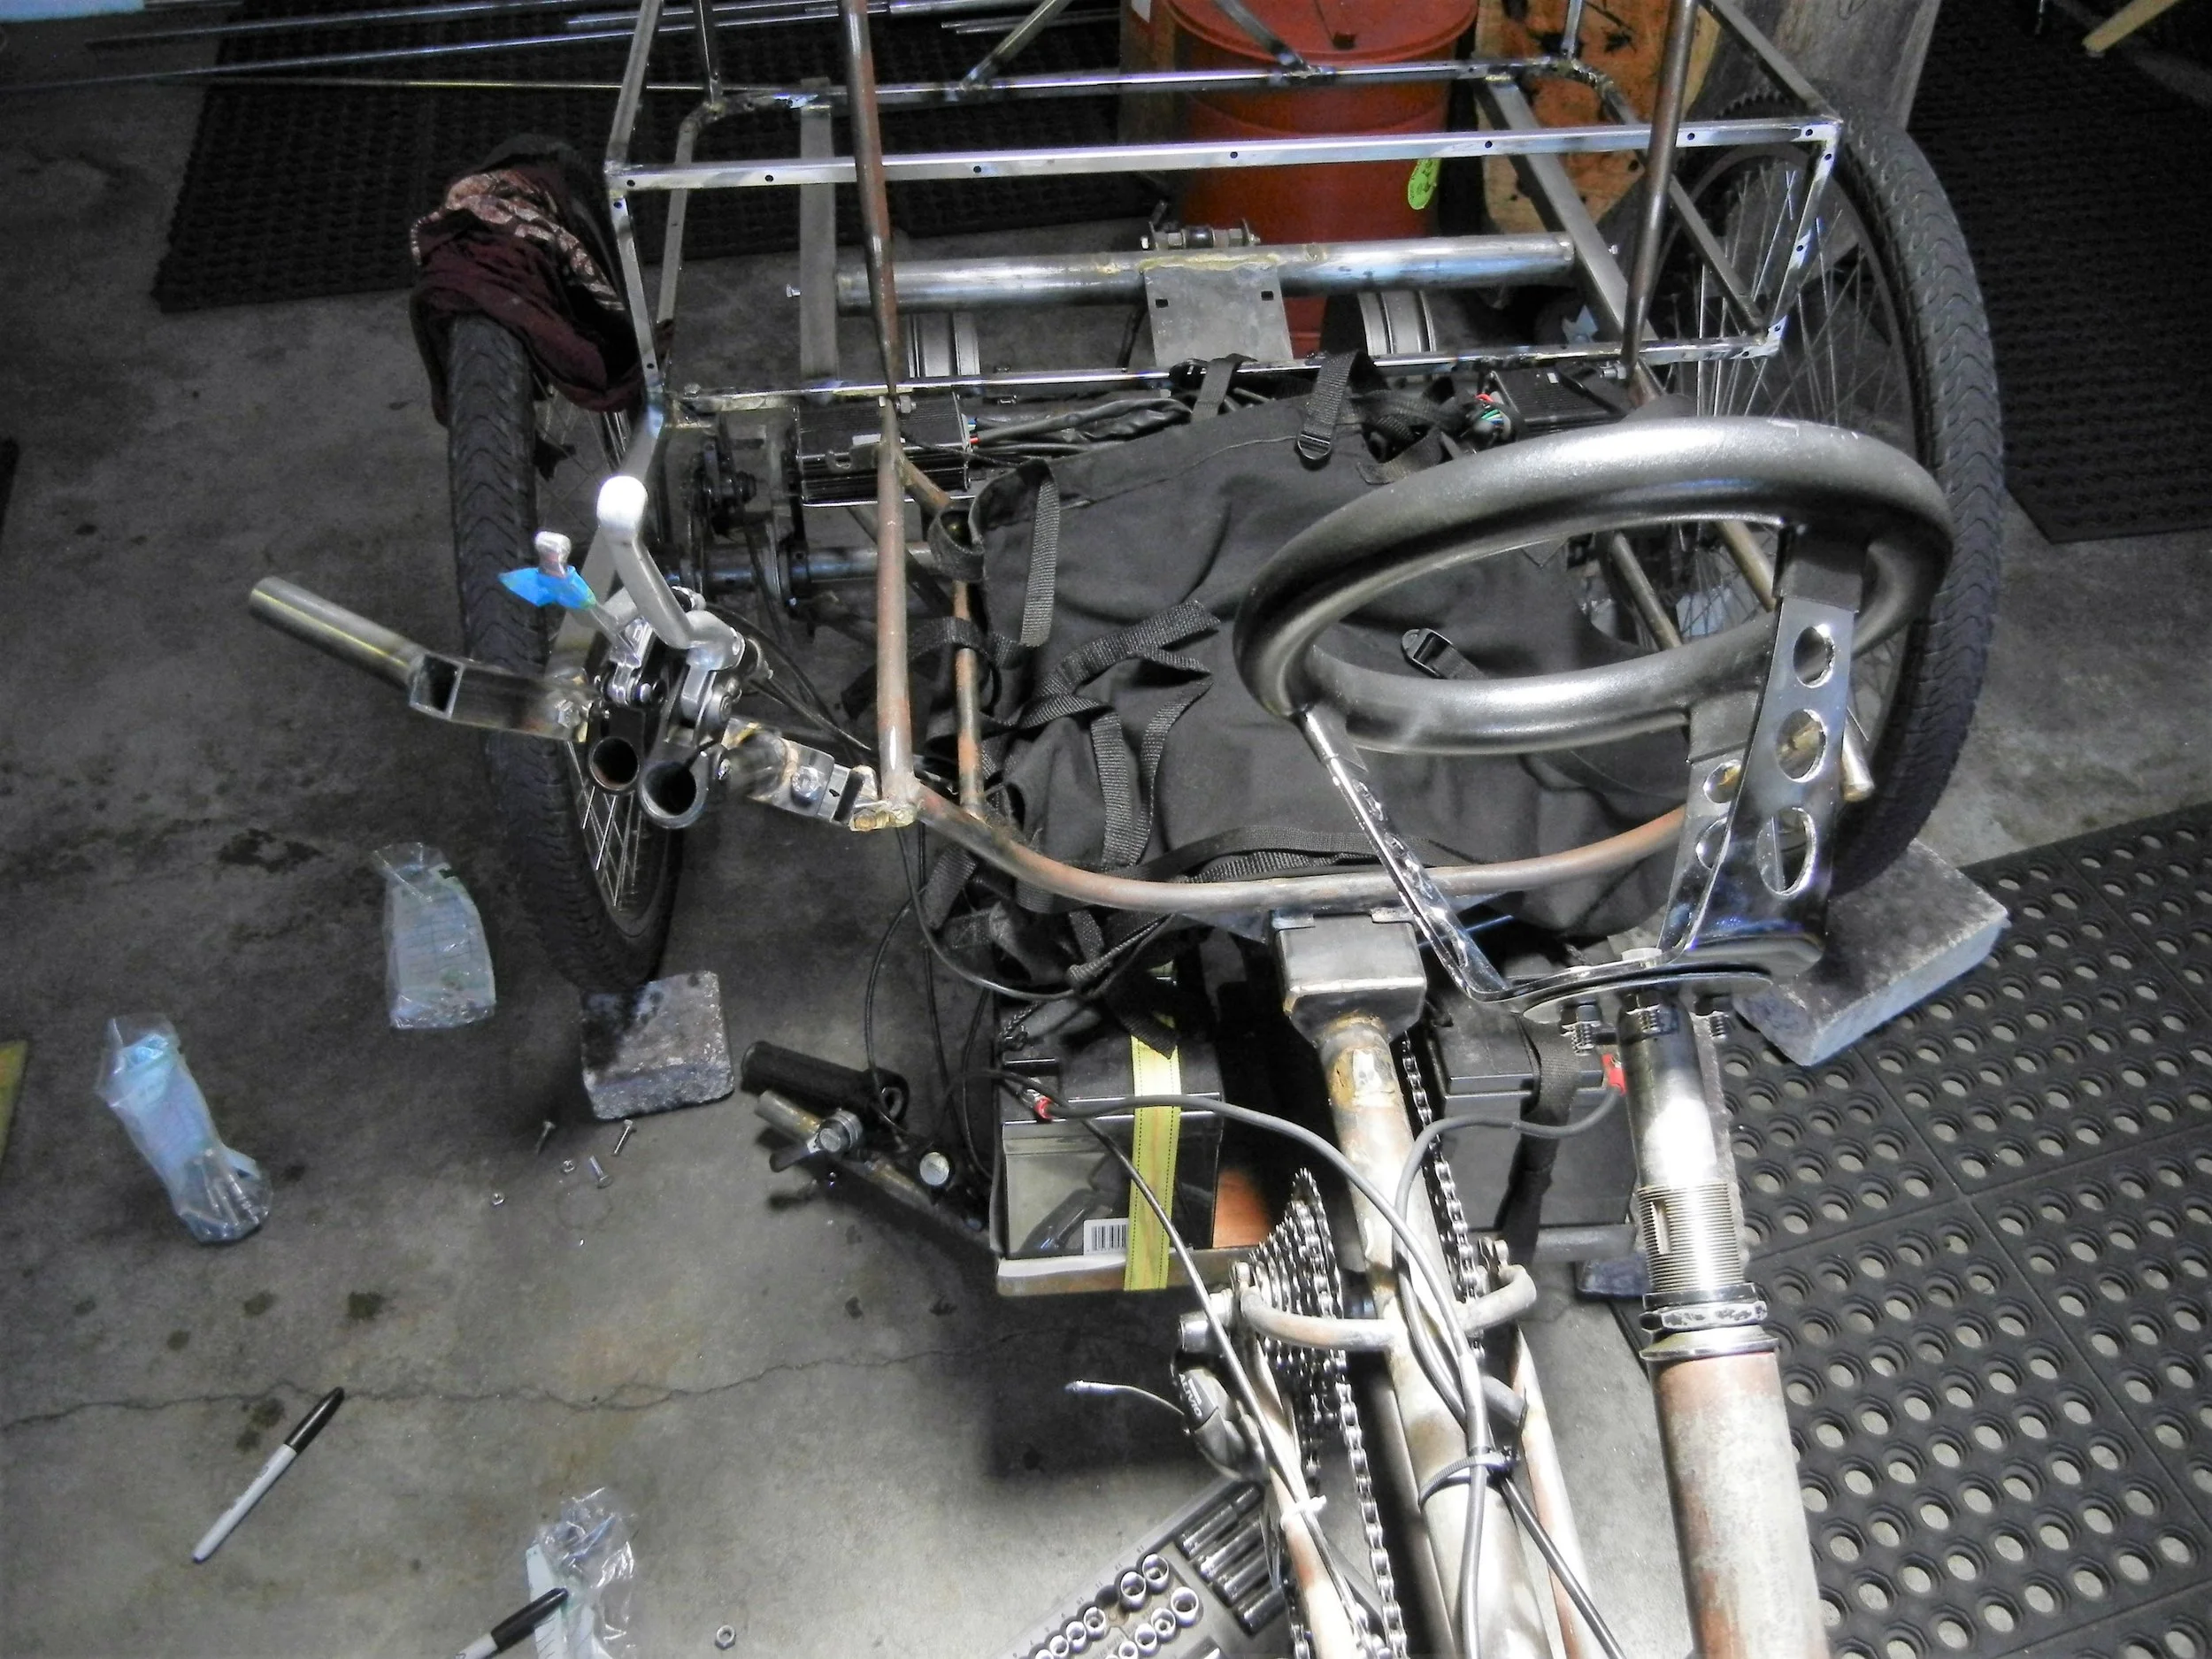
Throttle, shifting & braking arm all in one and bolted on by five bolts.
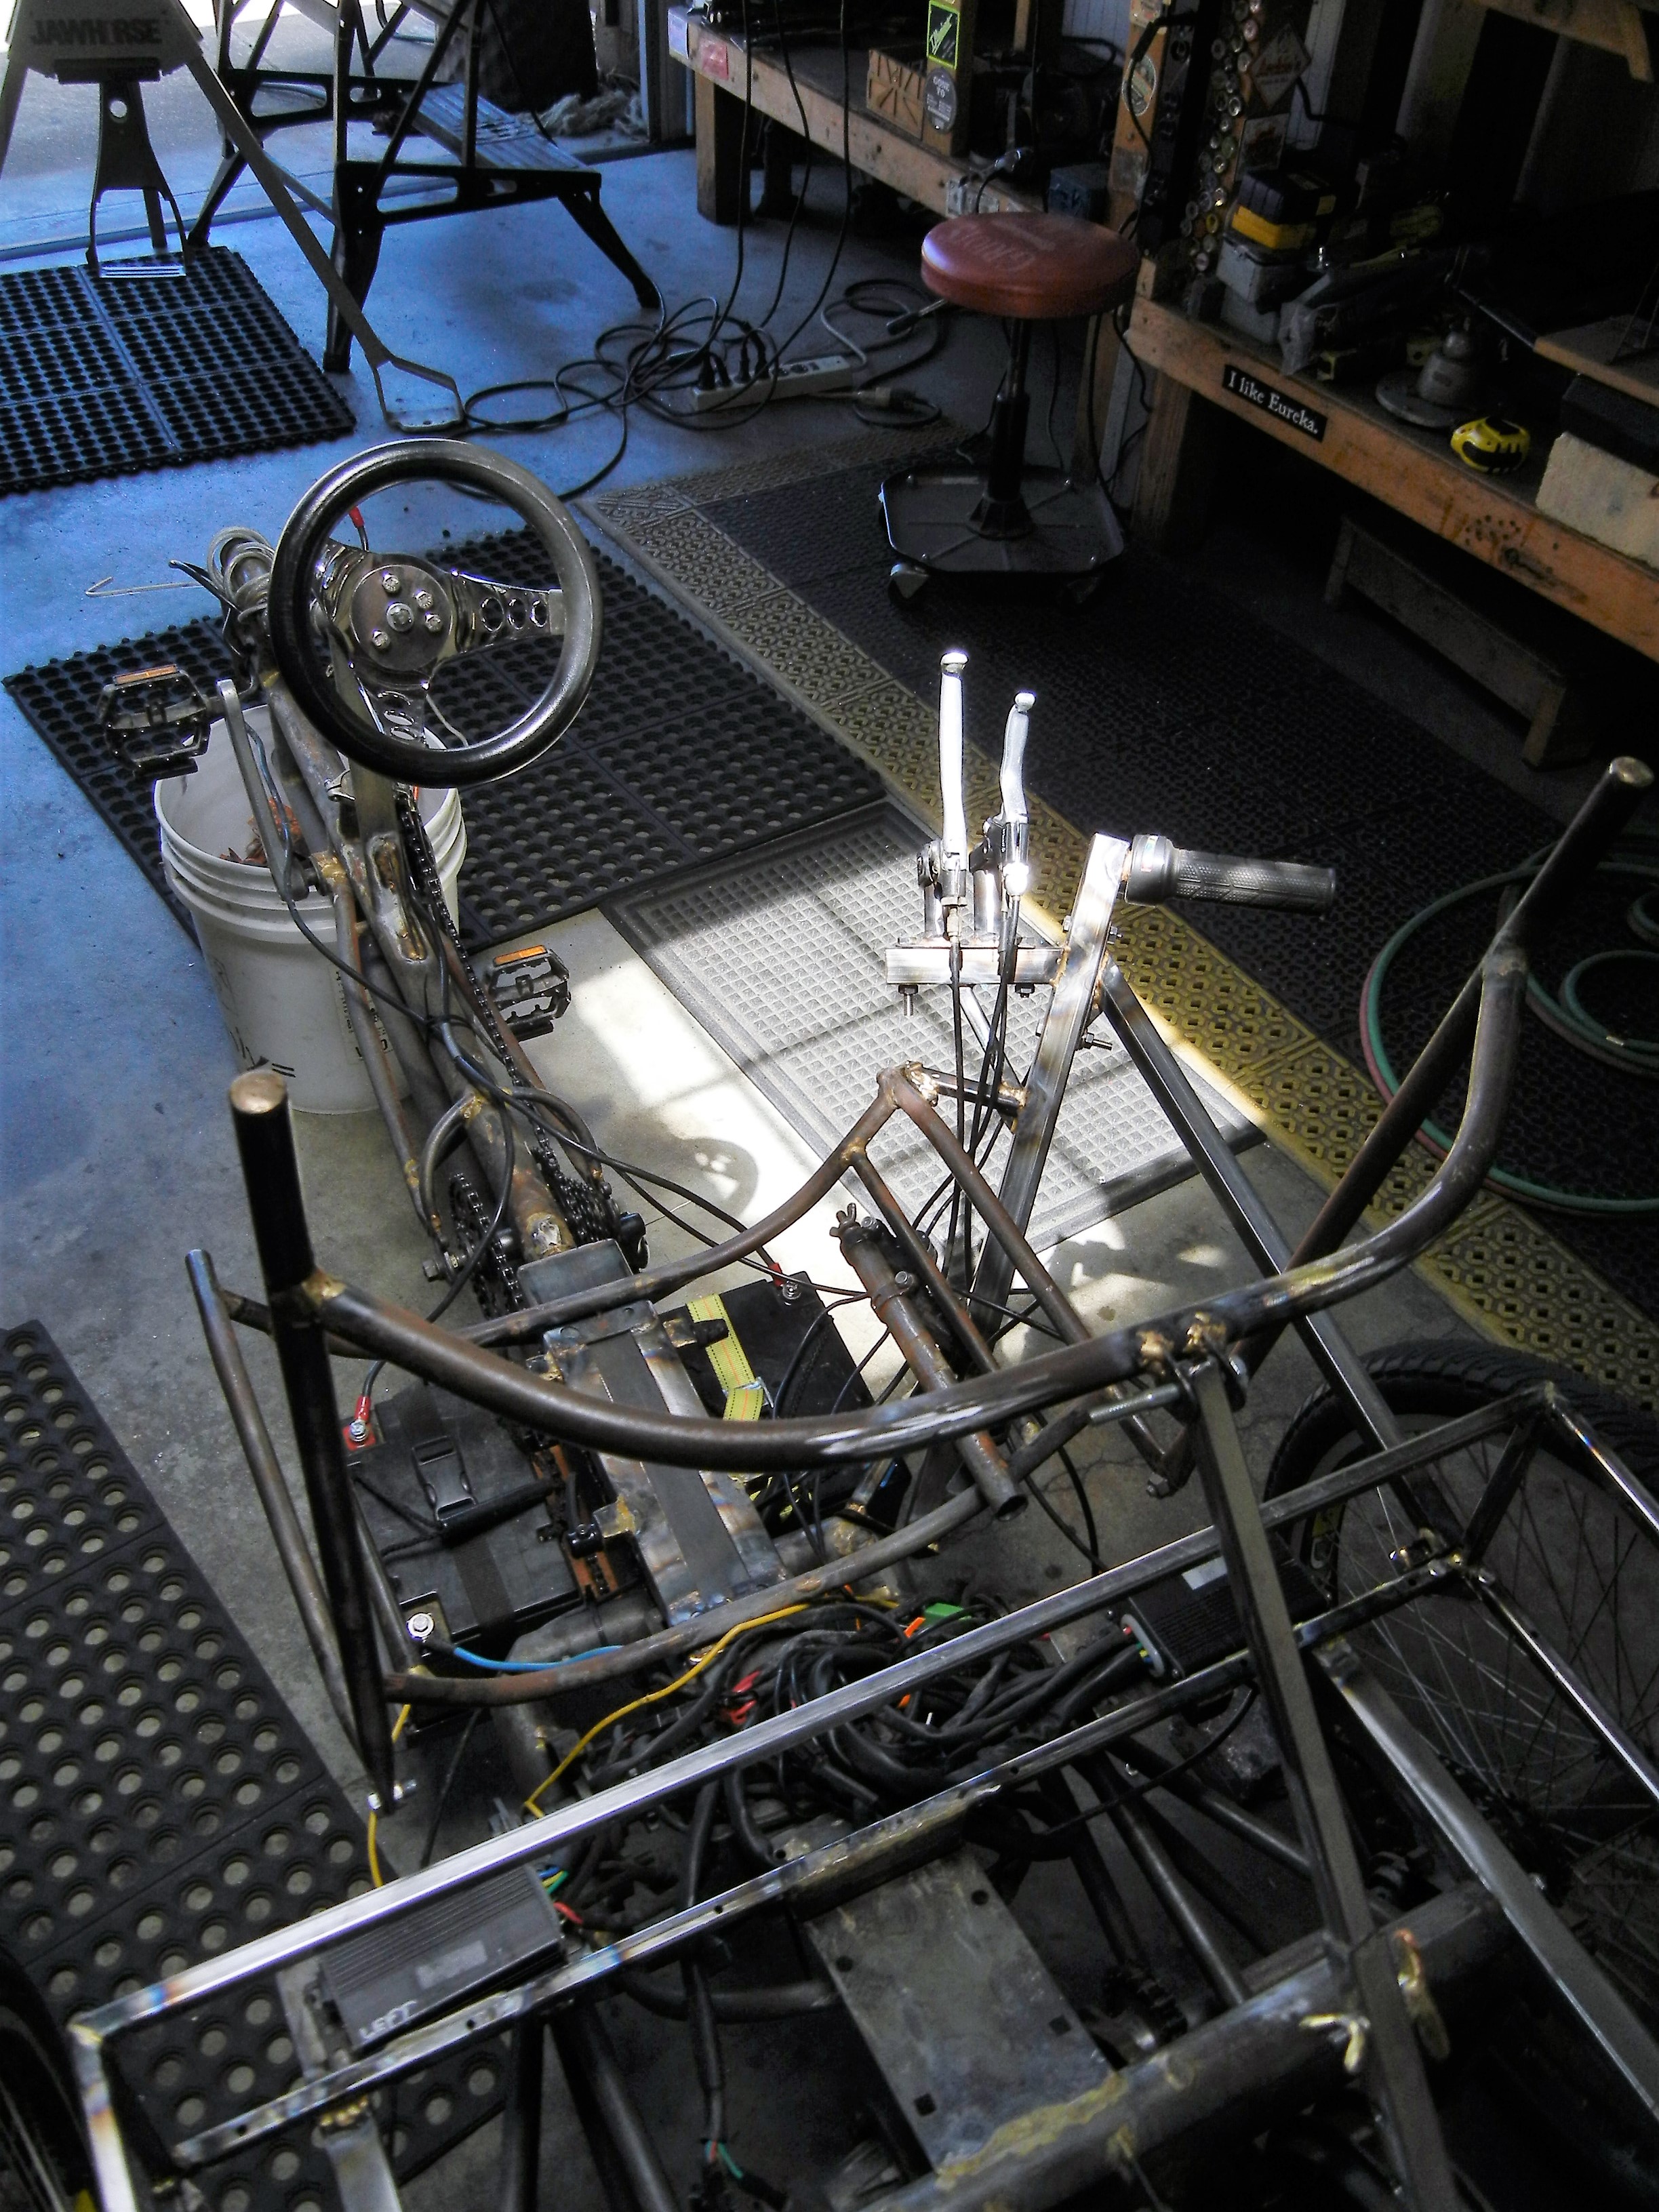
Gotta love the sun roof in the studio makes for some great shots!
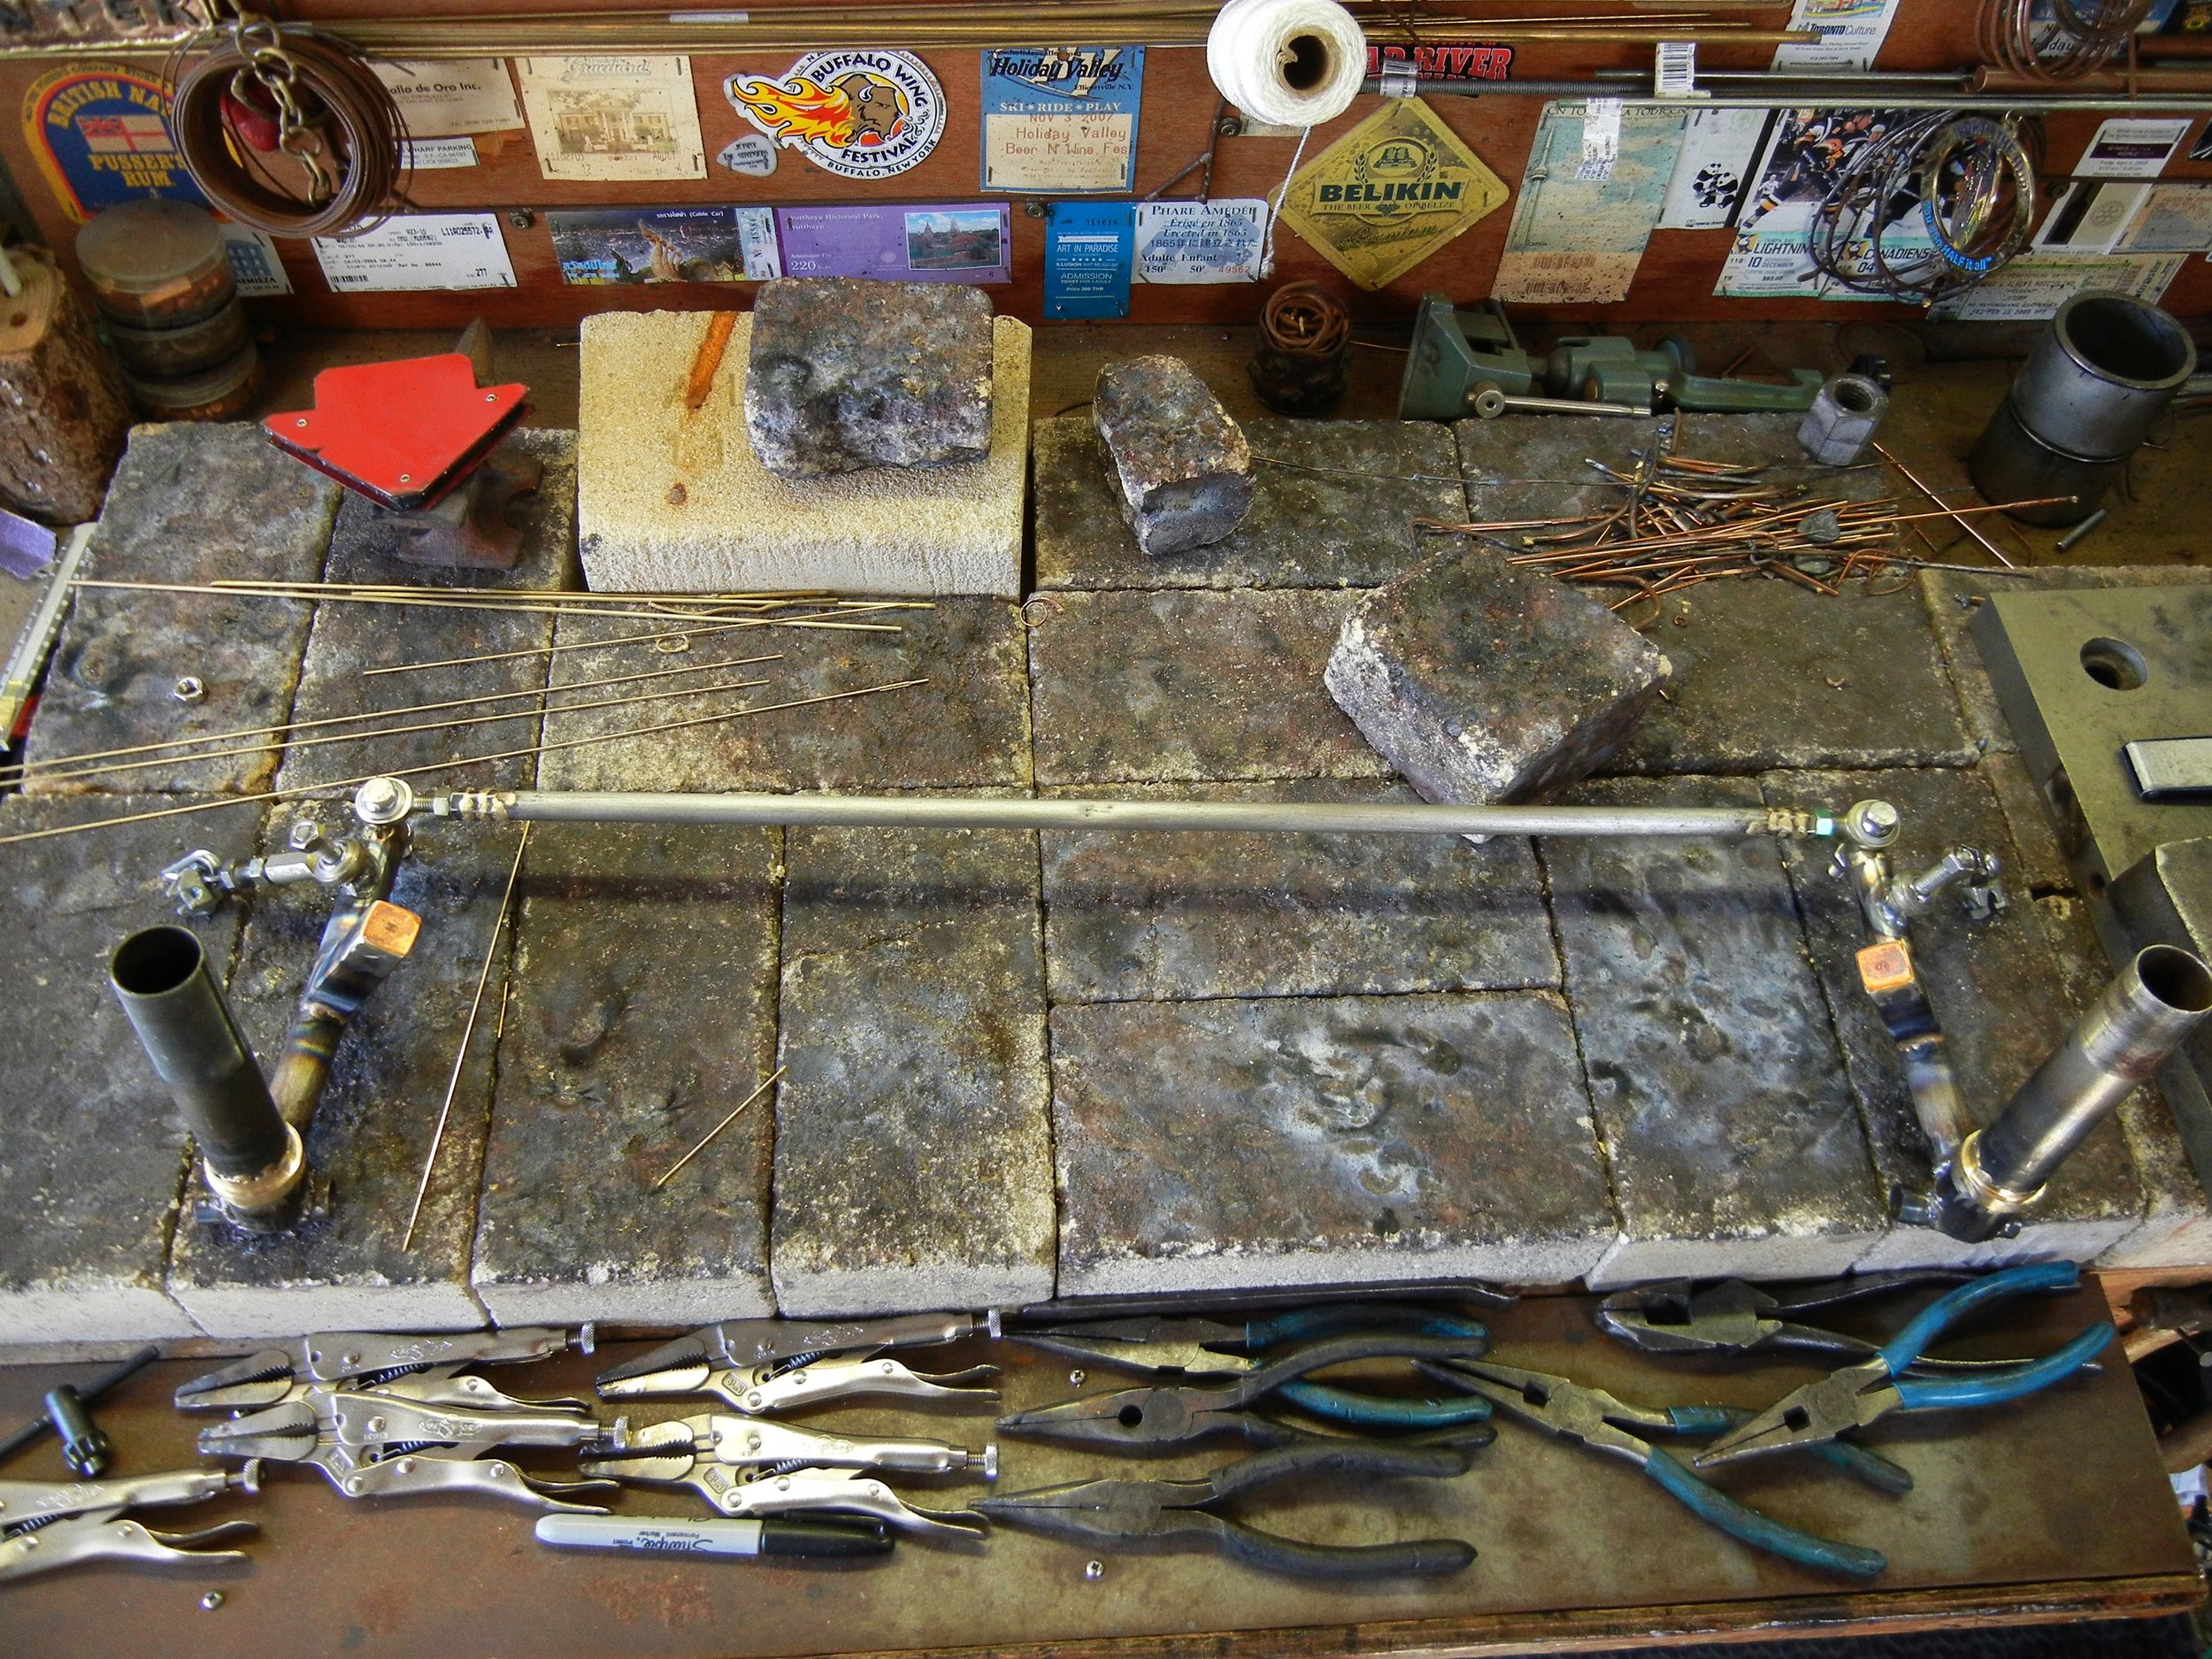
Working on the tie rod, never made one of these before actually not that difficult if you do it right.

Wiring harness was an electrical mess before, this is after my neighbor Dan-O helped me re-wire it. That bright one is for refueling at your favorite house outlet. Fill er up!
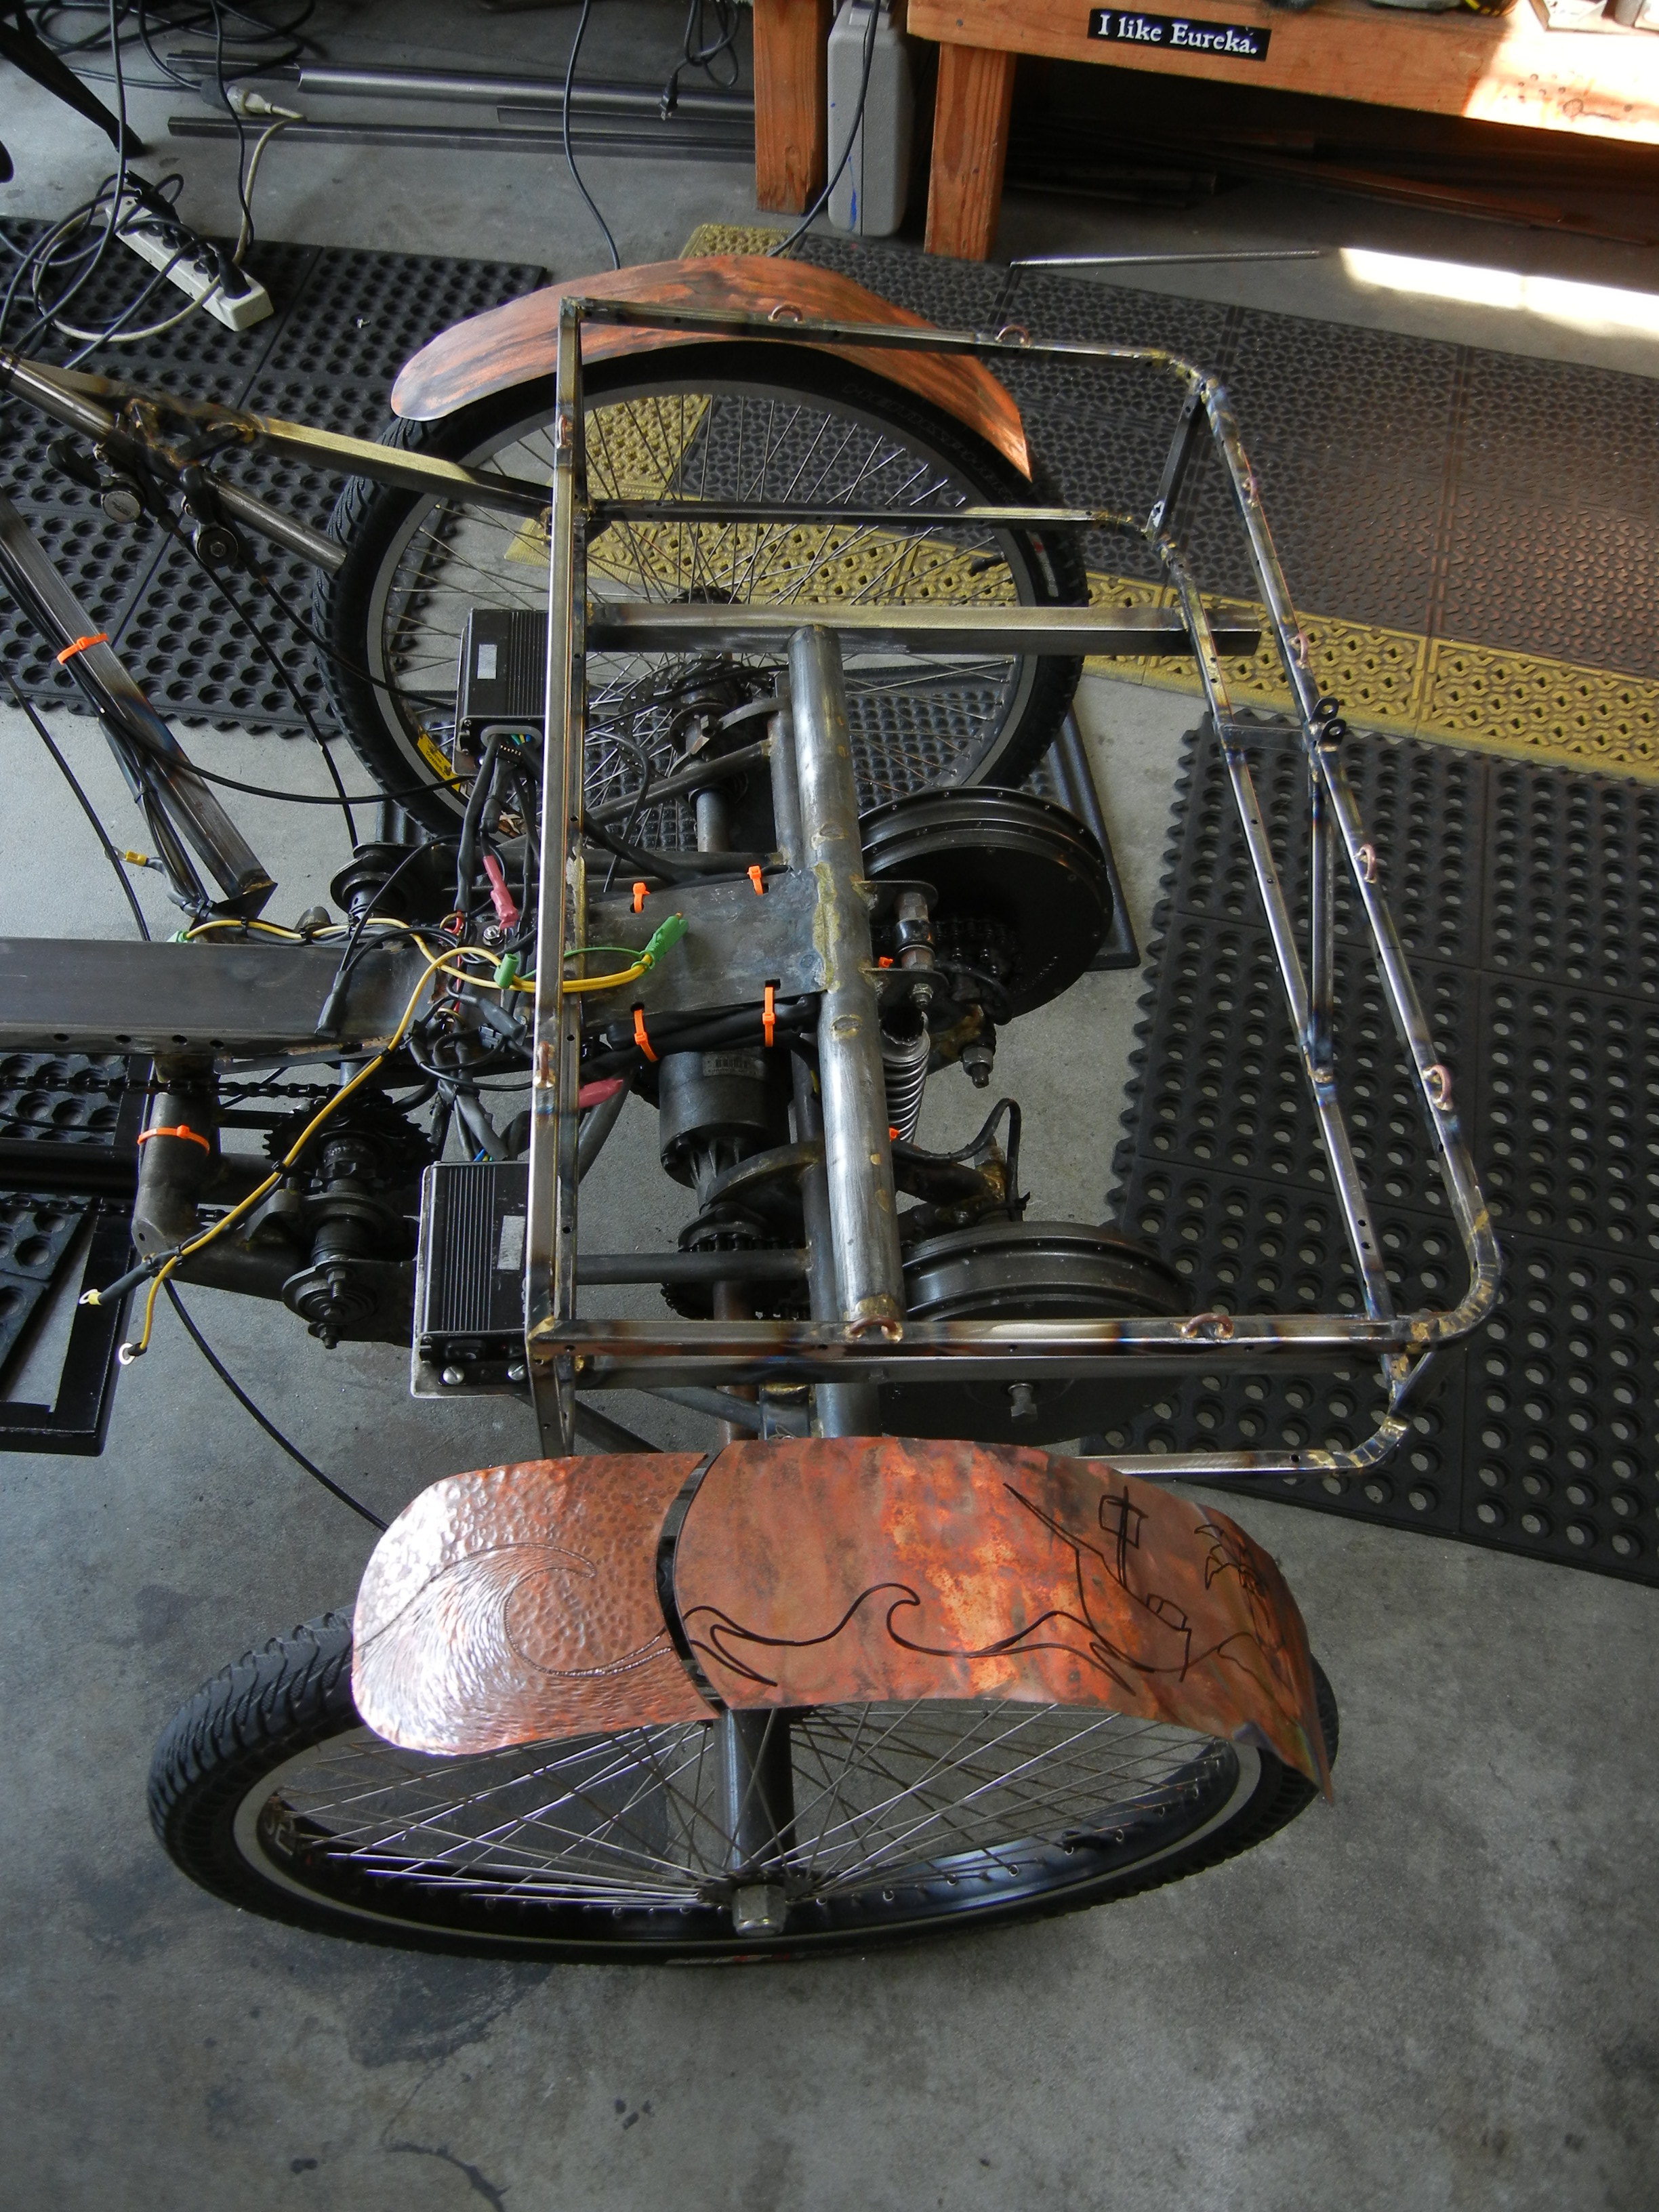
Most of the really “need to take action on” has been completed now to start having fun on the body. Fender up!
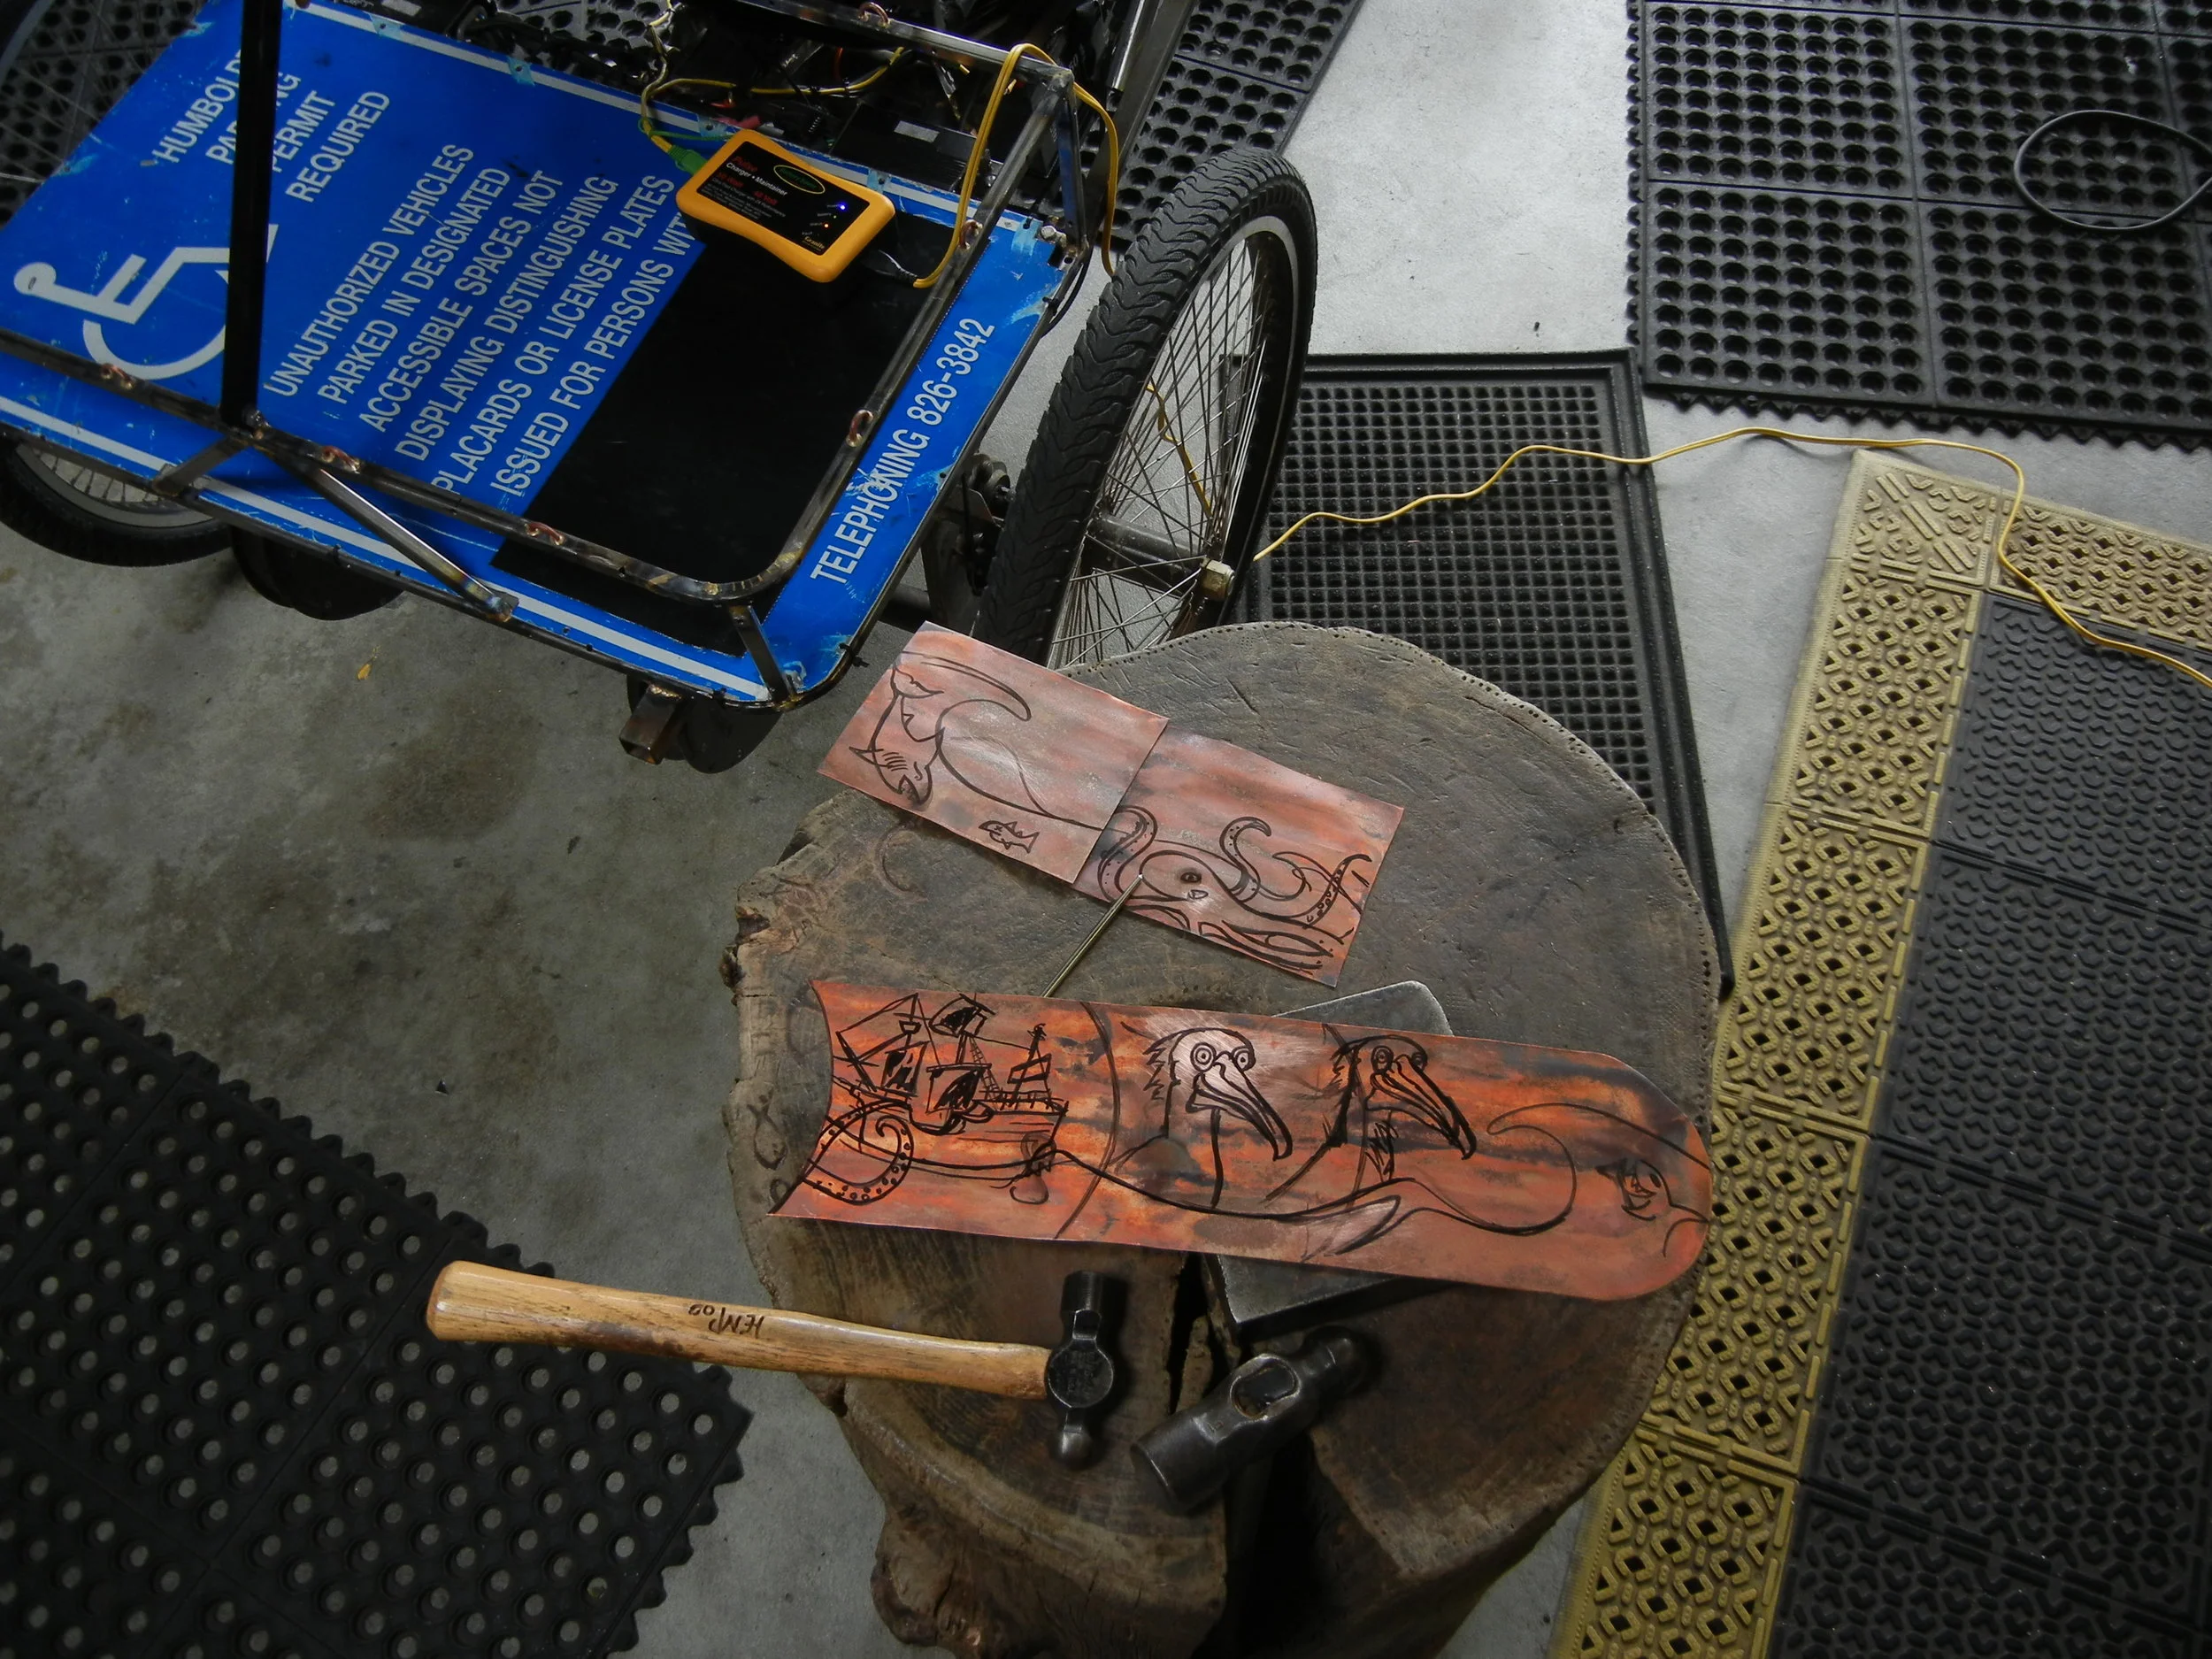
Of course there has to be Art everywhere!
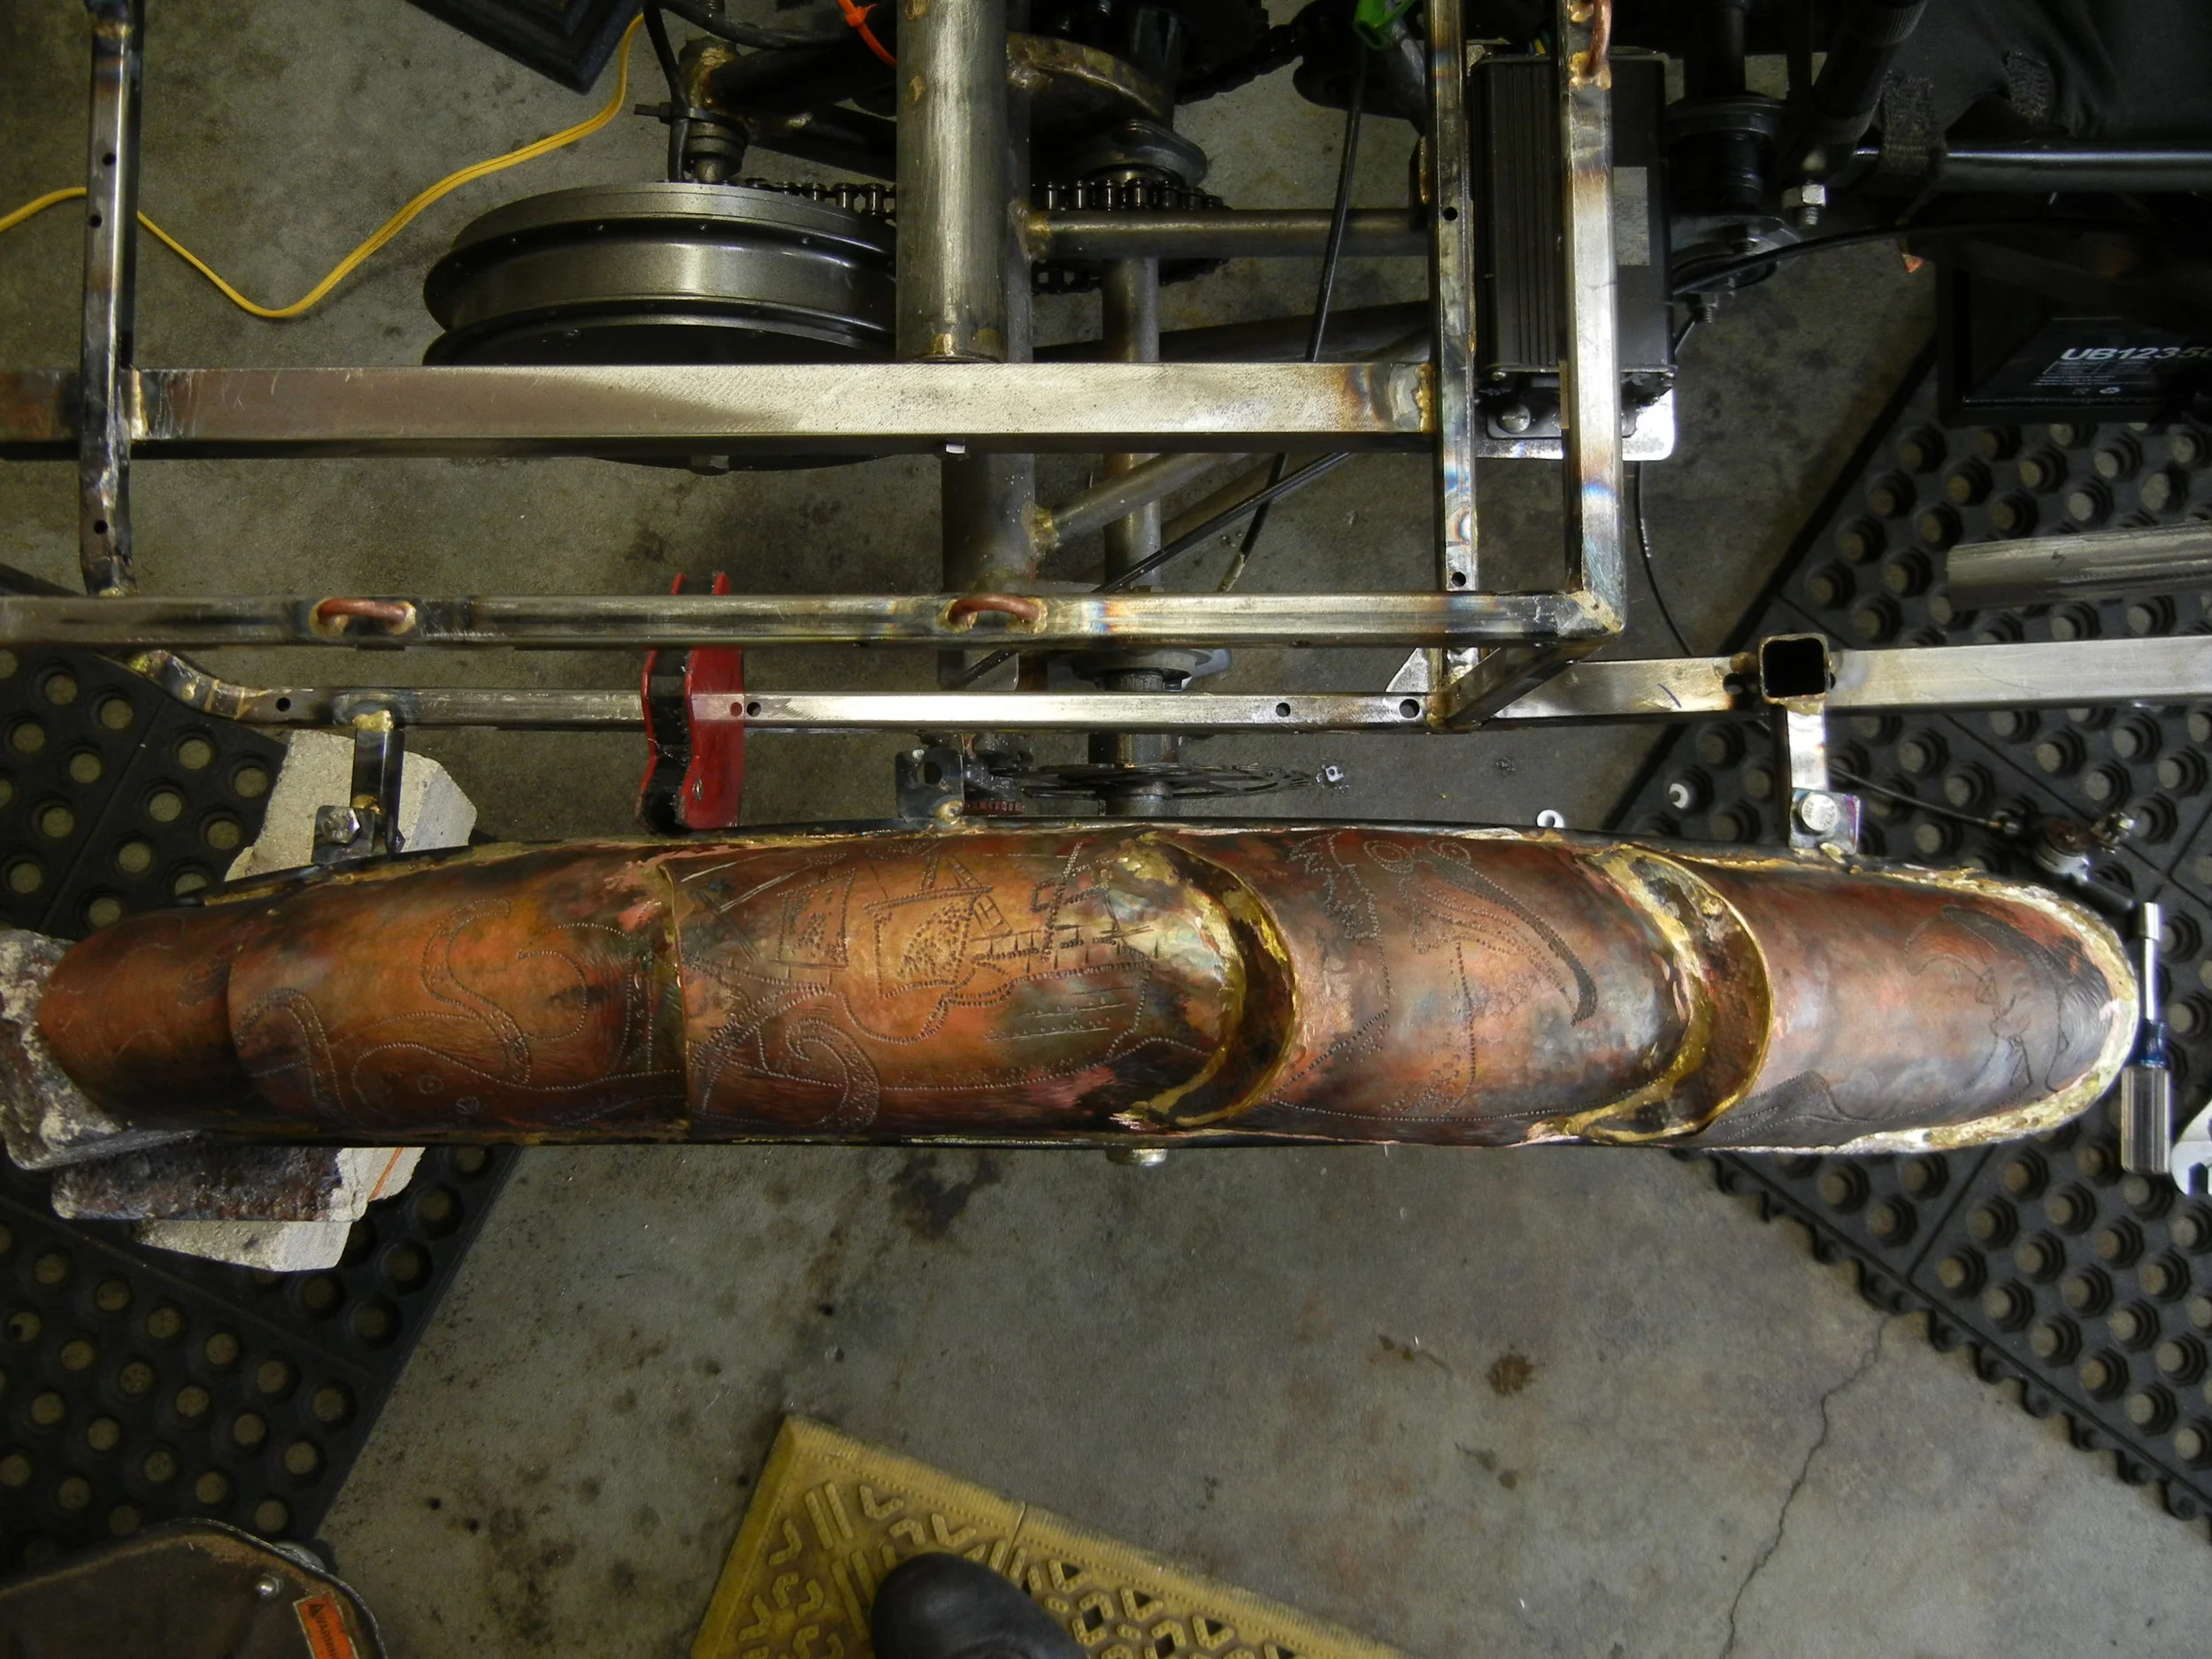
Armafenders attached to box frame at three spots and bolted on.
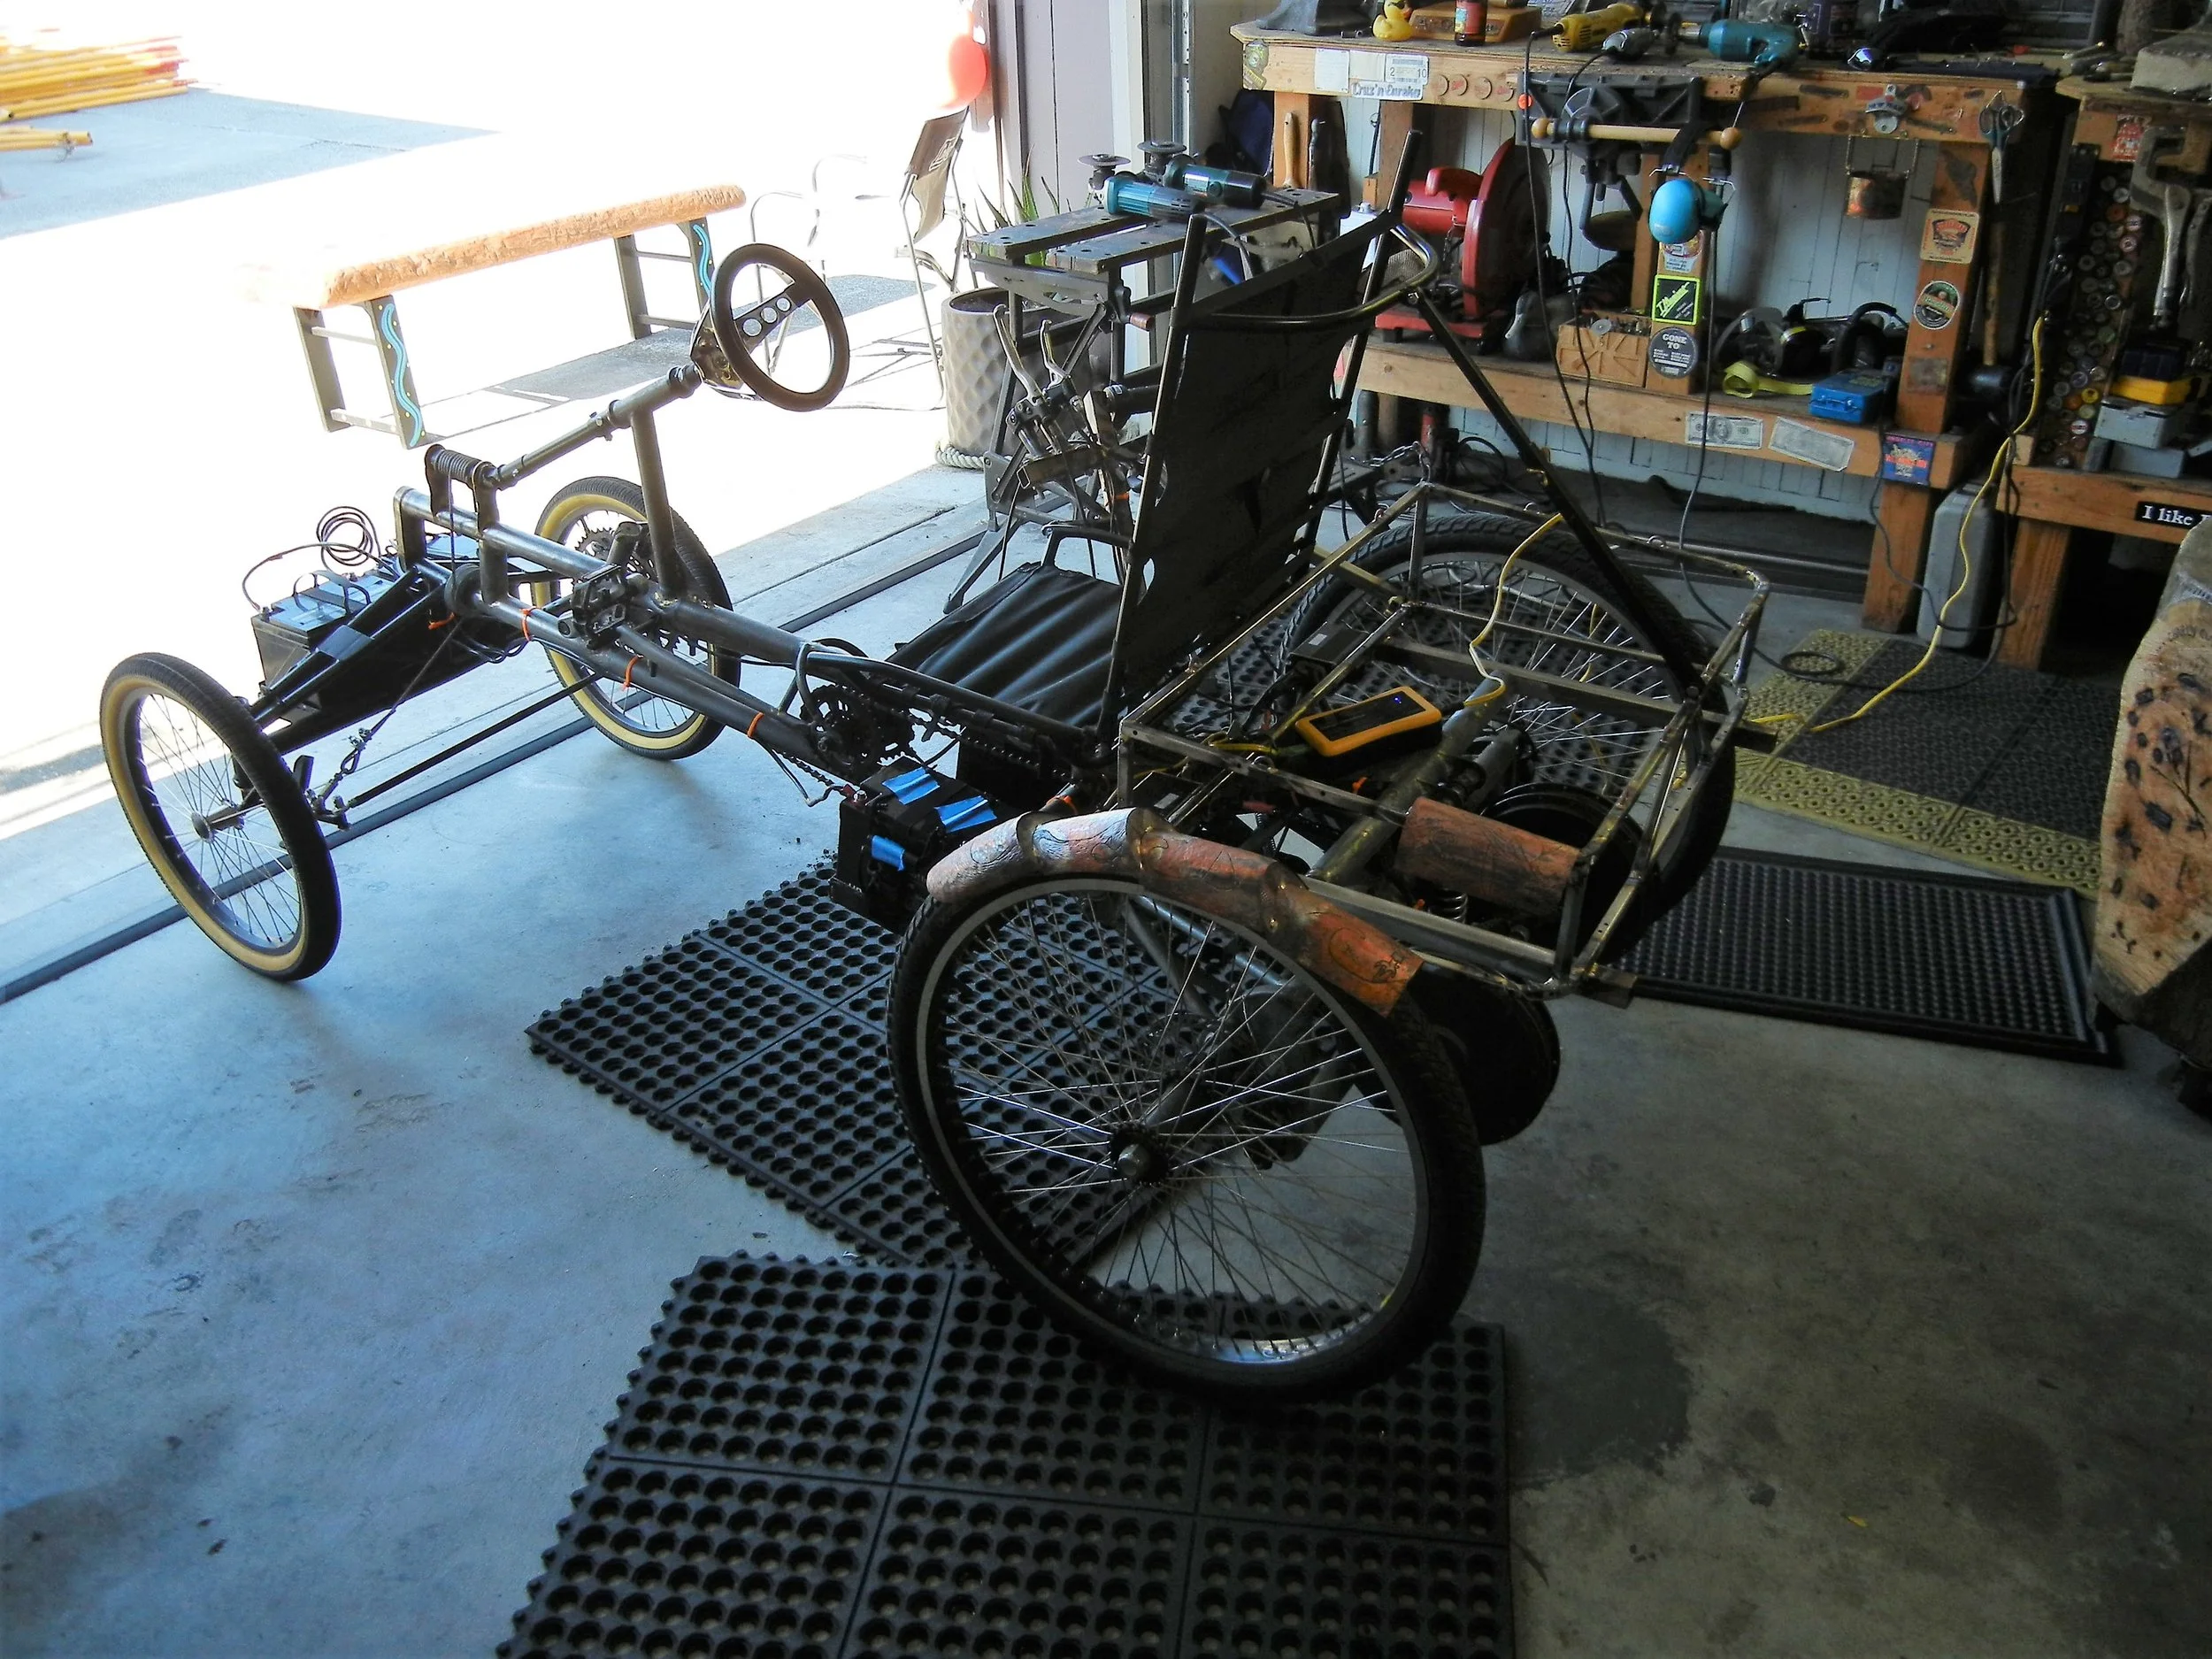
Don’t know how to descride this type of fender, Armadillo fender?

Steering cable, check. Heli-copter hoist cable approved, check. Re-built front end no suspension bumpy as all get out, check. Things I’ve learned on this build, make it straight, offset where needed and make shit happen. Steers better than most cars!
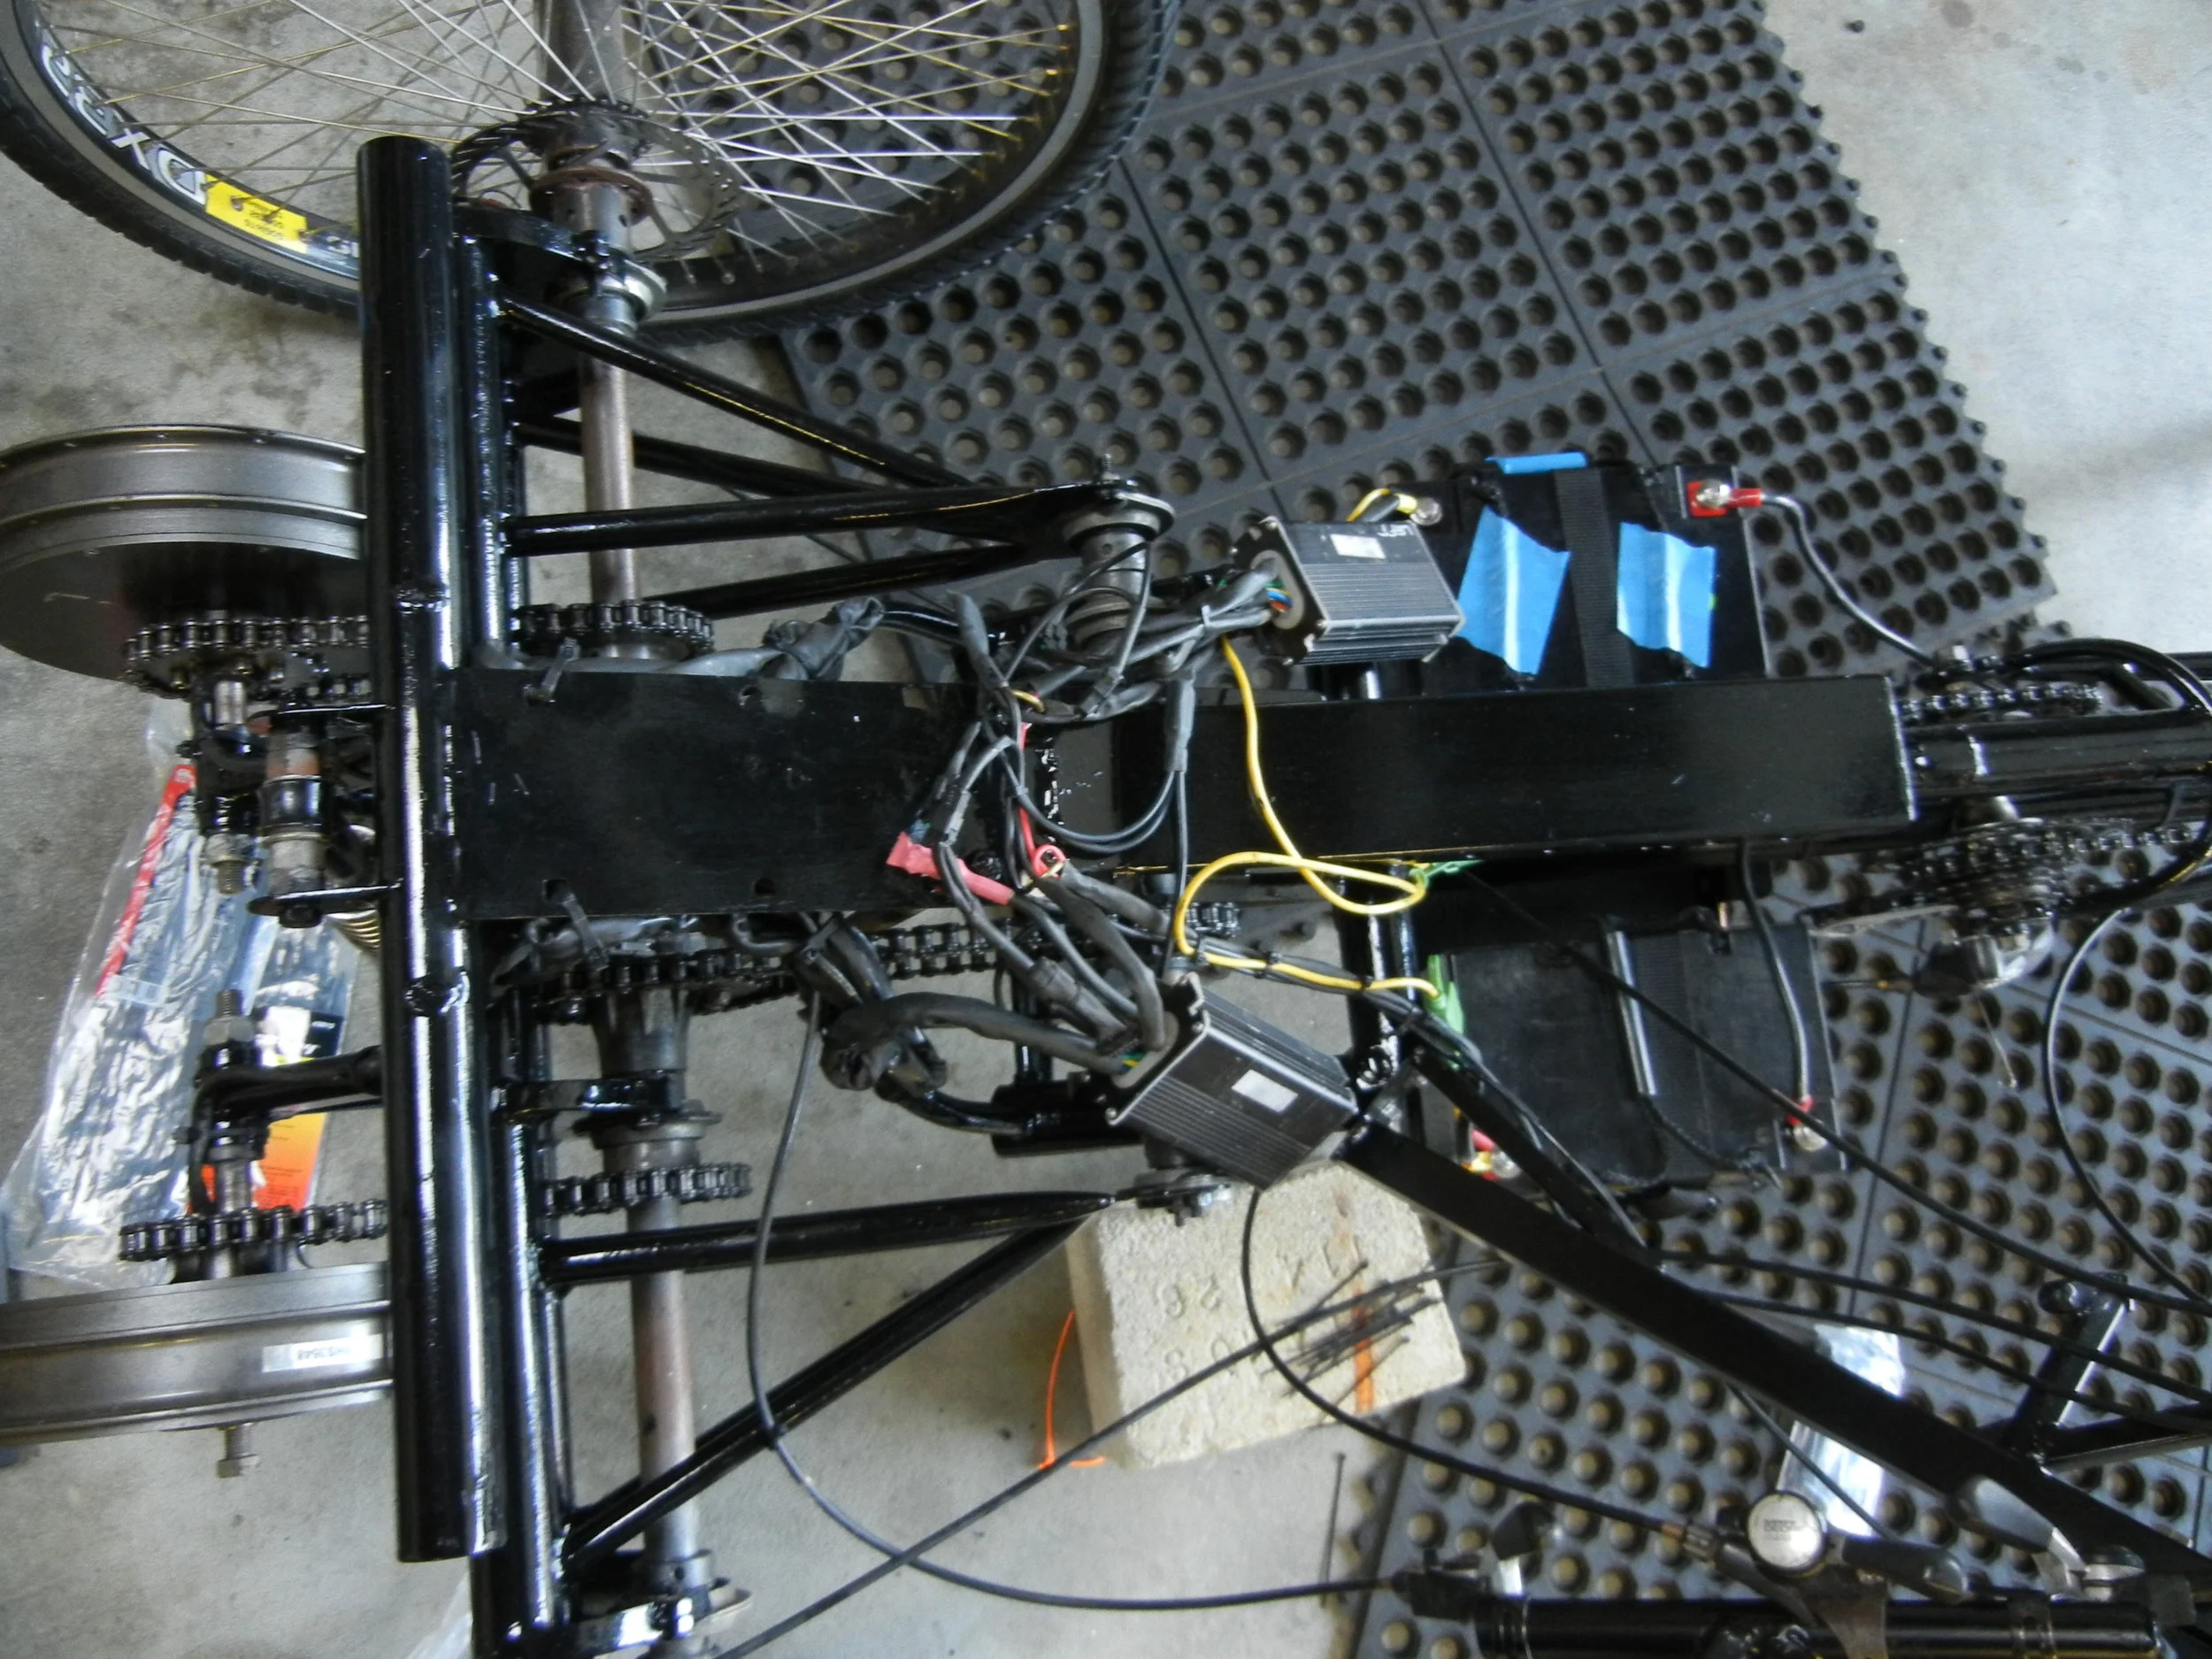
Welcome to the underbelly of the “CQ”. Man what did I get myself into? Nothing but fun when its all said & done, post paint job, next up - Body!
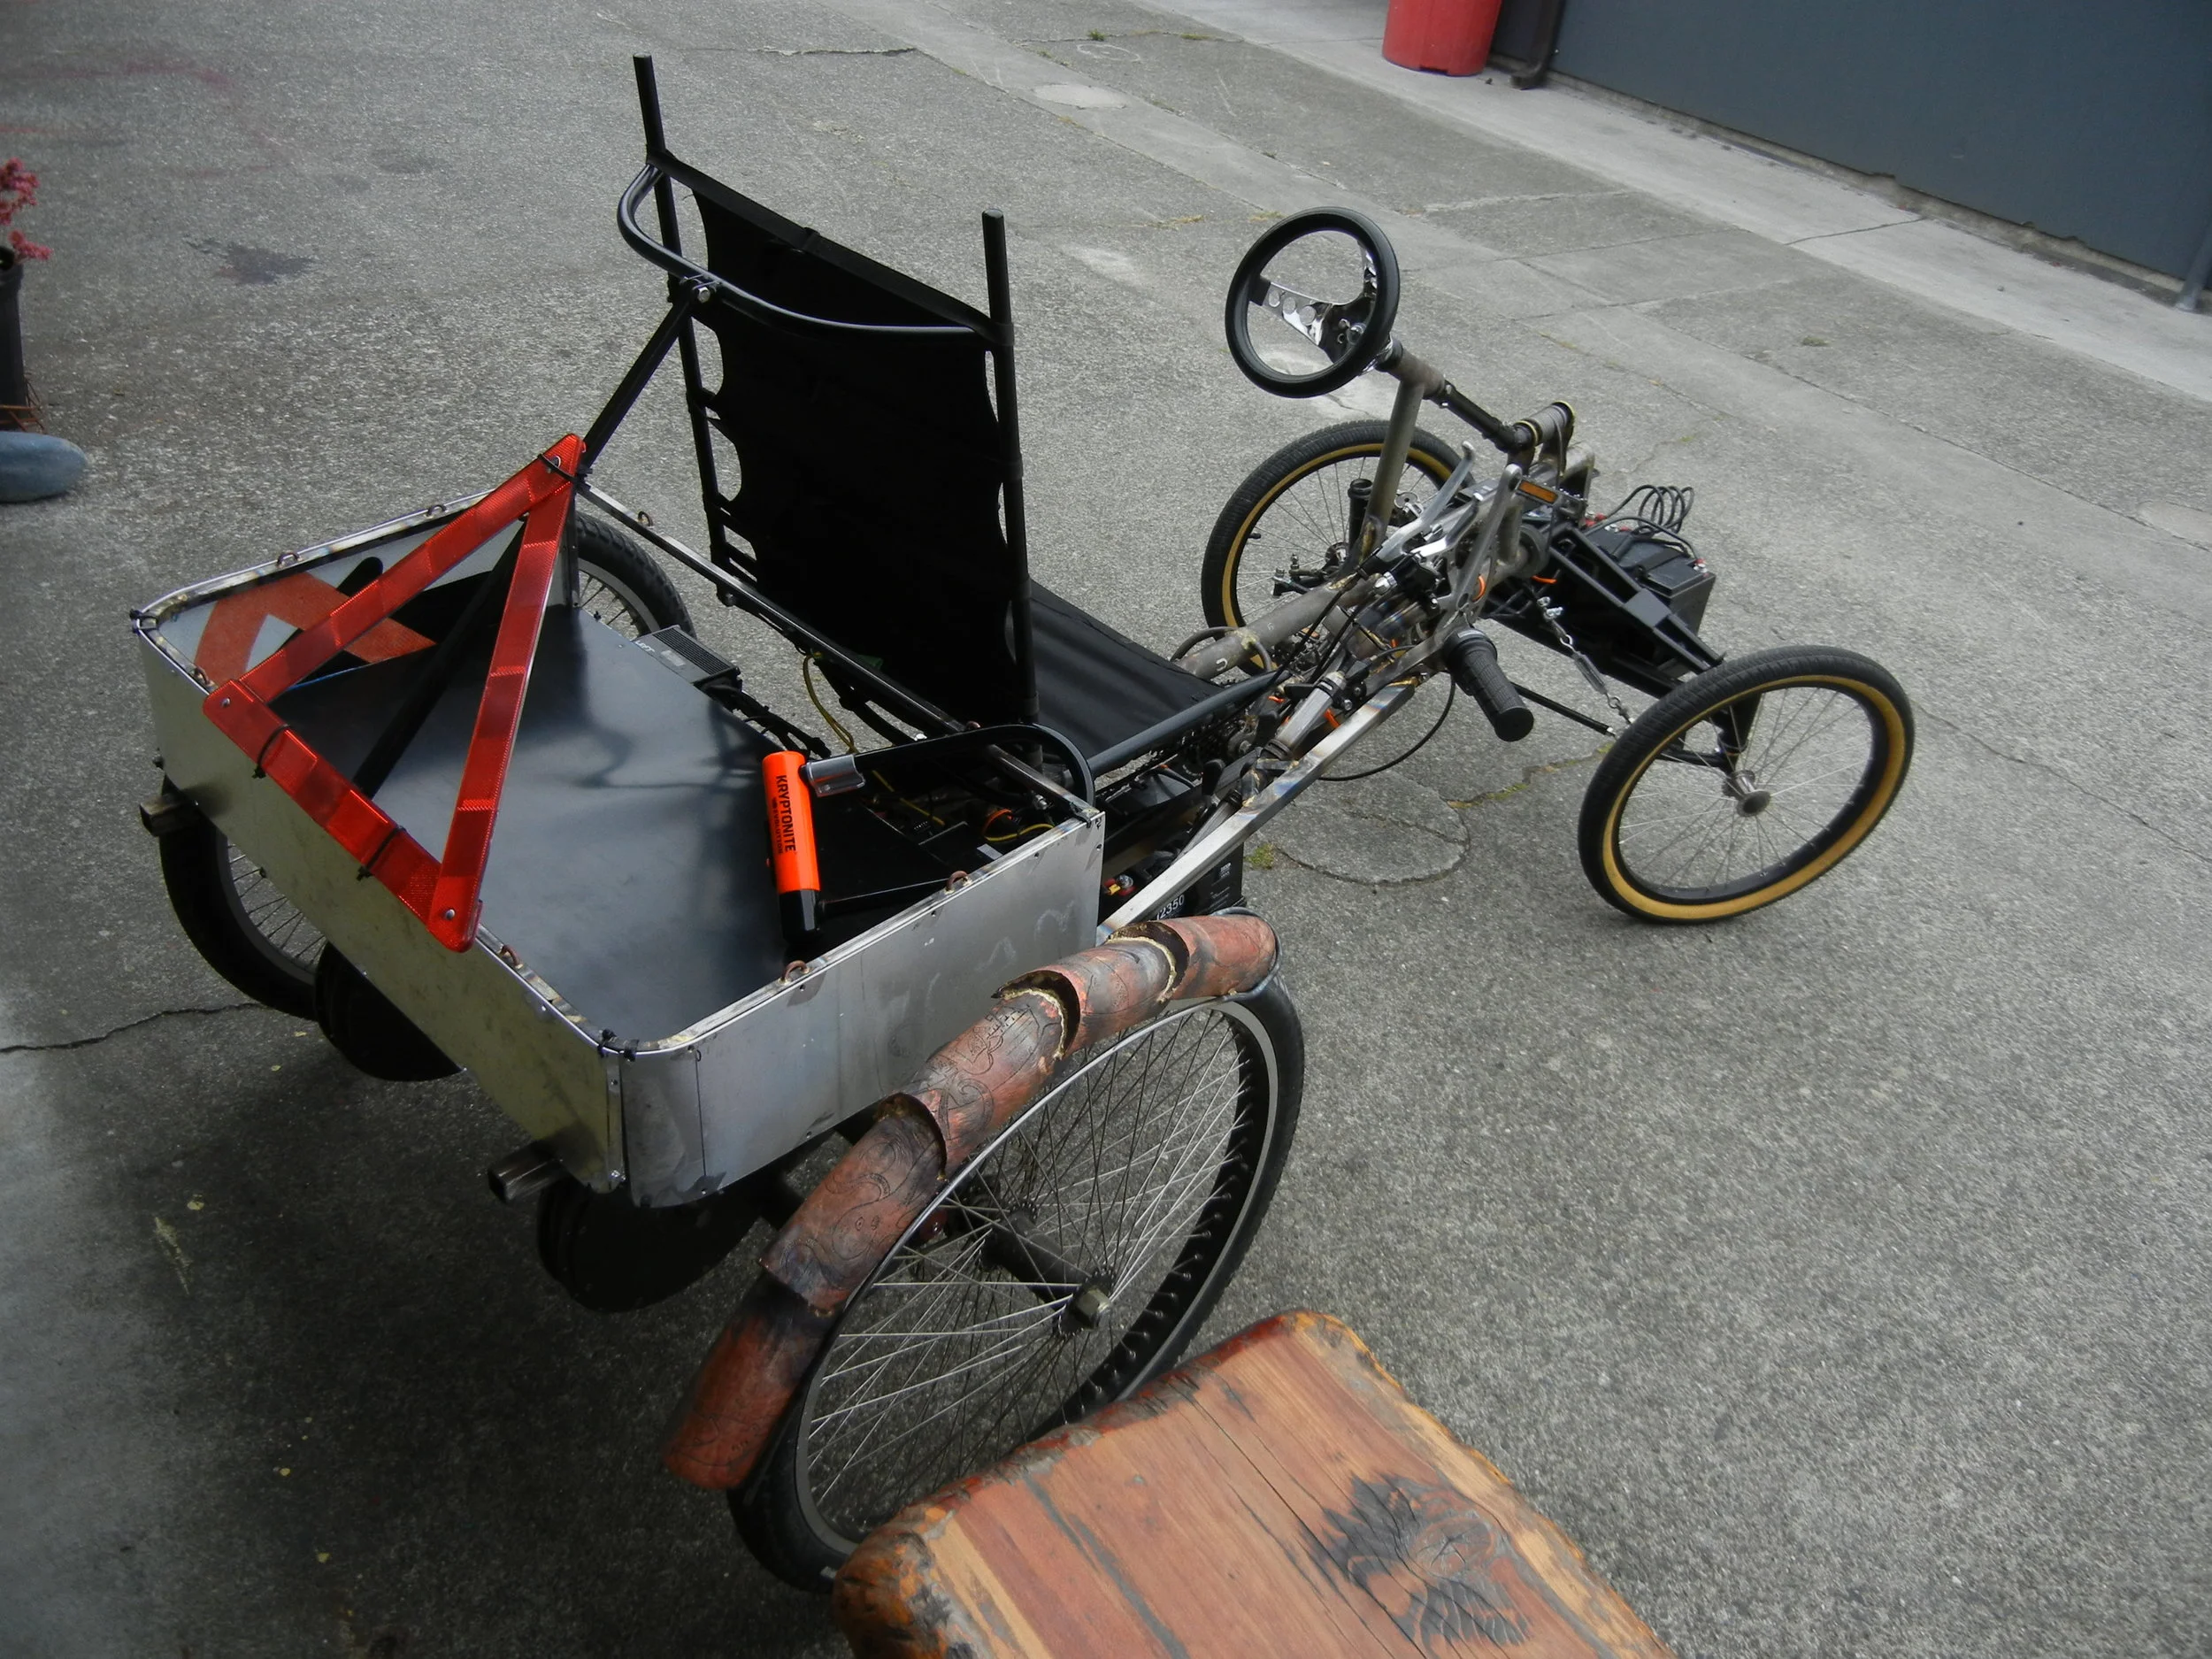
Things coming along, box almost done and at this point is drivable. Lock that sucker up!
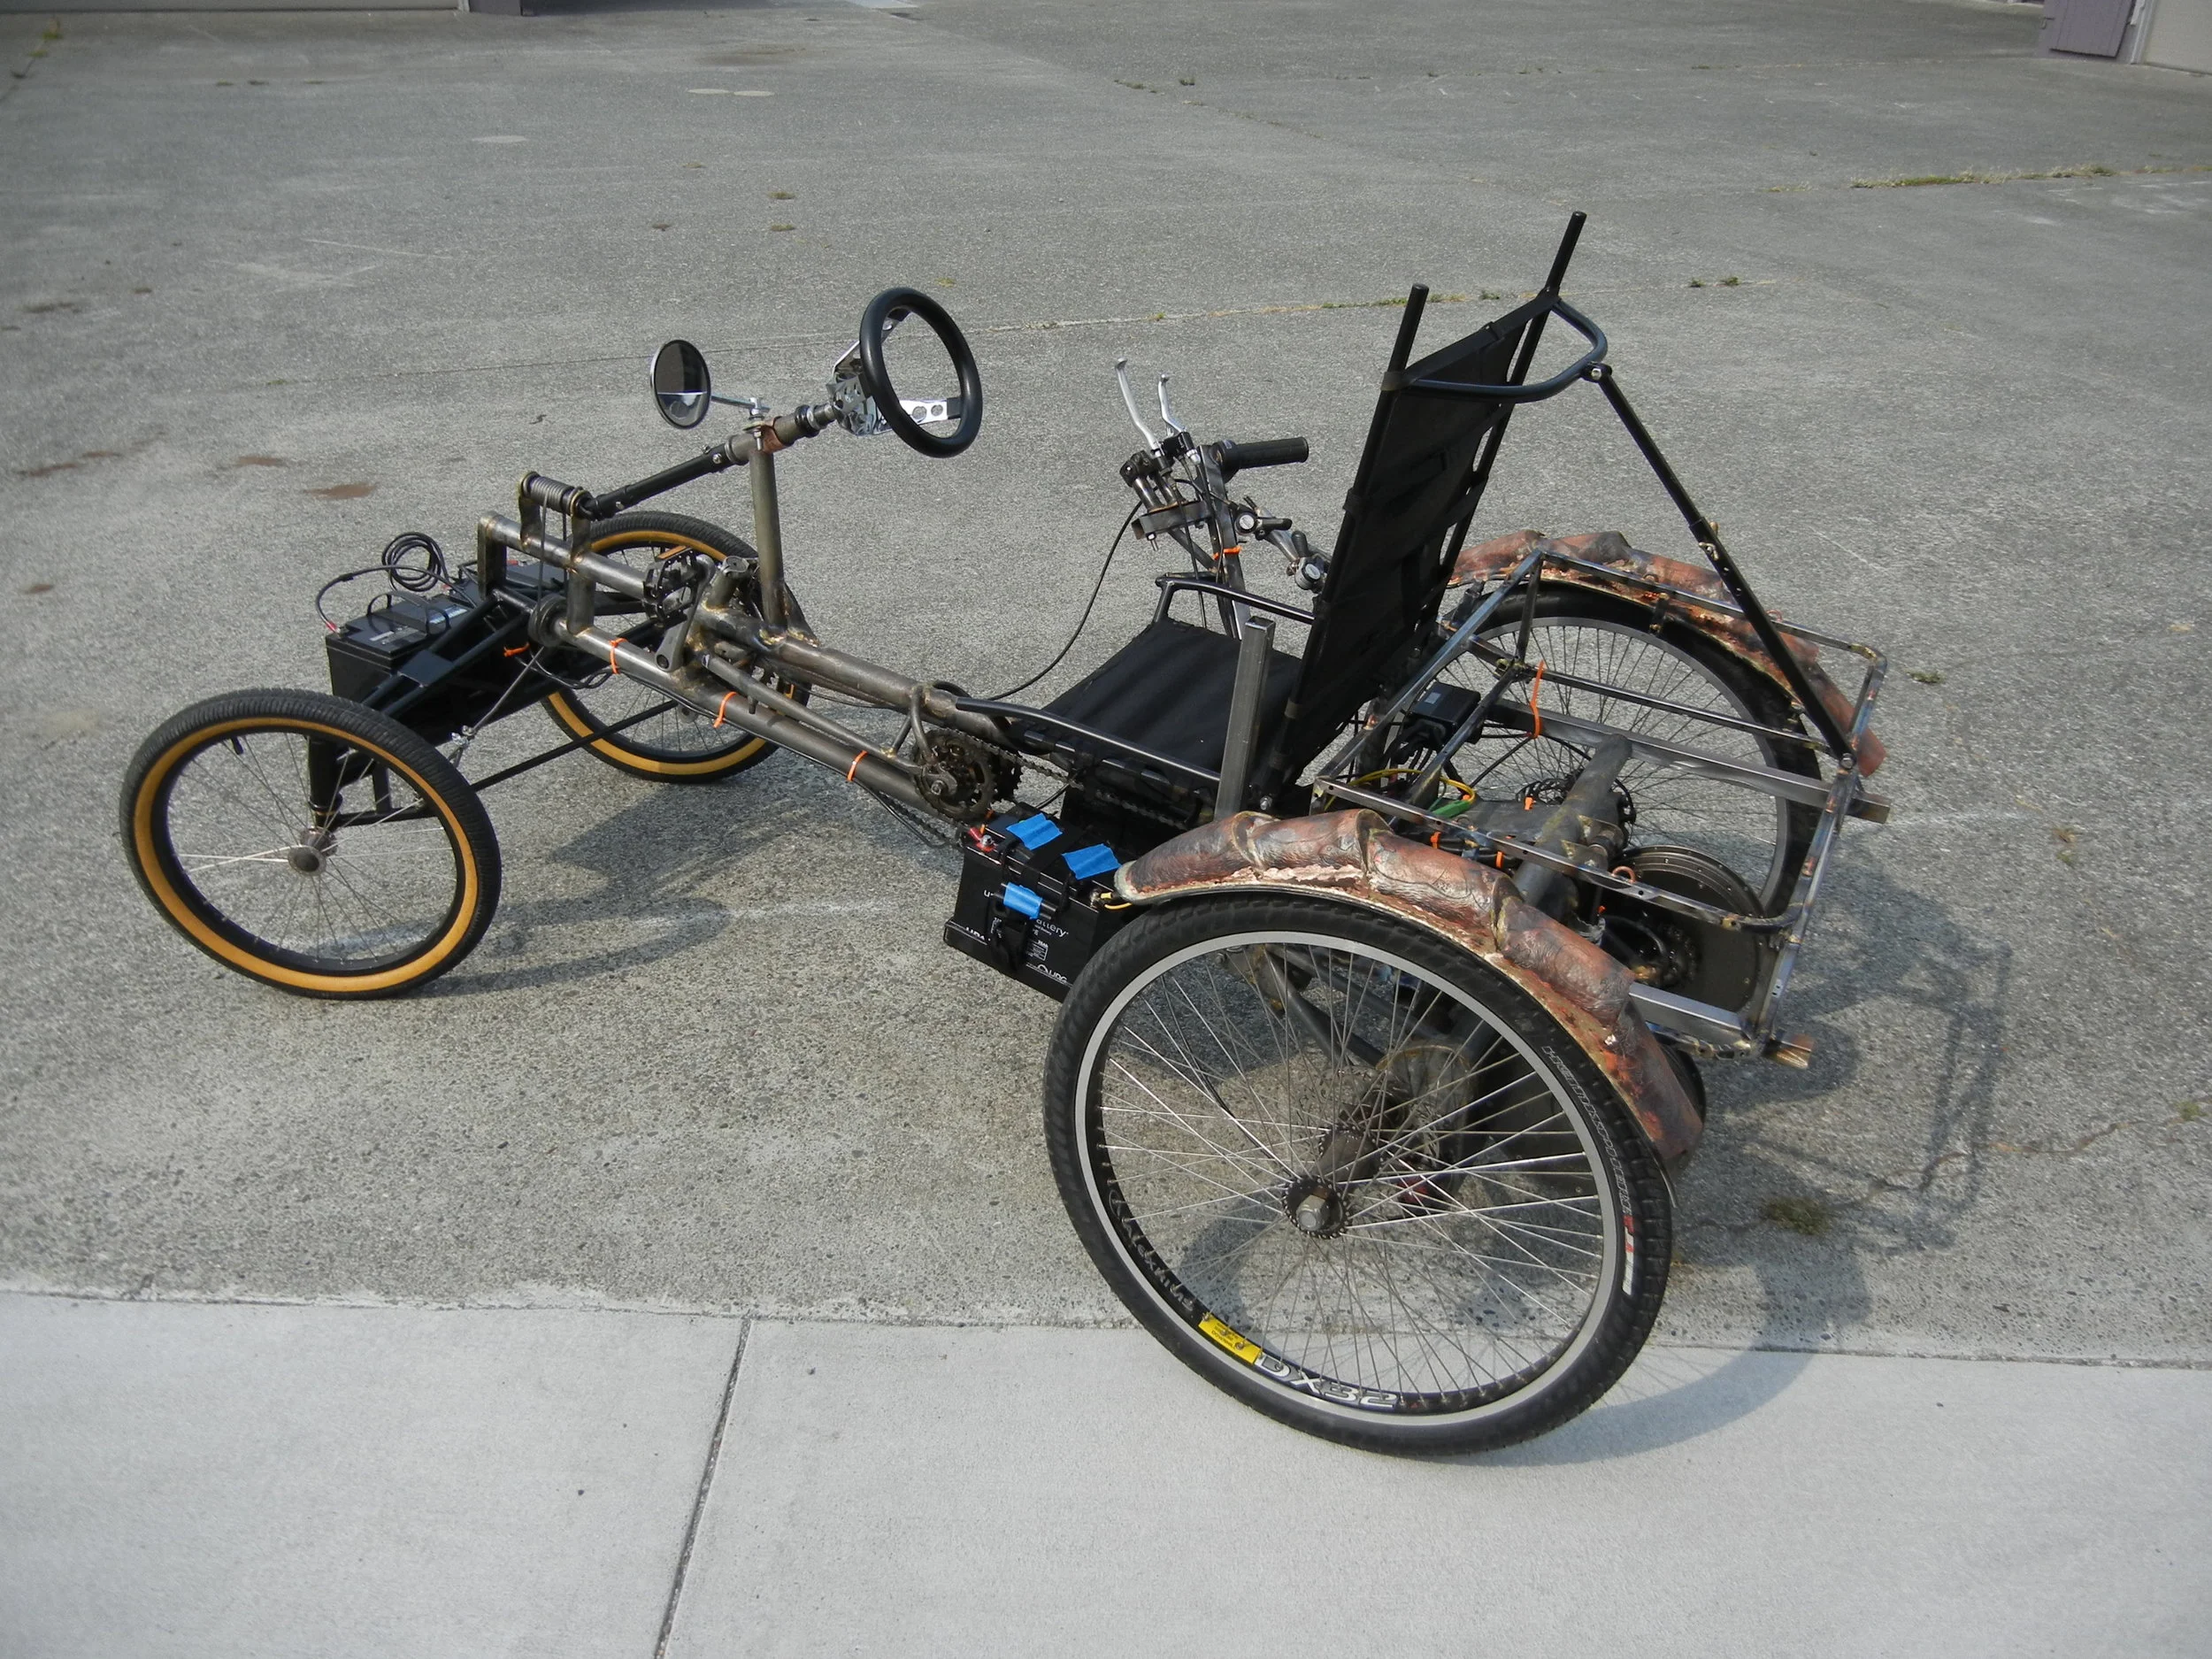
Build continues, plans are to prime and paint frame before rains hit which we’ll be in rain range by October, yikes!
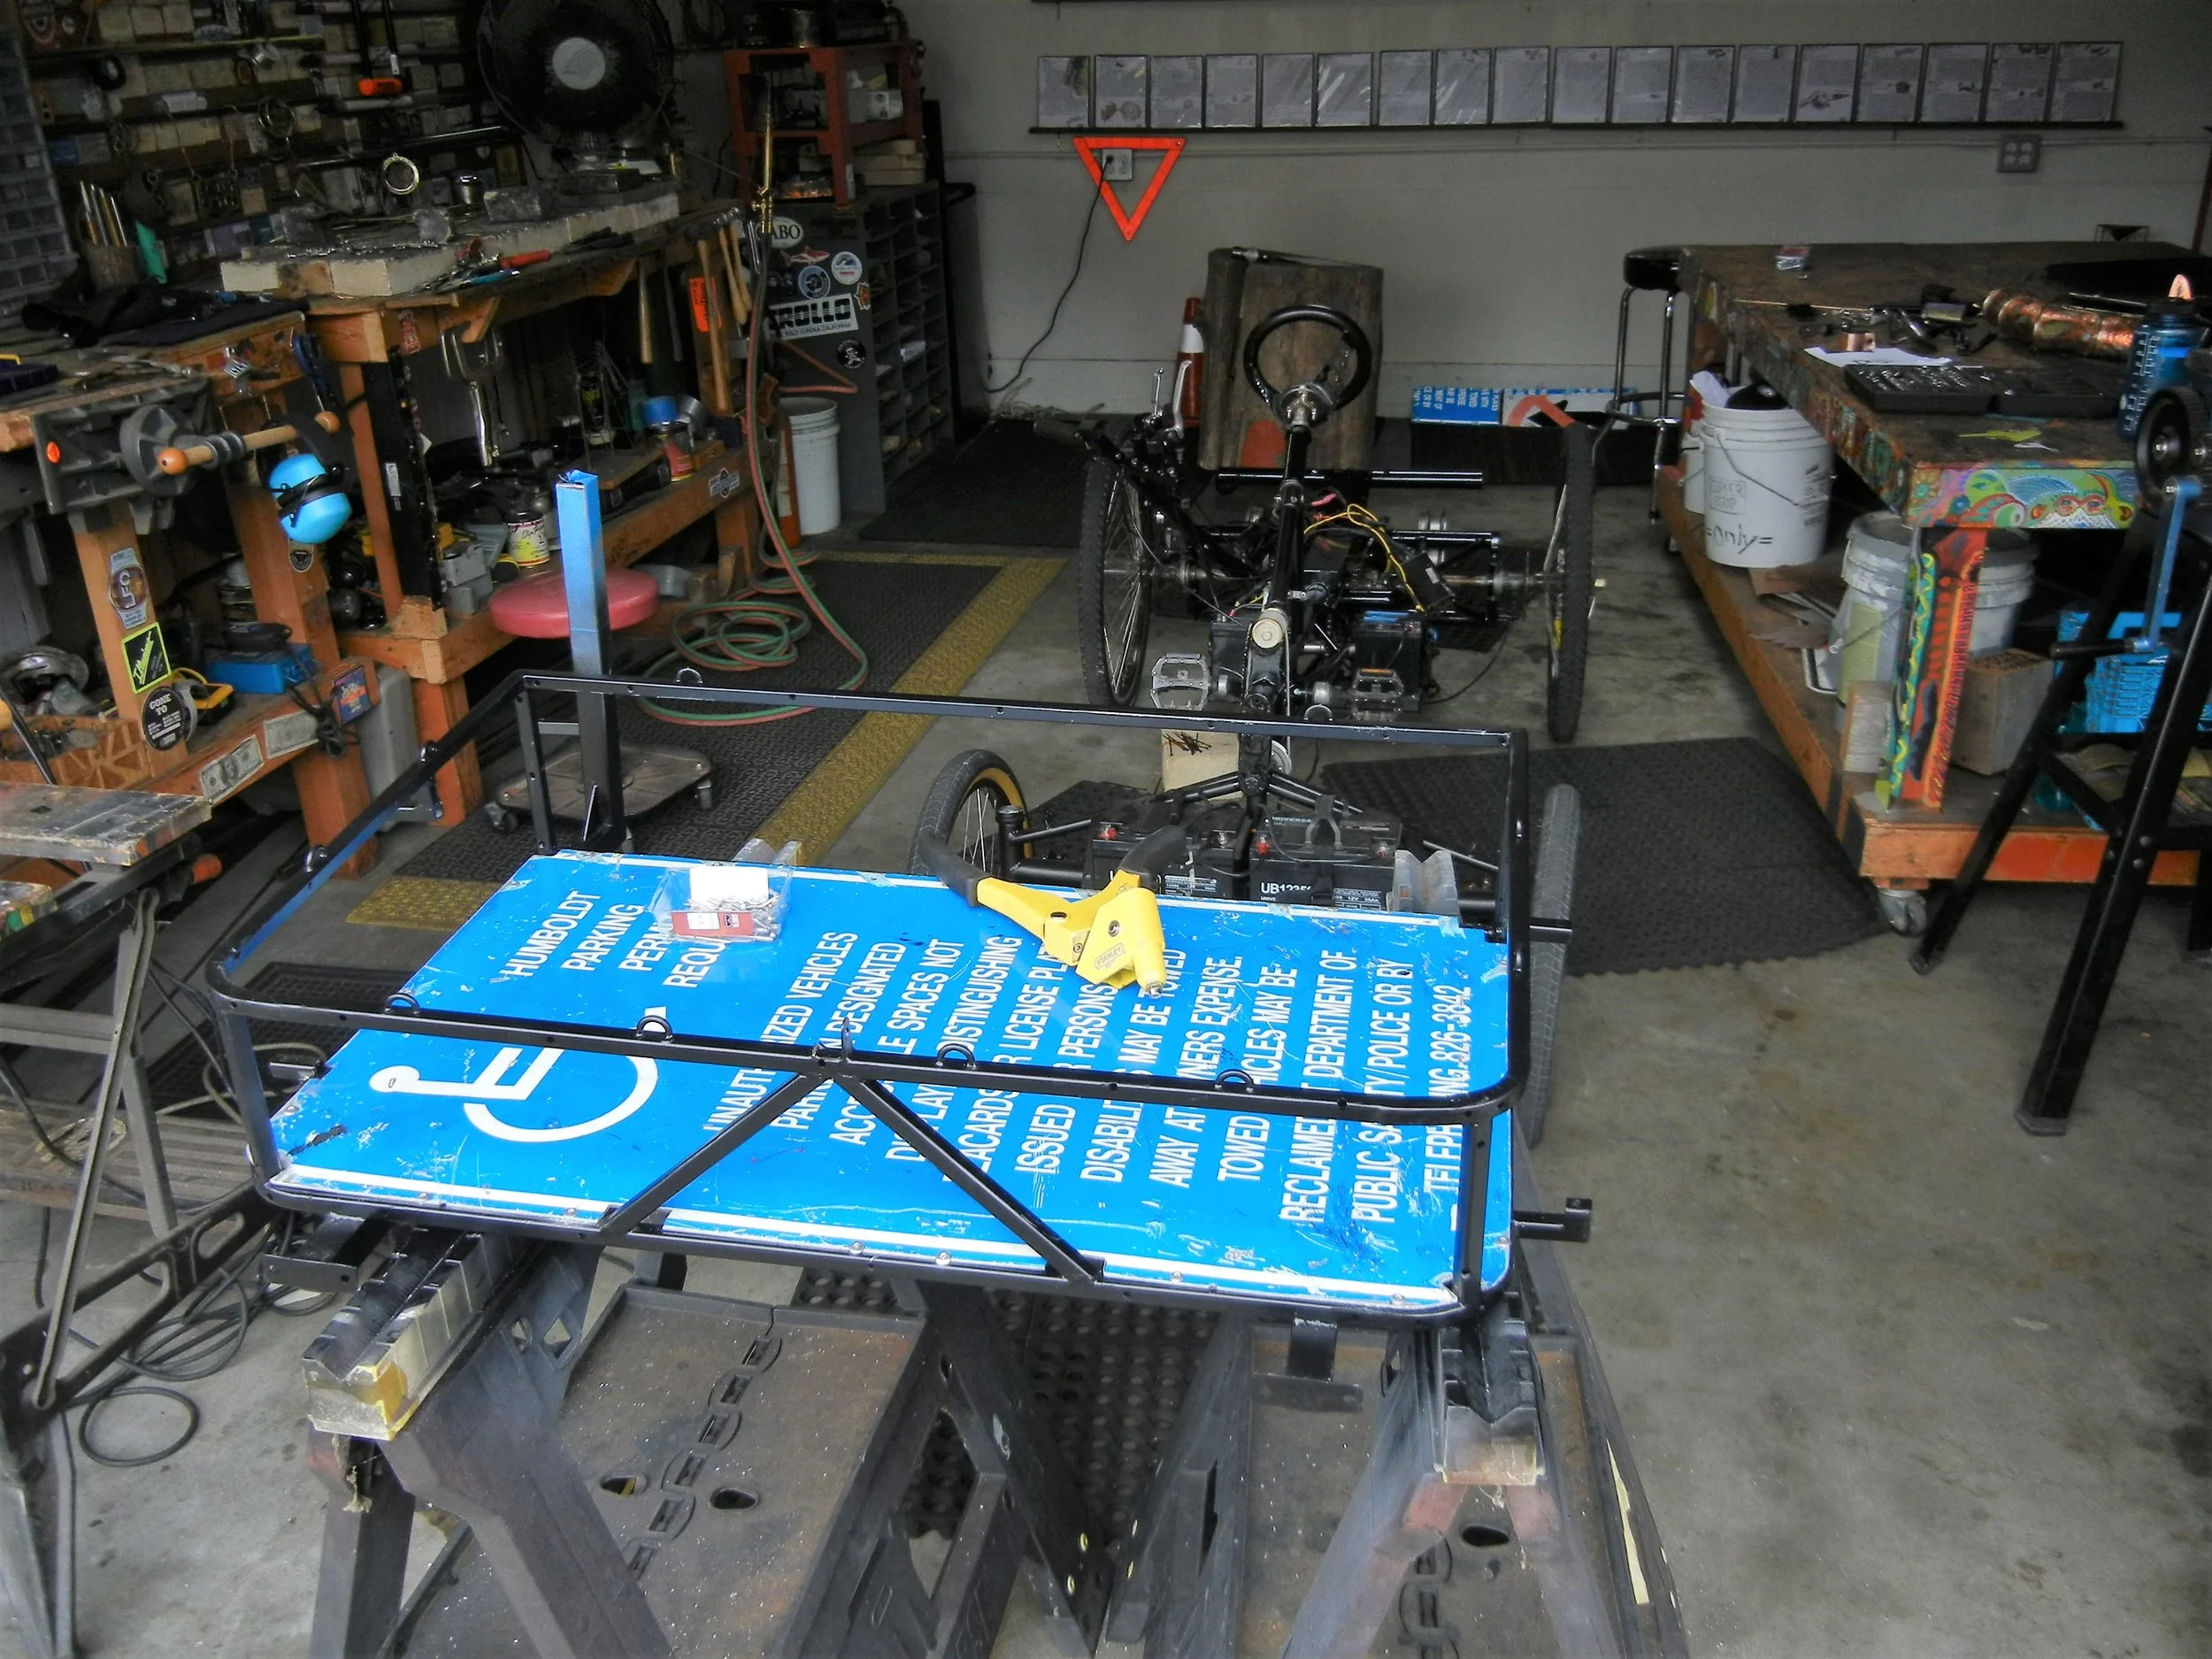
All signage was legally purchased at Arcata Scrap & Salvage, this sign was ‘def “handicapped” when I purchased. With a bit of TLC did this happen. Recycle & Re-Use.
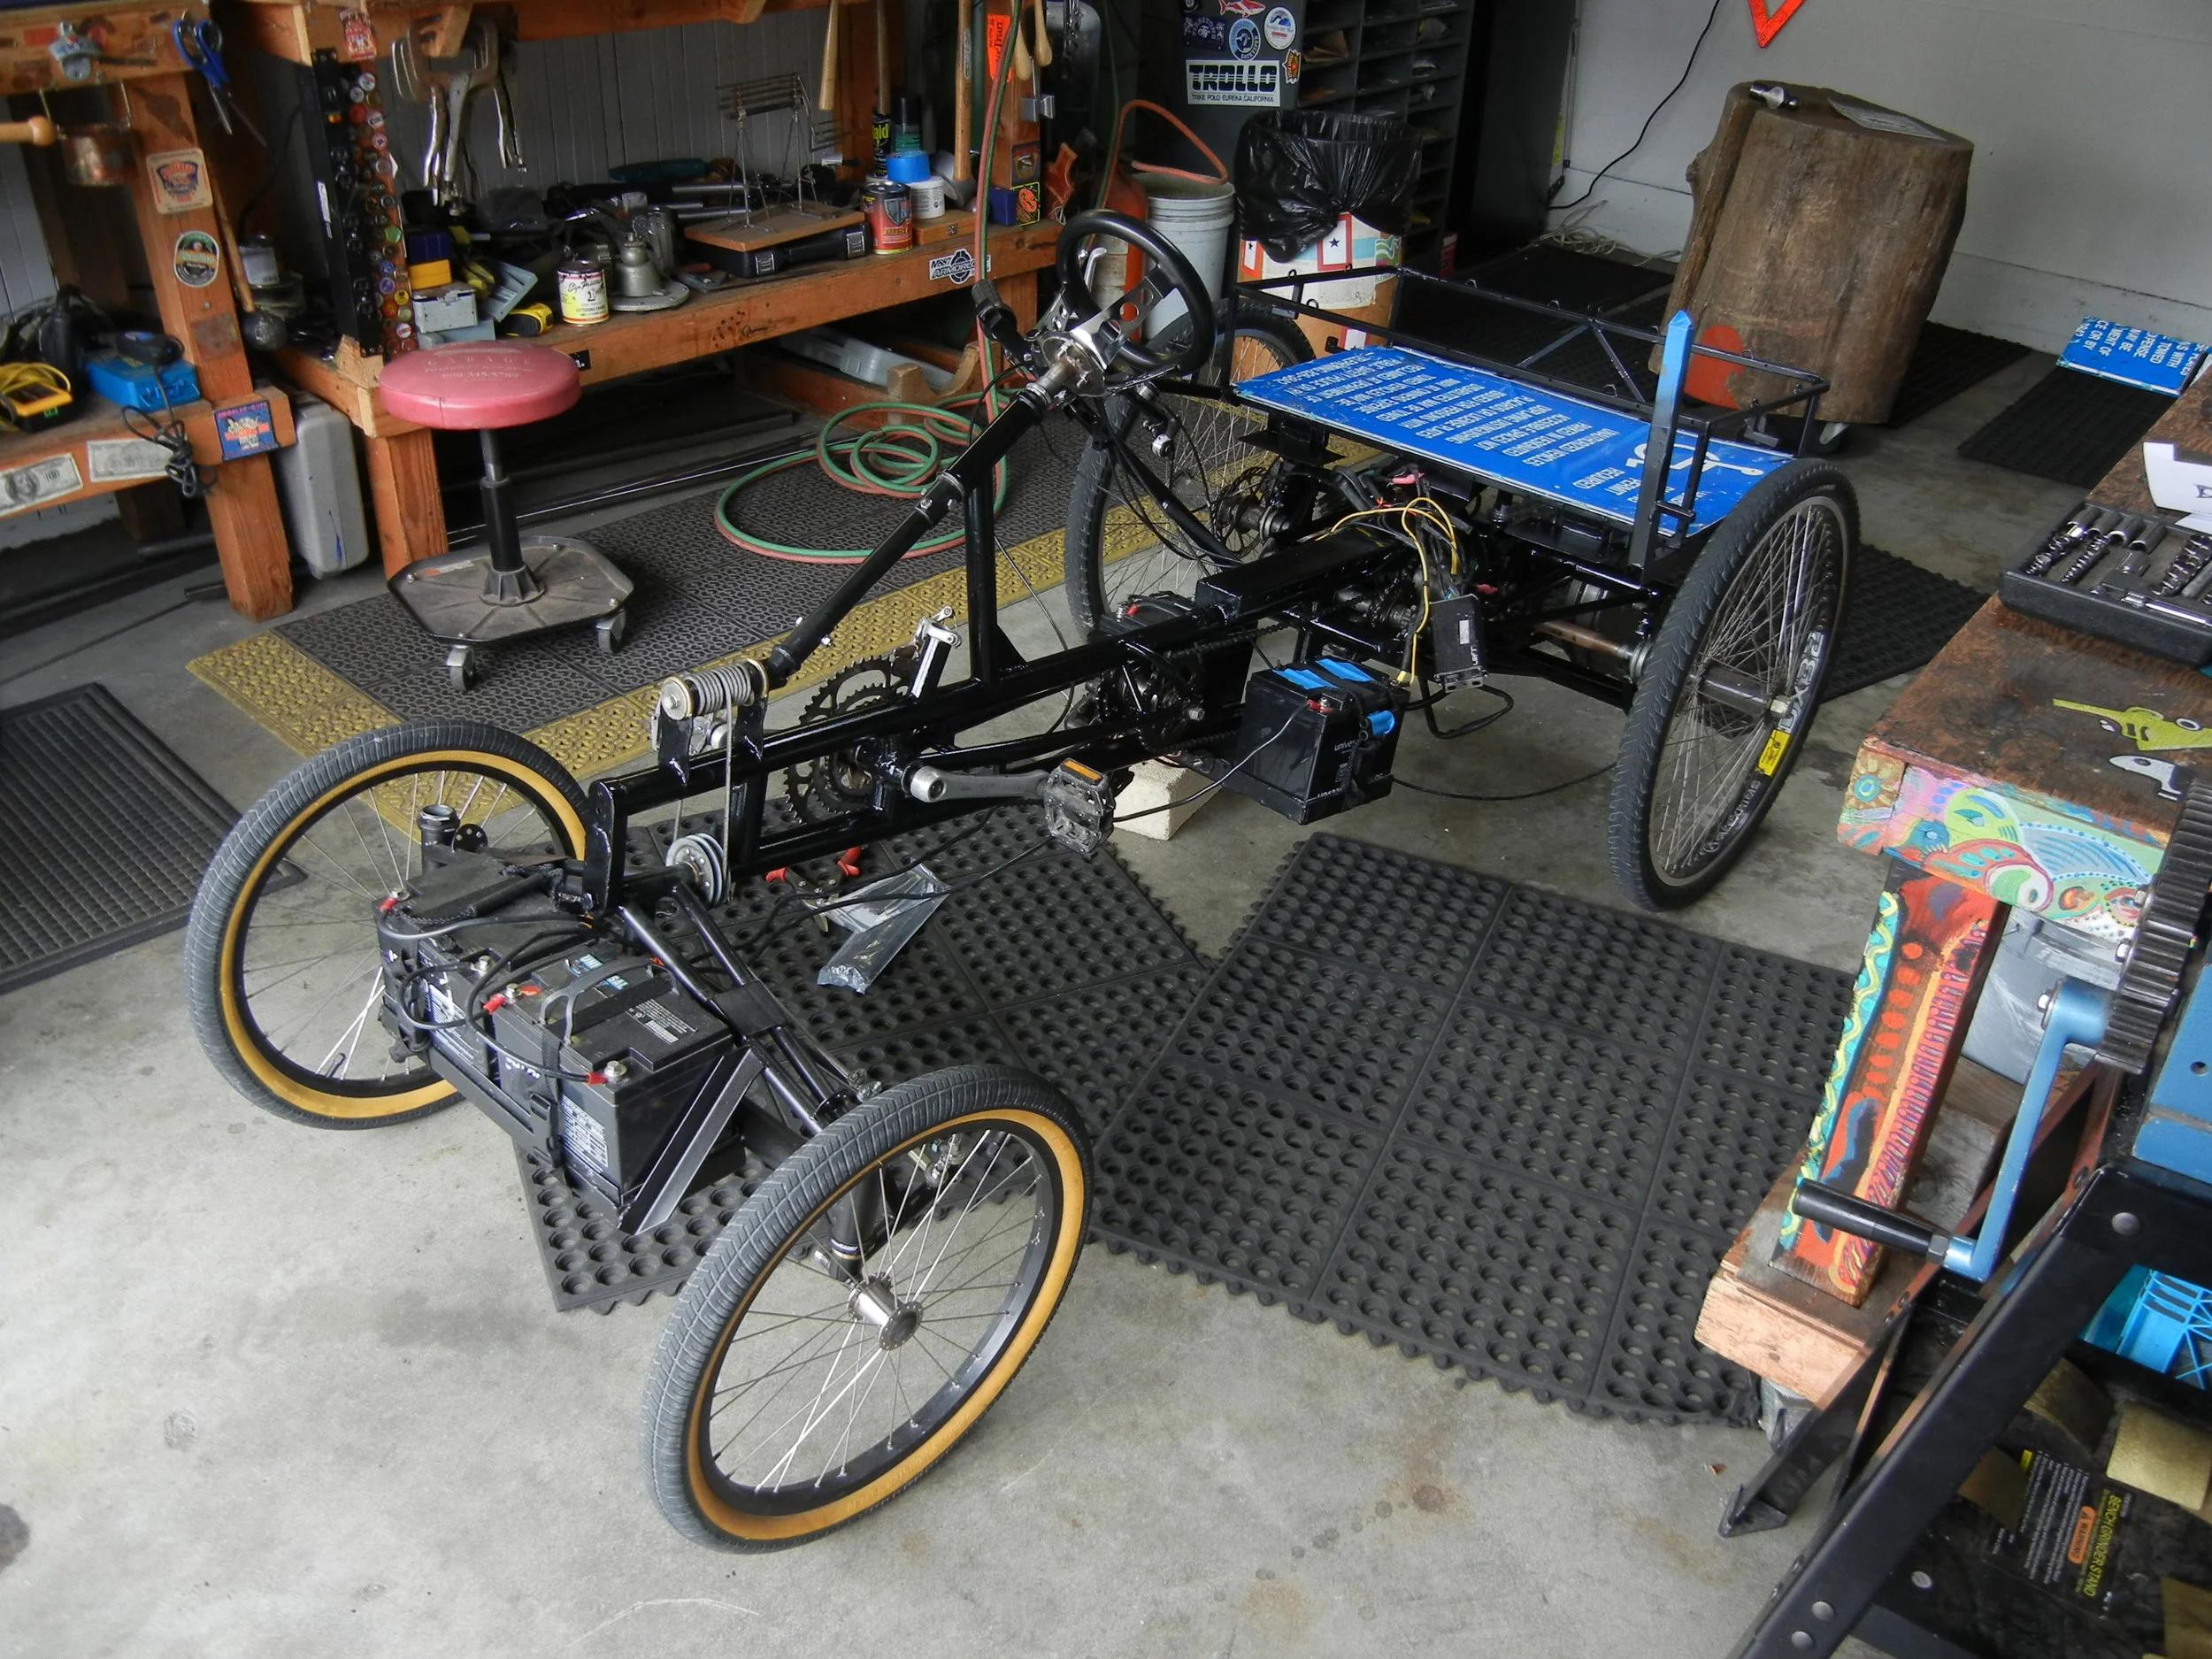
Finally all or most of major “hot work” has been completed, time to get the grocery haulin beer box done. Nice to have a nice new coat of paint take that Humboldt!
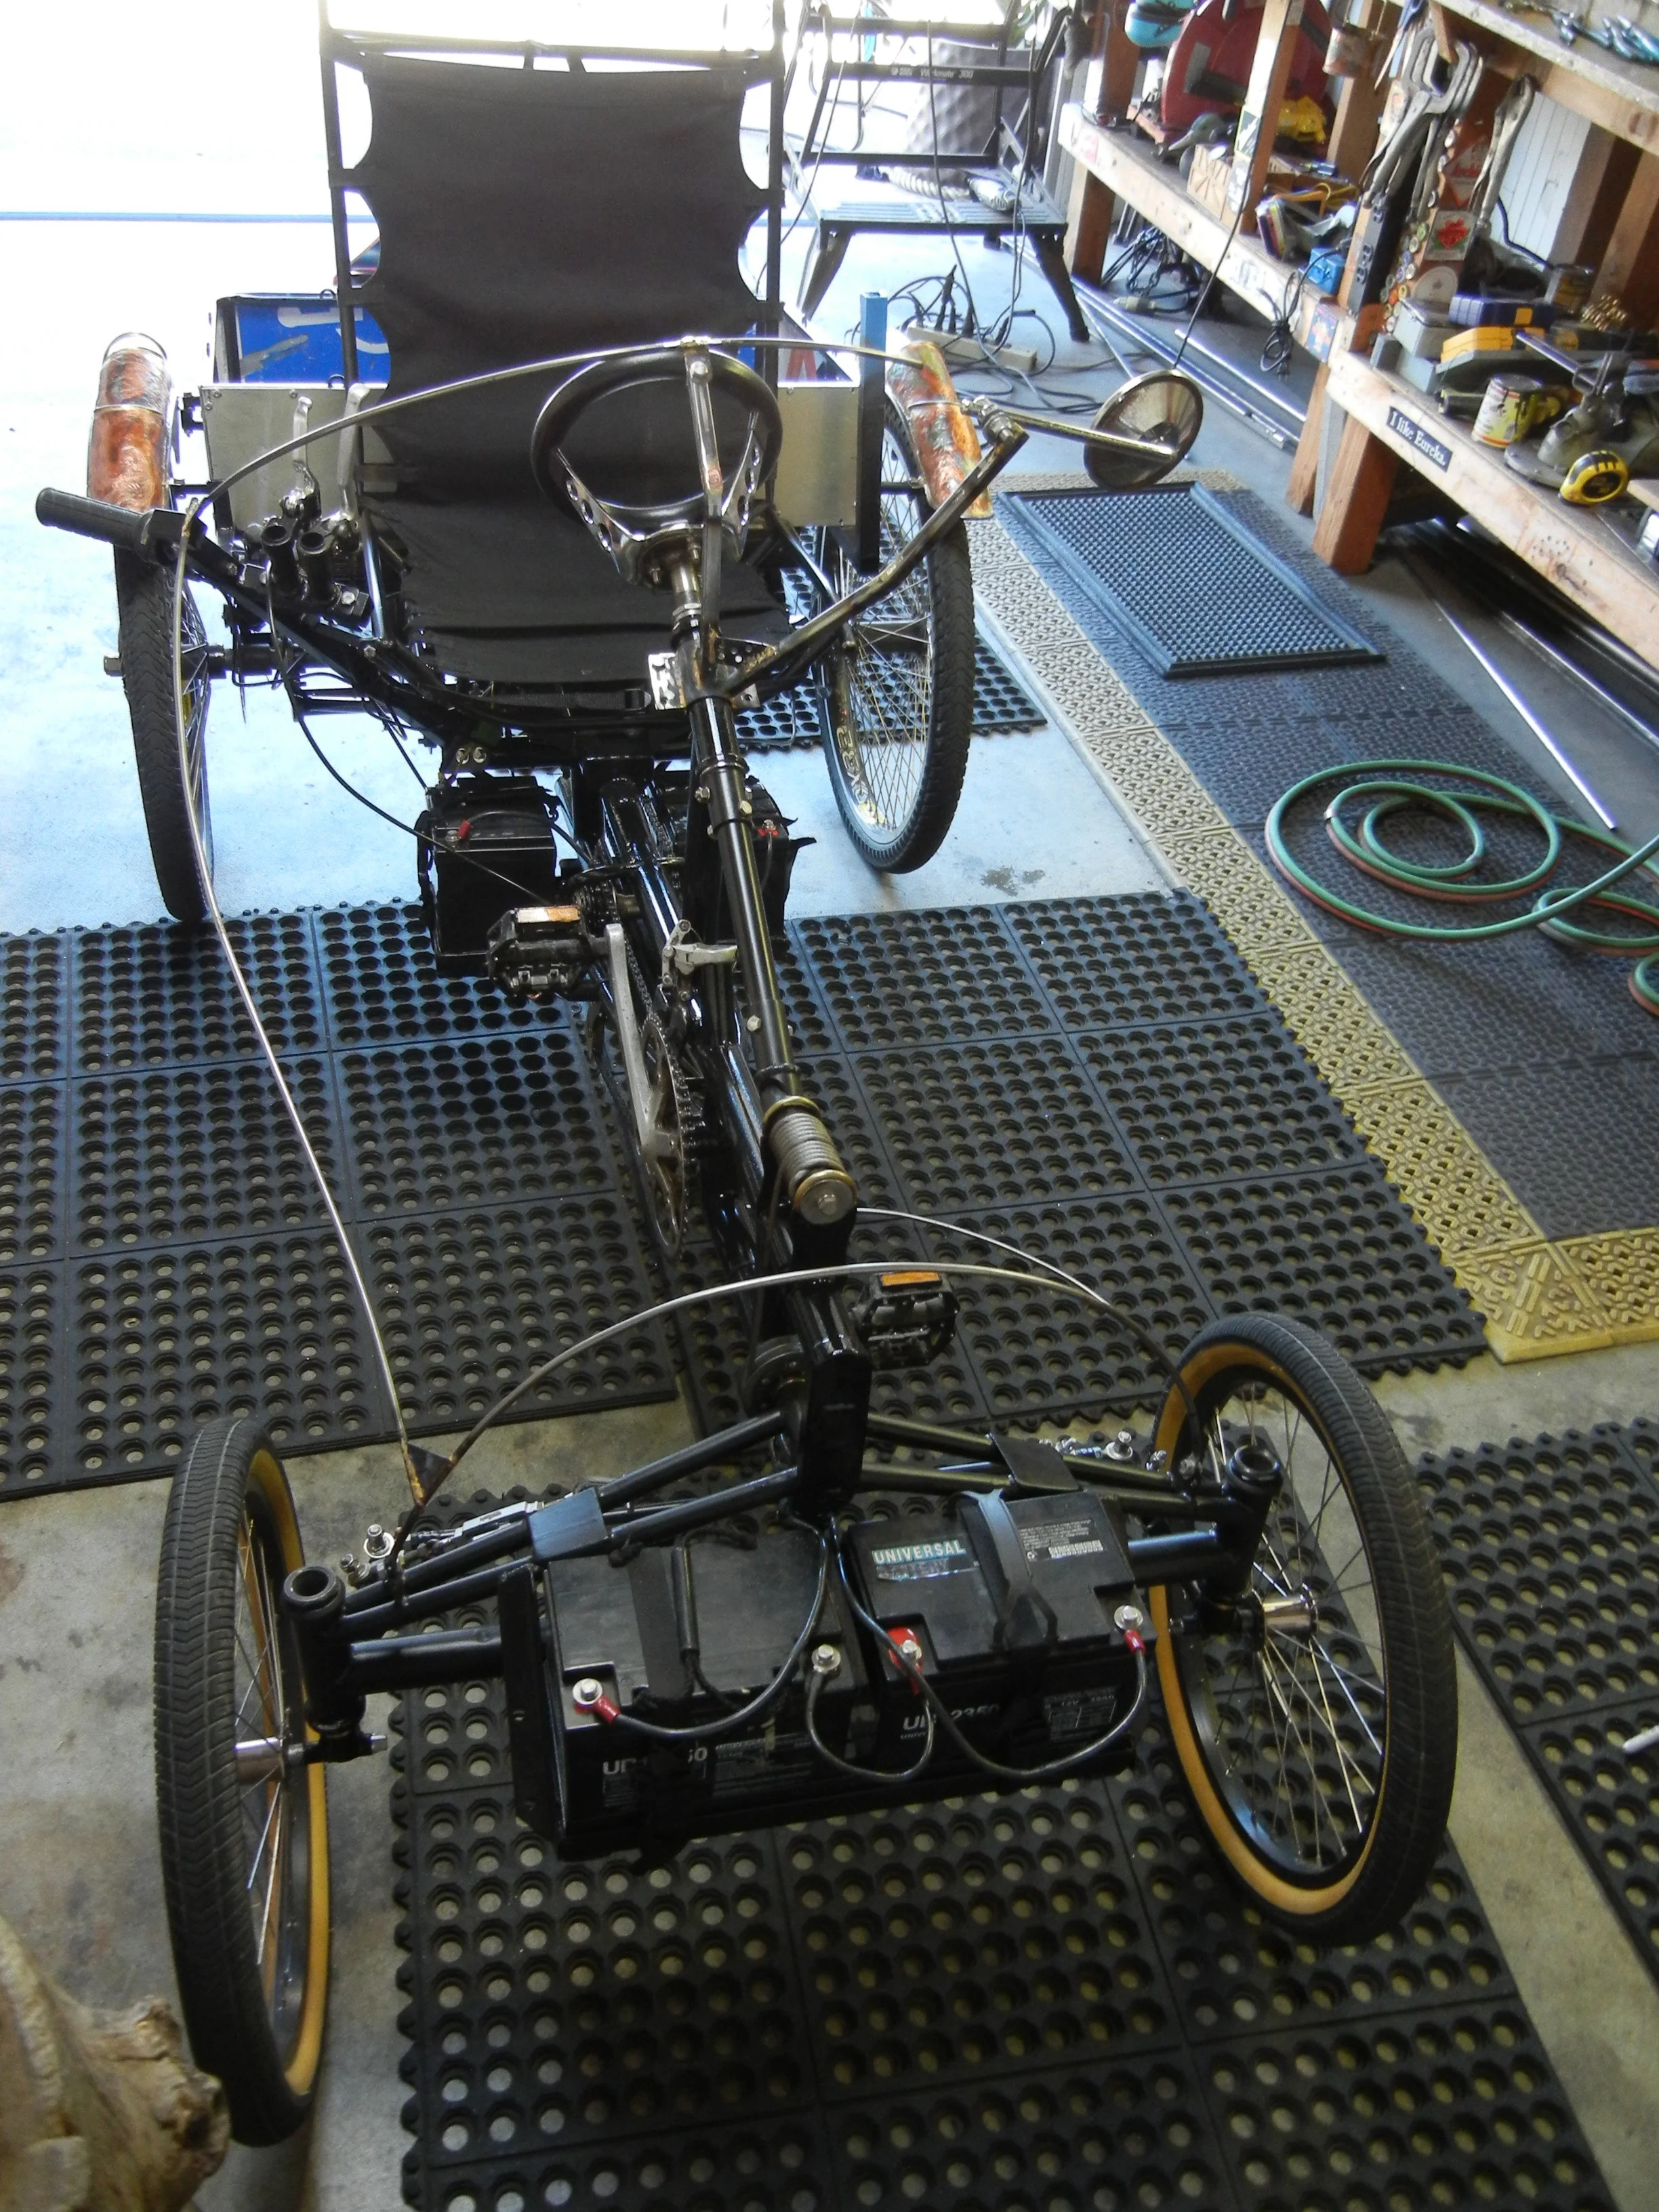
Time for Fun! We need to order up some Body for this girl. Goal is to have a removable body & after days end four bolt attachments this body/shell will come off completely. Easy access if you have to do some fix’in and in this case theres a whole bunch of it.

Time to strap on a Cockpit ready for blast off Captain! Never think about a mirror till you need one. Body configuration will be a left side entering driving, & all the cool shit starboard side.
After about three long months of fixing stuff that needed fixin the “CQ” is up and running. Recently primed/painted frame to endure Humboldt’s rainy season. Next up - Copper body.
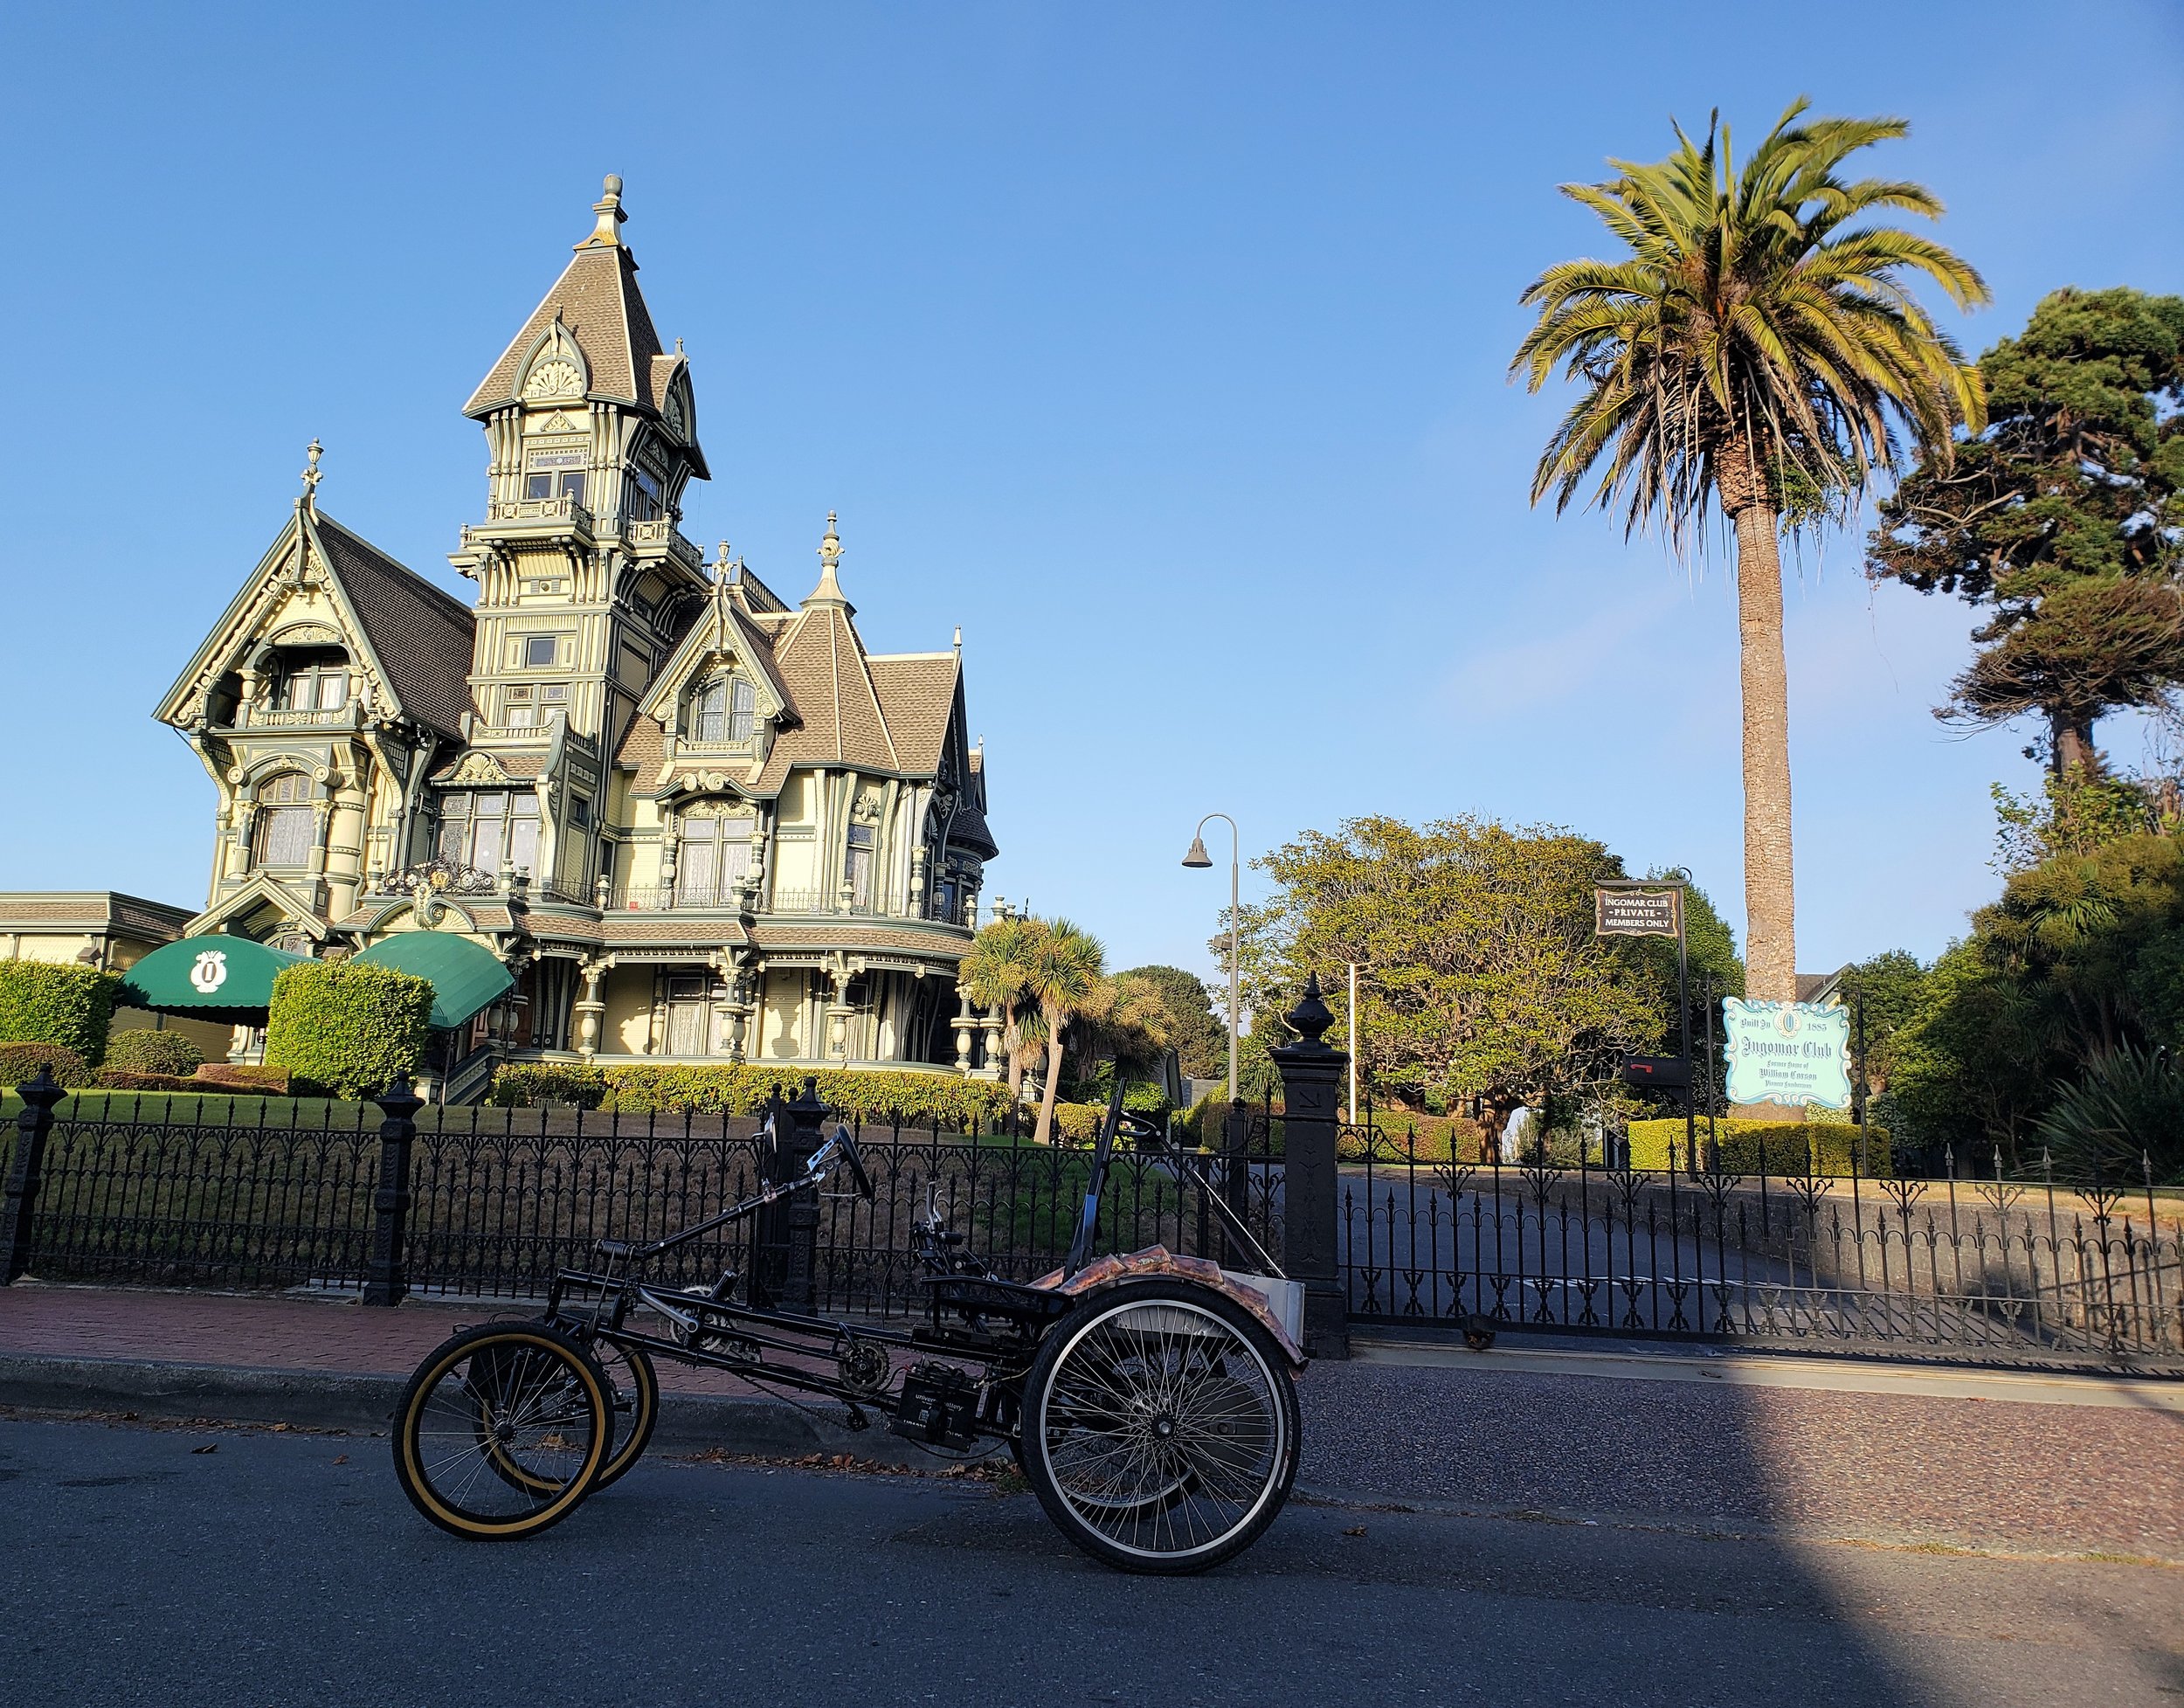
Pix taken in Eureka, California and is the most famous of scary houses in the world, The Carson Mansion.
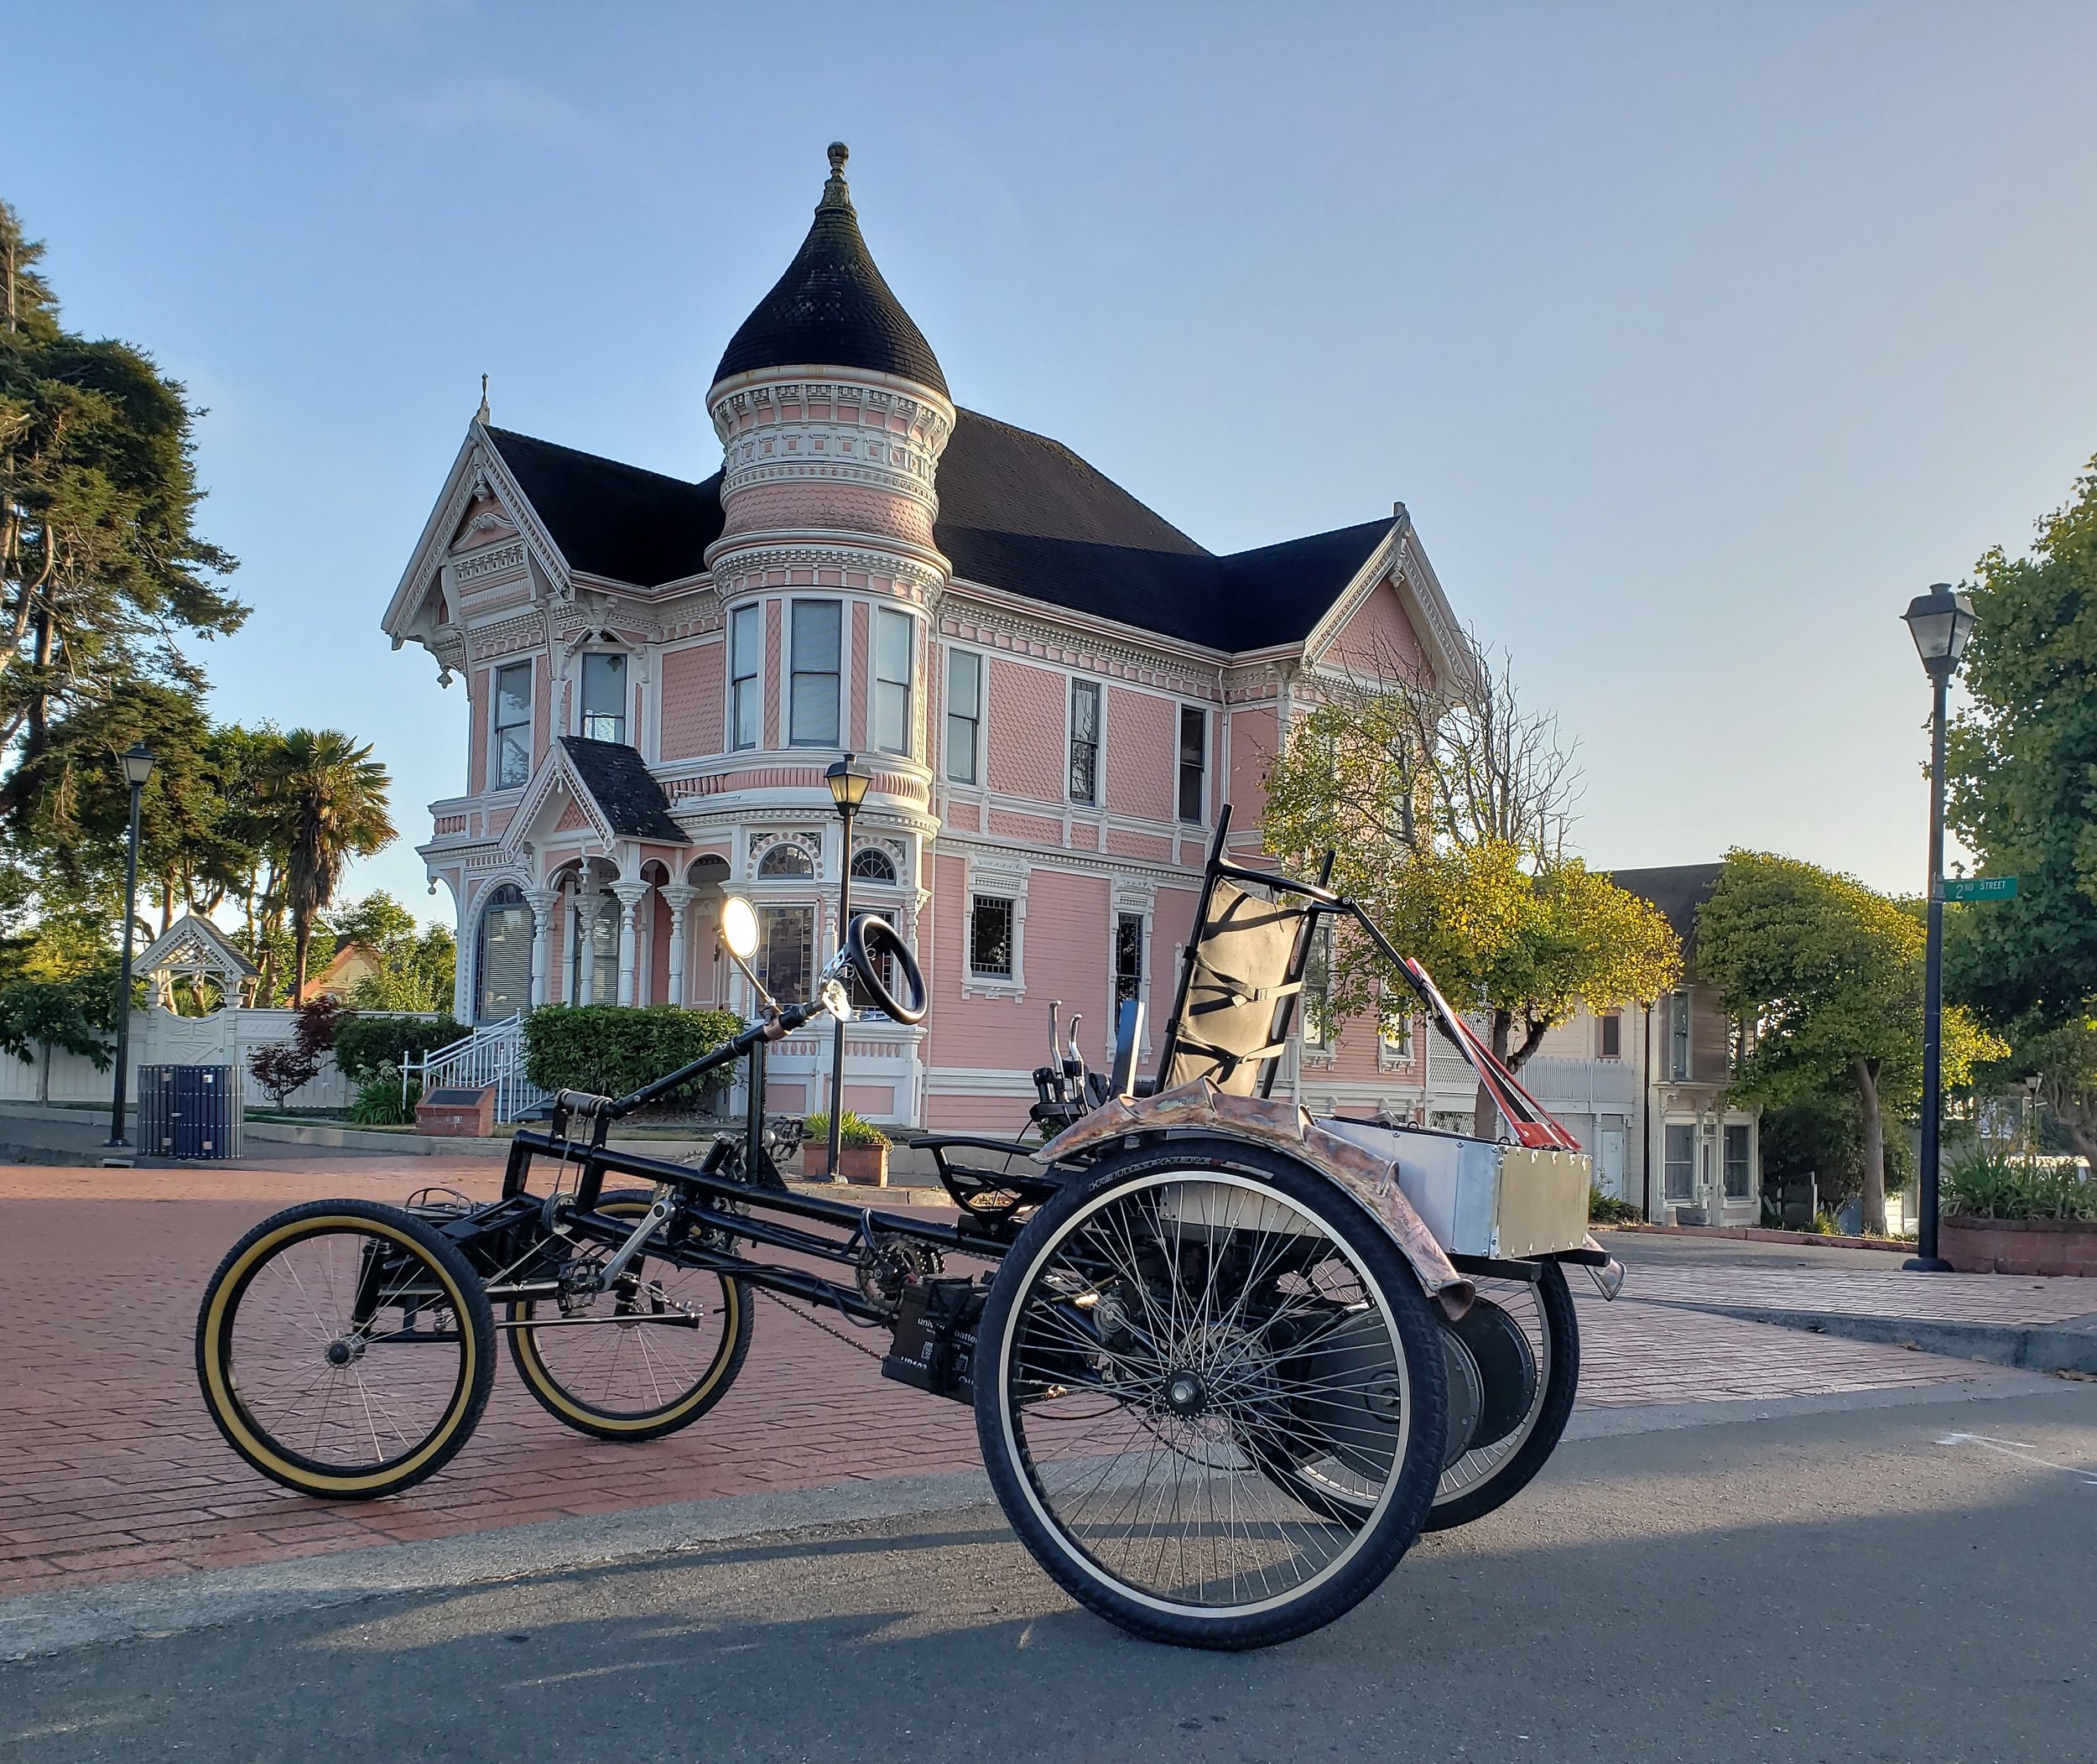
“Pink Lady” directly across from the Carson Mansion.
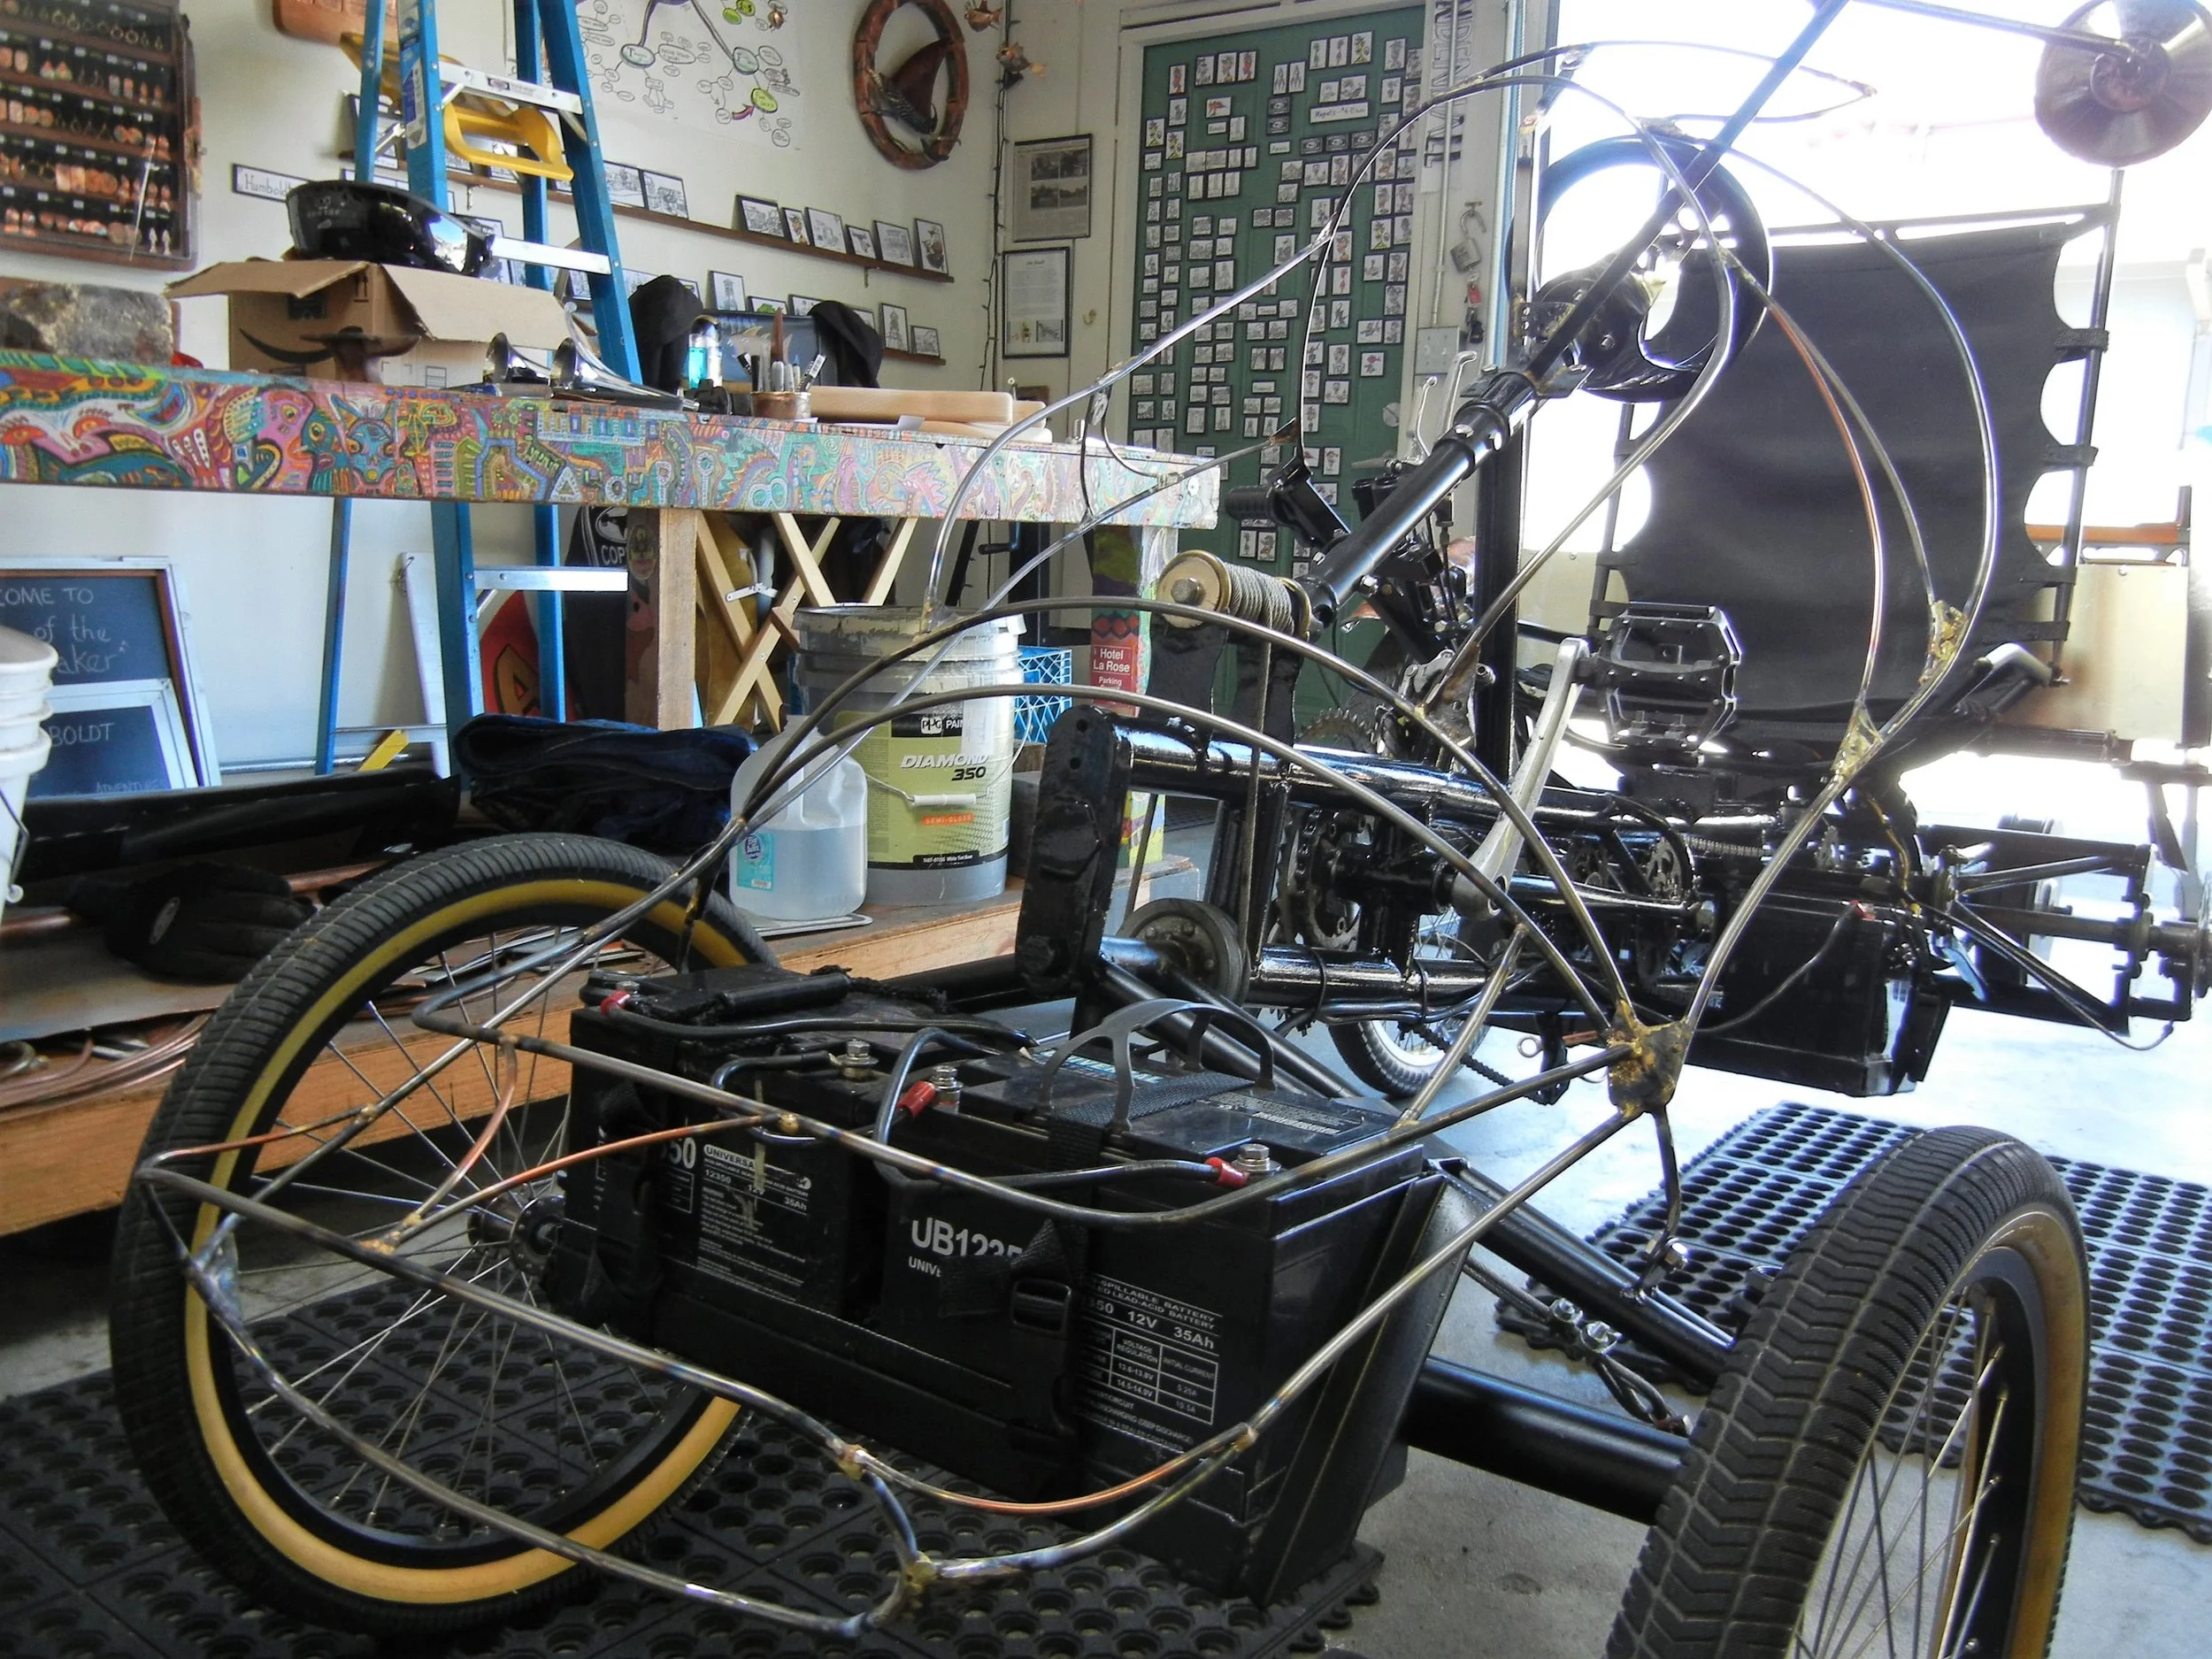
Working on the body which I’ve been using 1/4” solid steel rod, not too much weight and is strong and sturdy.
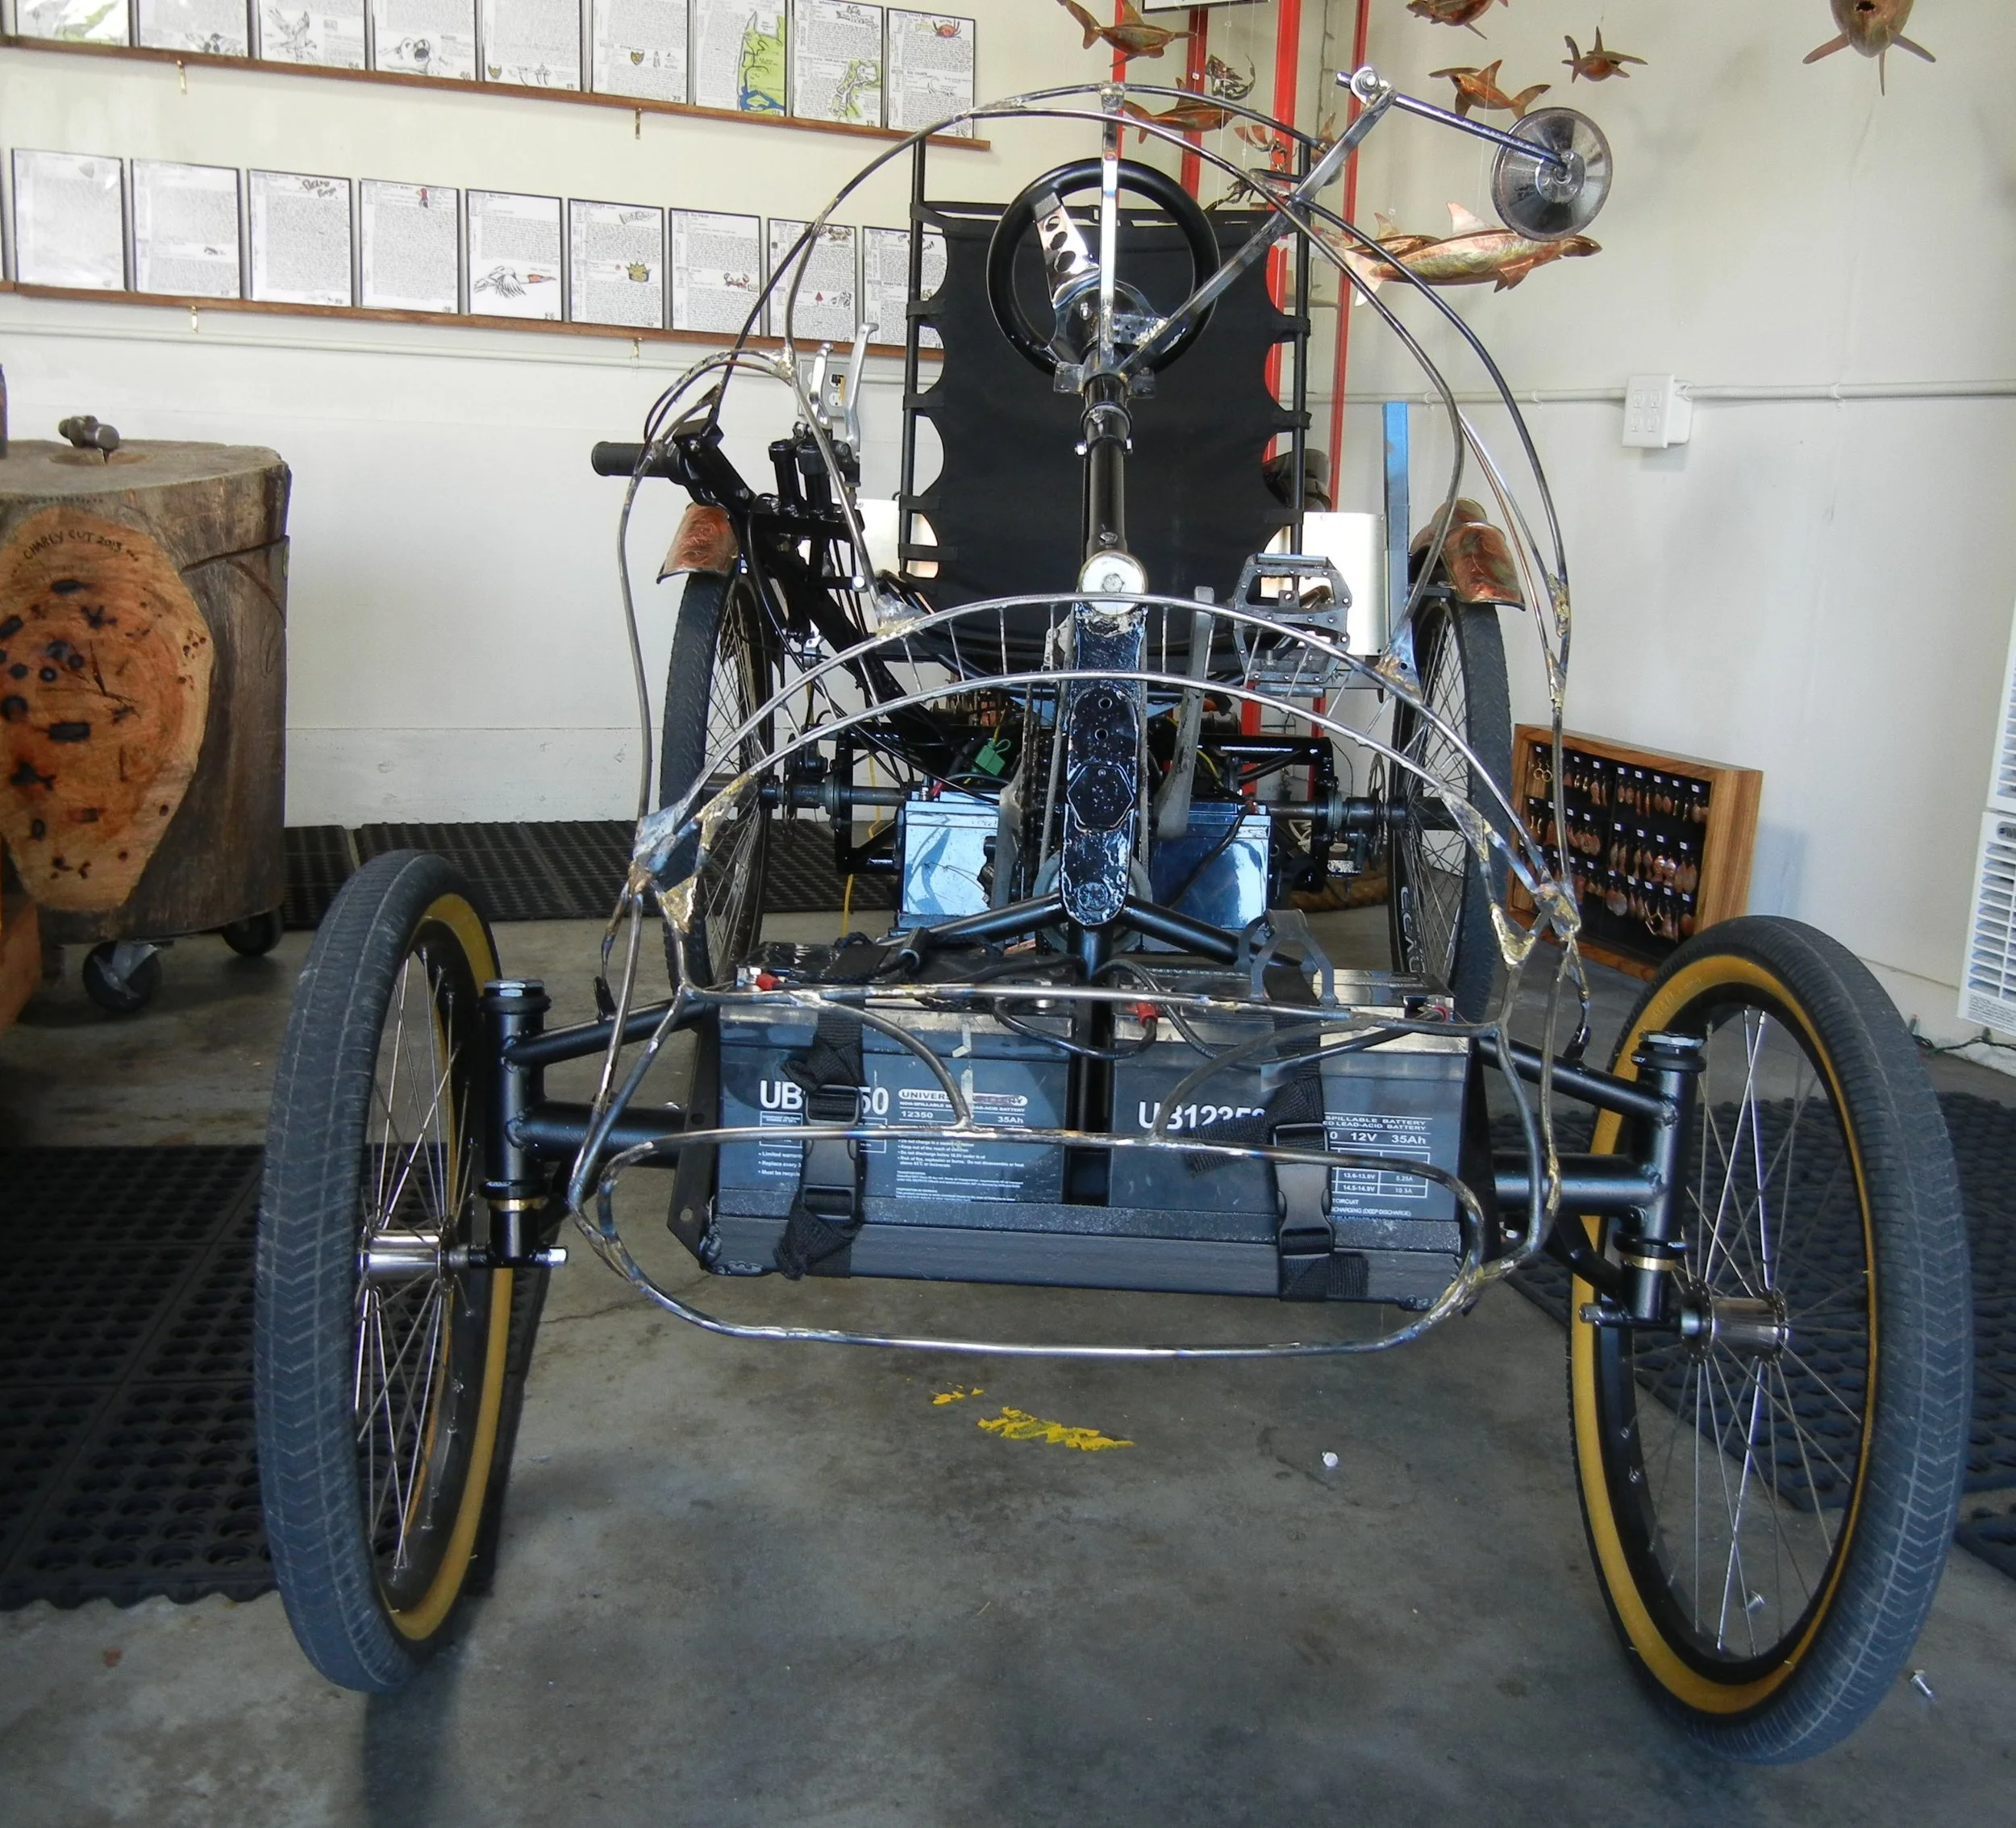
Time to install a grill, here I took 5/32” steel rod got it red hot and beat it till it was about a quarter inch flat. Instead of brazing these I went with steel on steel welding.
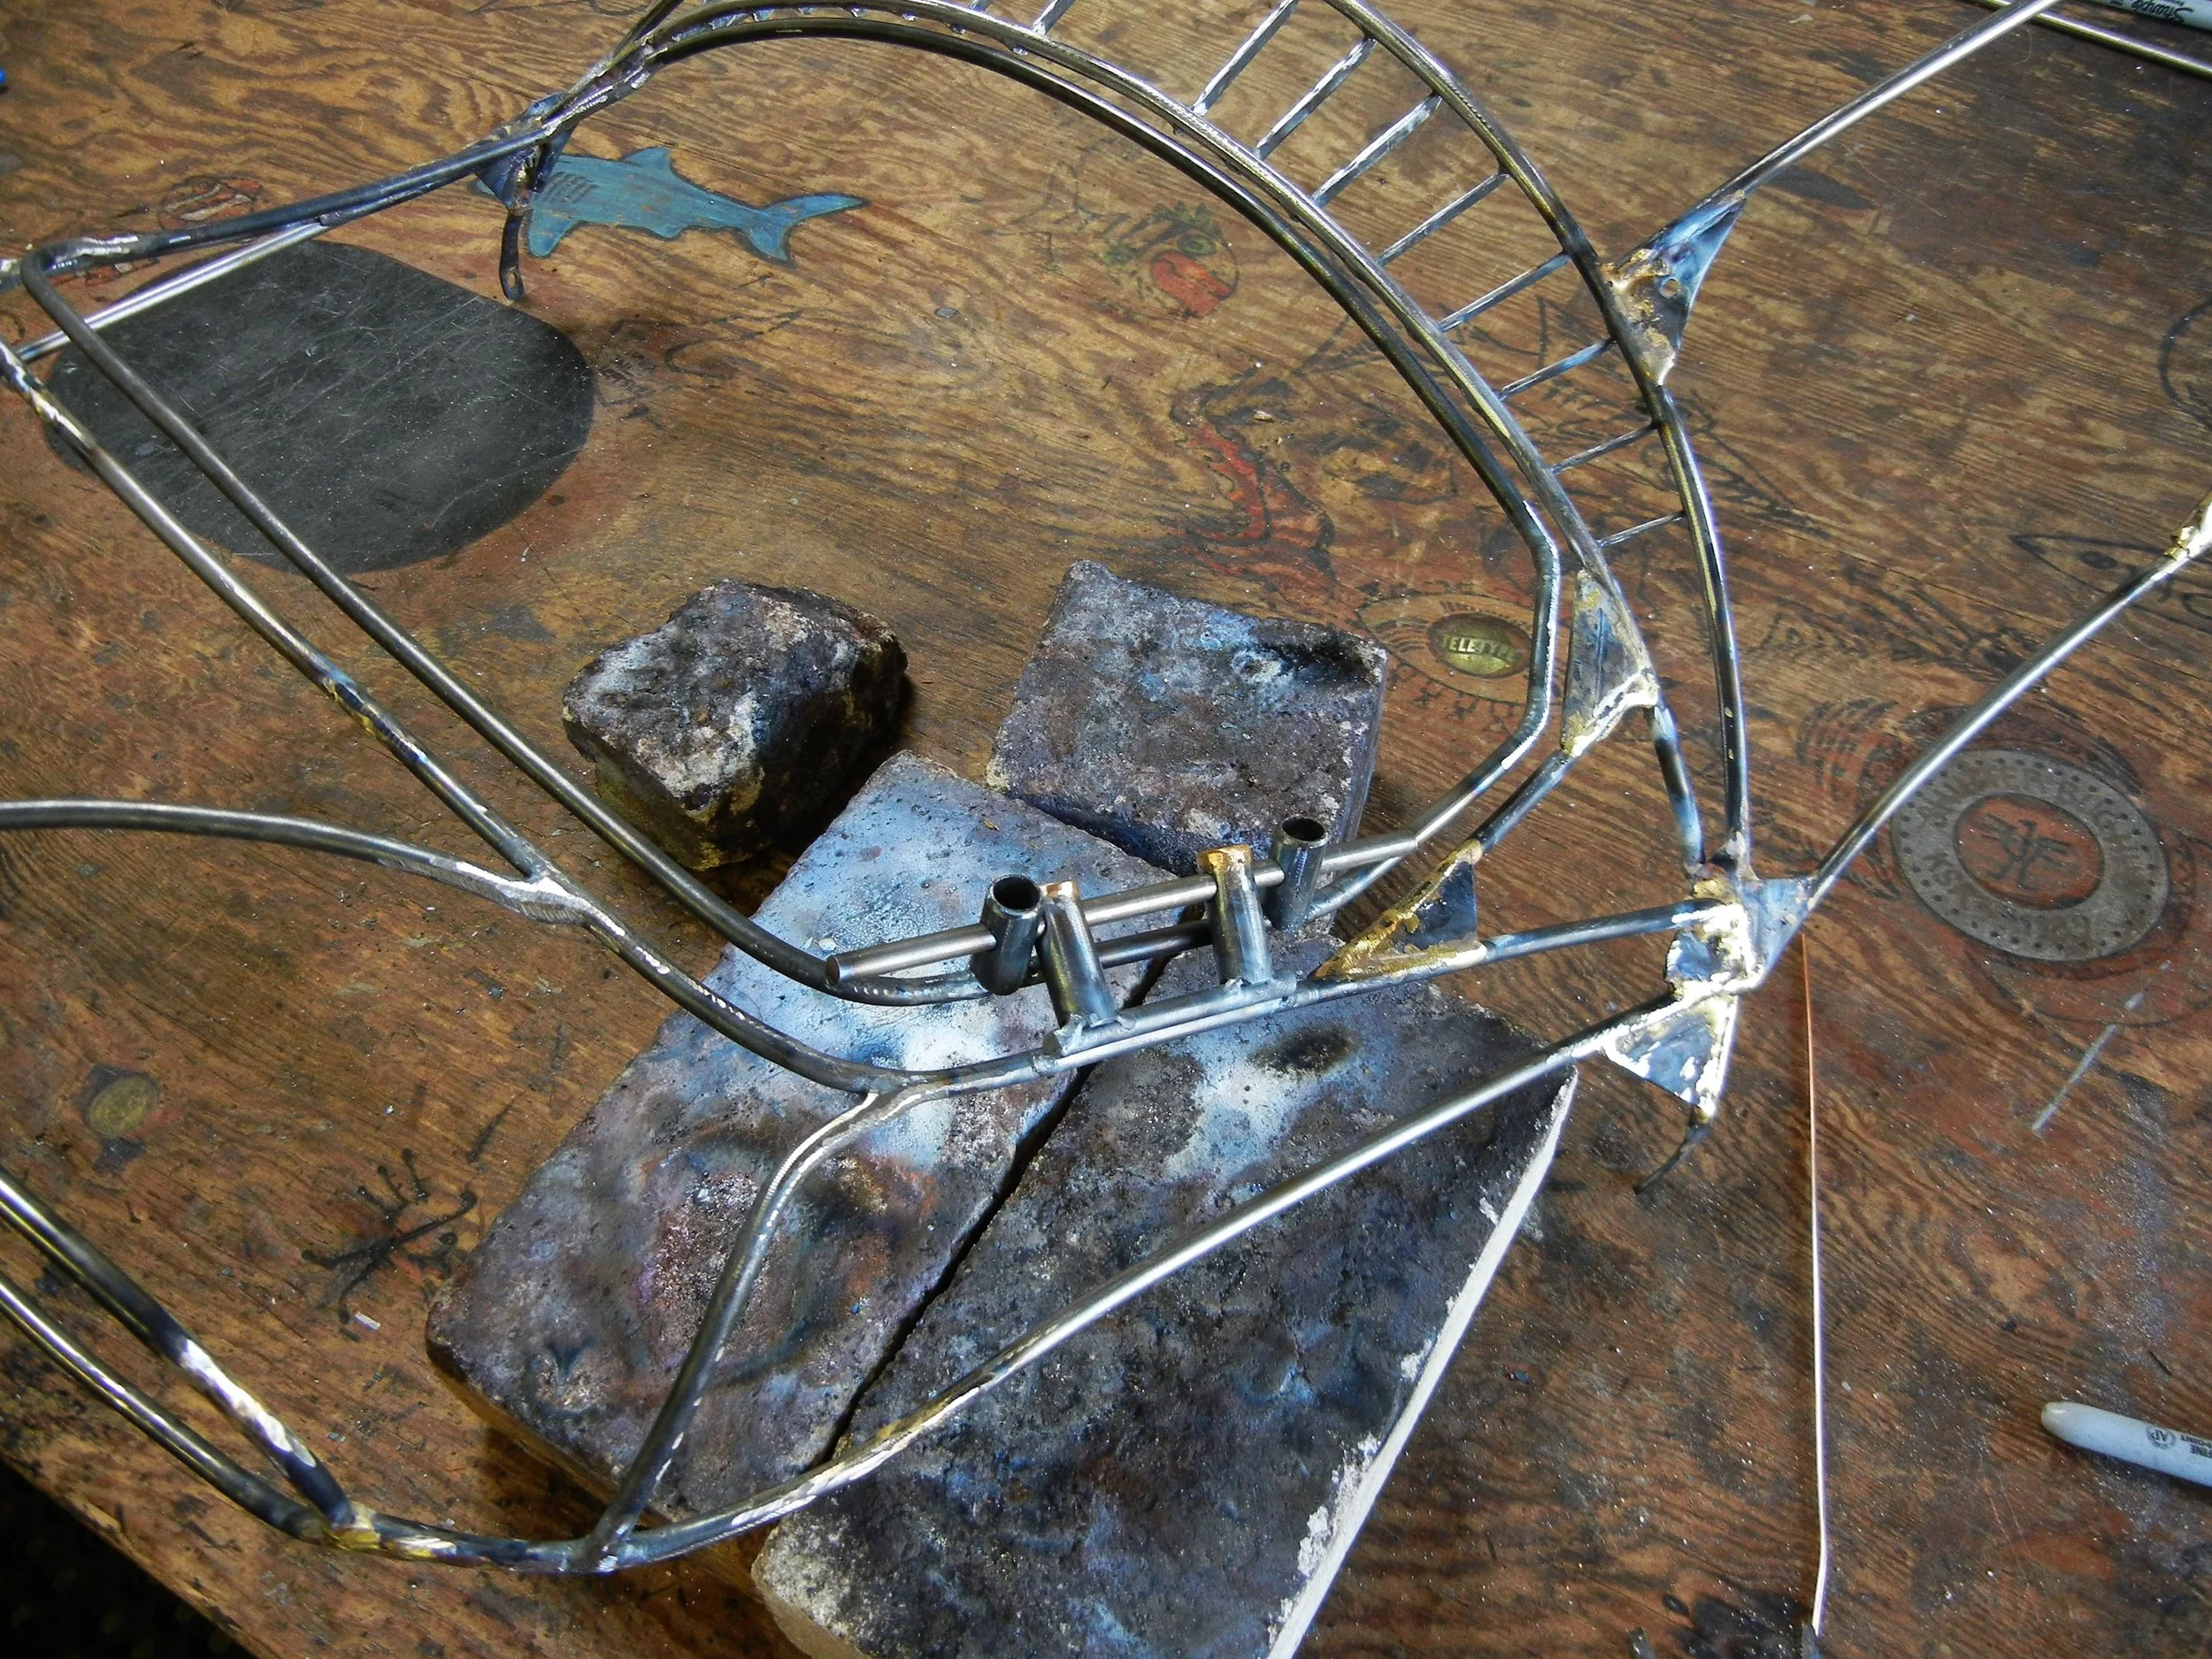
Original idea was to have the hood raise and shut like a regular car but this design wouldn’t allow for it. So I decided on a side hinge, something different and unique.
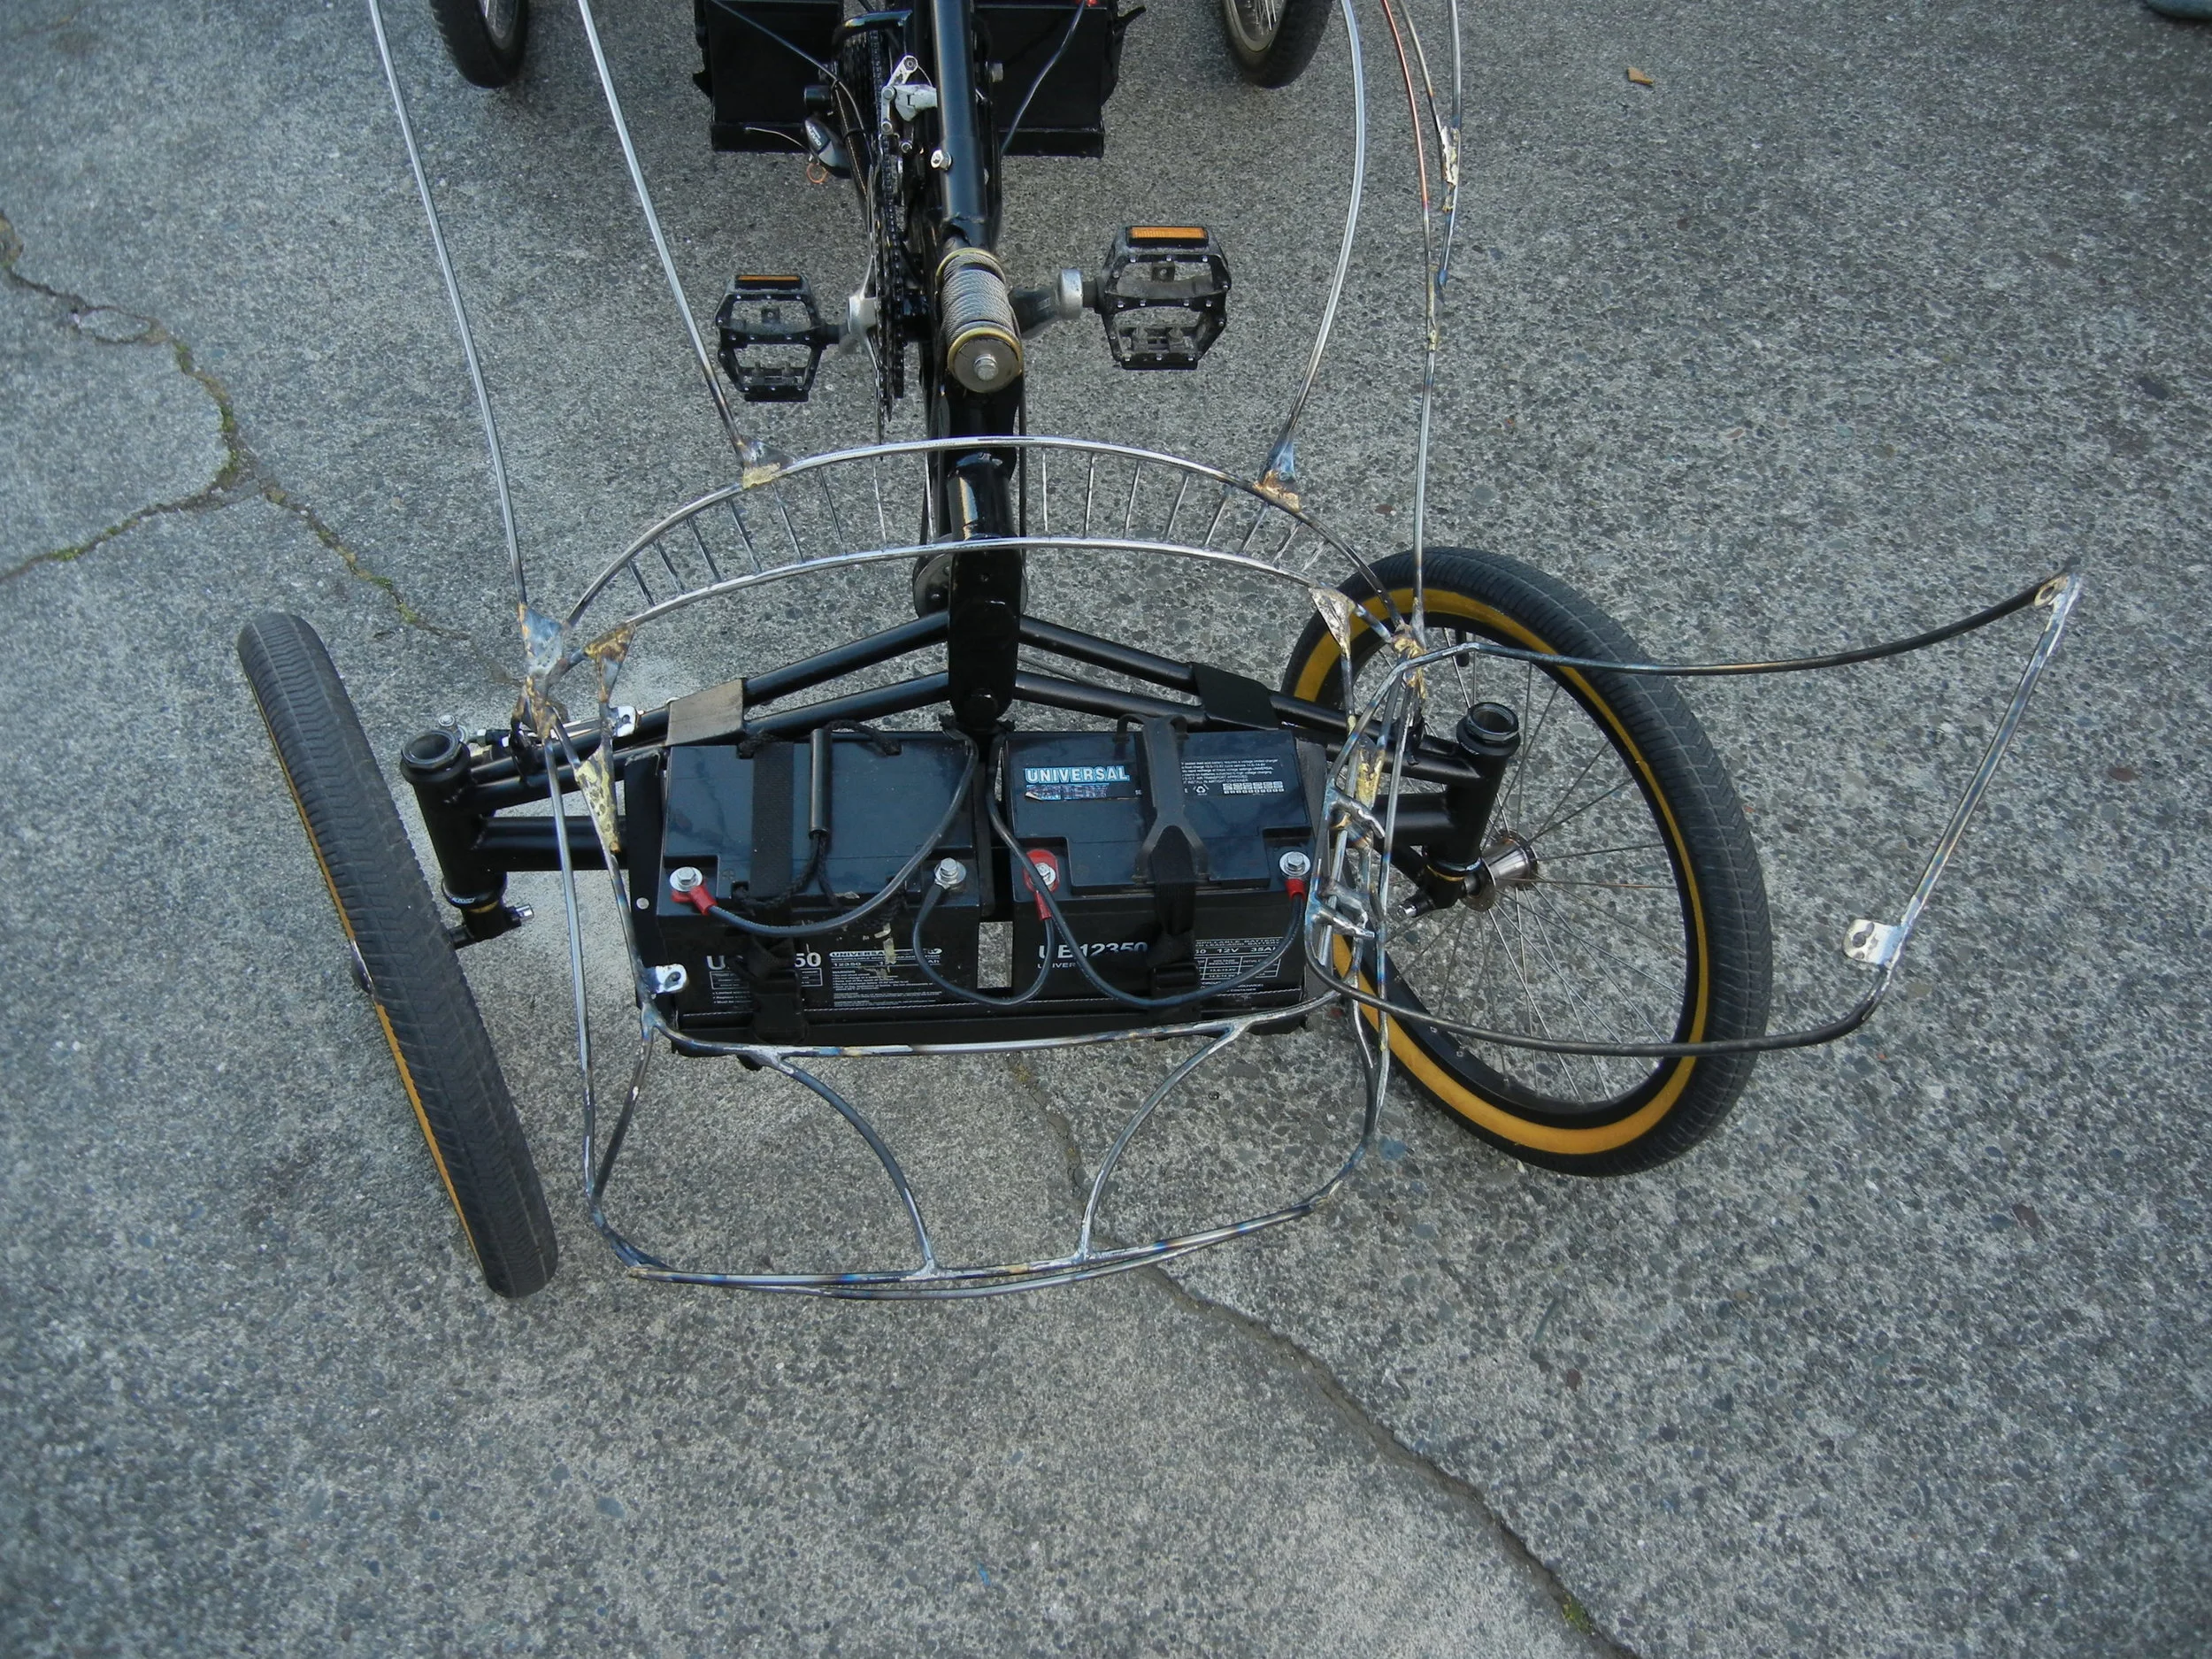
Now you see it.
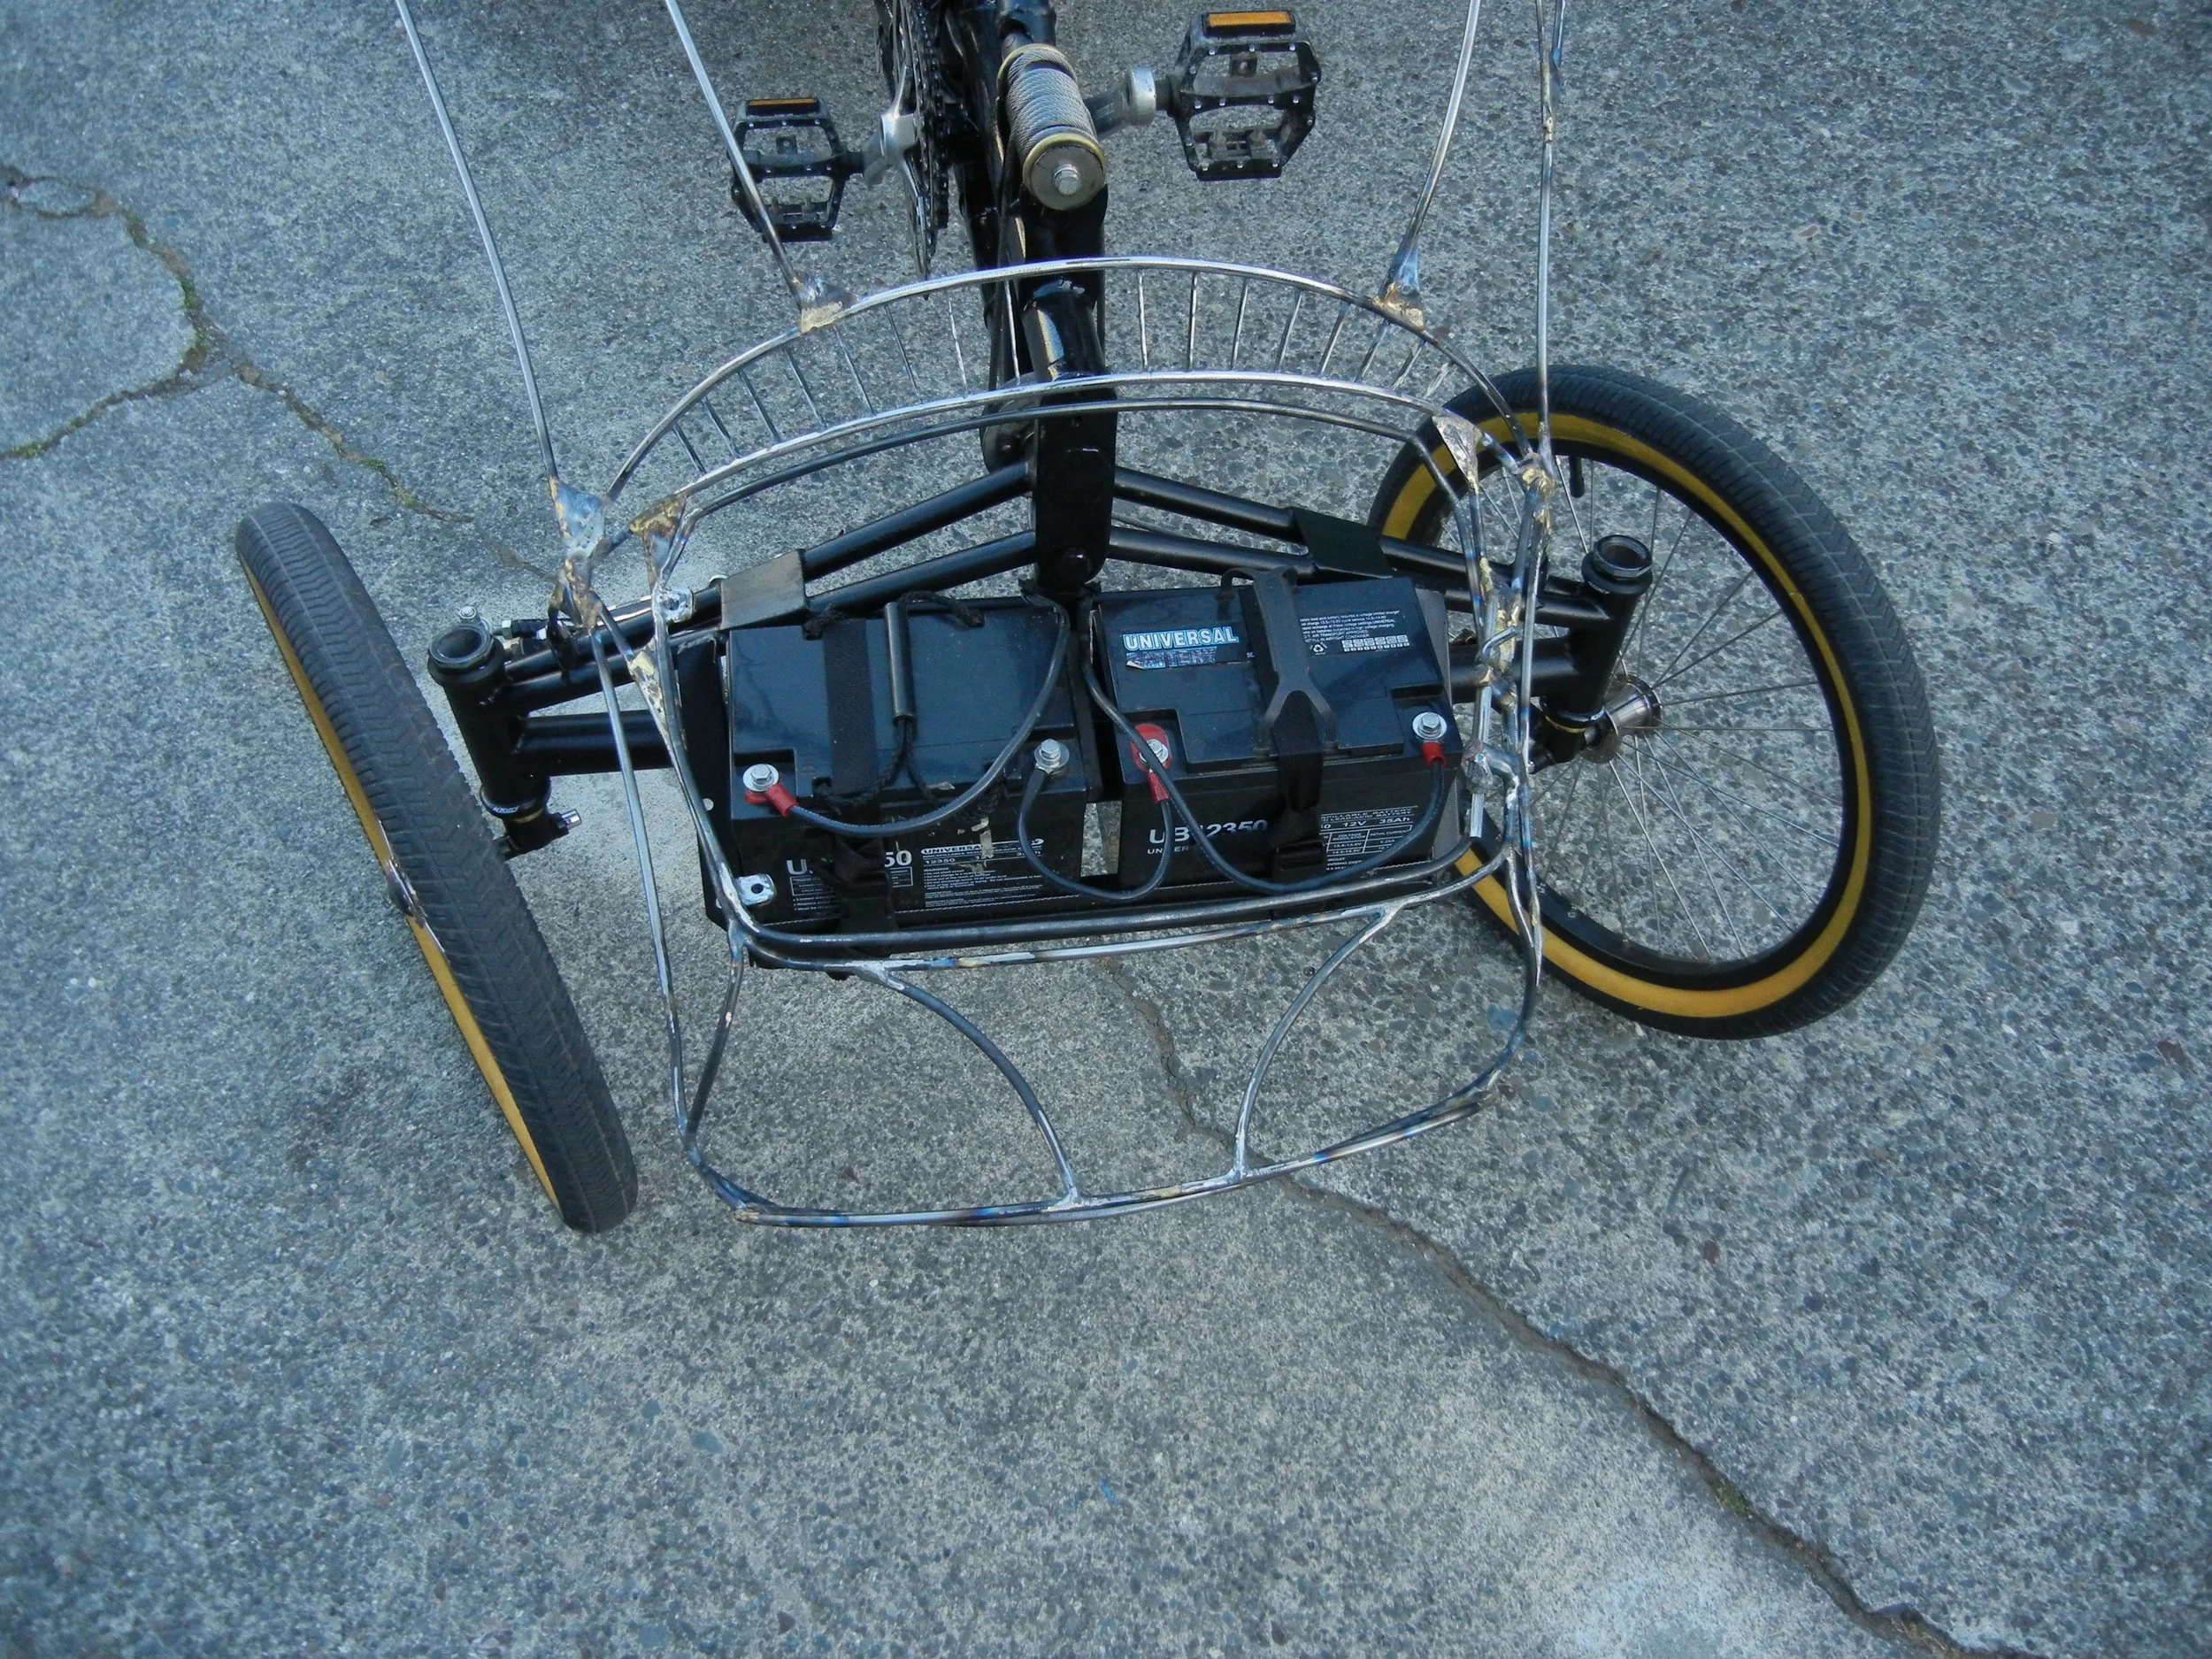
Now you don’t.

Redwood dashboard with fuel gauge

Blast em if you got em! Horn install good to go & loud!
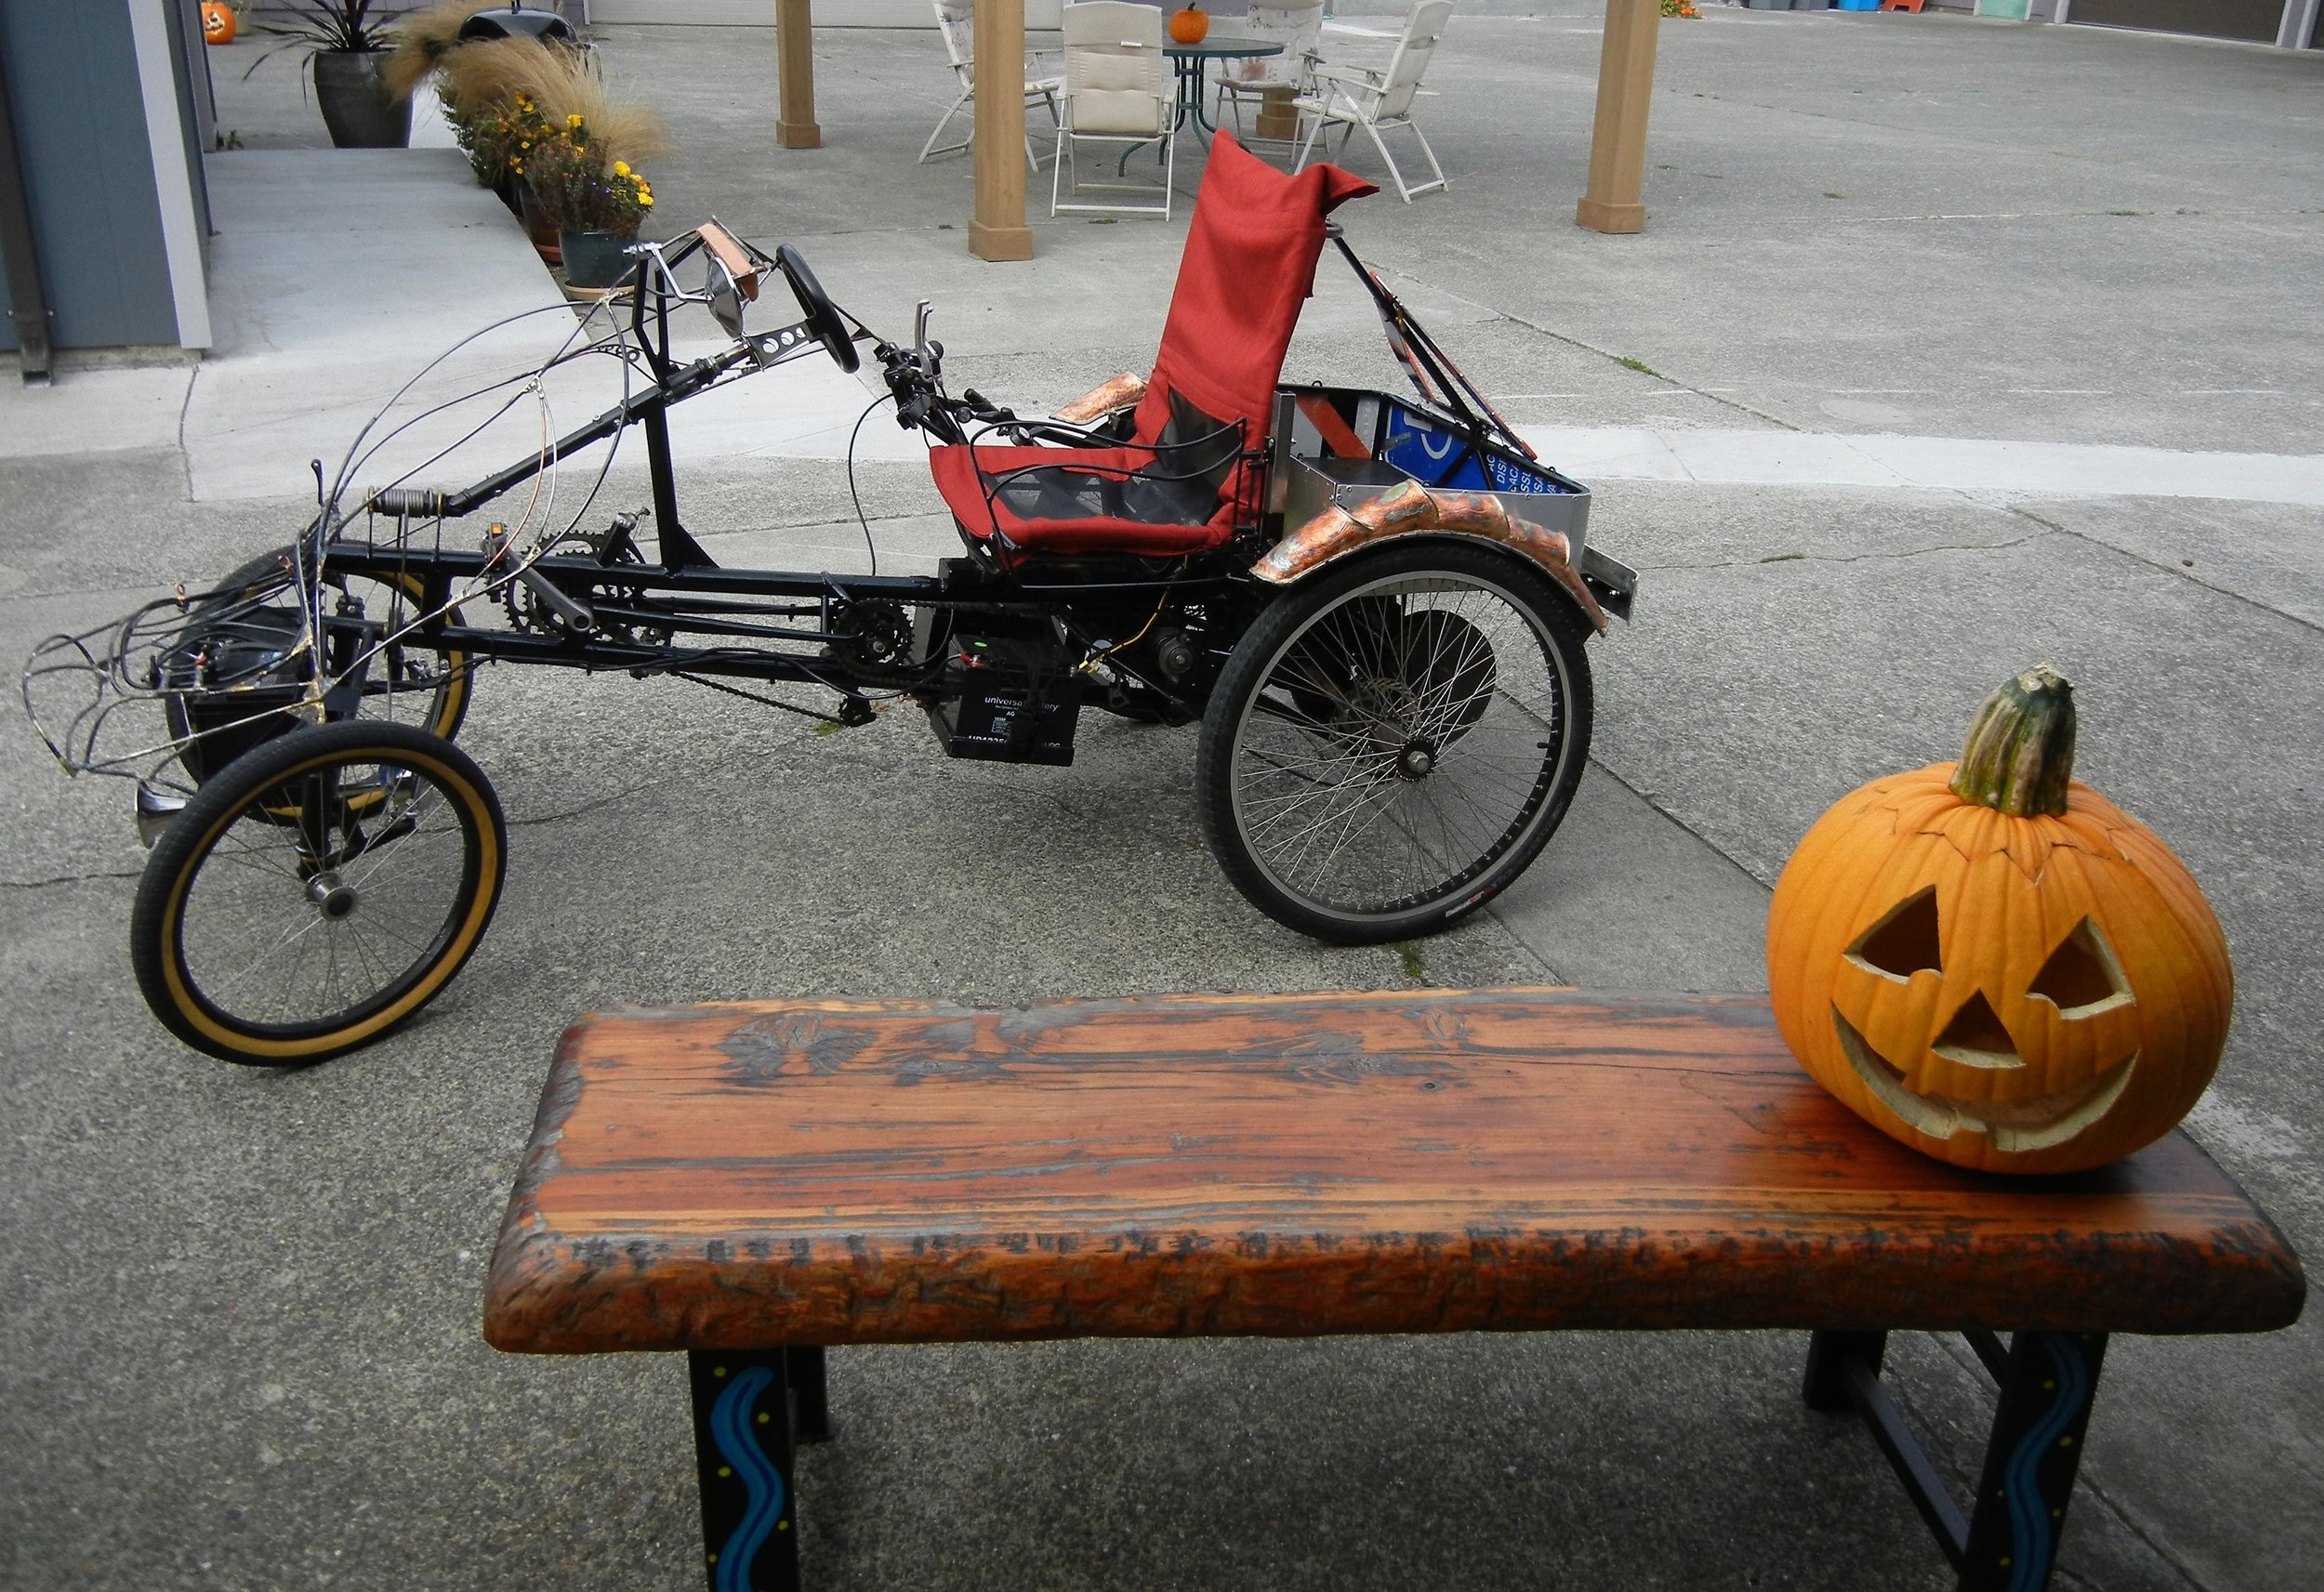
Lots of stuff, Suicide door, hood painted new seat cover & dashboard
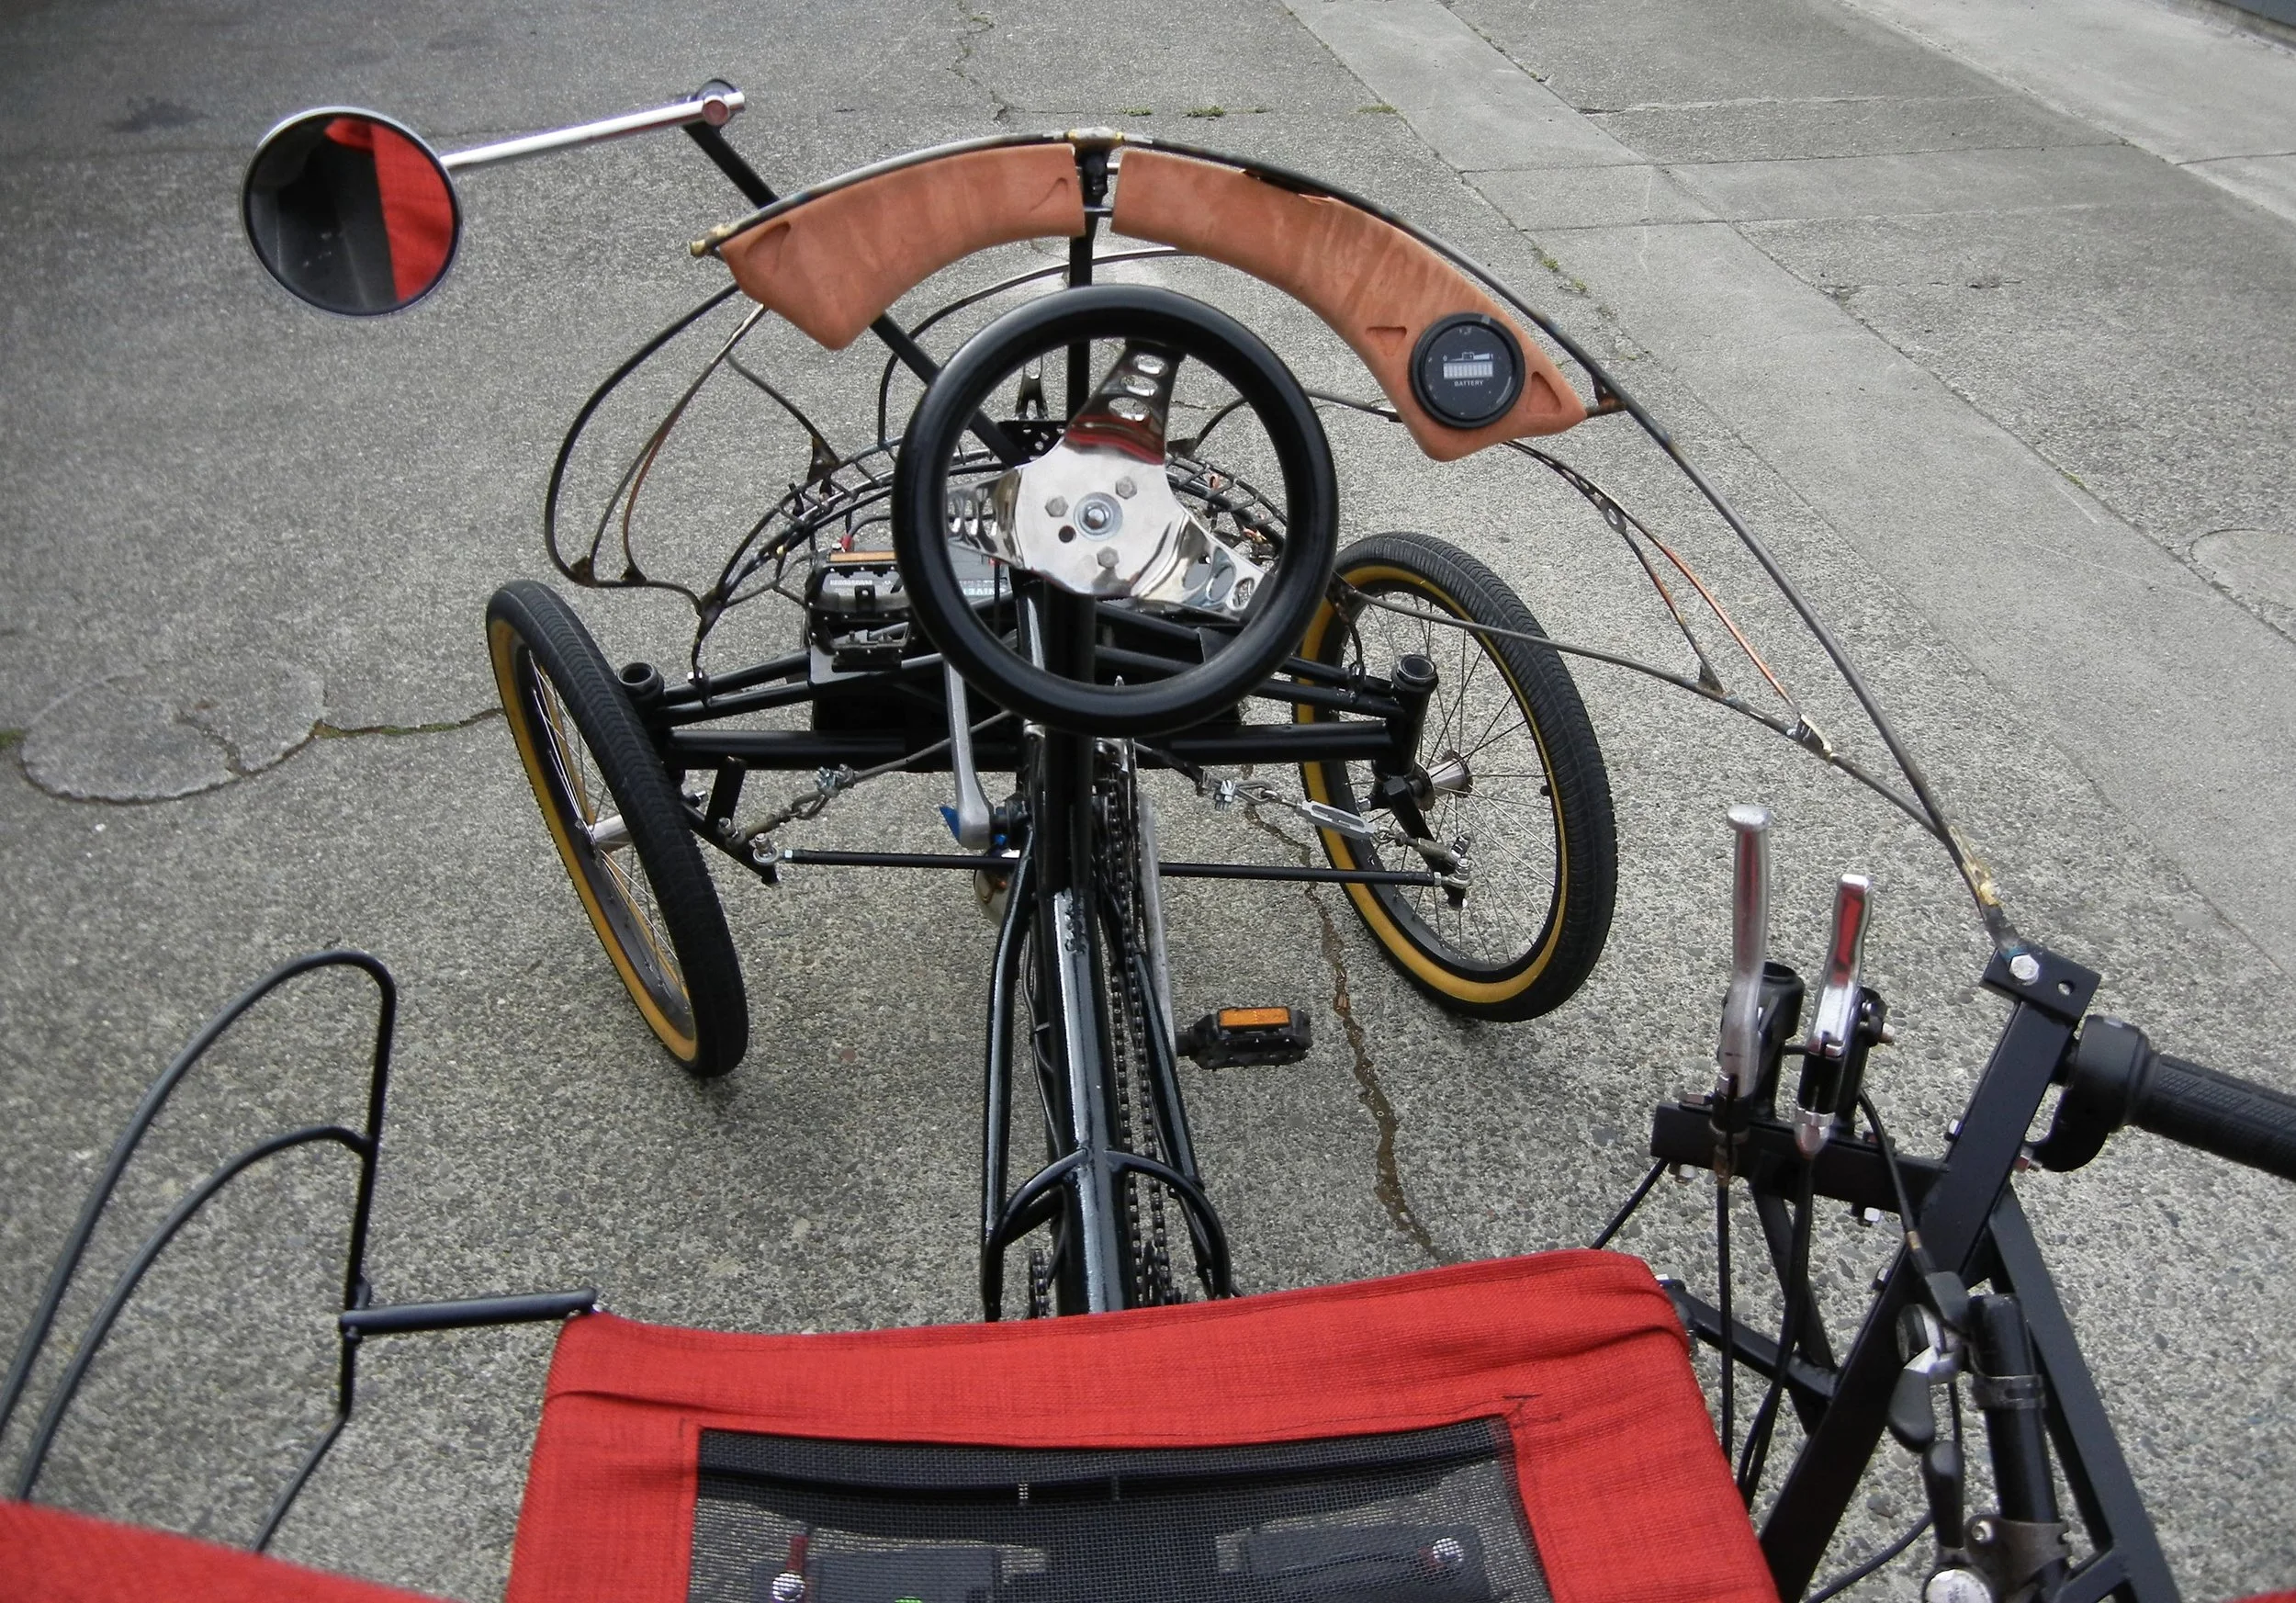
Cockpit view, strap in hold on and shut the hell up!
Diamond plate rear bumper came out pretty sweet
Suicide door portside, ideas are hard to come by and this is what I came up for this. Paper sketch I did the night prior, glue down, pound in the idea.
Where the fun actually happens. This ones been a test run how far can you bulge out the backside for a different perspective. Holes outside will riveted in aluminum. Should look pretty sweet.
Door good to go, bracket painted next up rivet job, where’s Rosie?
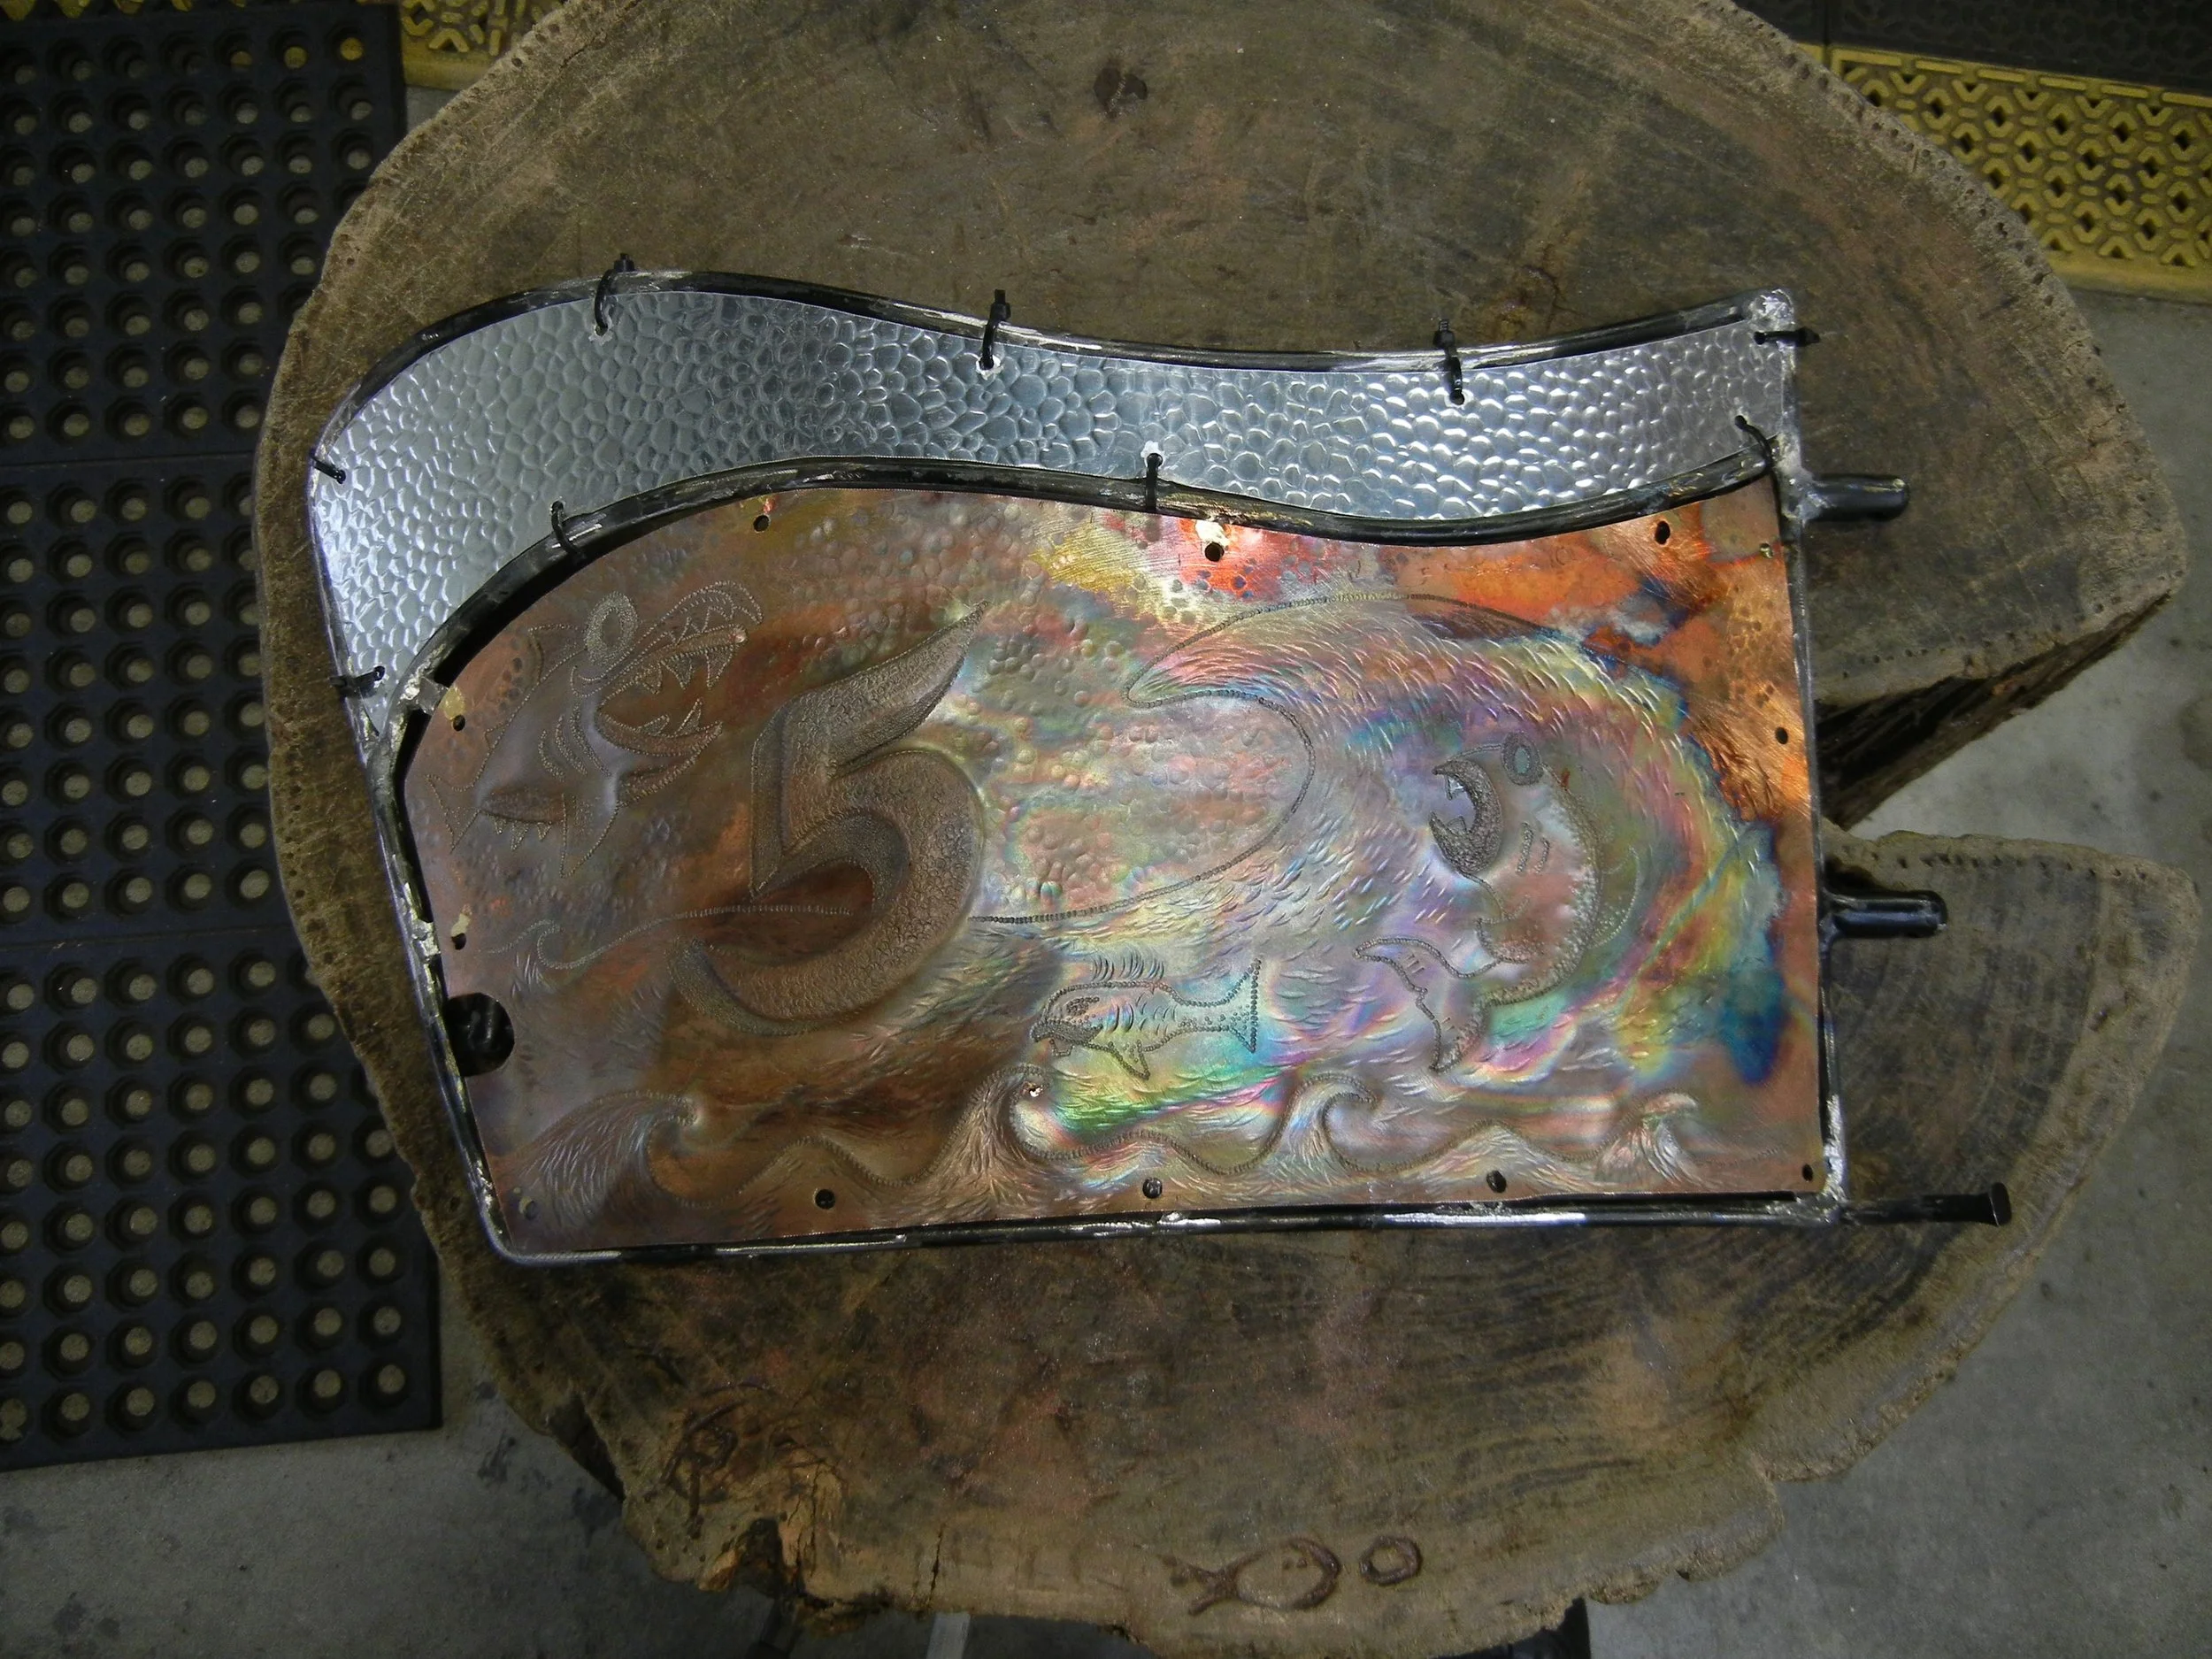
Mock up everything and I mean everything down to the last nut & bolt. I started with the door which I can take off, figured I’d ‘eff some stuff up might as well start with this. Came out pretty sweet! Copper Skinning begins!!!!
Found me some really bright aluminum stuff @ the salvage yard, nice mixture and light weight. Next up rivets which will make it really tight, strong & of course super cool.
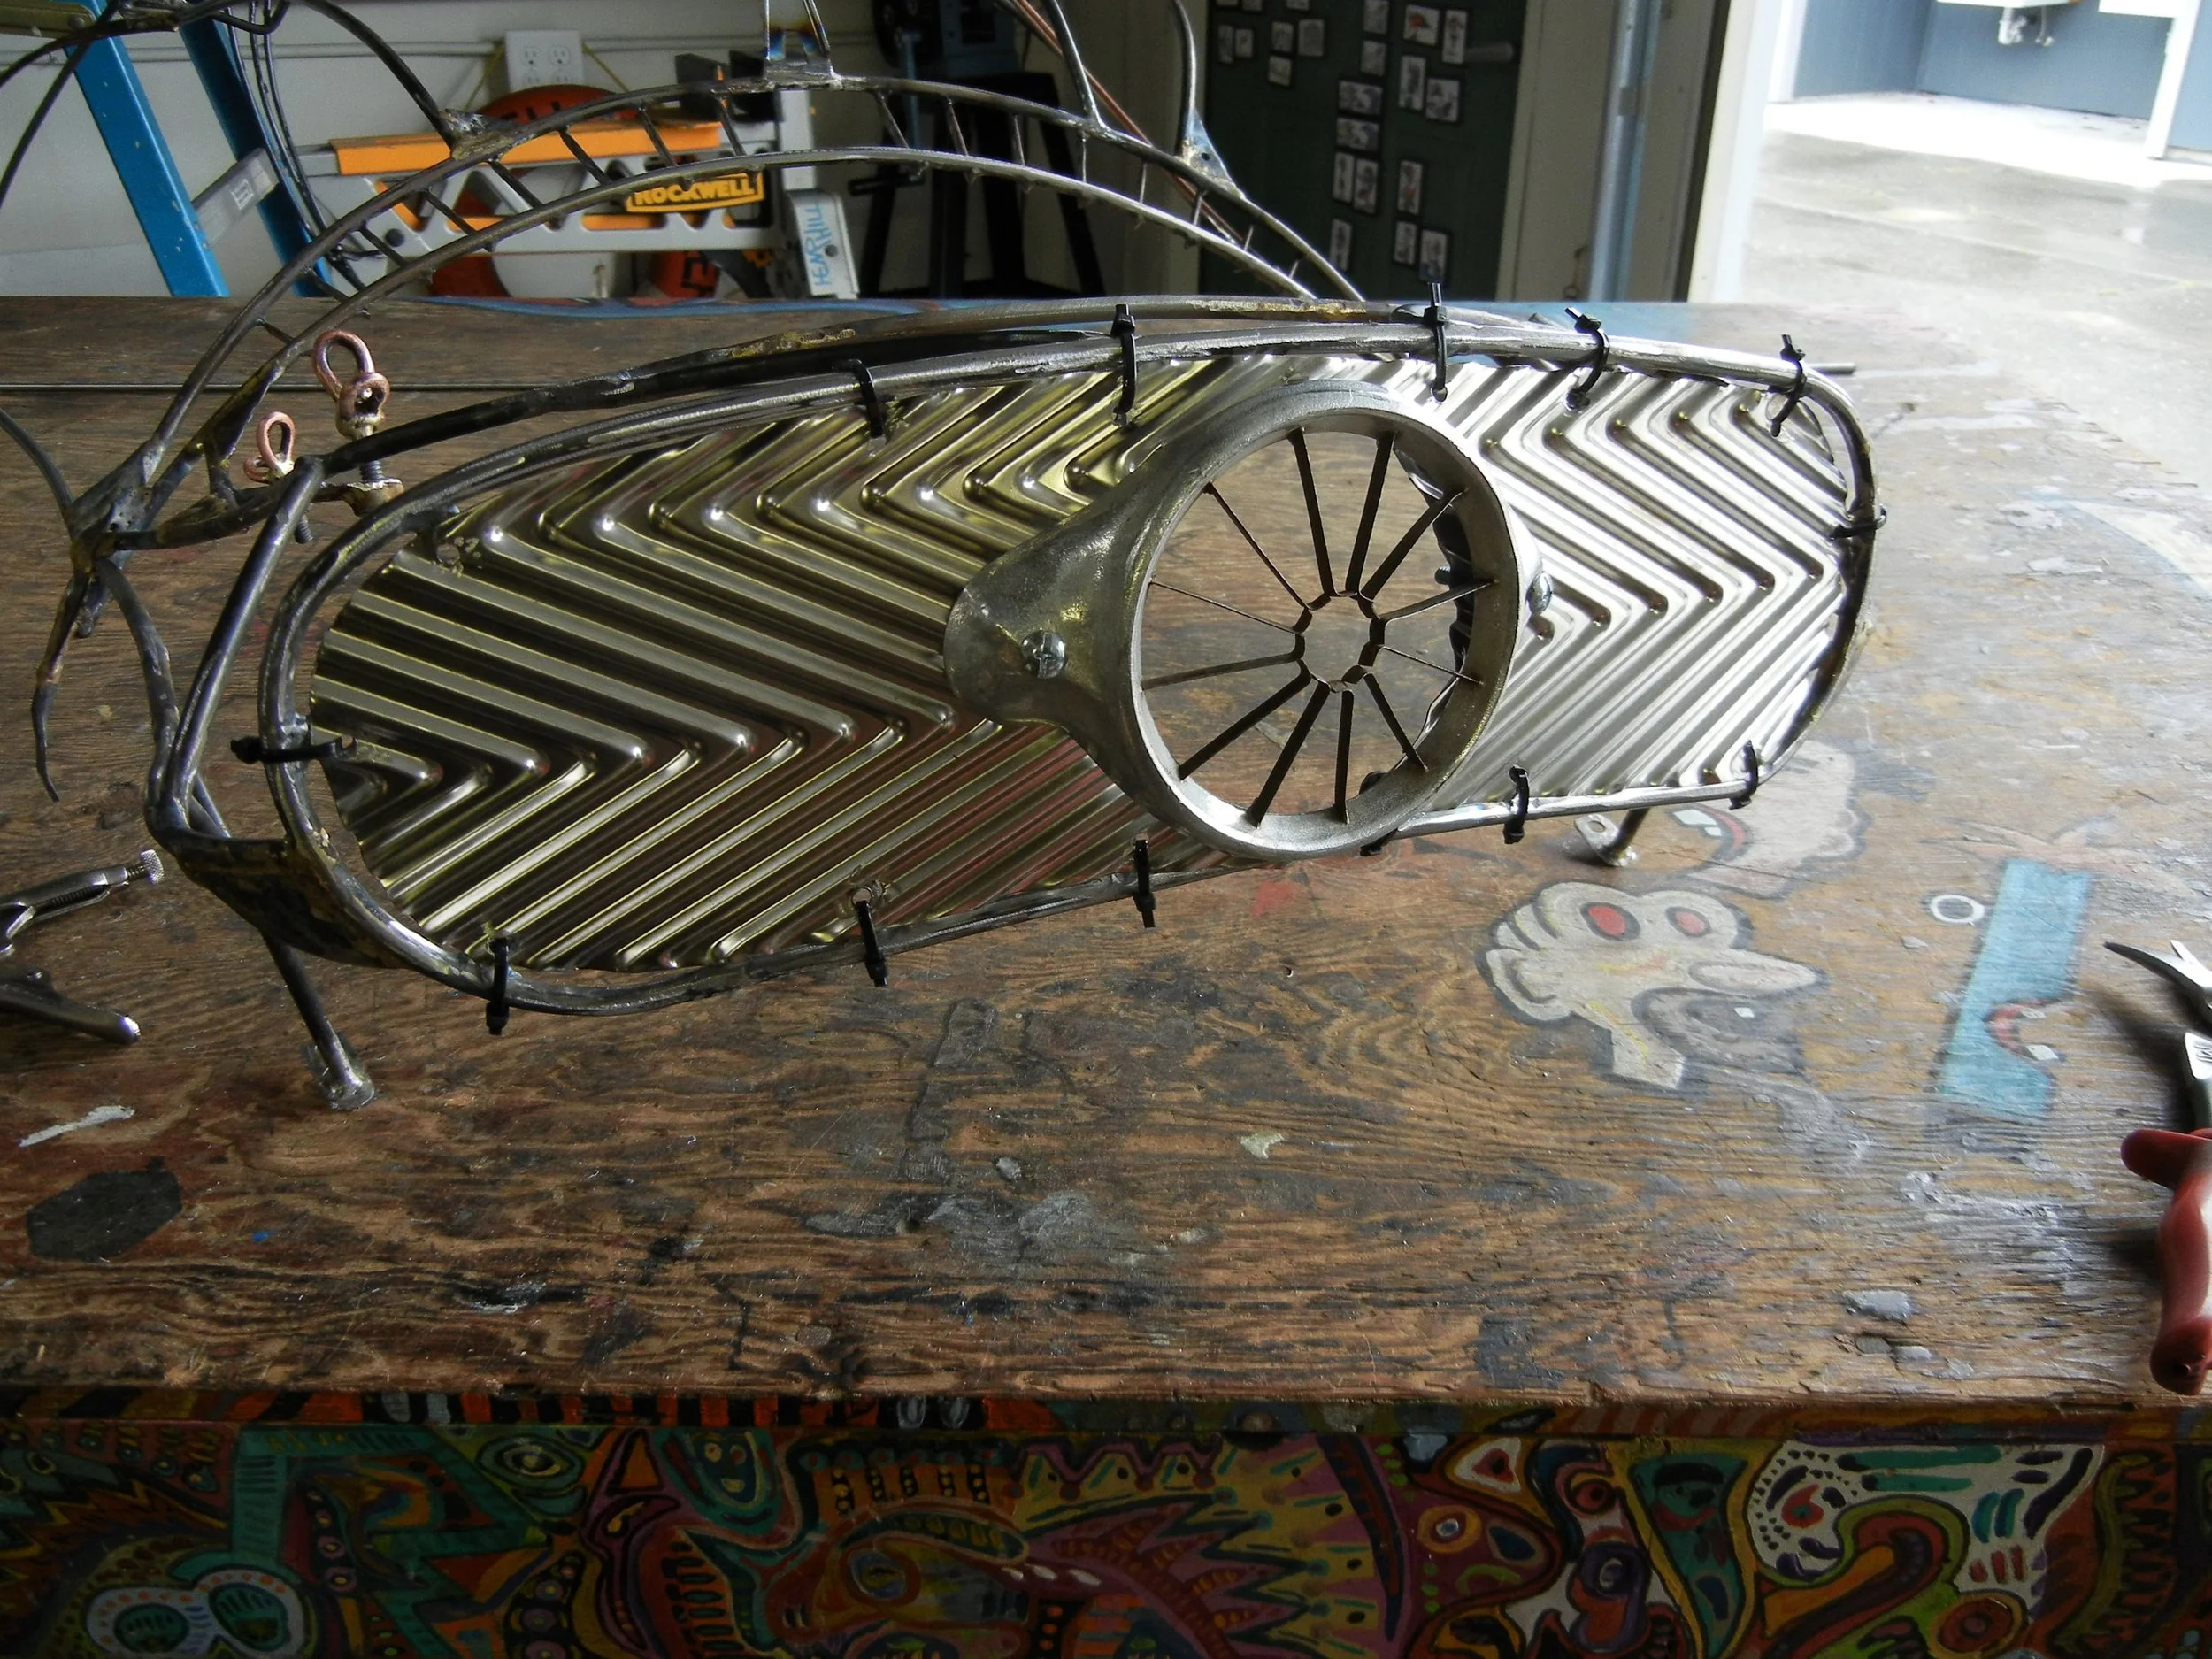
Grill mounted temporaily with the zip tie later to be followed up with rivets. Air vent is an old apple corer found in amoungst engine parts and makes the perfect addition to this ride.
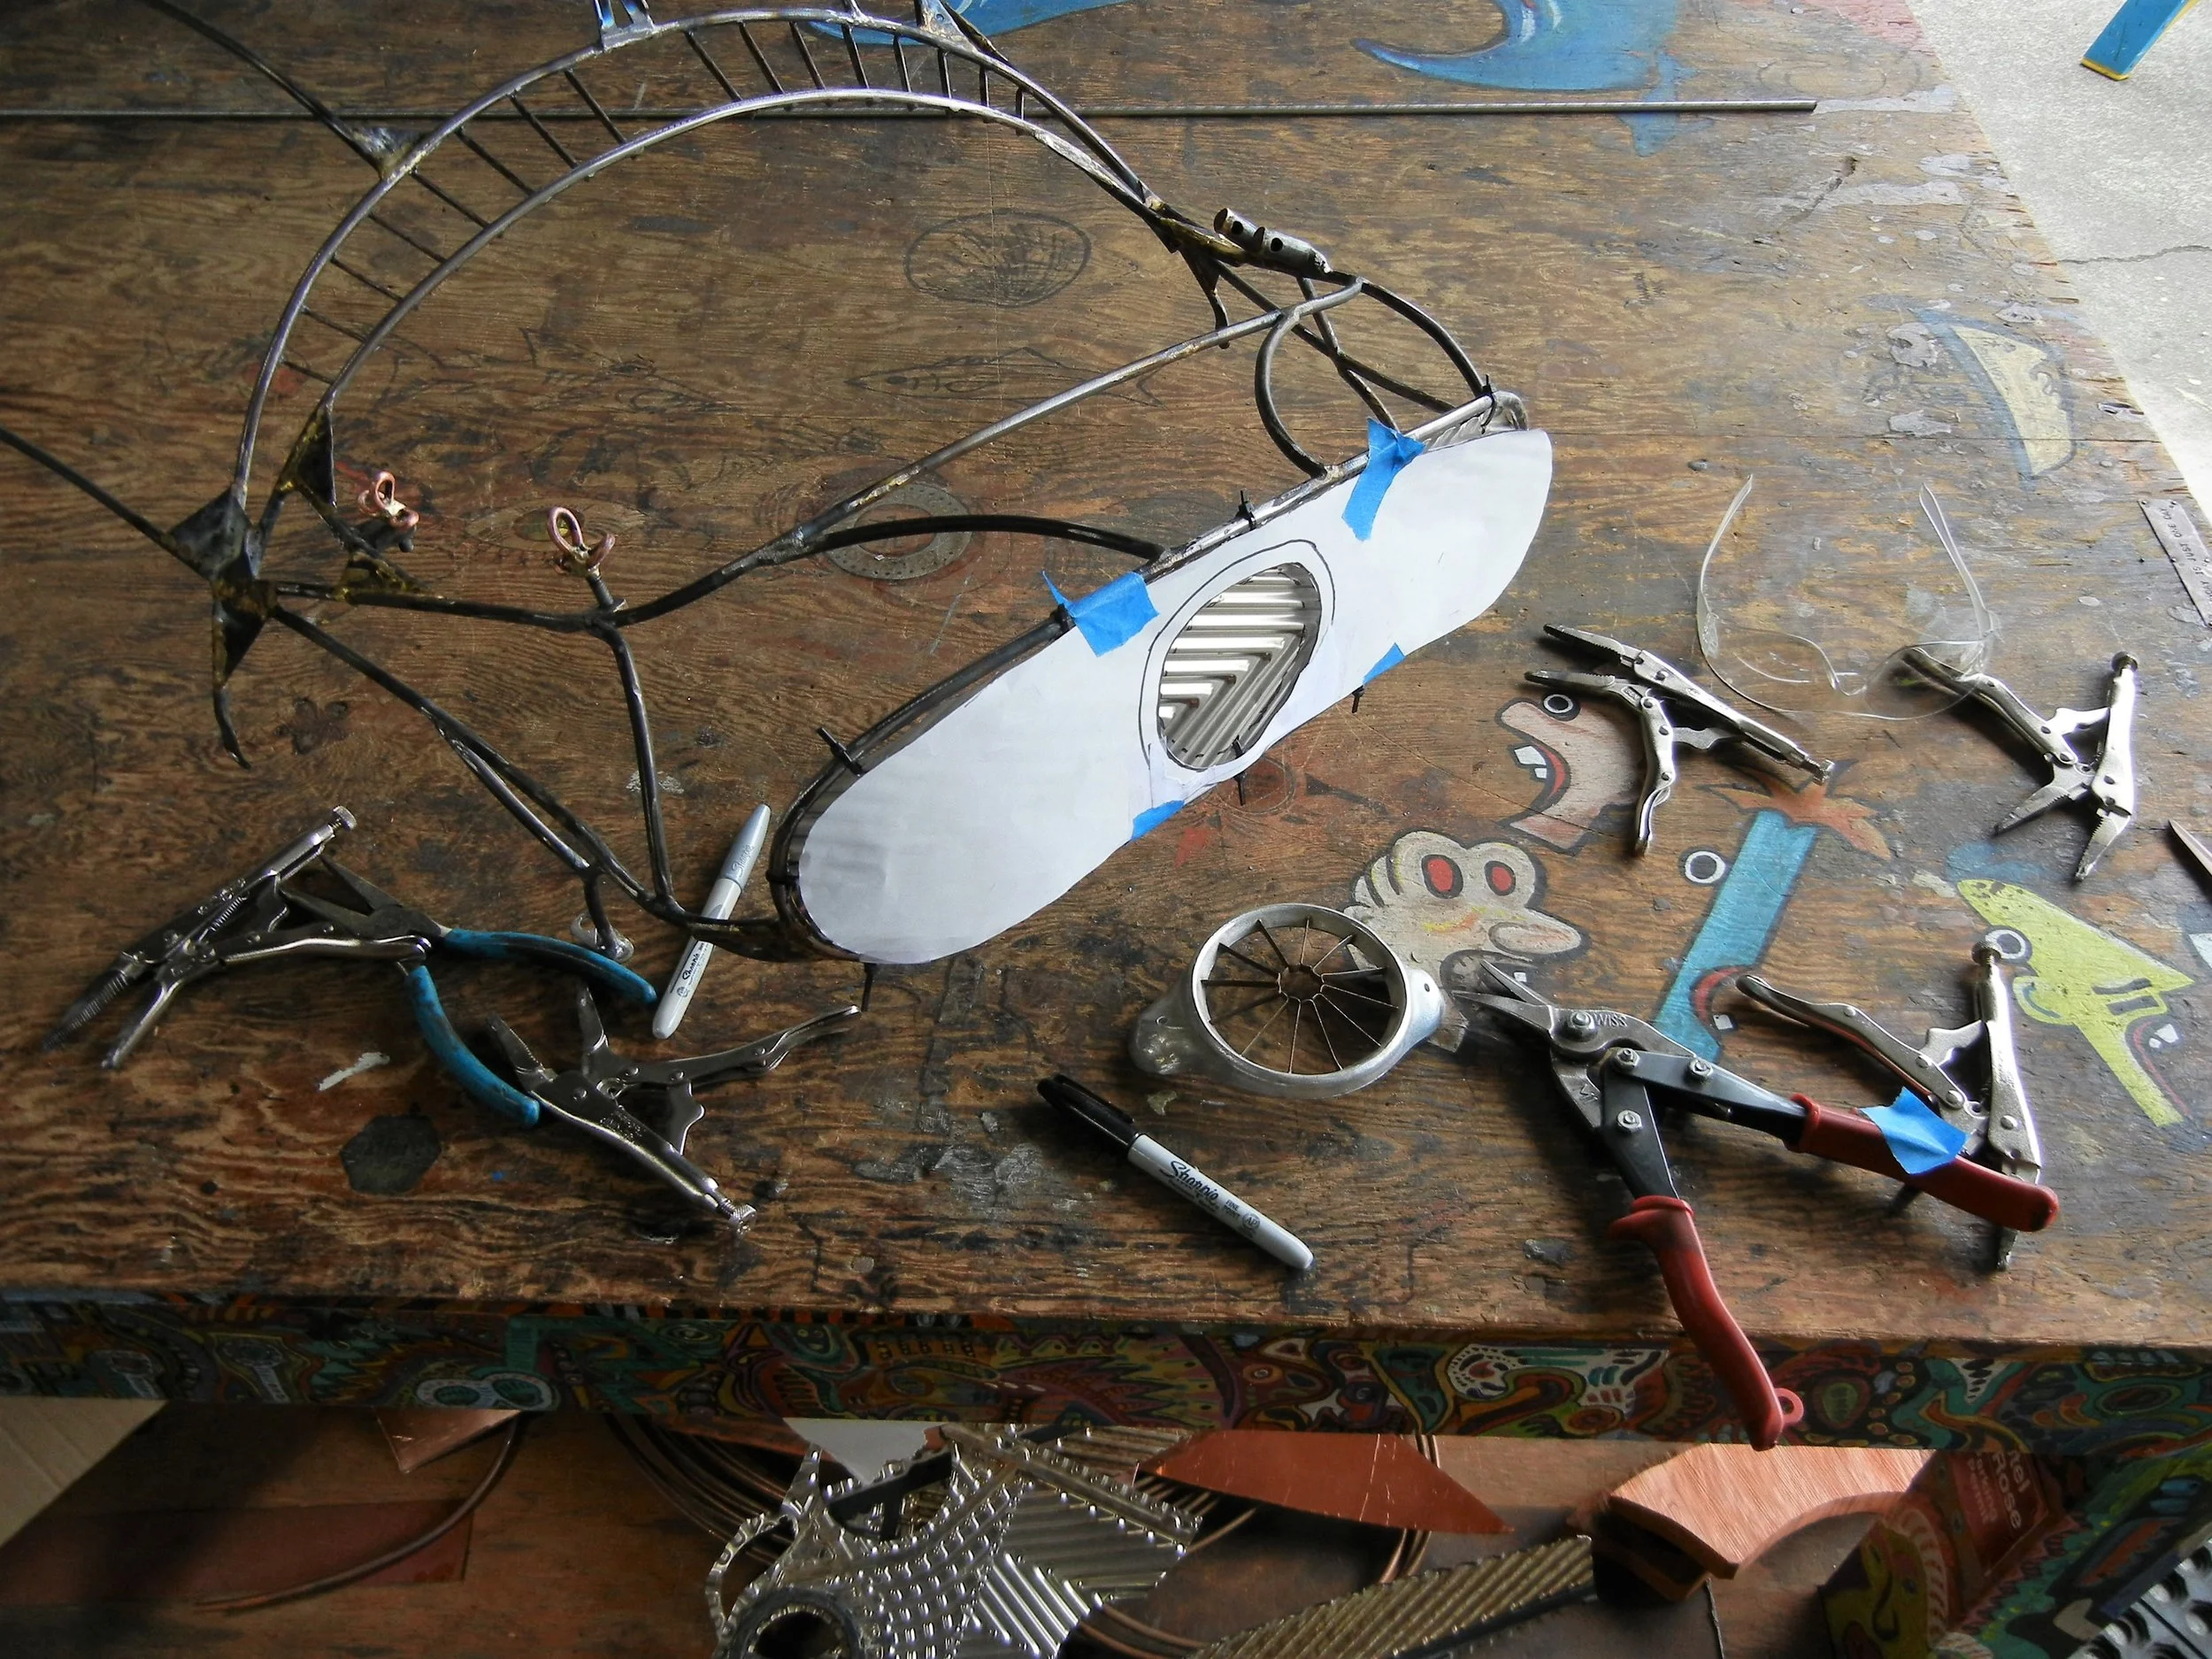
Grill idea sure hope it works. Found this cool stuff again @ the salvage yard in Arcata, (thanks Bonnie). Stuff was hard to cut, idea was to mount apple corer in middle. Took some time but was well worth the effort.
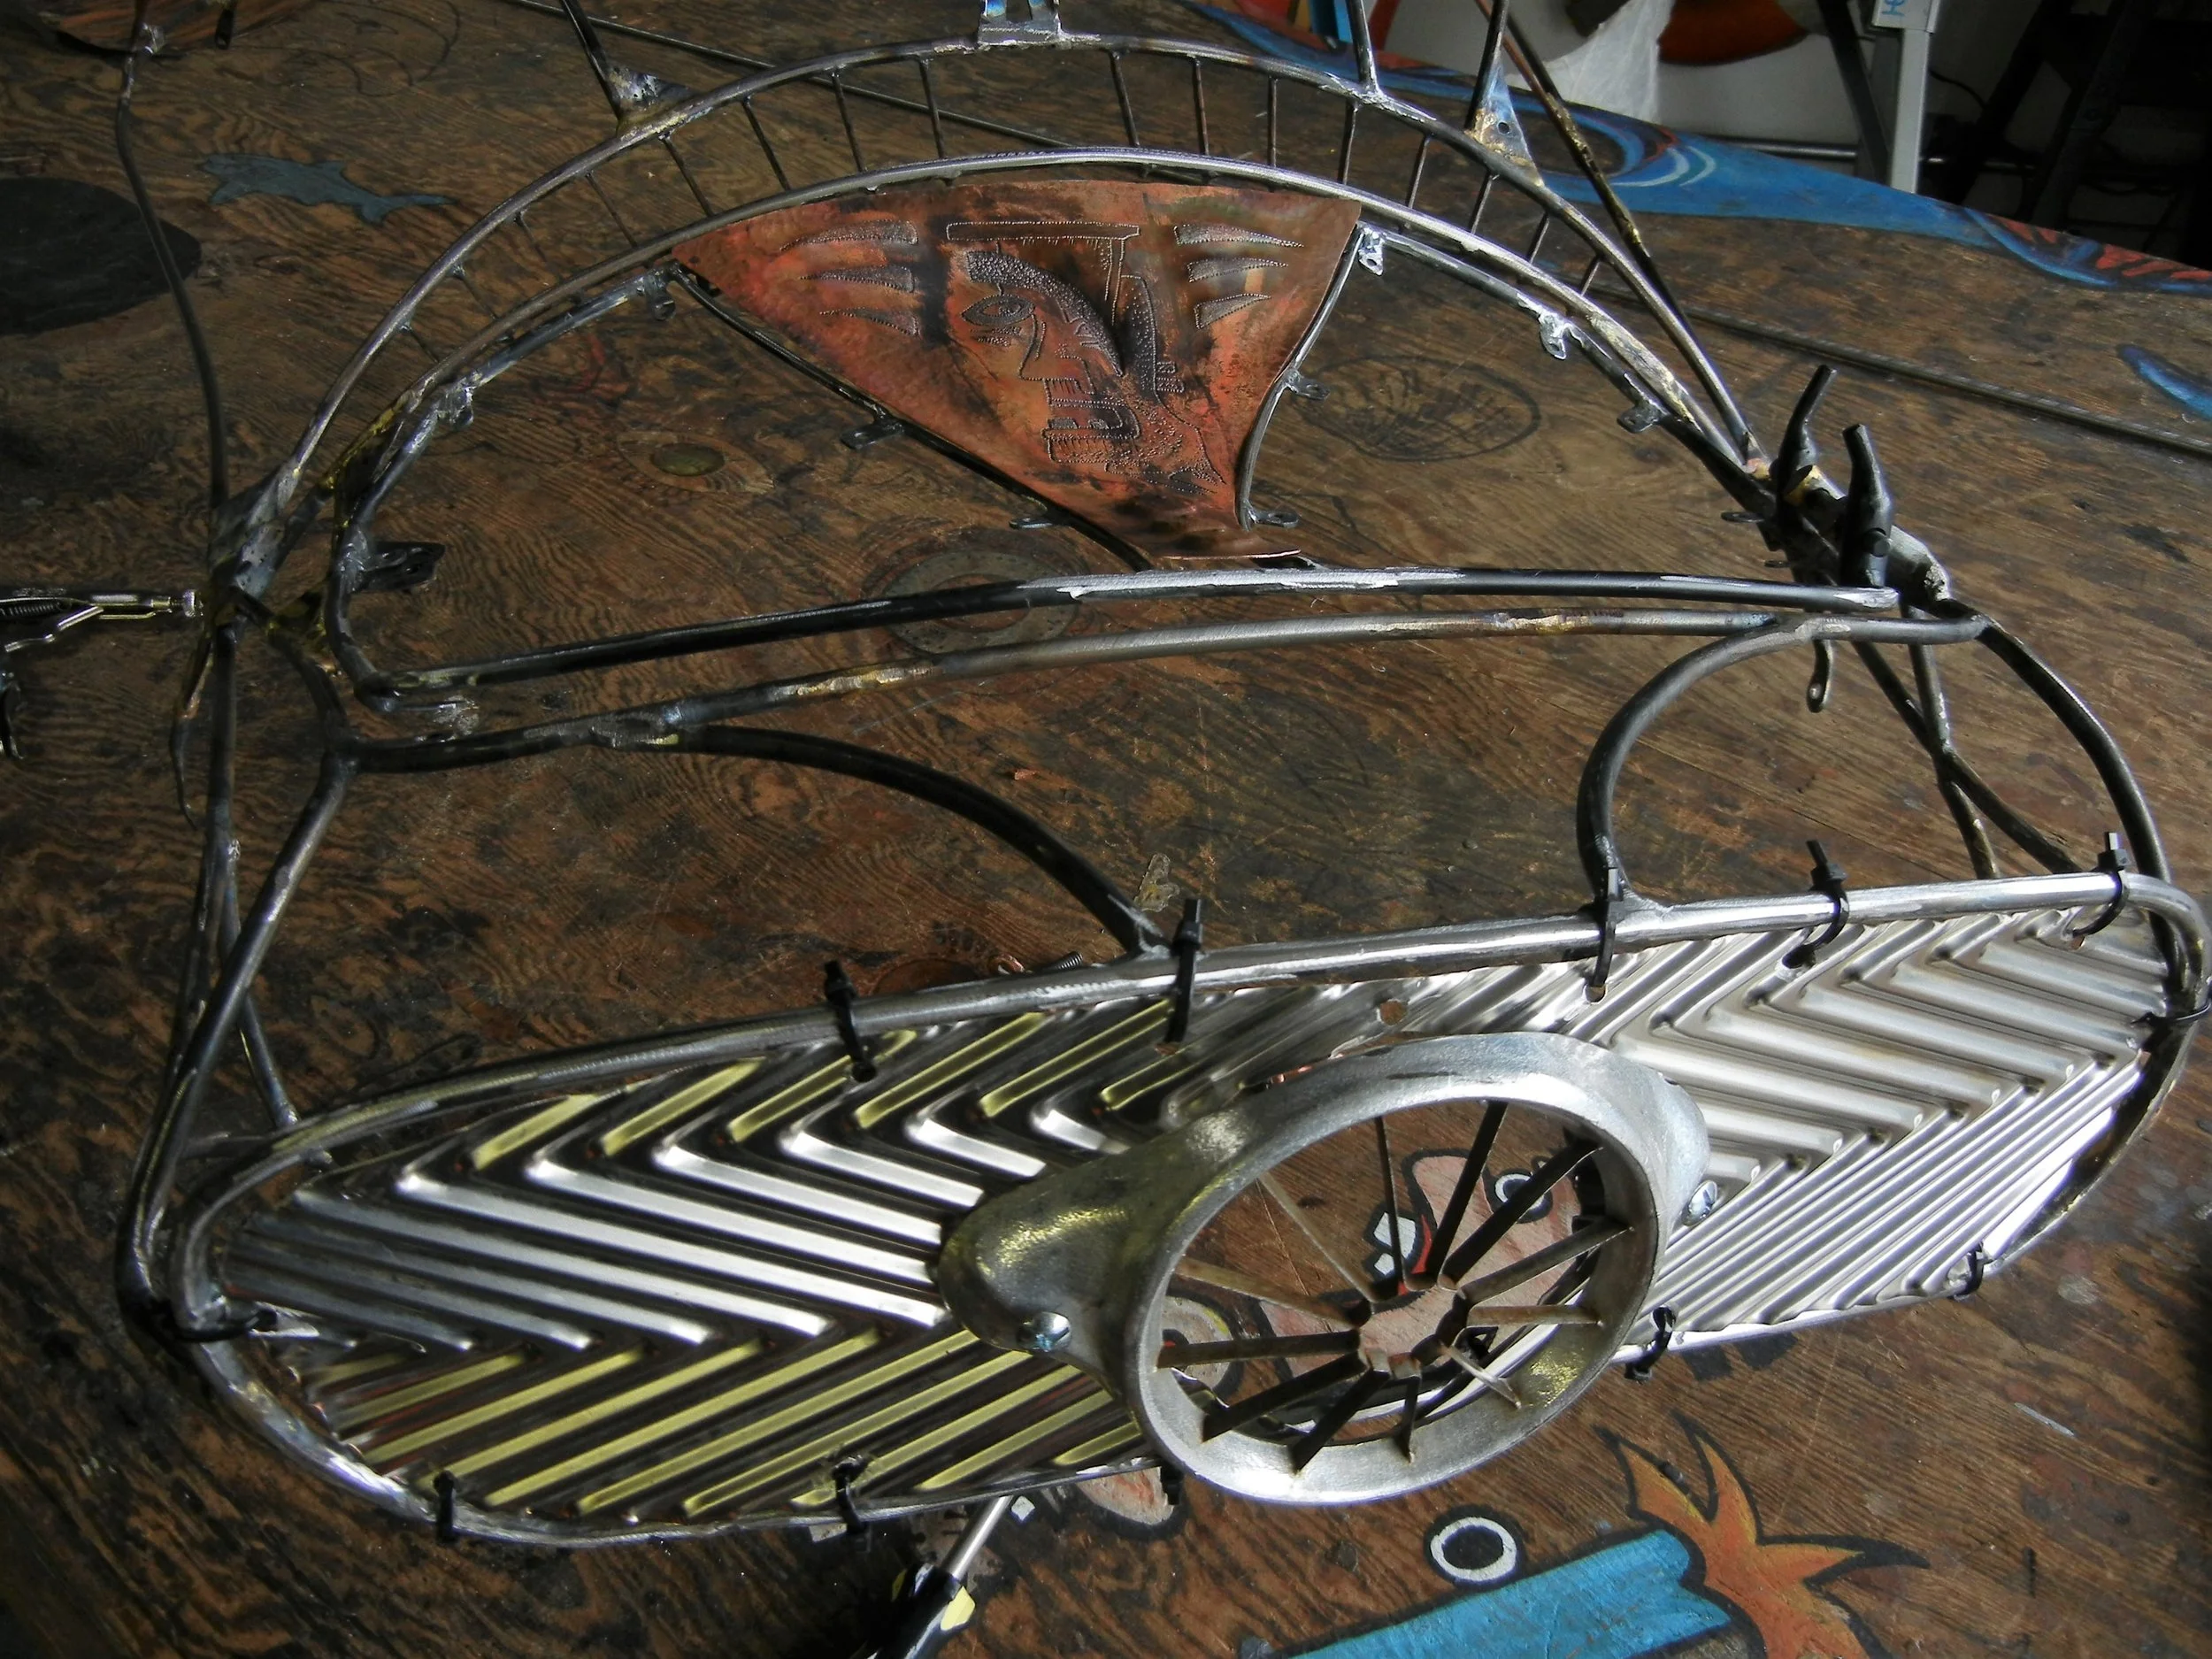
Grill work done time to get on it, hood is up Next! Build continues to evolve slowly but surely. Like putting a kids model together cept you have to fabricate all the parts & ideas. Total freedom in this build. No sponsers telling me what to do. Ha! More to follow.

Hood piece completed, second piece to final completion. Came out pretty sweet colors on top and obverse two different colors.
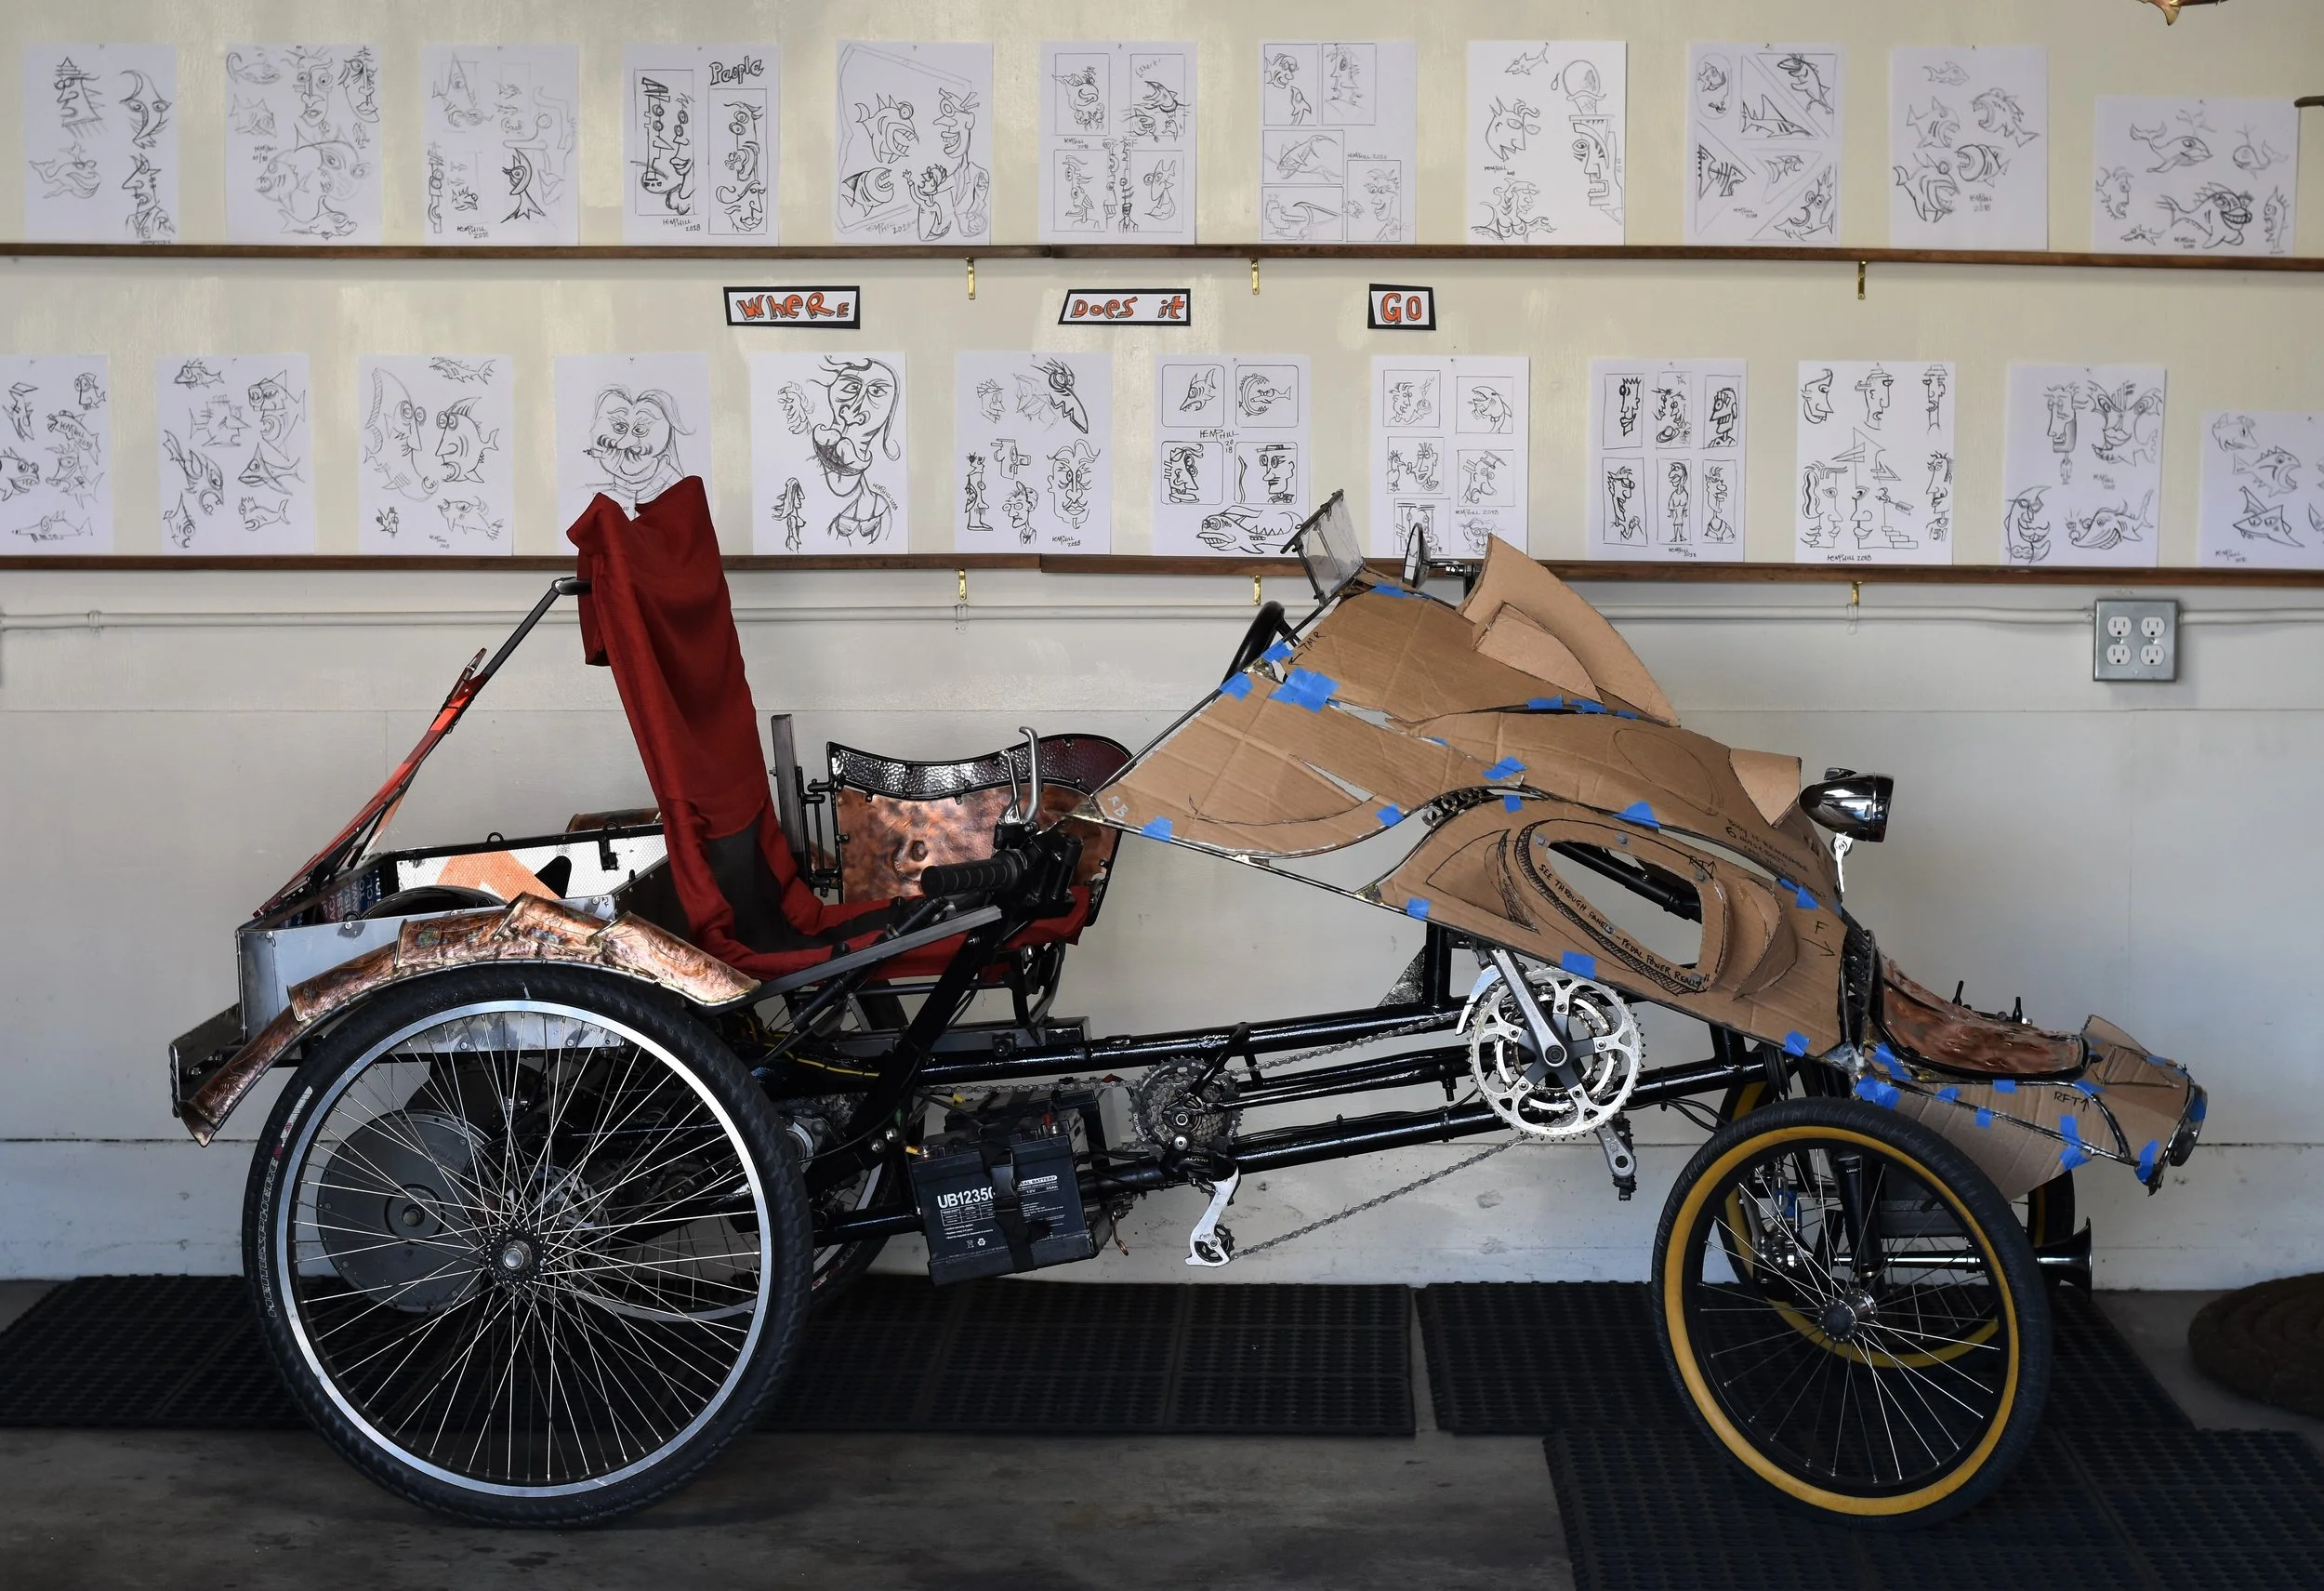
Starboard side cardboard mockup, holes will be see through with plastic viewing shield. Cardboard will give way to copper skin just like the hood. Sketches done in background done within the last week or so, need new artwork!

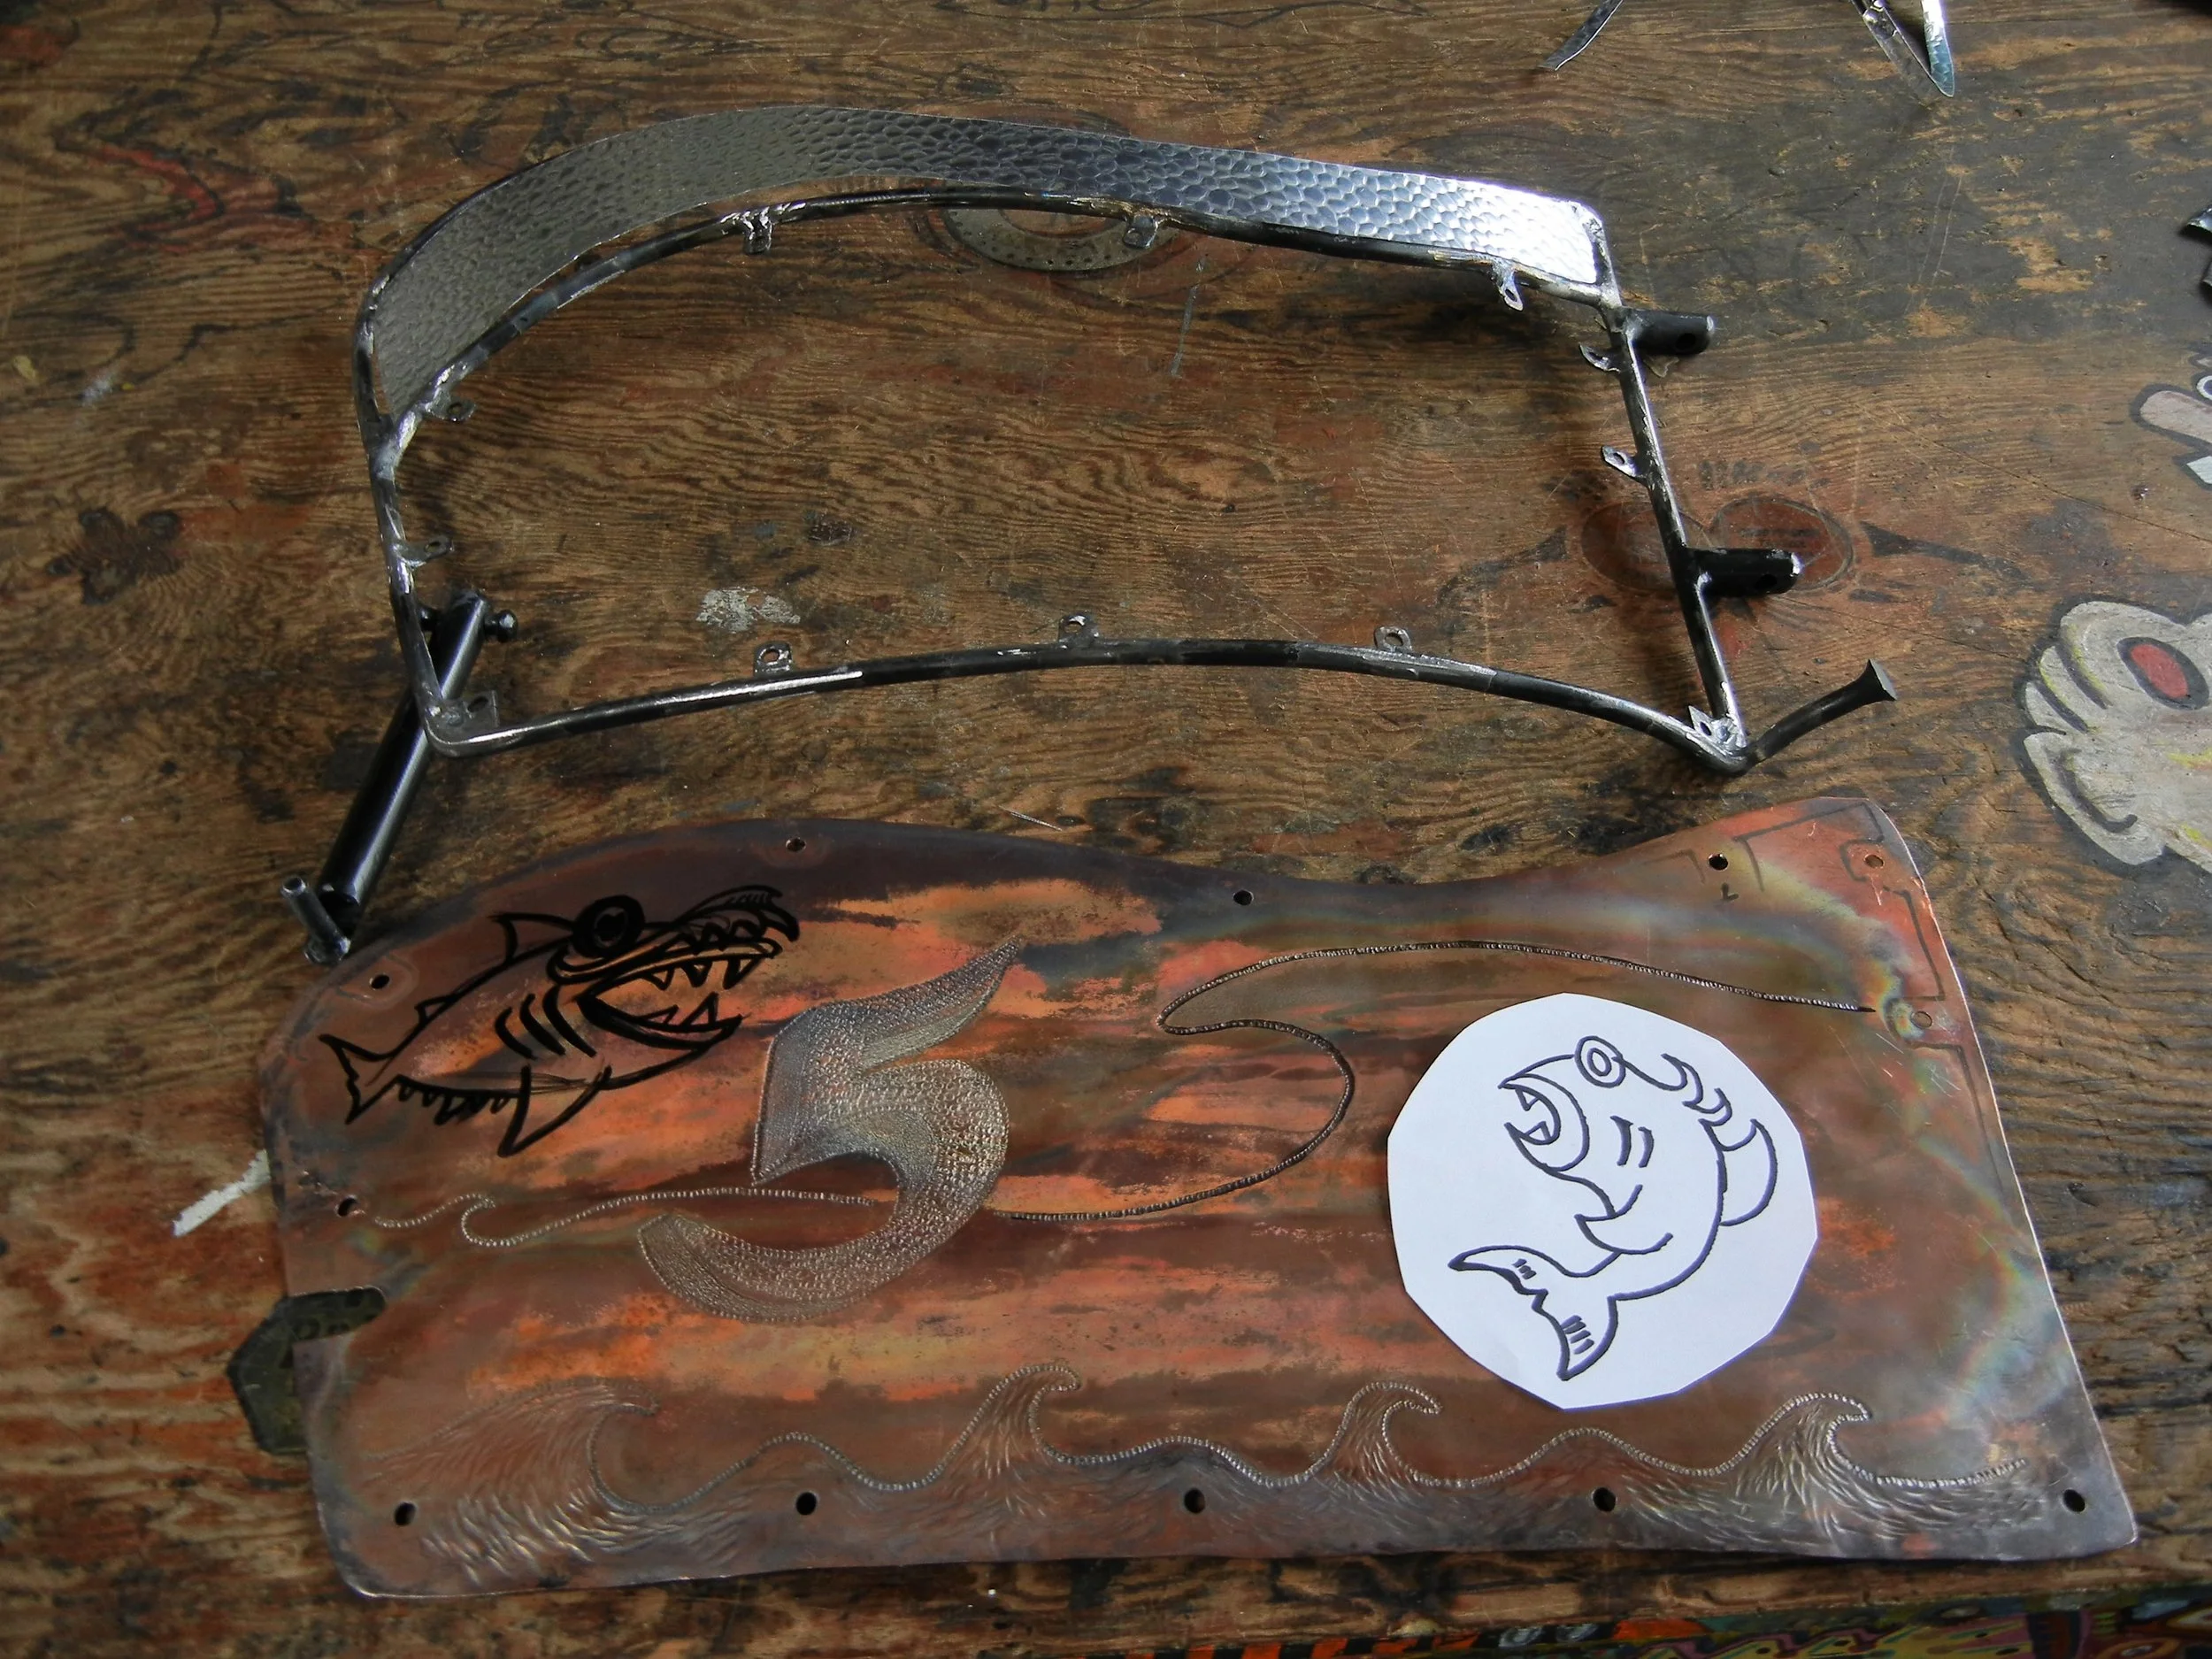
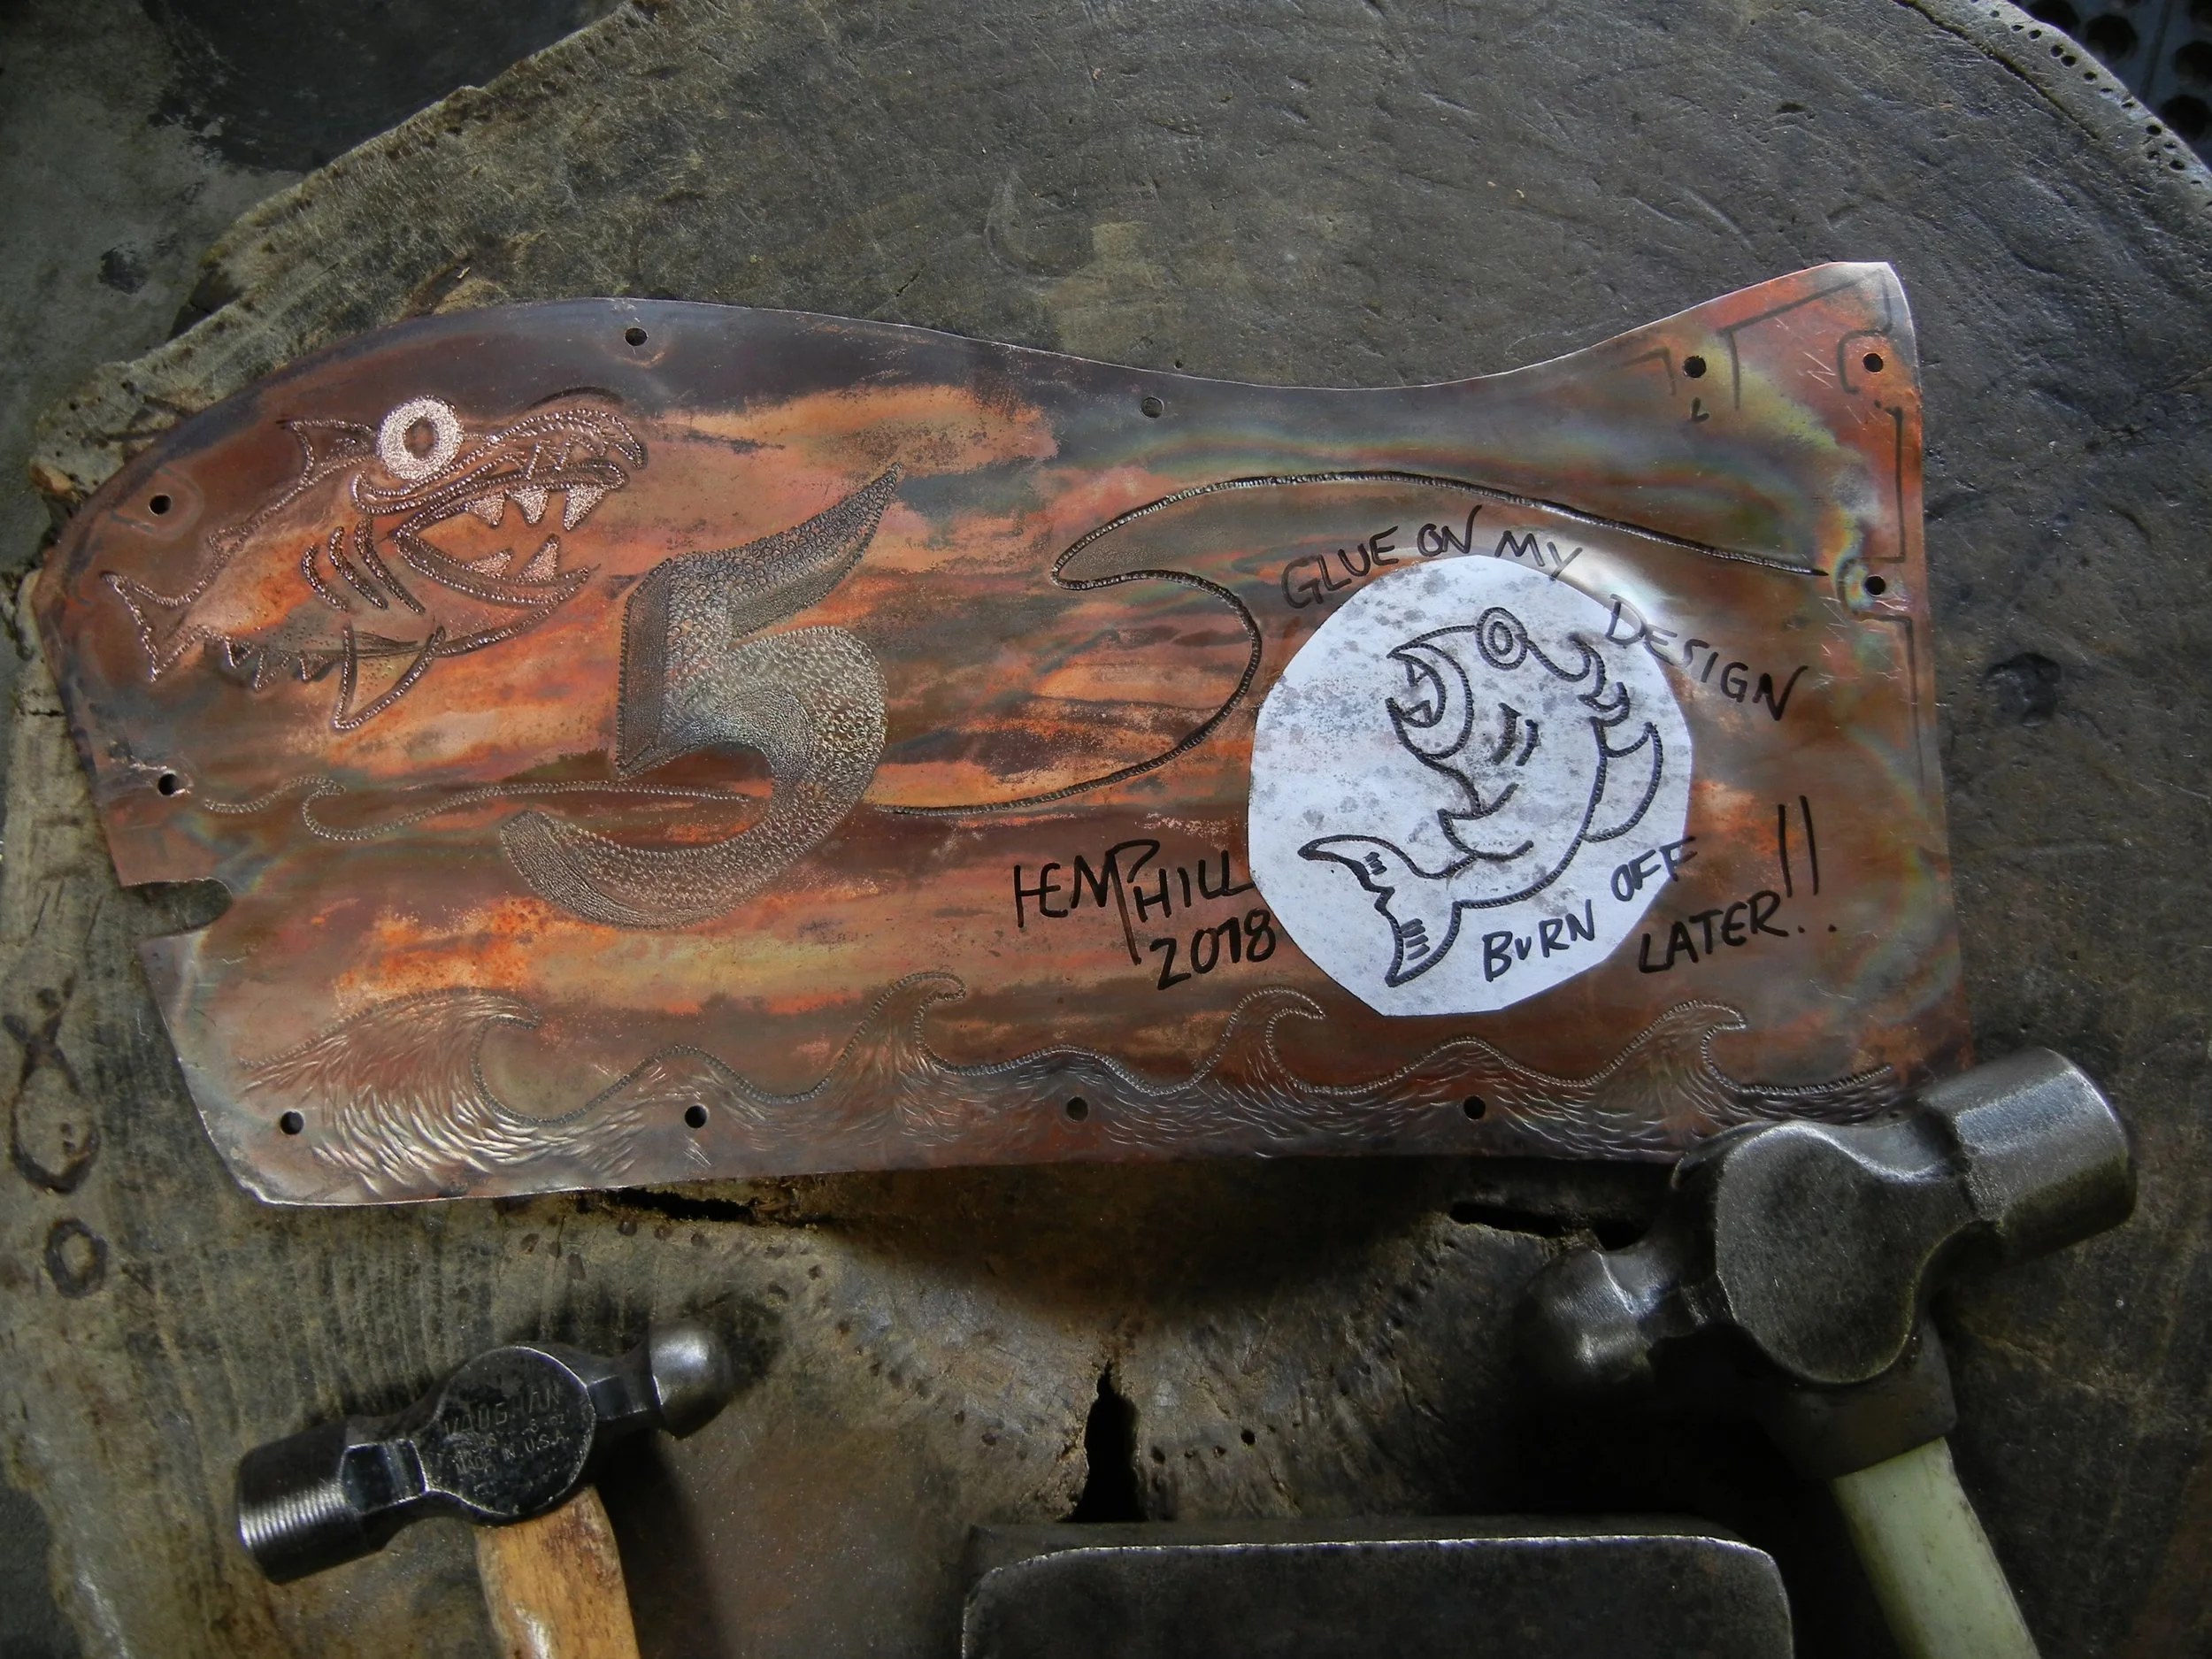
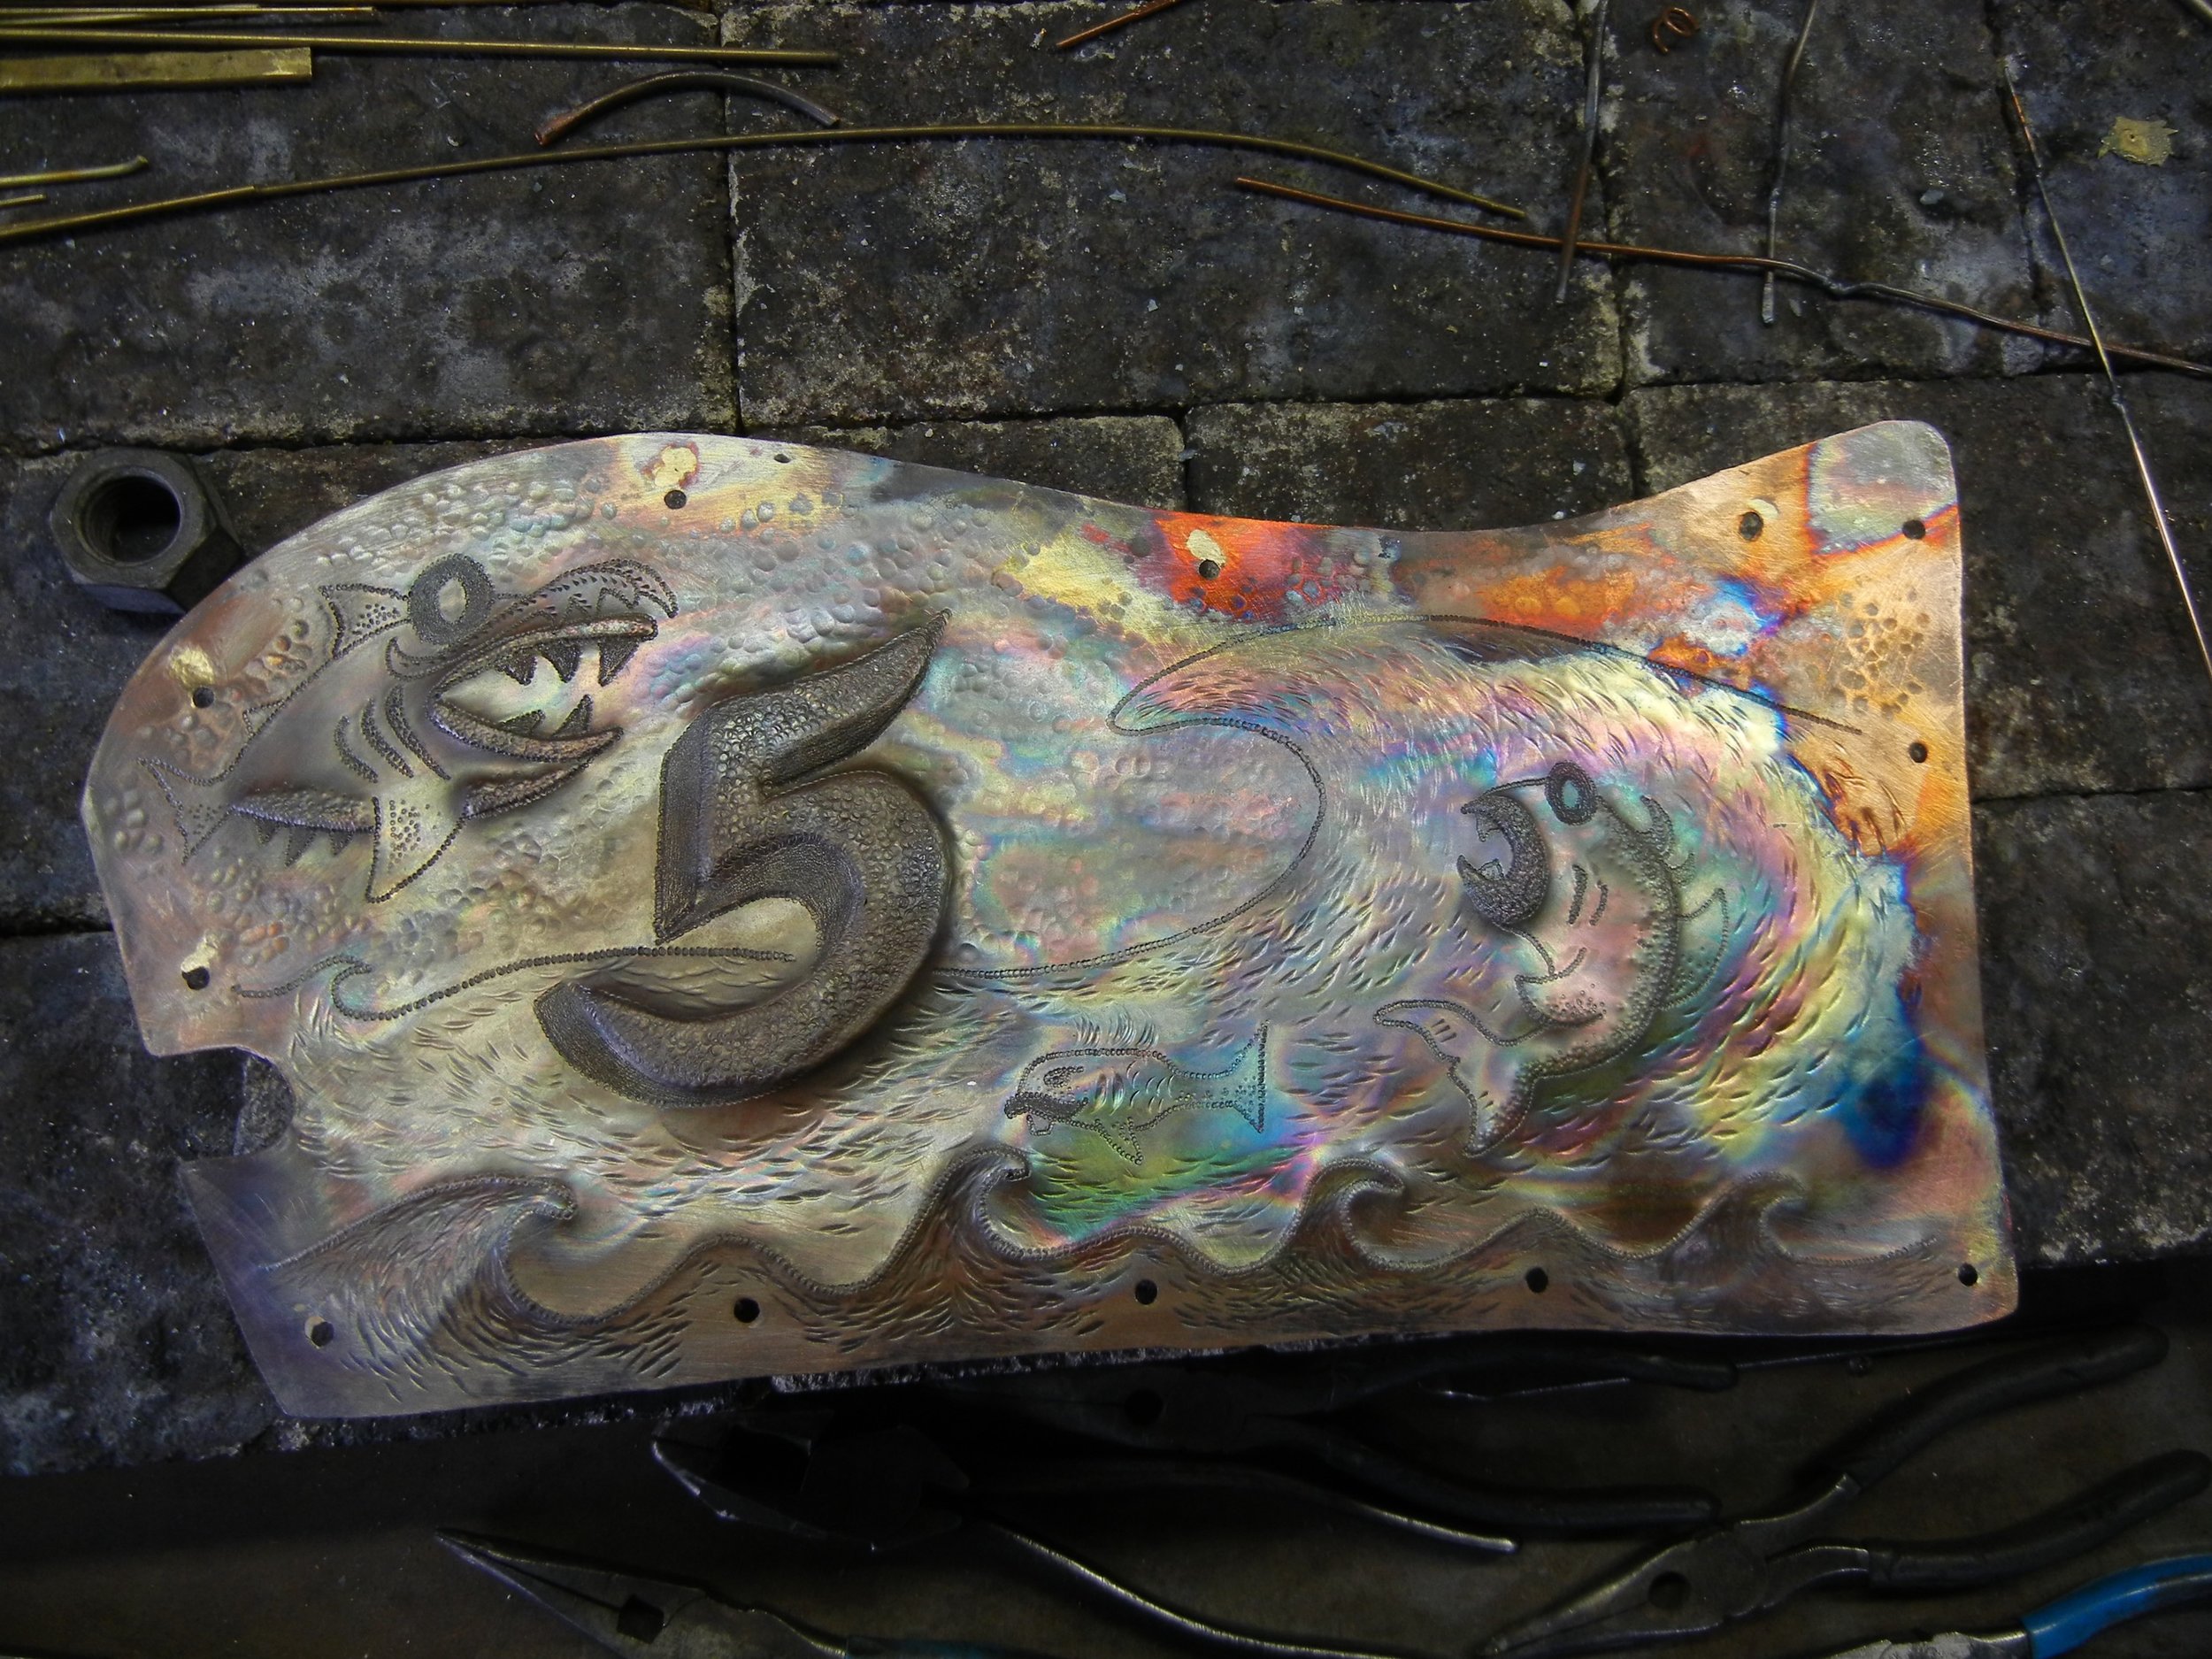
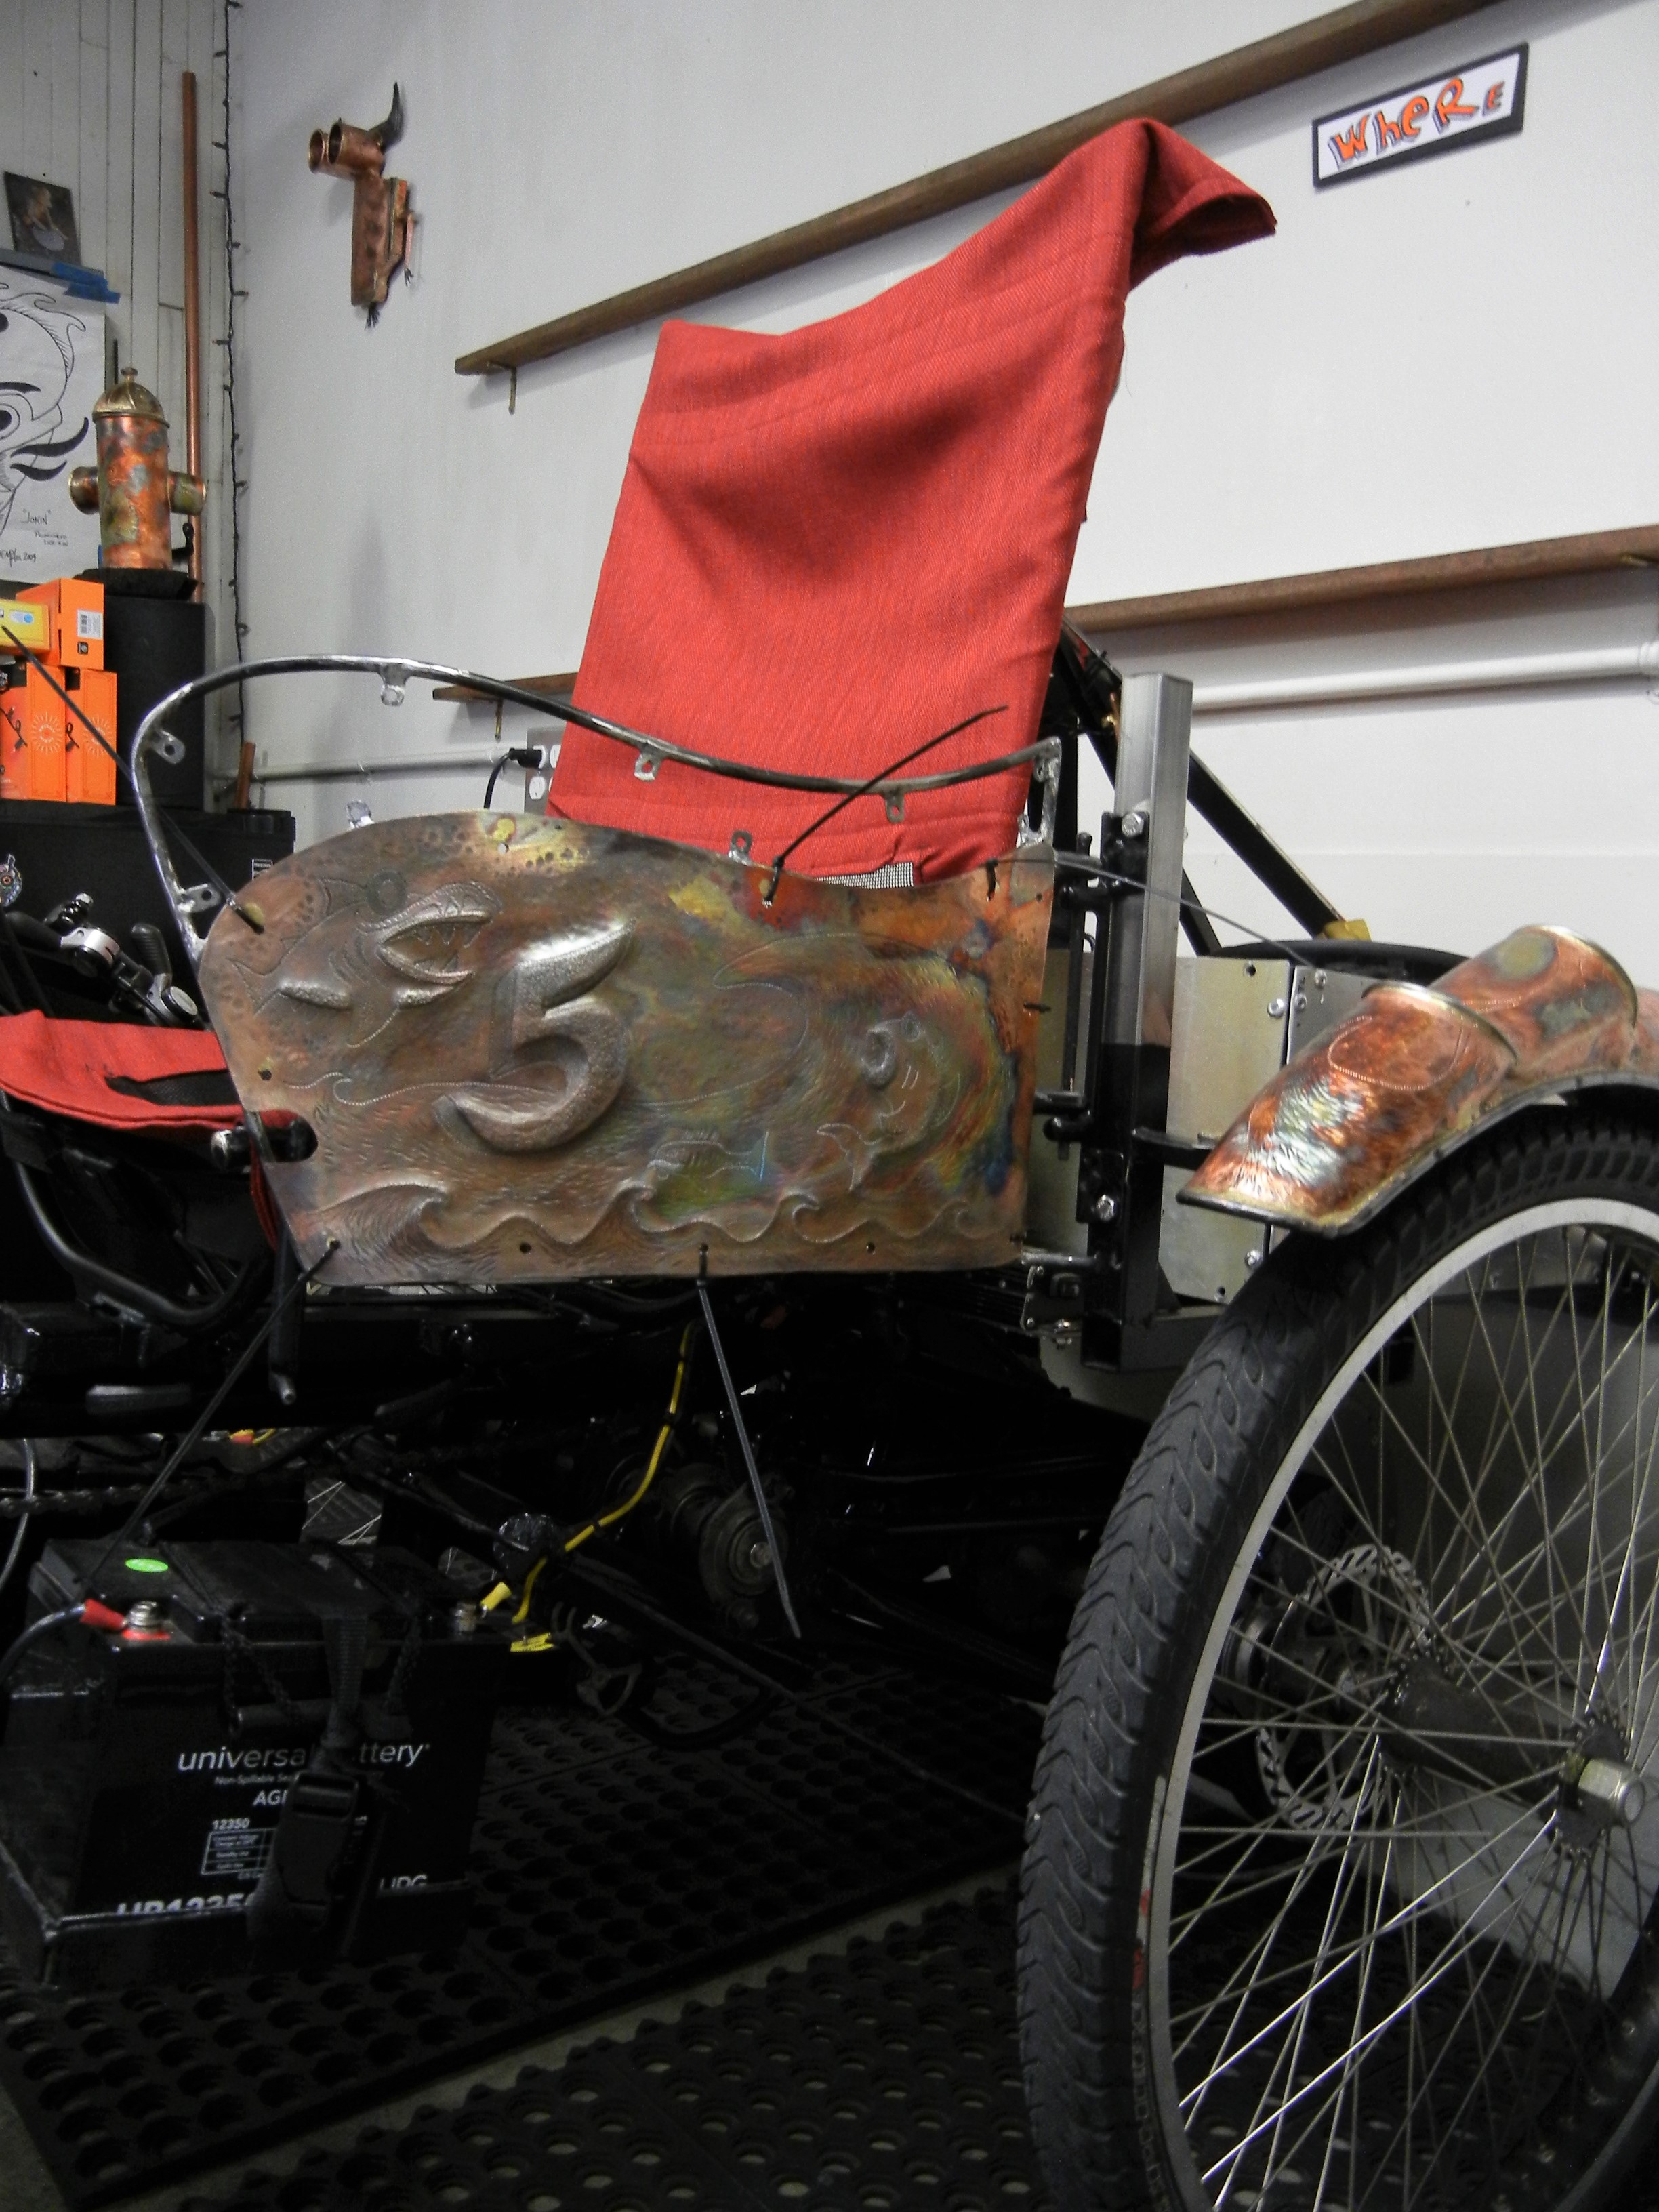
Portside view, suicide door #5 why? Don’t know other than a cool number artistic wise.
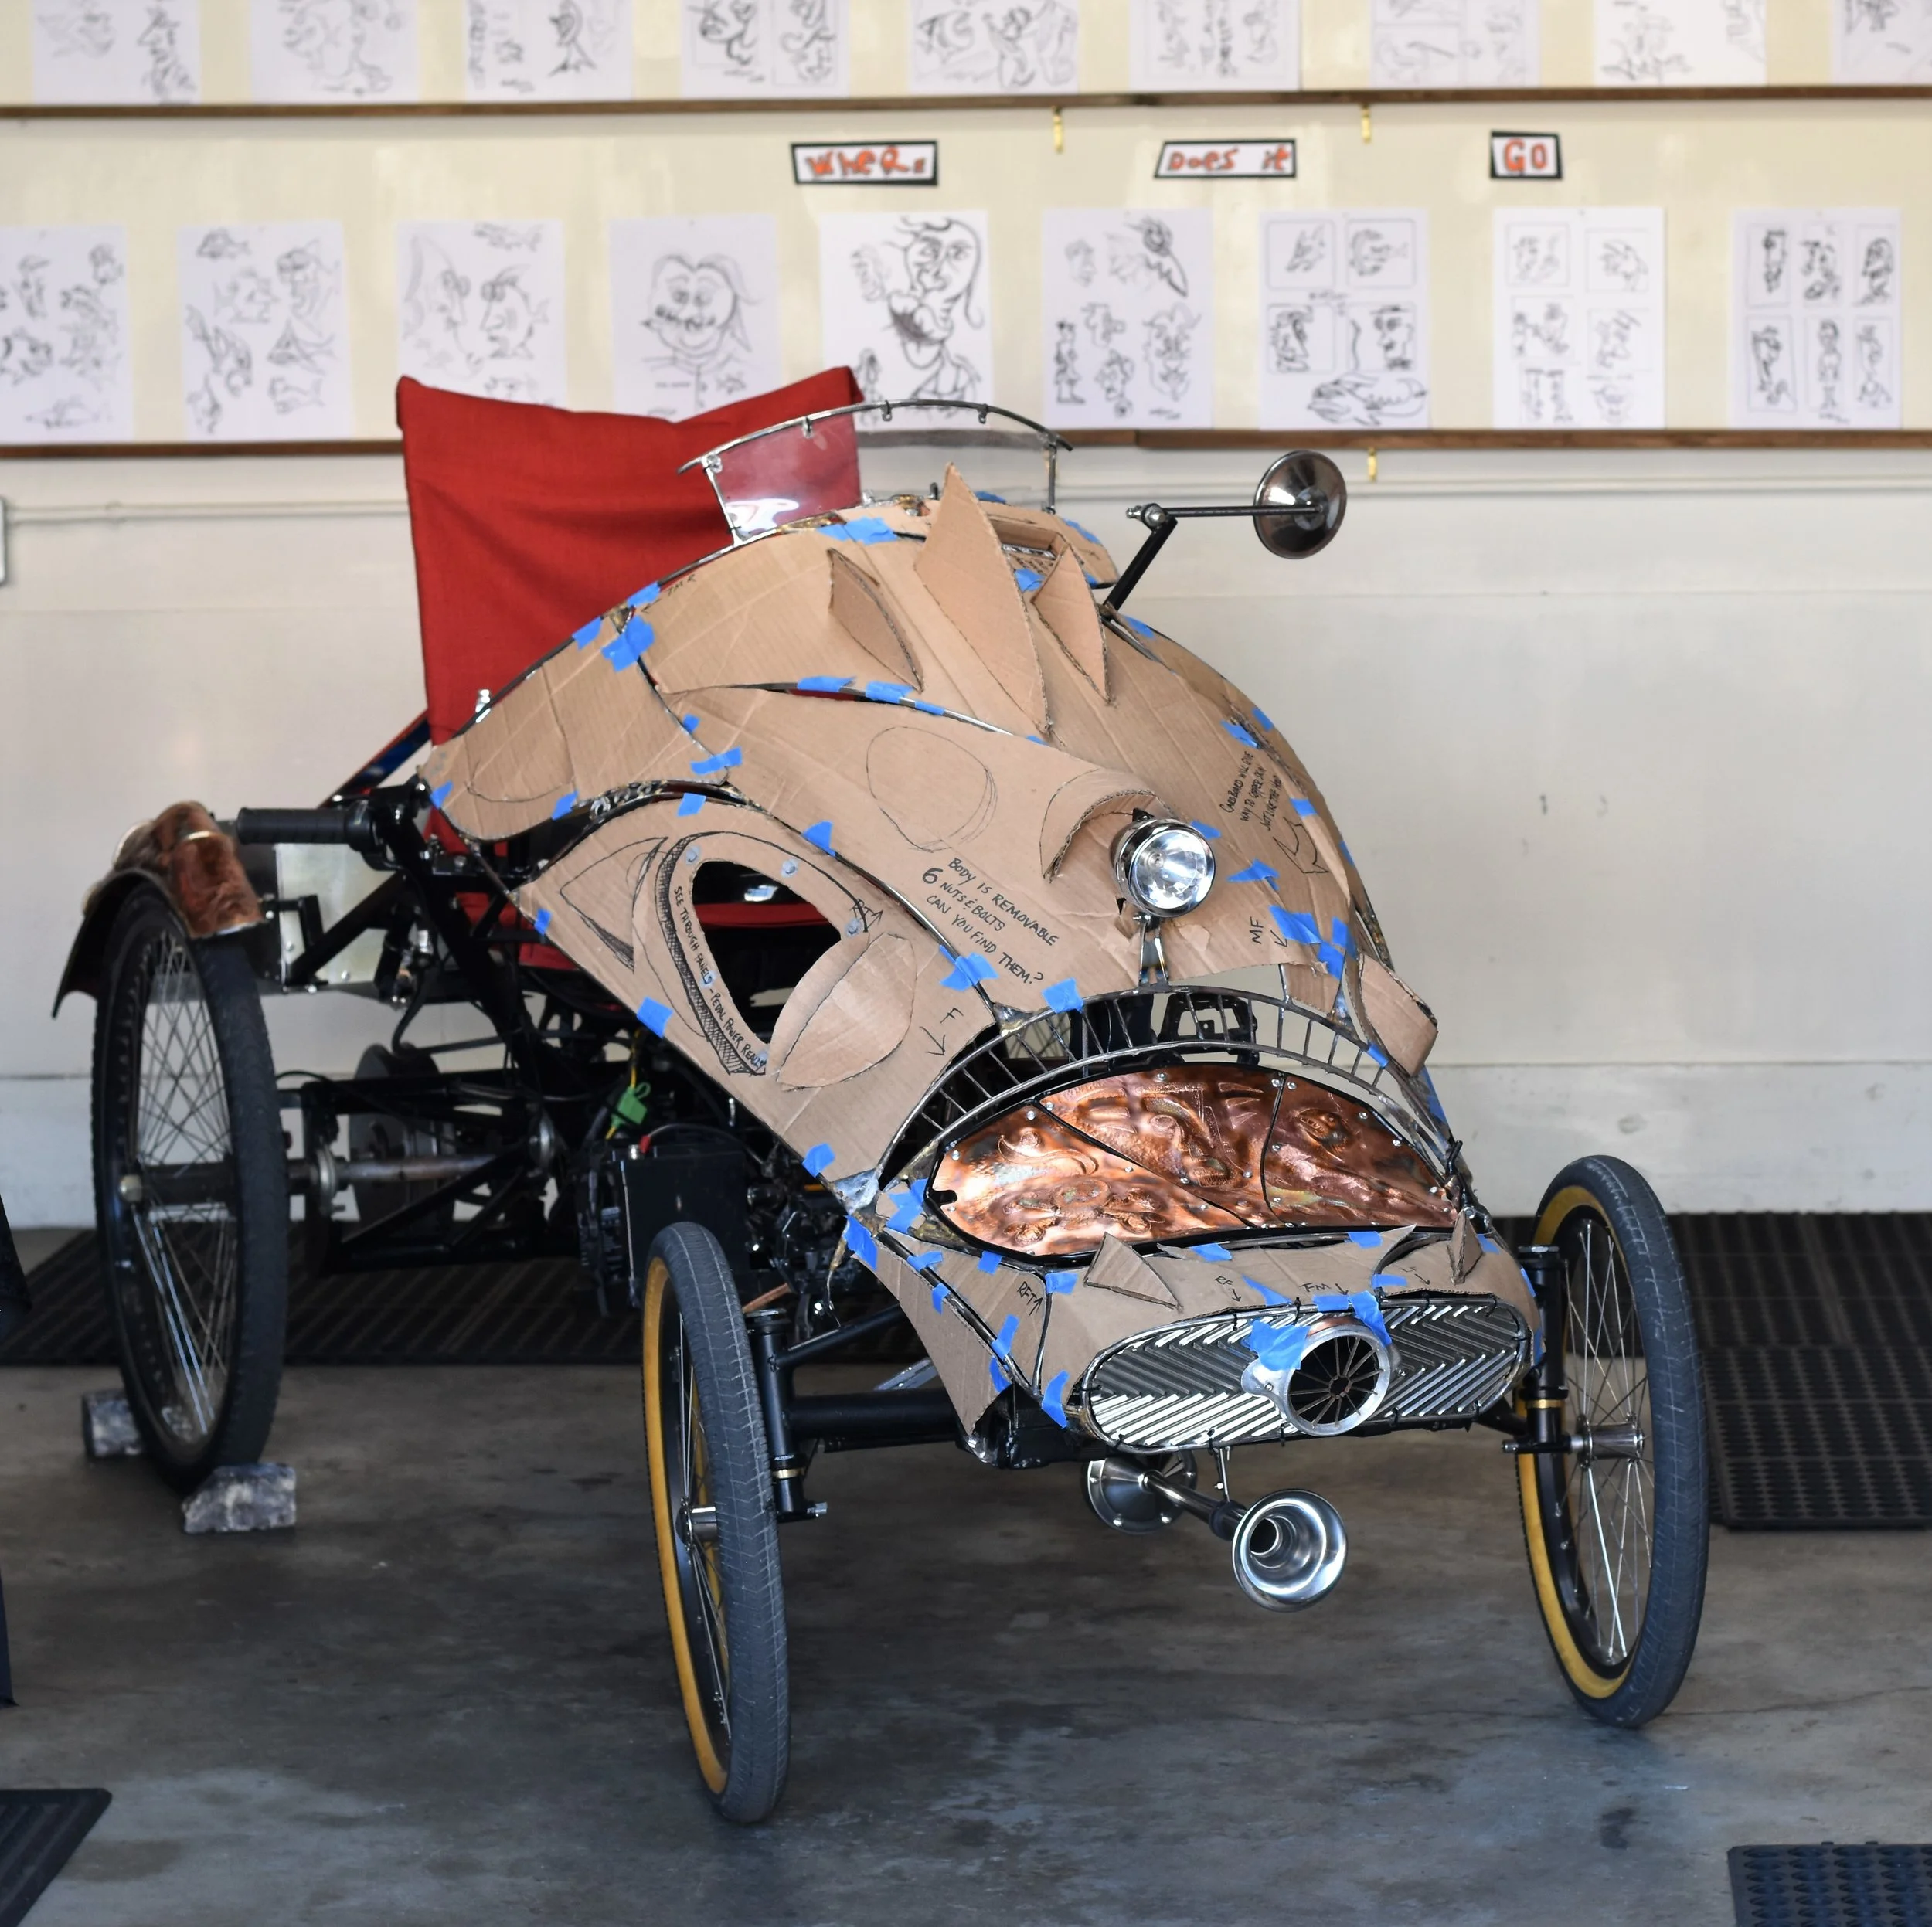
Built for speed, thing probably hits 30mph no problem and now with a makeshift body probably even faster! Holy moly hang on!
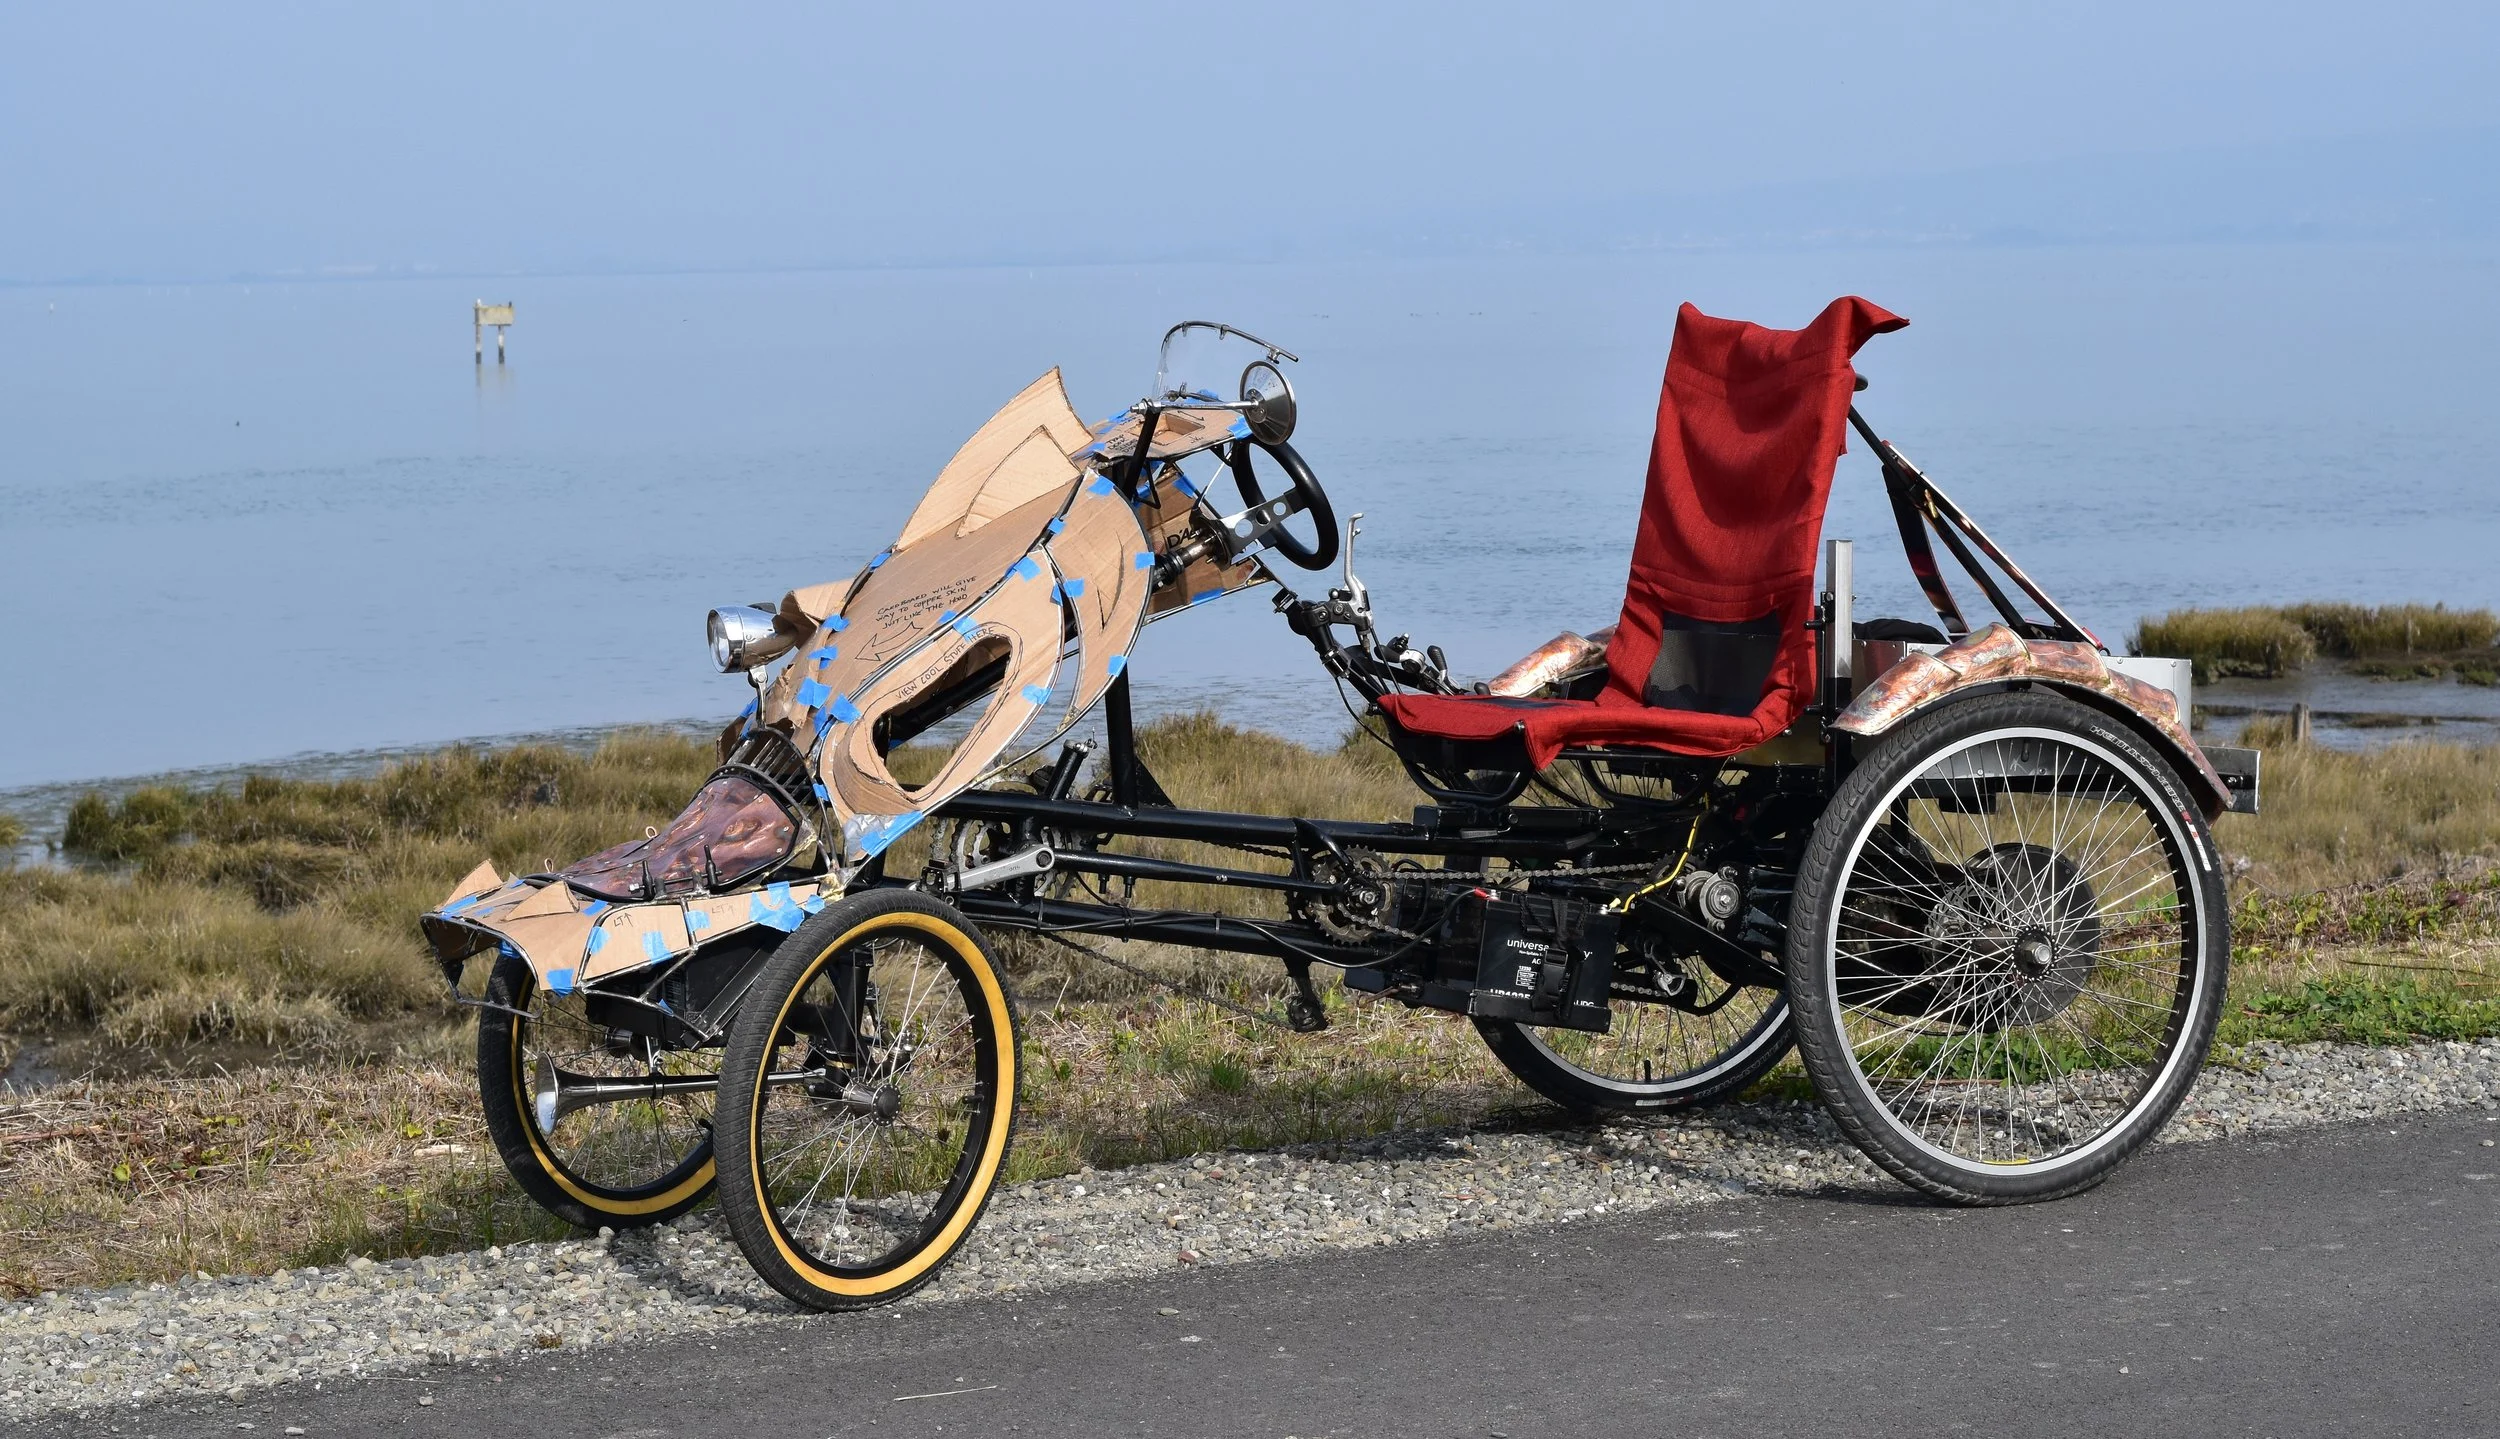
Test ride of the cardboard body mockup. Deflects wind pretty good but need to do some more deflecting. Pix taken by East Point, Arcata Bay, California.
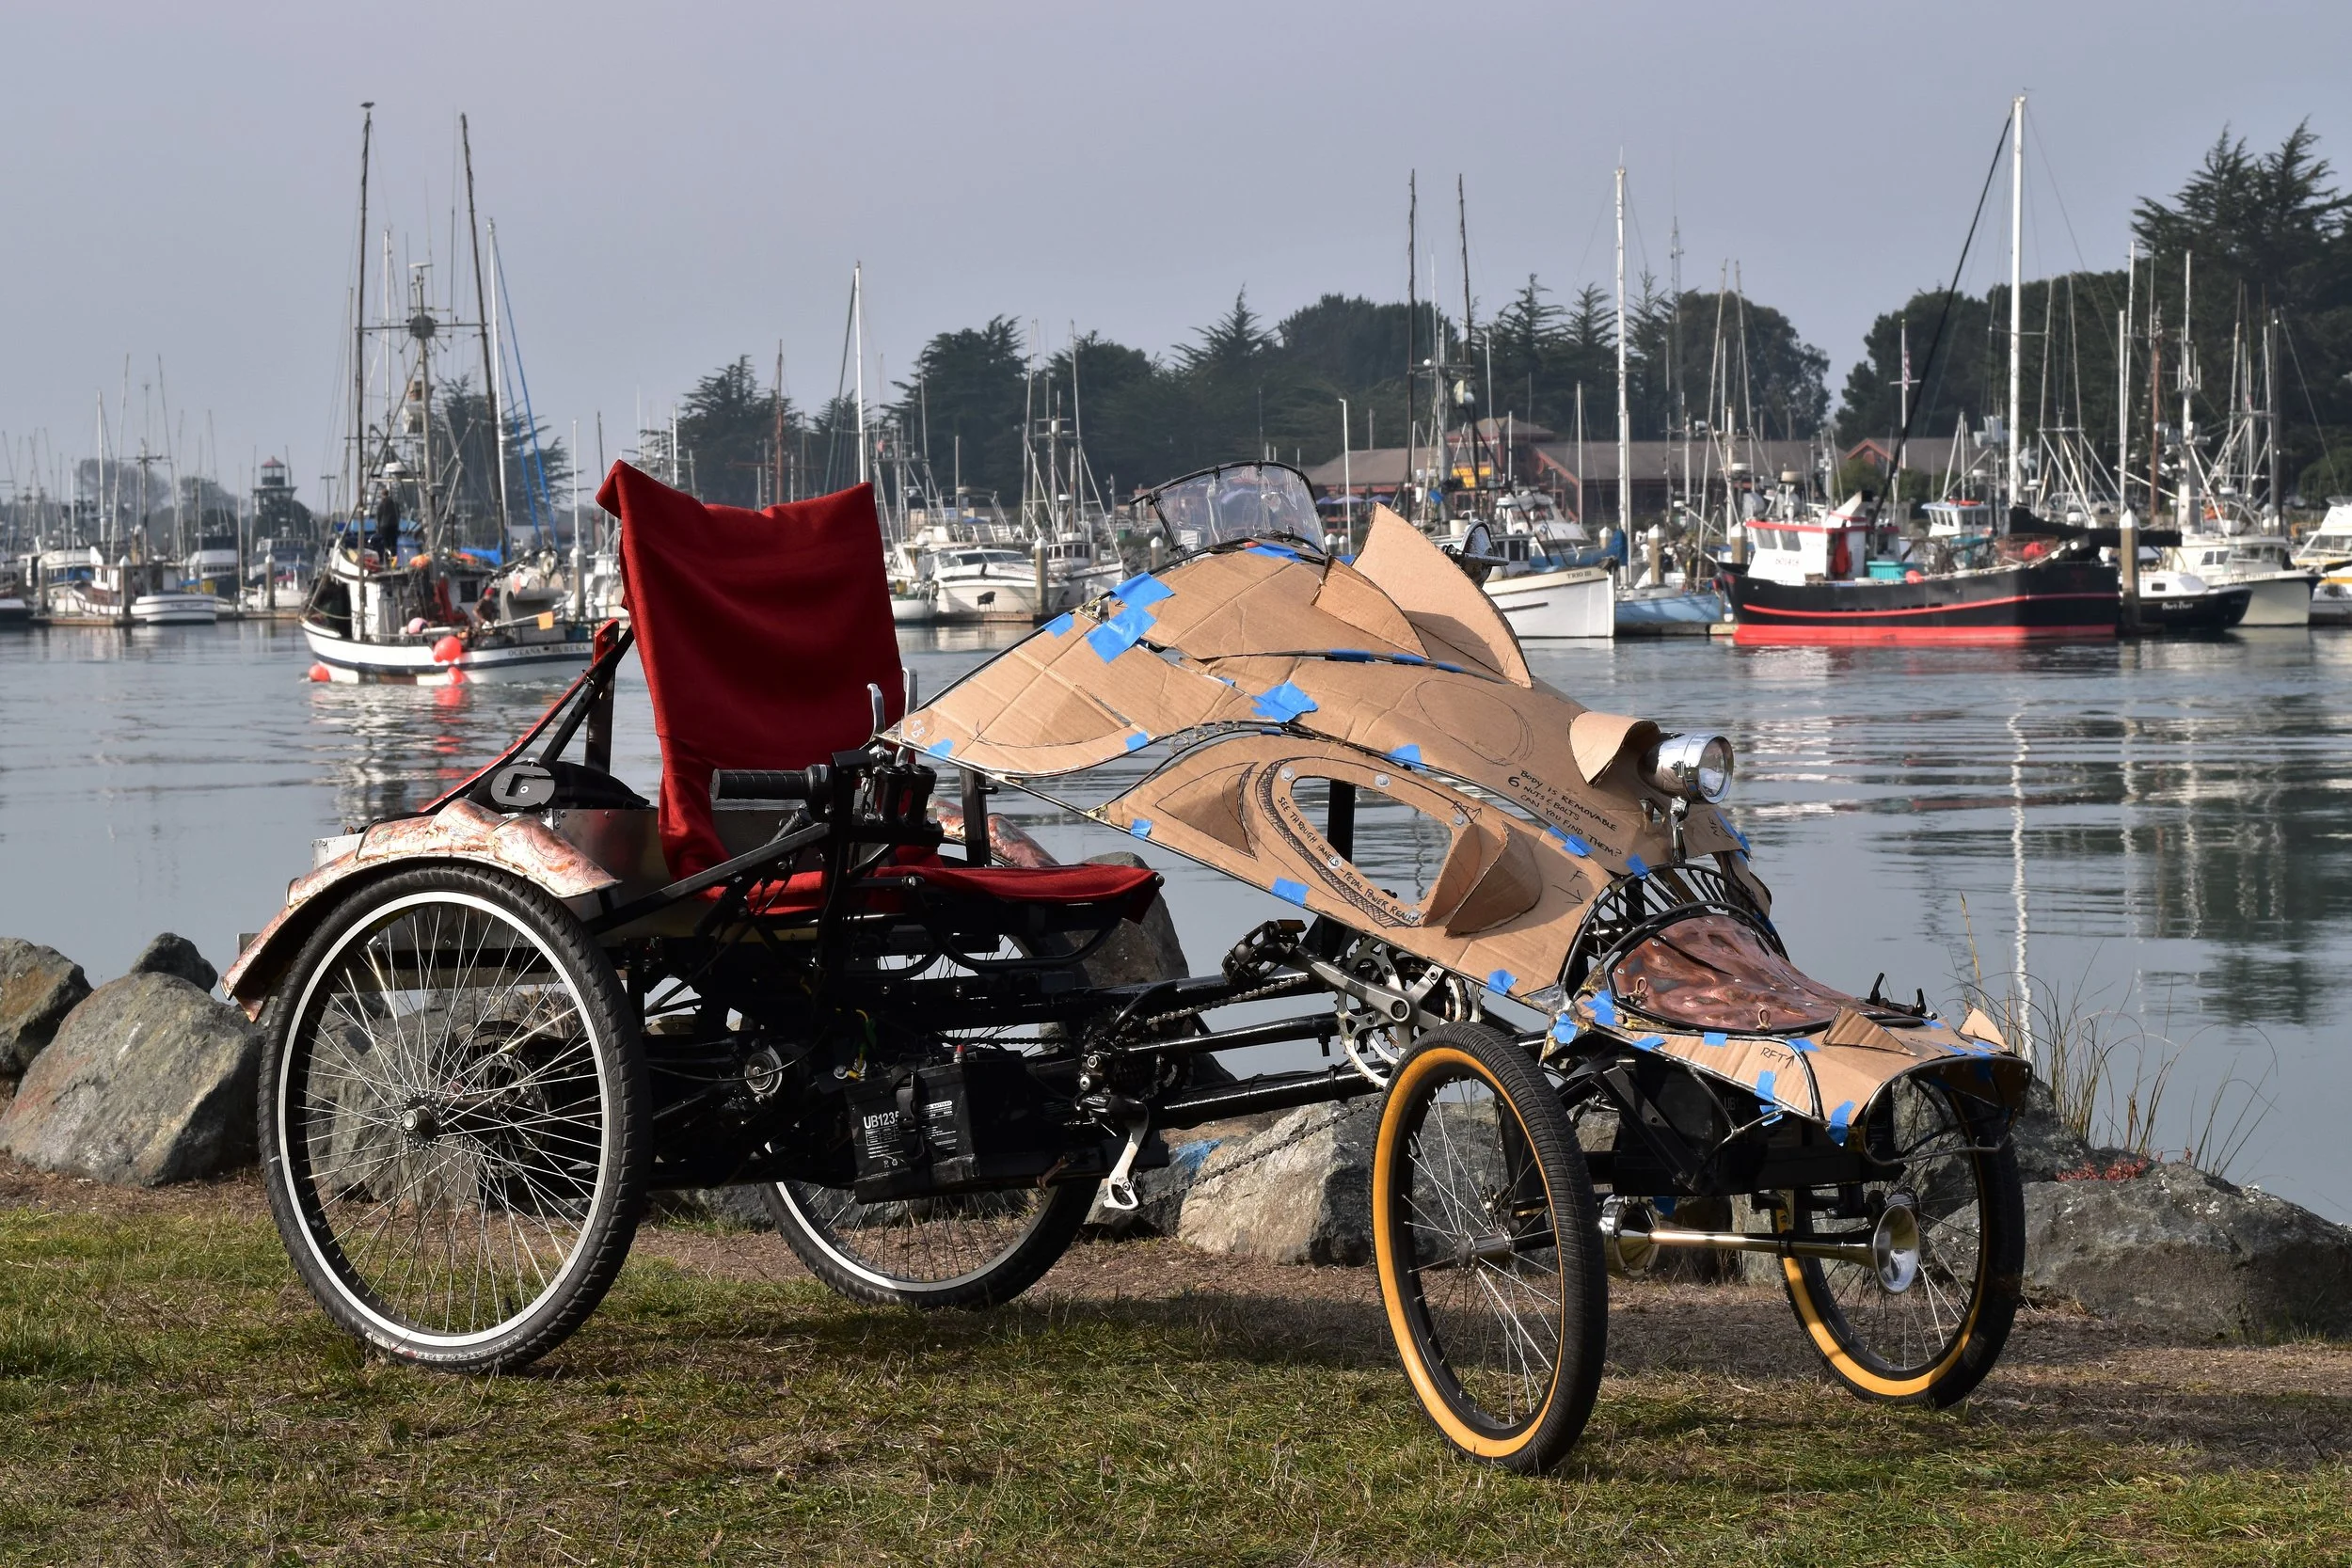
Joyride took me down by Woodley Island Marina, Eureka, California.

Front end work, copper skinning front side begins. Paper mockup cut big work to fit in copper. Beginners need not apply.
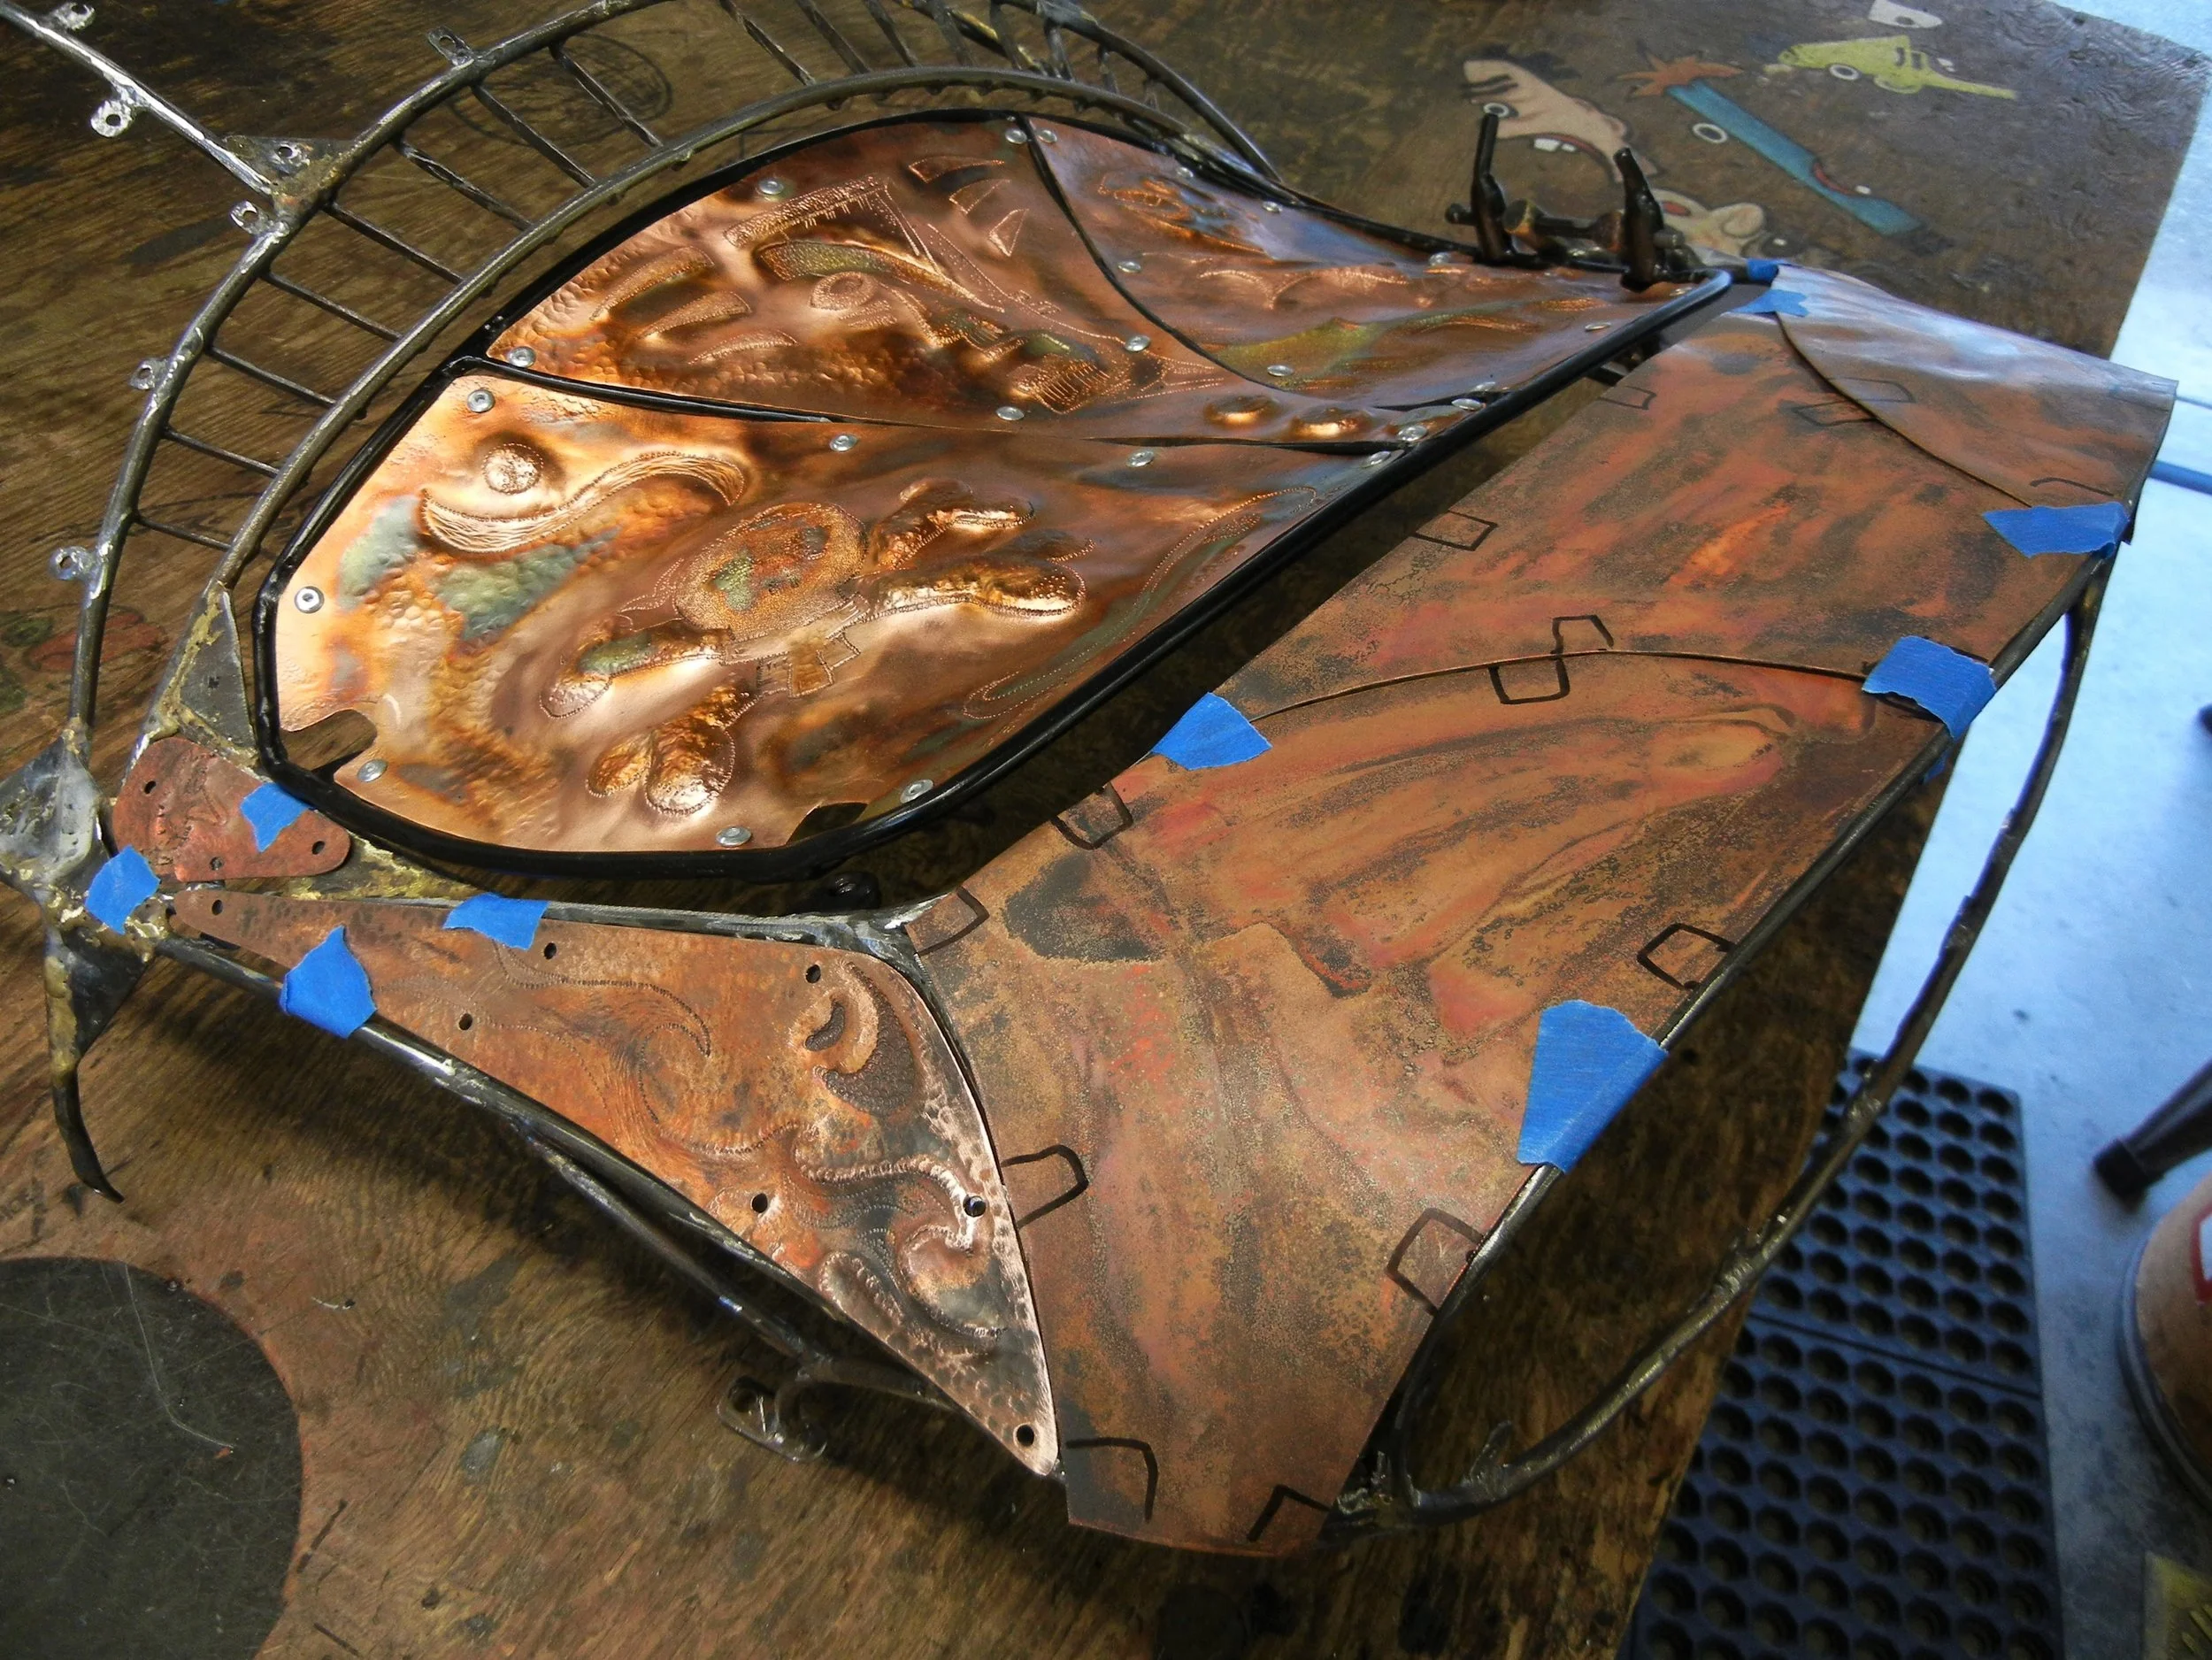
Copper skinning right side with front end pieces ready to roll. Time to figure out the next Art move.

Time to figure stuff out, what Art to put in front & foremost? Machines name is “CQ” for Copper Quad. CQ in Morse code means Hello All Stations, fitting. -.-. —-.- -.-. —.- -.-. —.-
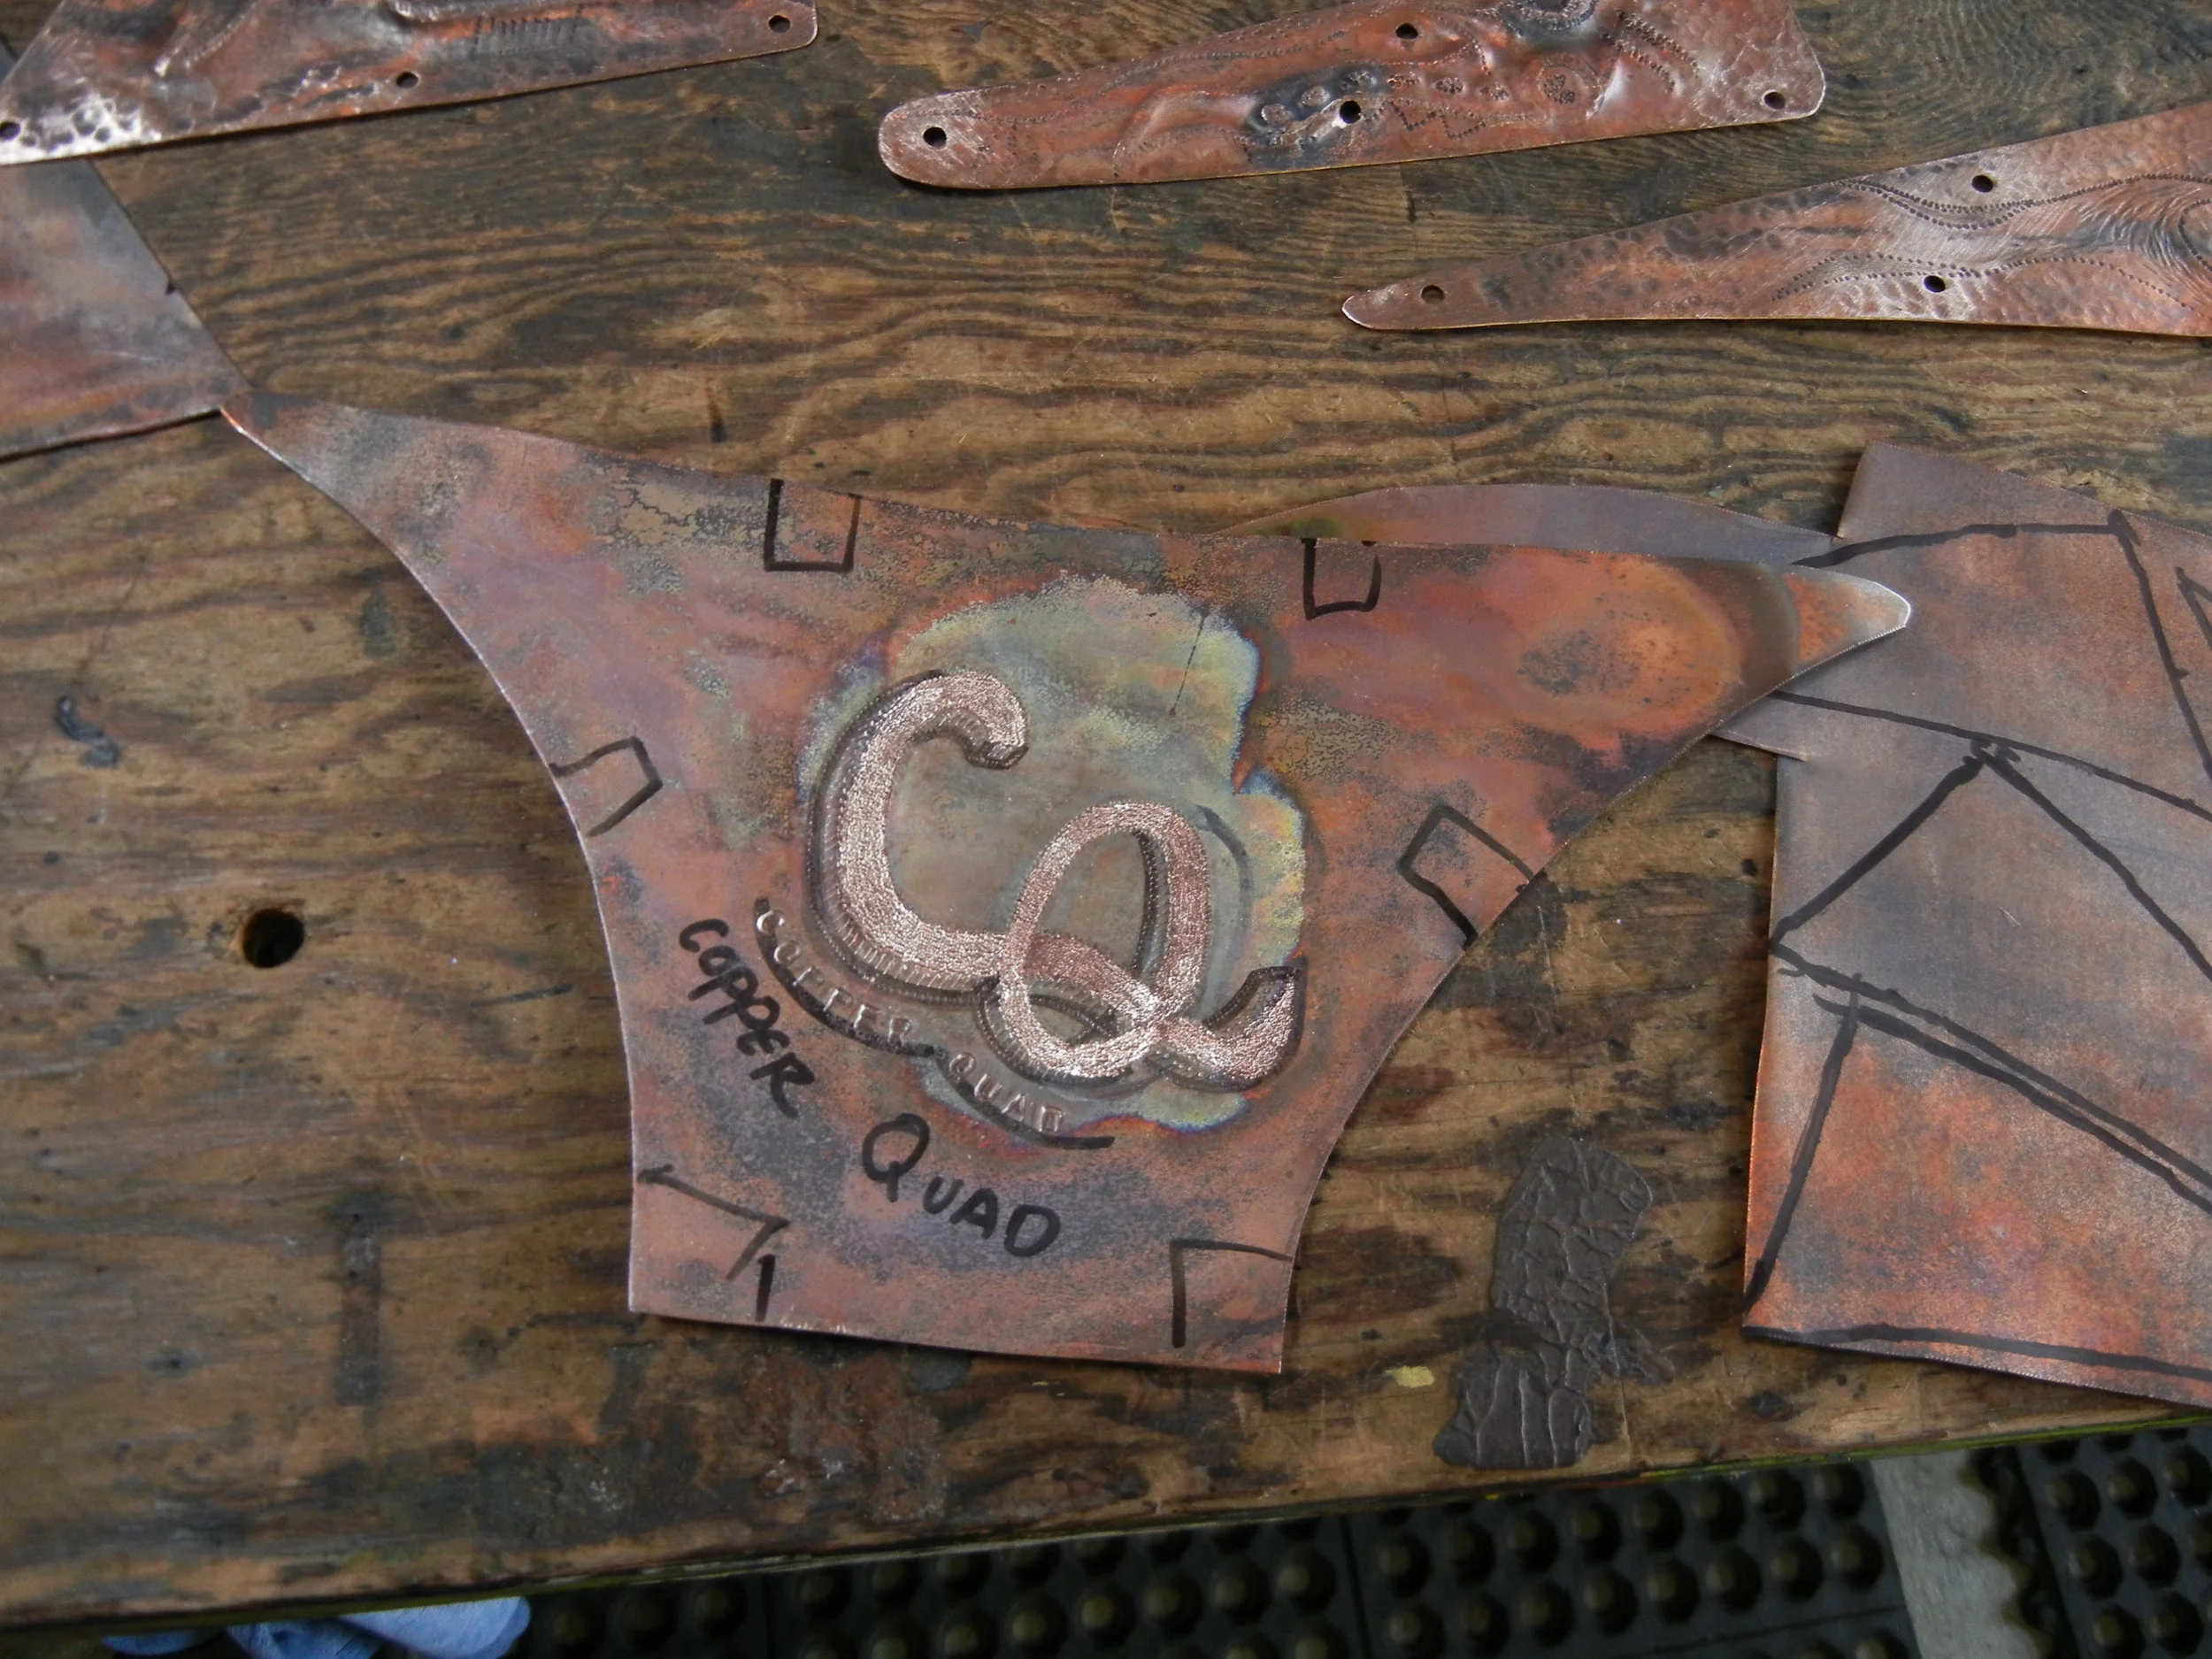
Do prelim Artwork first & flat, spell stuff out in writing before committing to metal.

Time to button this piece up, baten down the hatches. Secure piece topside looks good time to drill rivet holes.
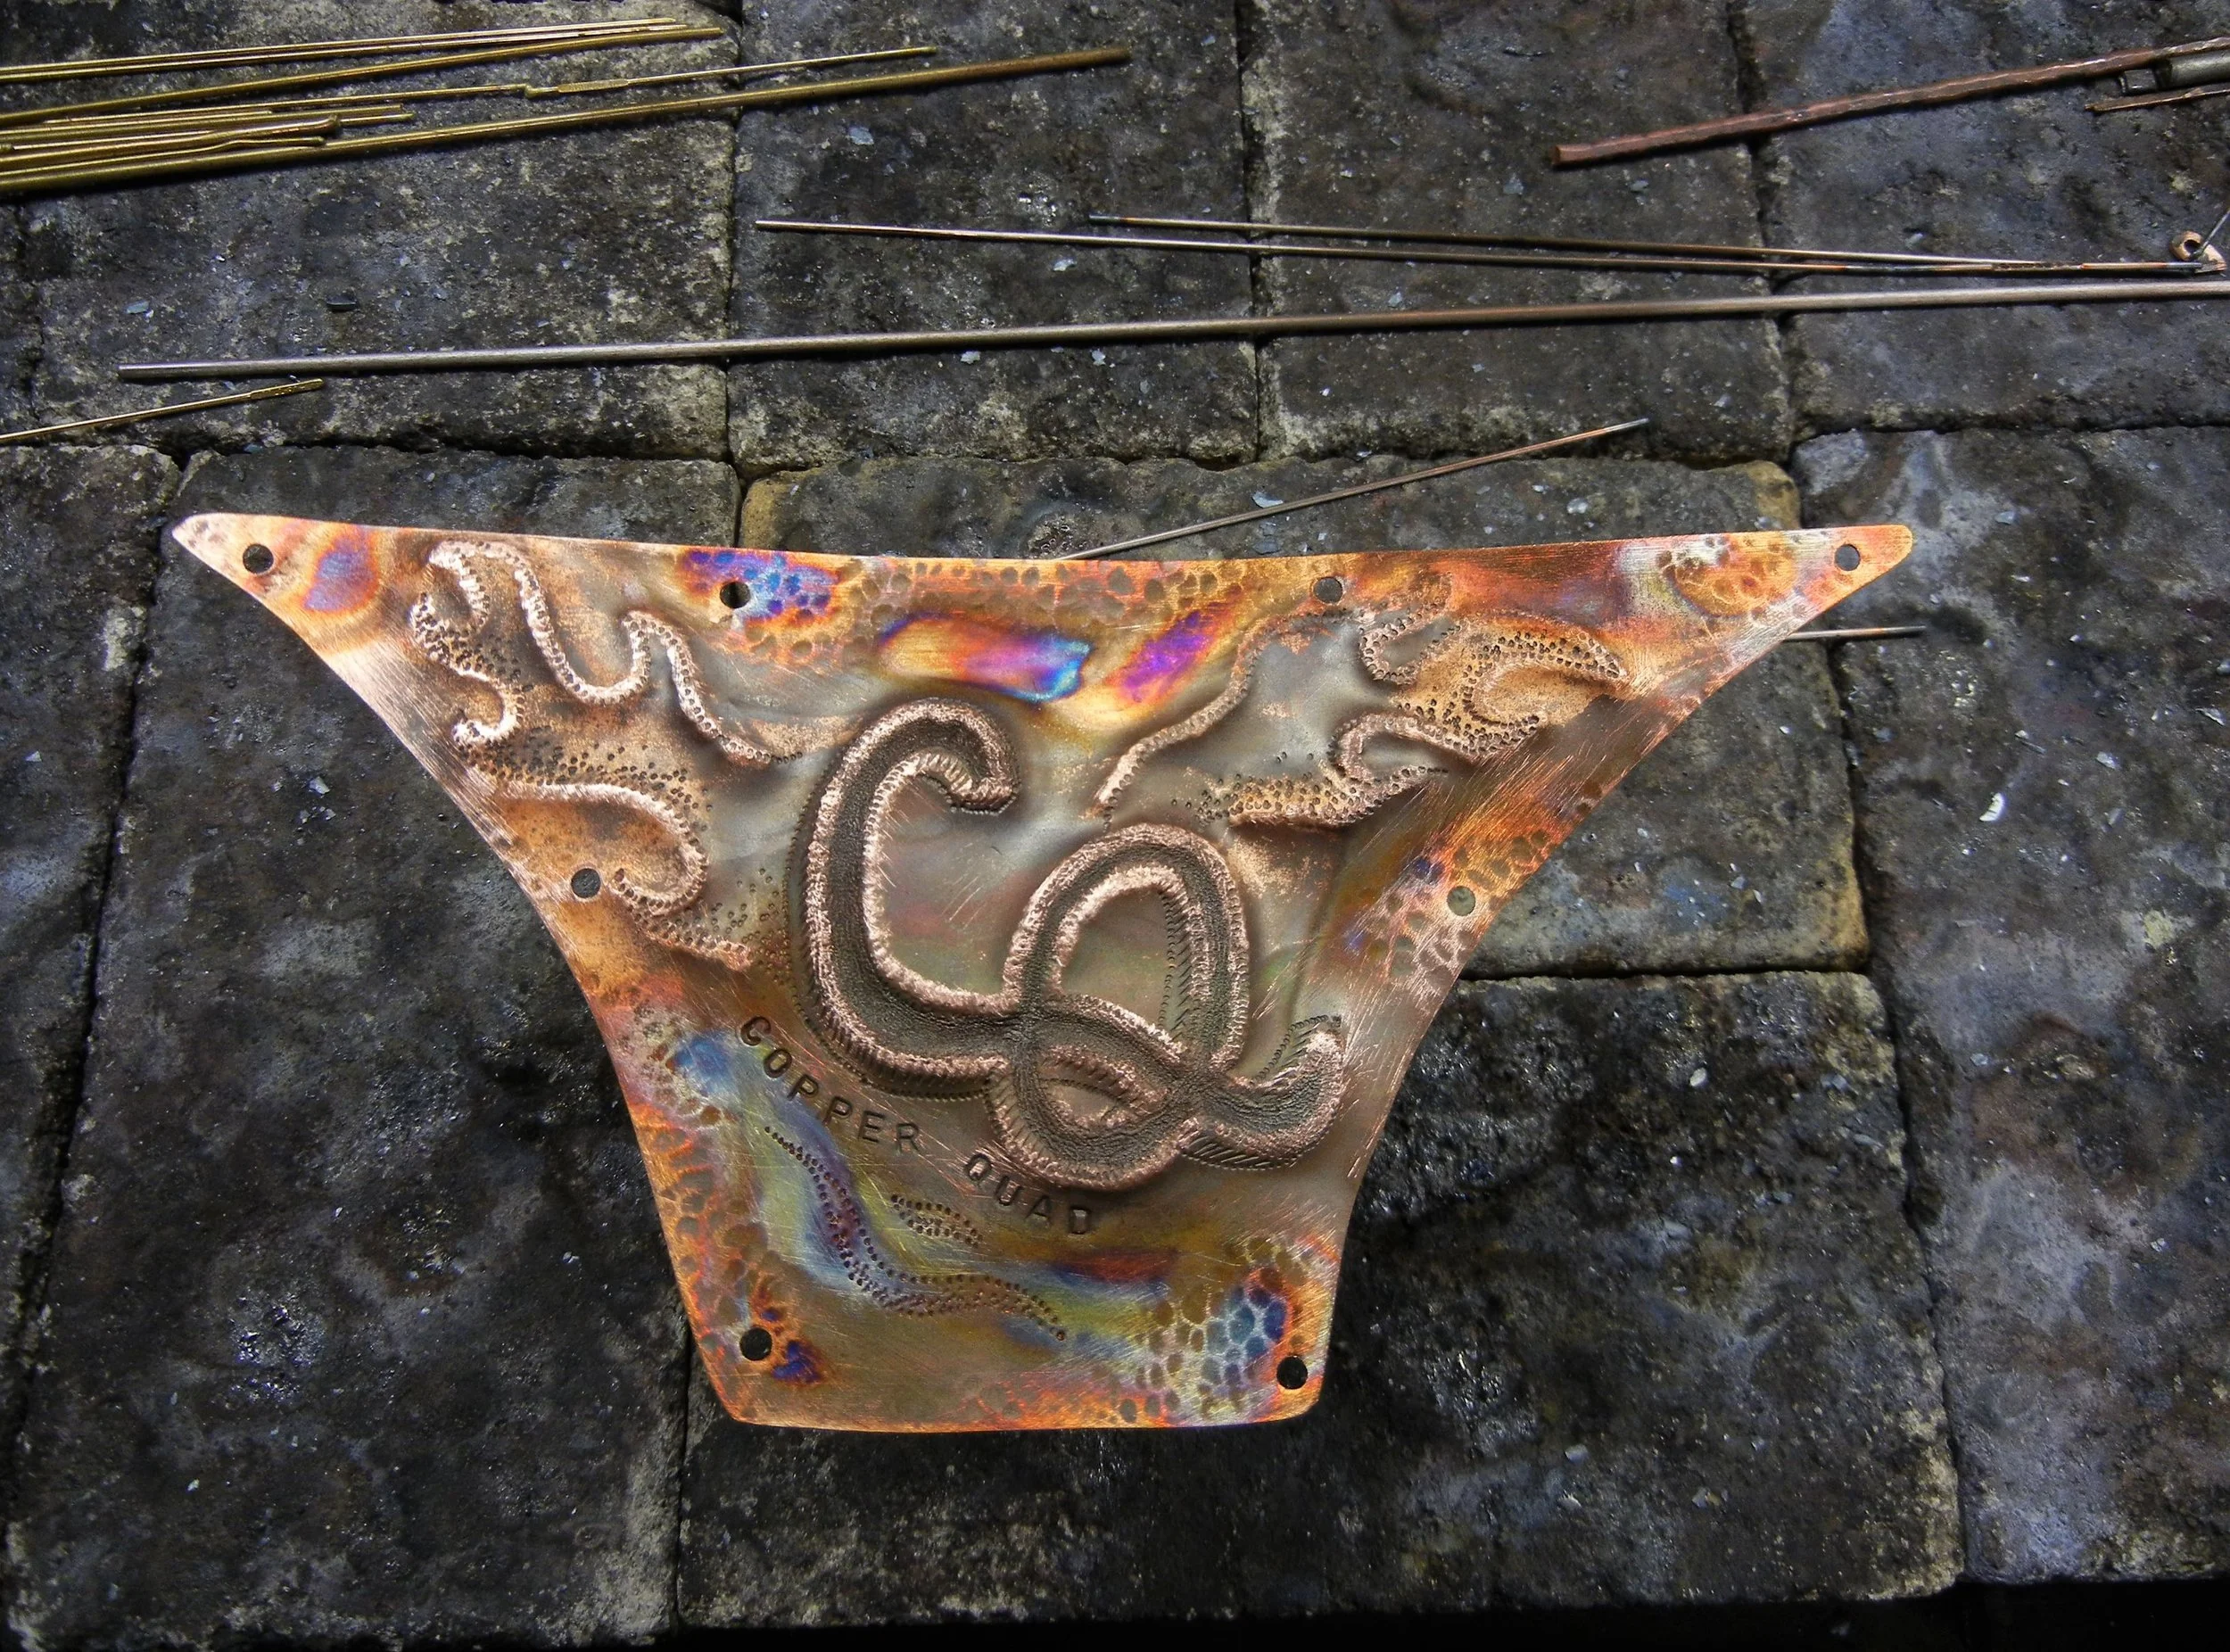
From basic BS sketch to this, I like & approve. Check that bad boy off, build continues!
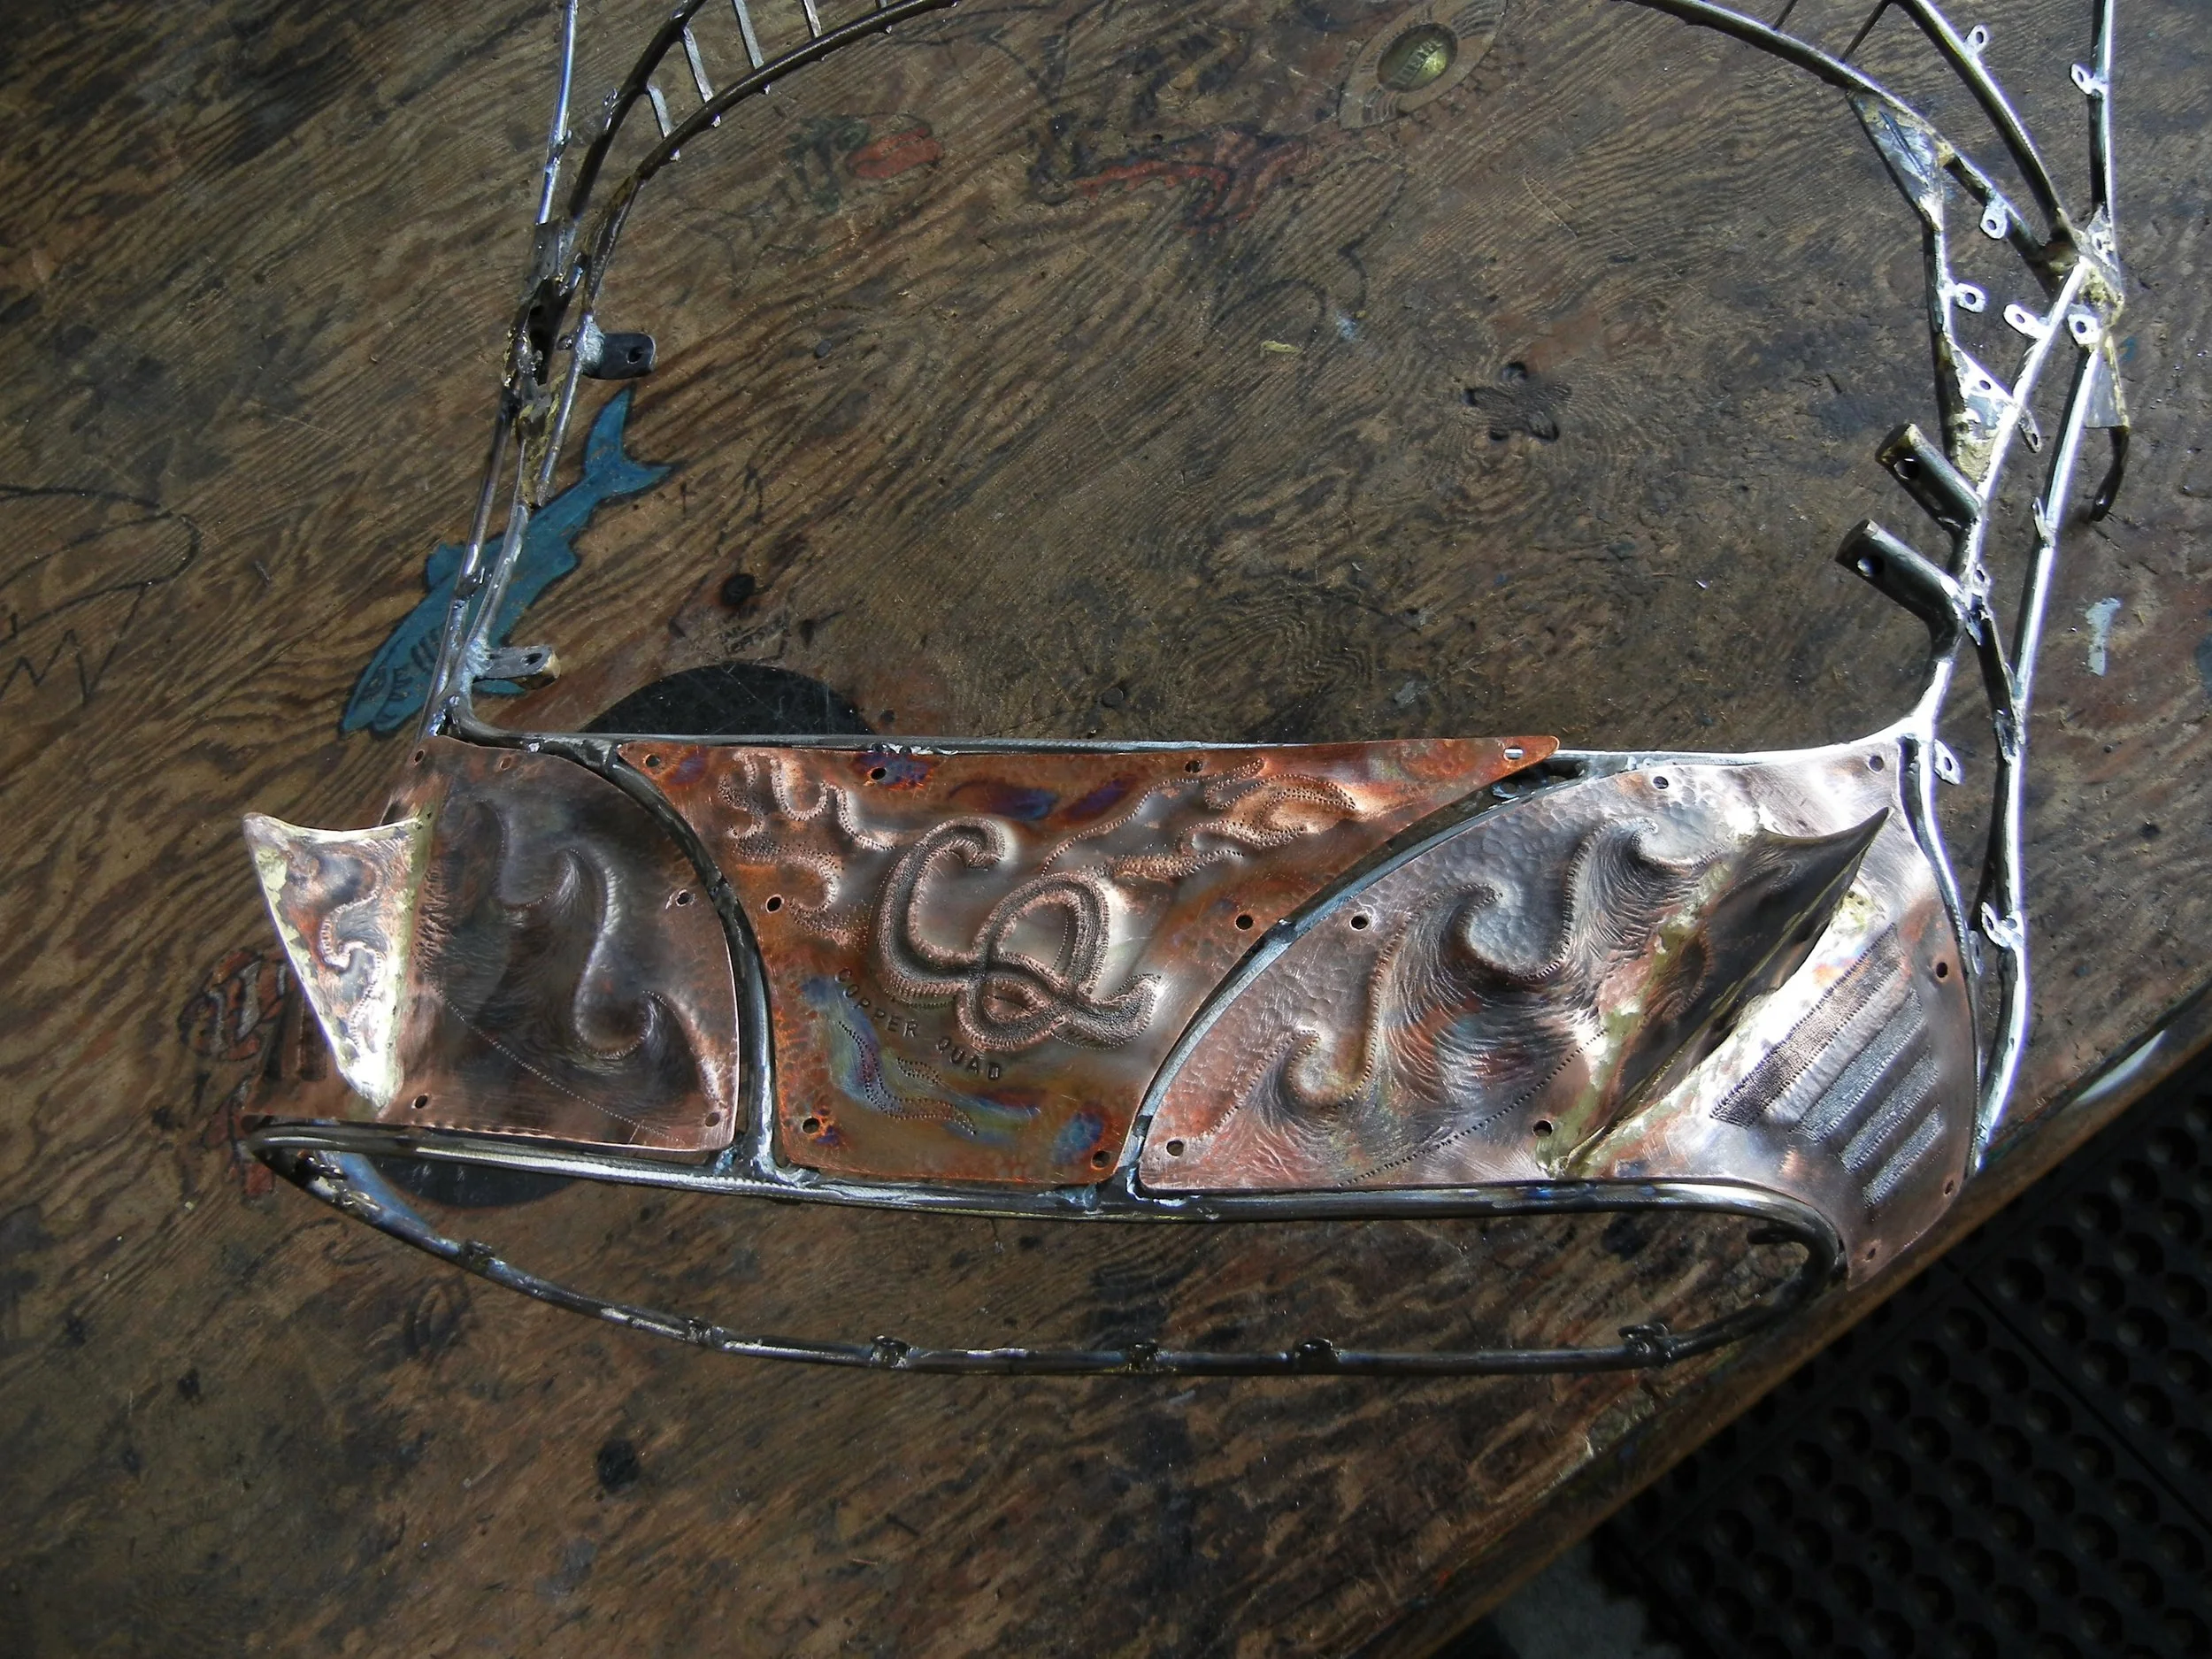
Front end body work close to being done.
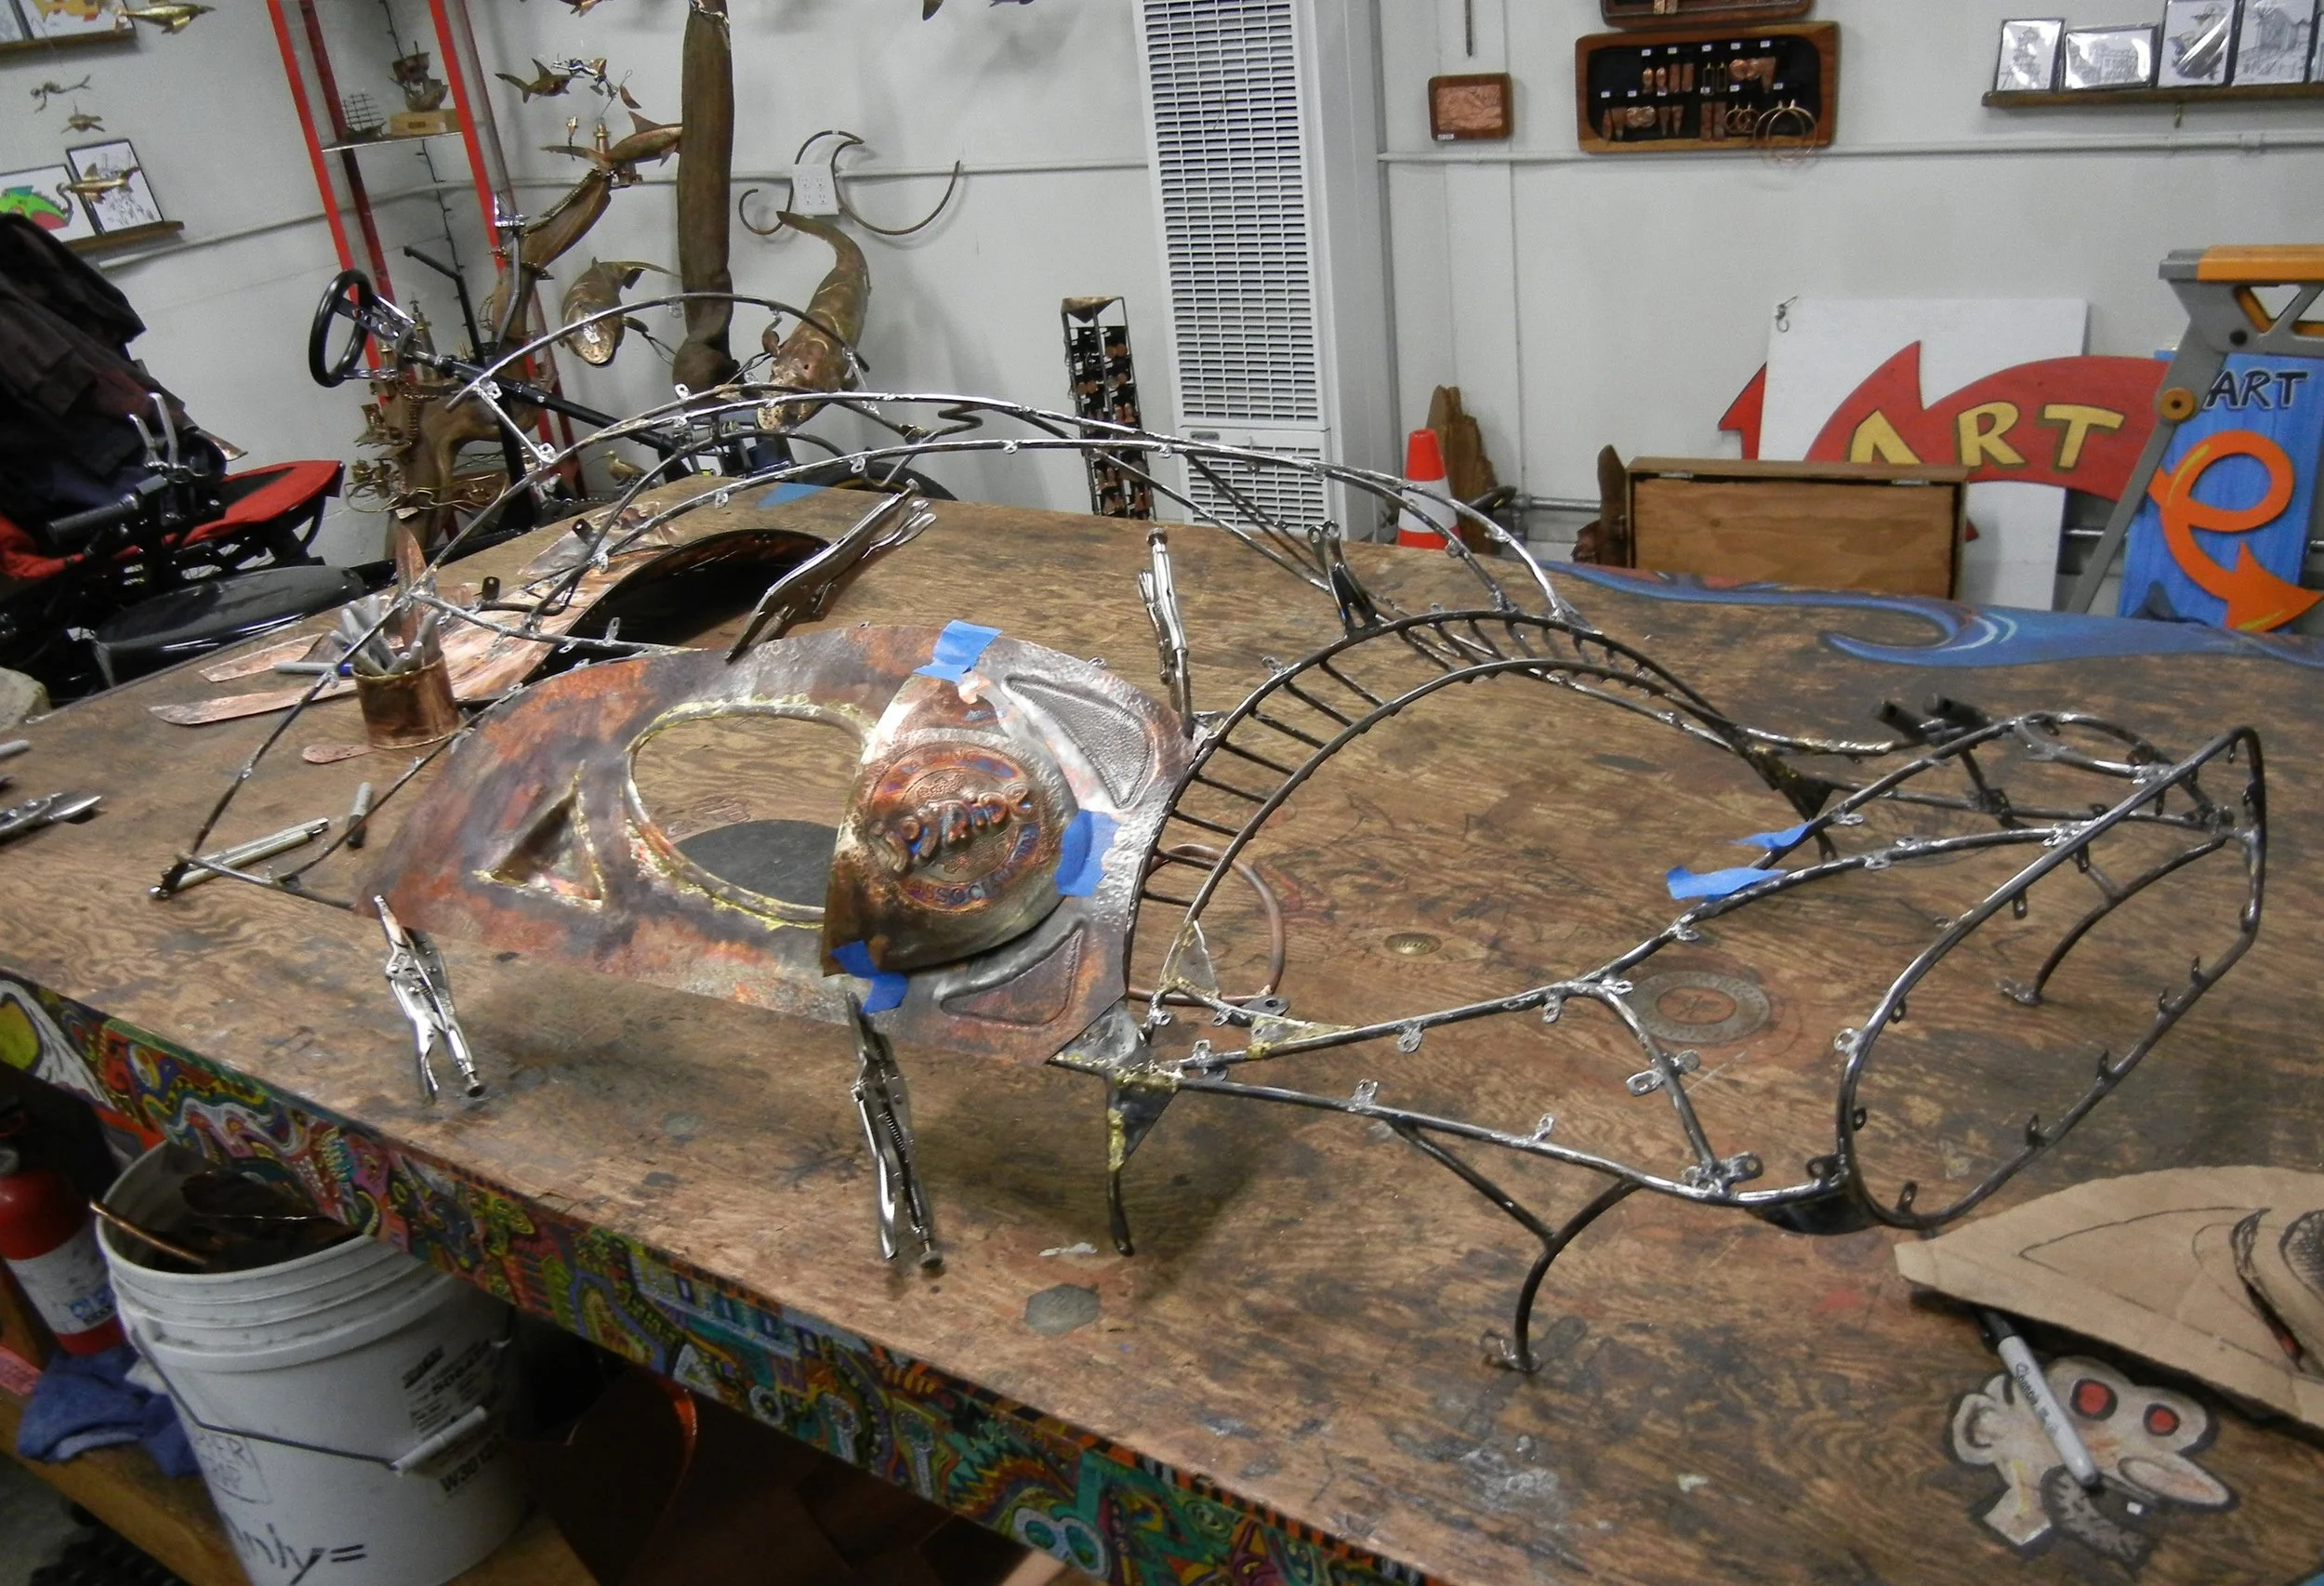
Right side panel with viewing window, sponsored by JoyRide Racing Association!
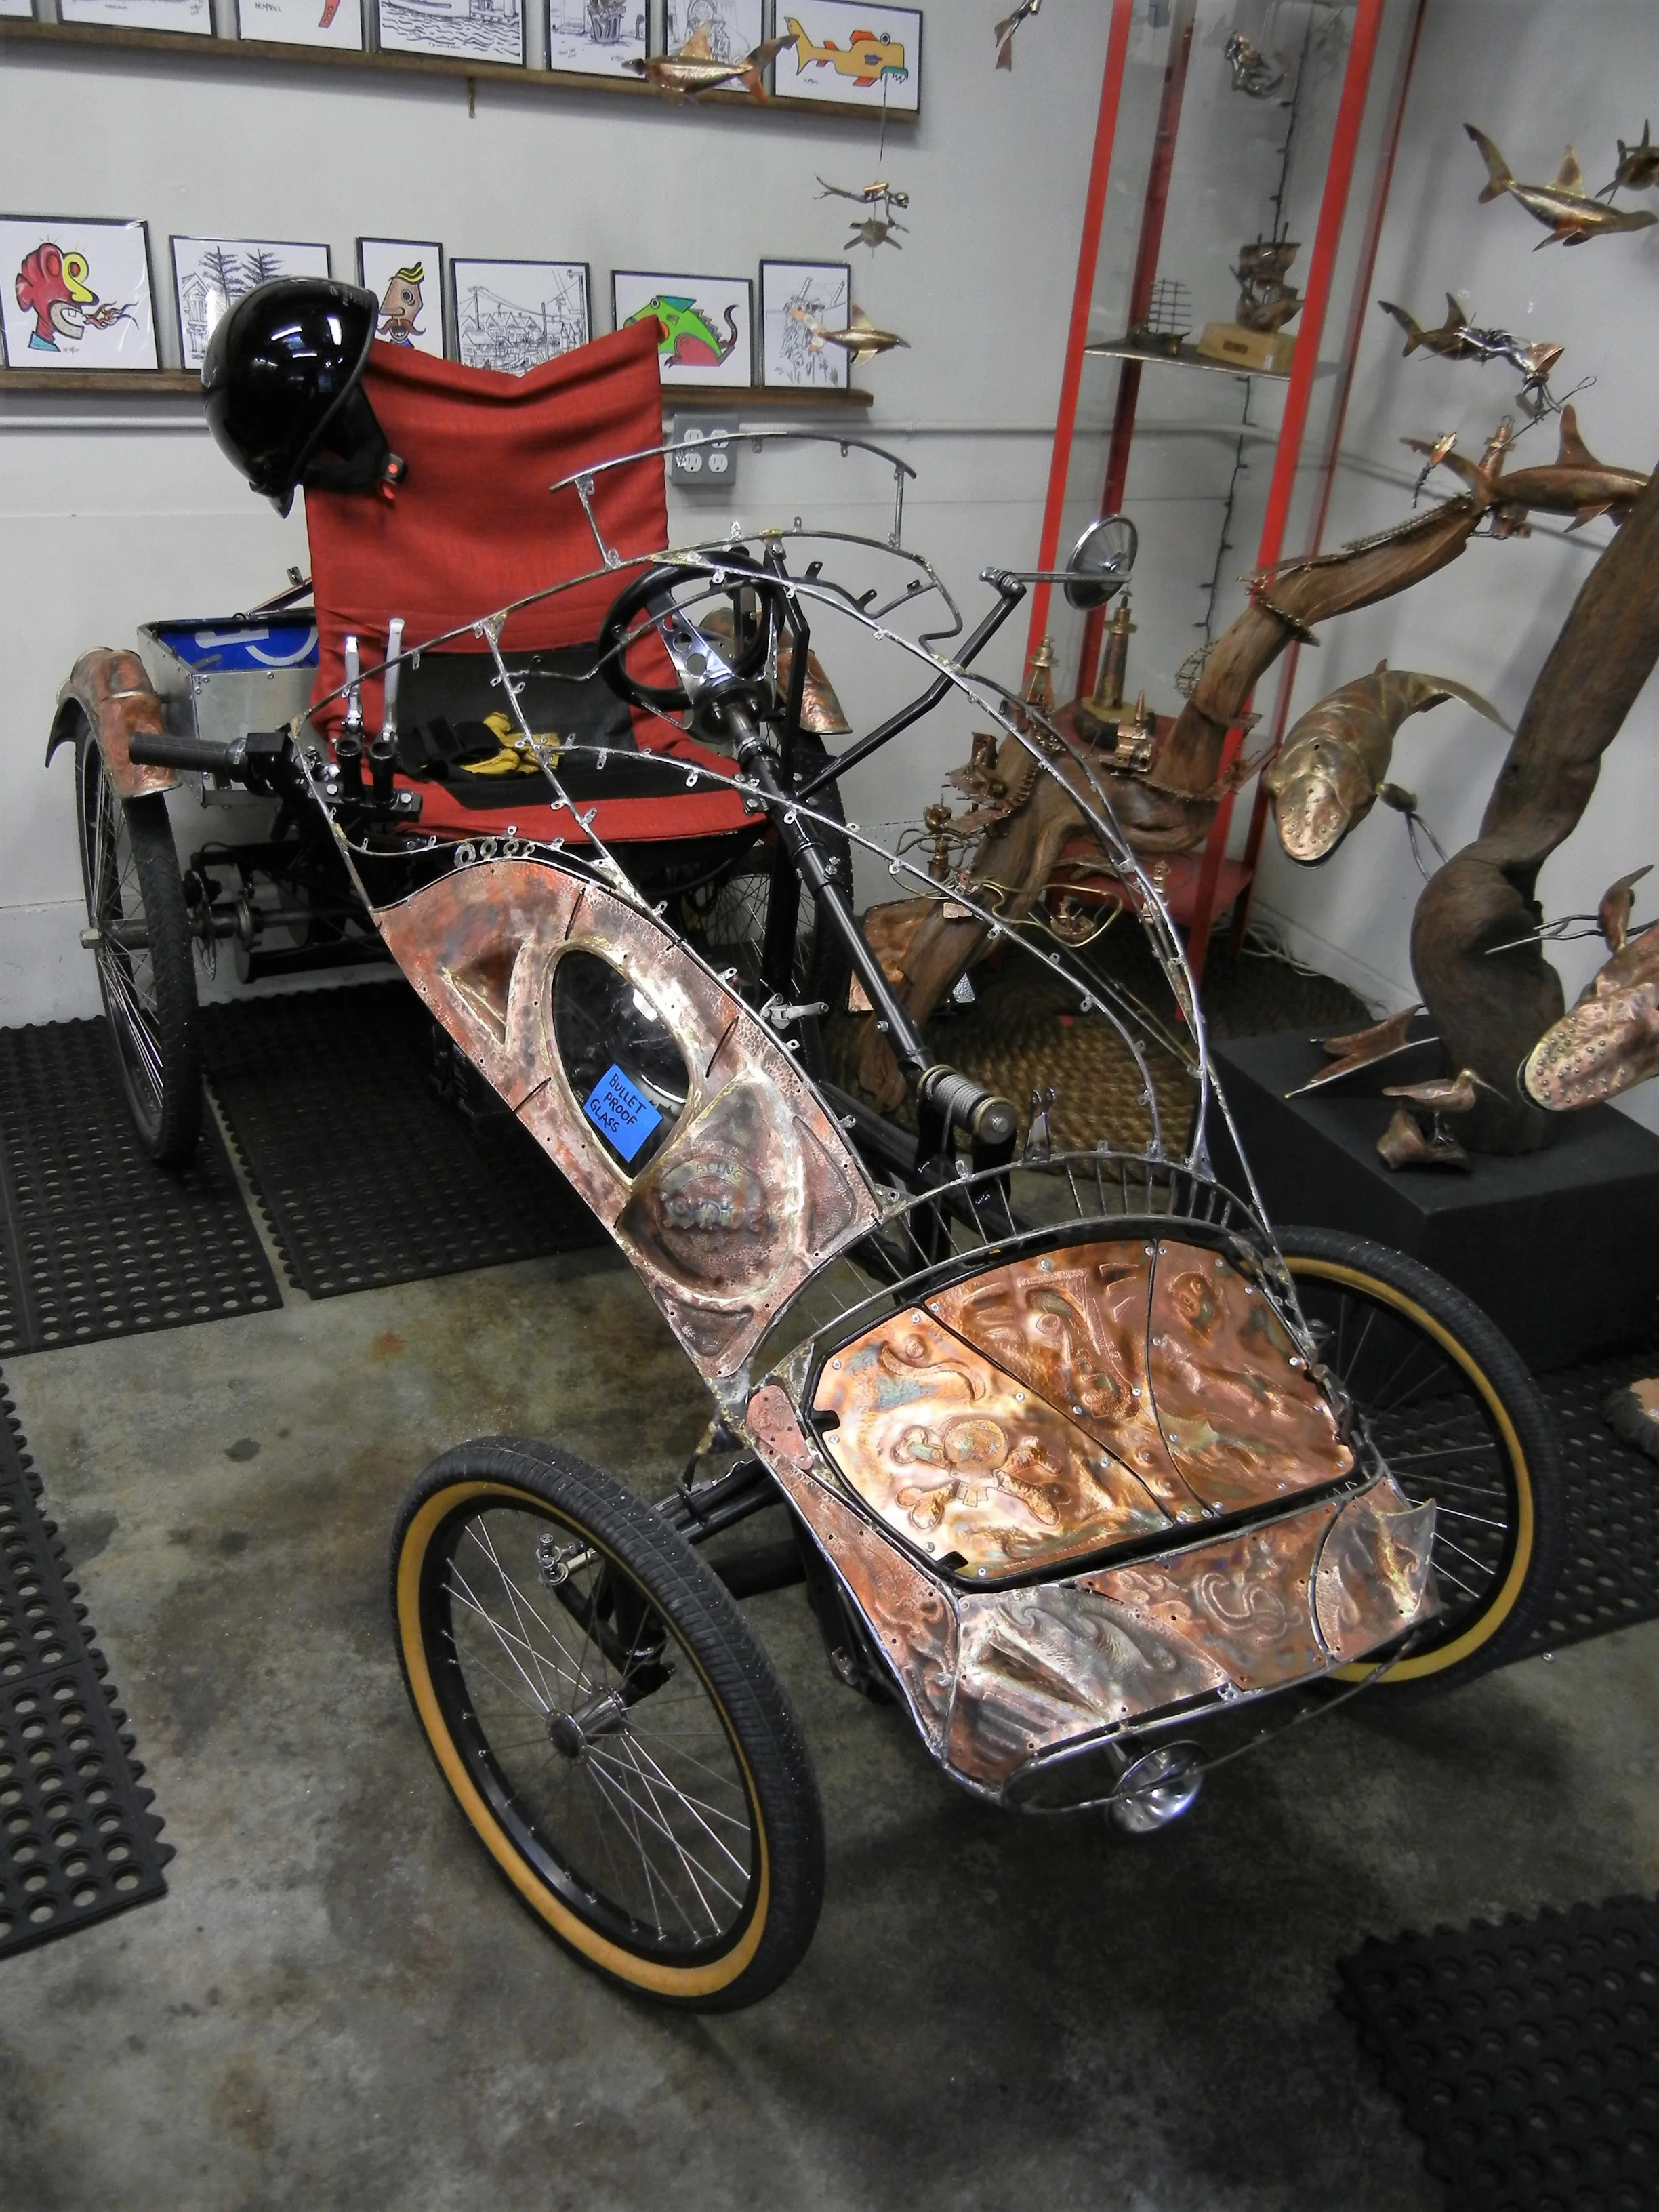
Copper bodywork coming along nicely. Take the time to do it right the first time.

Zip tied up ride to see if anything blows out then fix.
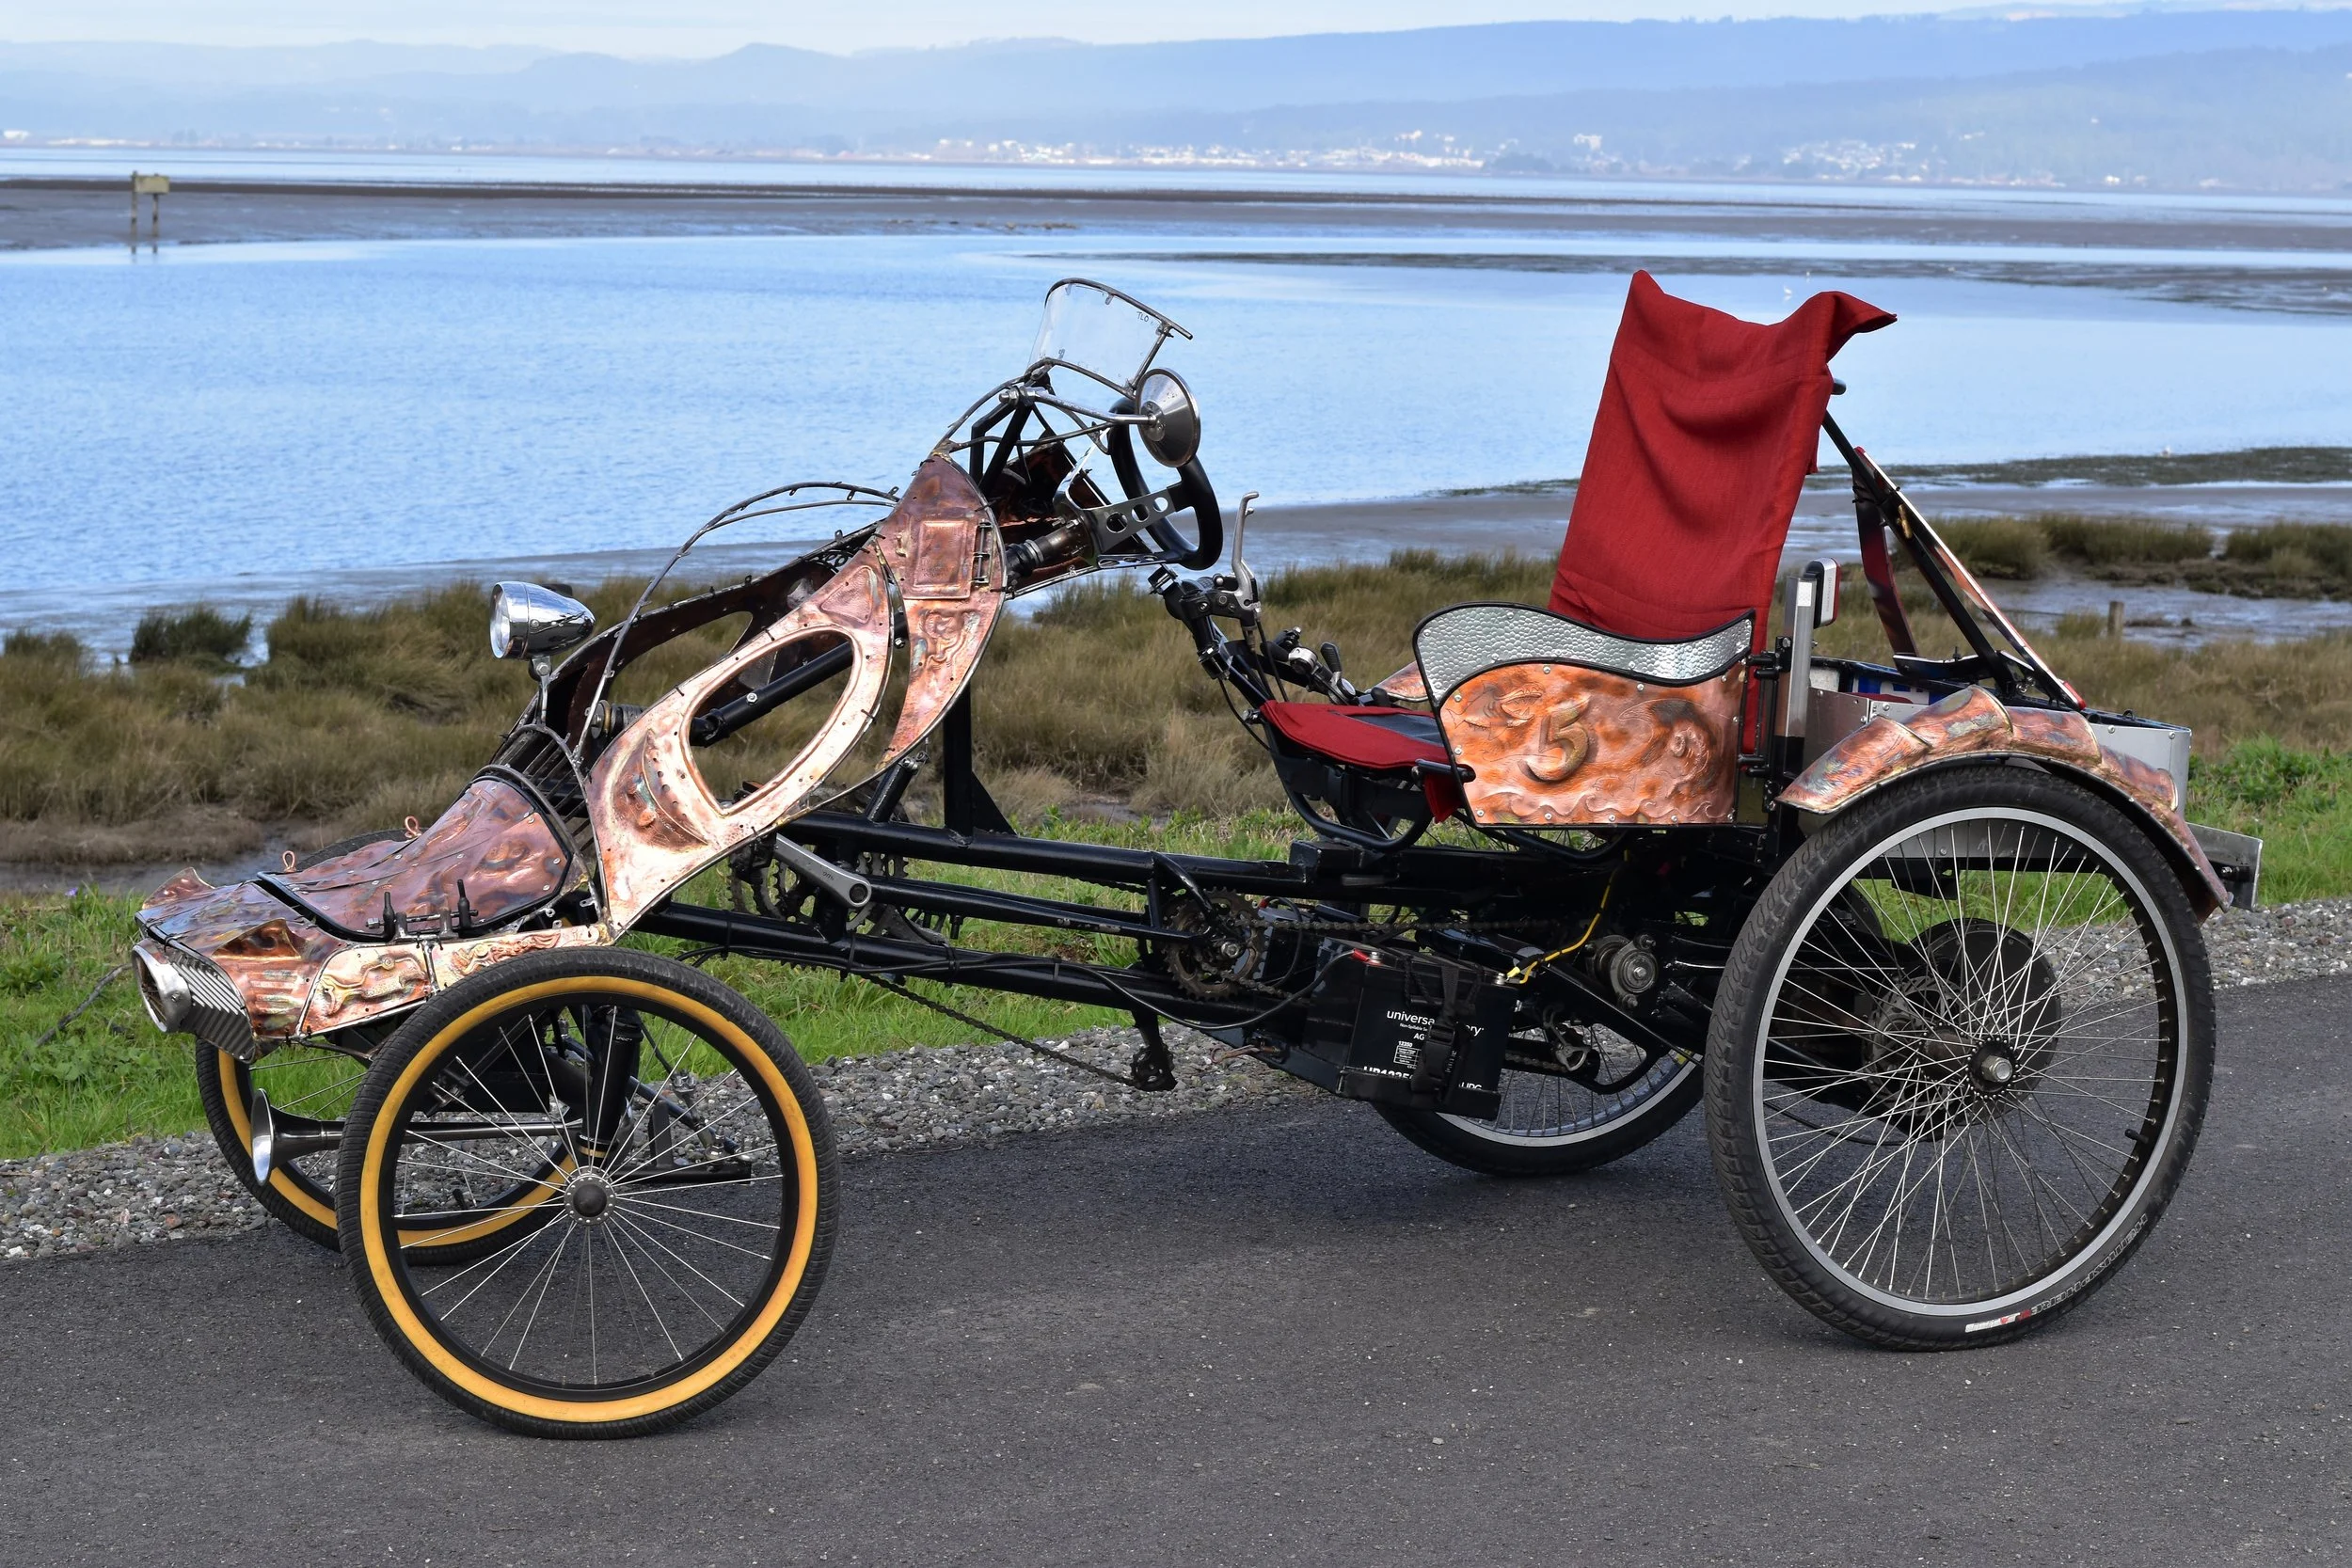
Cruising Humboldt Bay Trail, doesn't get any better than this.

ARTS ALIVE - Mar 2019
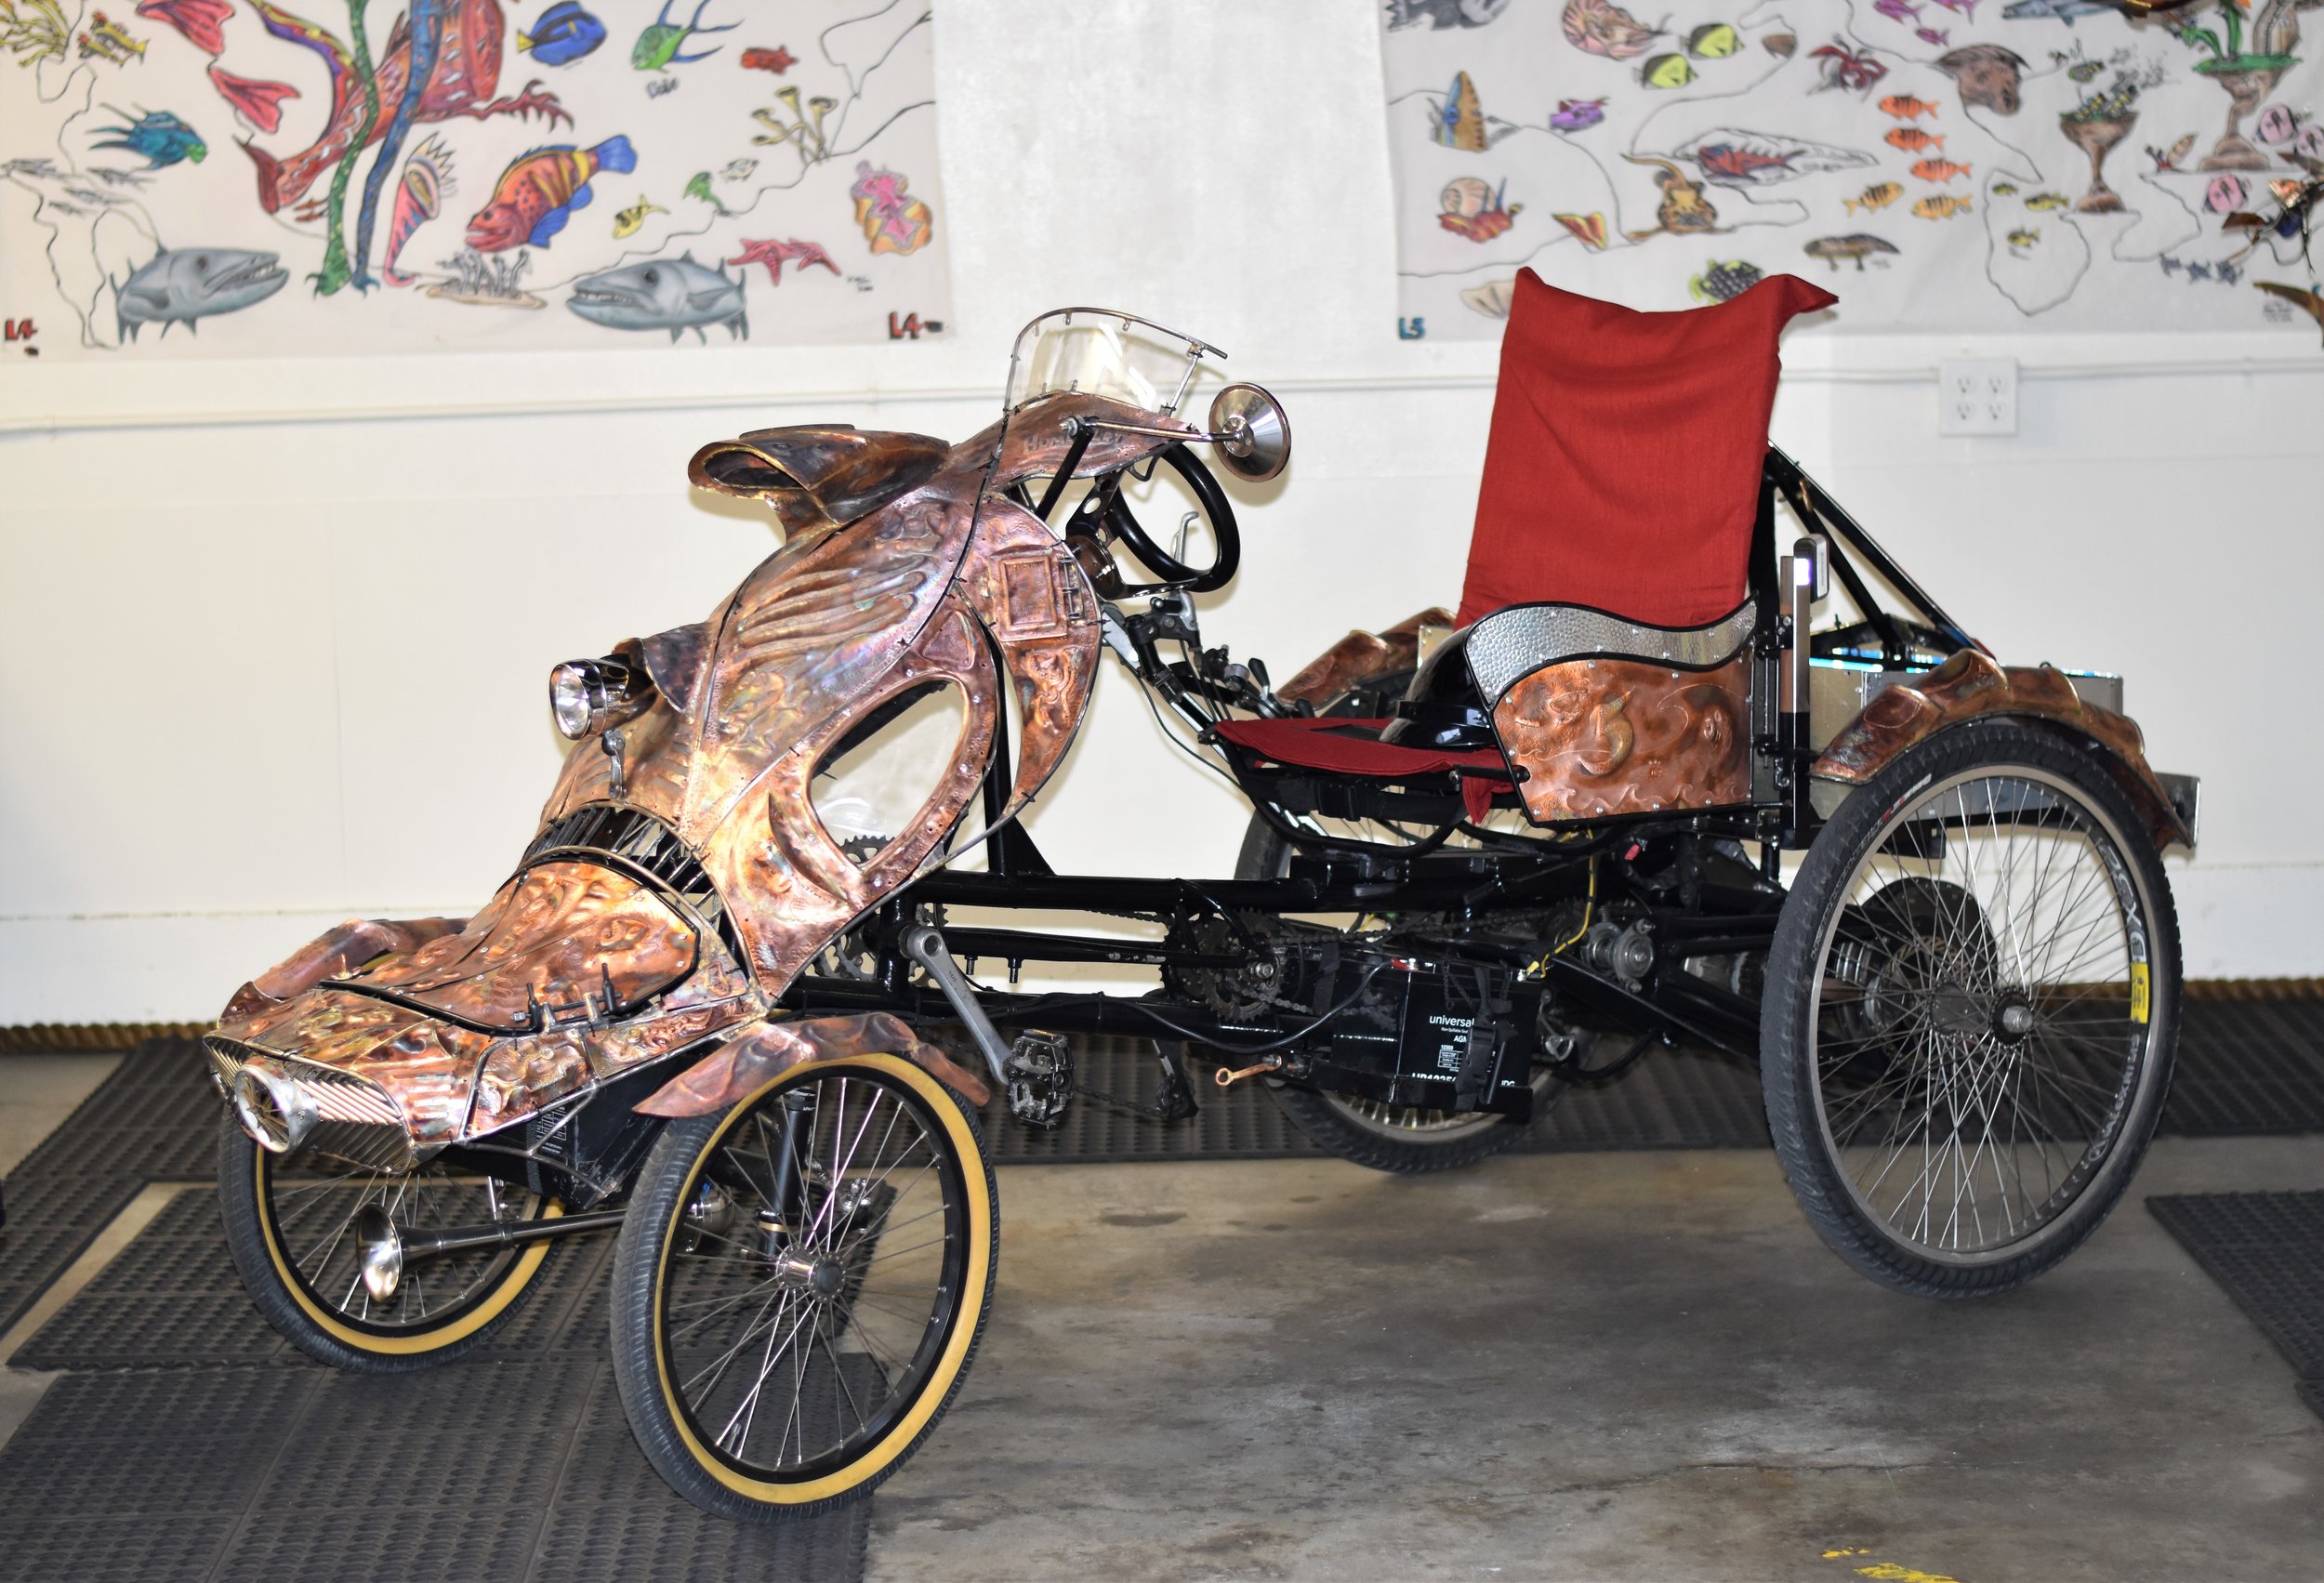
Portside viewing please, had to go with the hood scoop
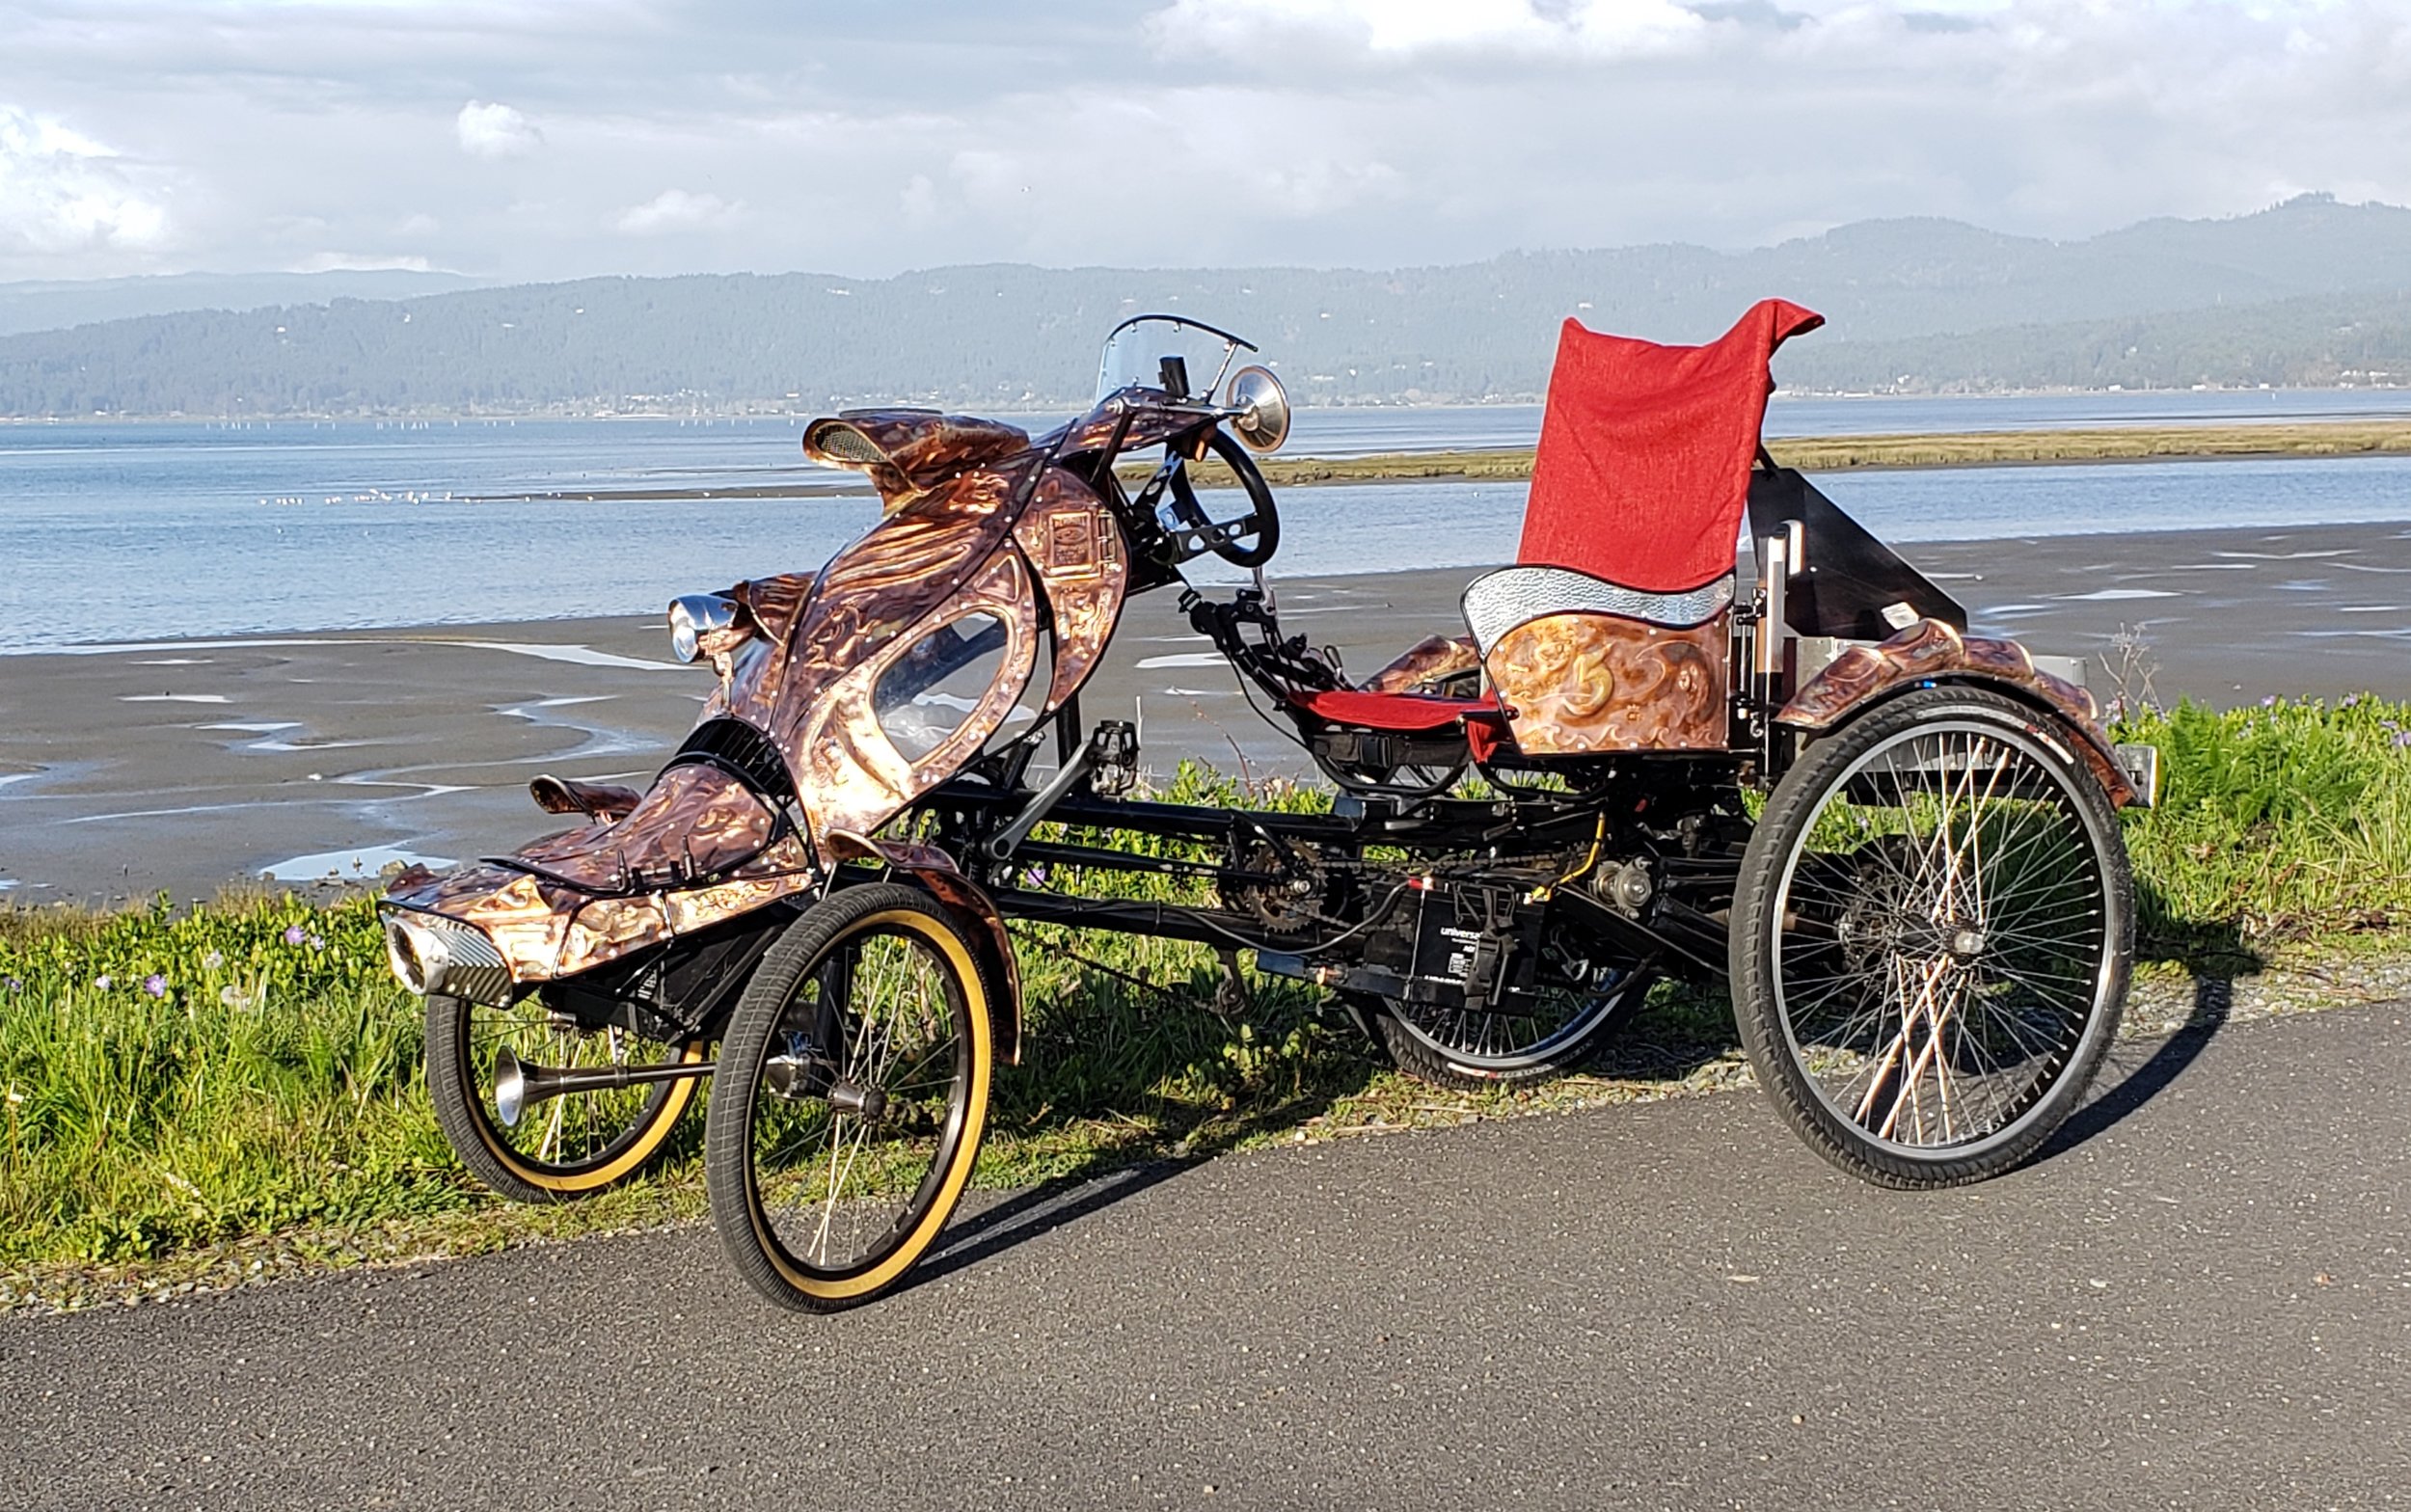
Copper Quad Art Car - front end work complete!

Copper Quad out front of the Carson Mansion - Eureka, CA. This is the final art version of this road racer.


